


DIY - Curing / Seasoning Chalkboard Tutorial

by
Victoria
$3
15 Minutes
Easy
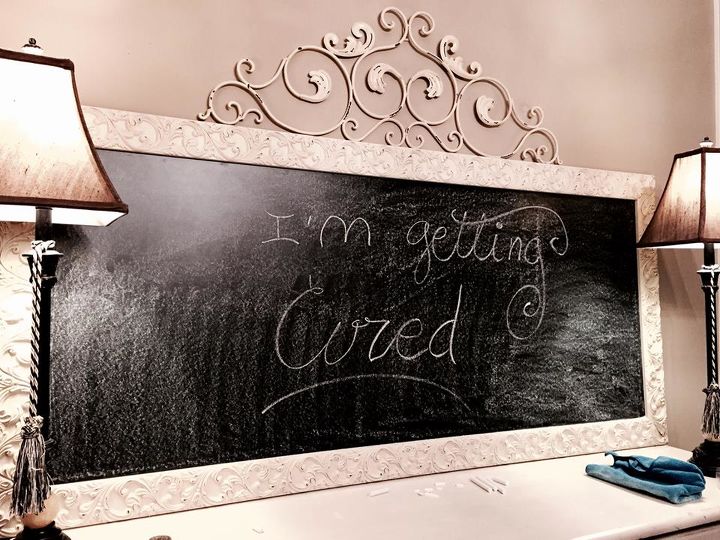
I'm curing my chalkboard! A chalkboard needs to be cured to avoid engraving permanent marks but if you're anything like me you probably thought chalkboards were all ready to use when you first bring them from the store right? well, no! they're not...why??
I'm thinking is because when un-cured the board repels stains.
I'm thinking is because when un-cured the board repels stains.
The "greasy" protective coat in it is just a way to keep it intact until you bring your board home where you'll have to cure it to make sure your designs don't become permanent, I learned this the hard way and now I have to paint one of my boards with chalk paint paint which isn't cheap... go figure!

Holding the piece of chalk sideways rather than from the end, start by rubbing it gently on the blackboard. This is gonna get messy!!
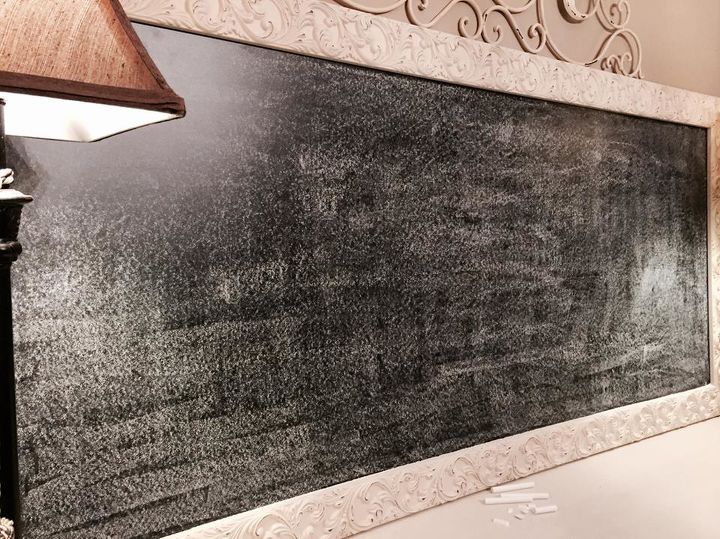
Make sure you rub your chalk horizontally and vertically until the whole surface is completely covered.
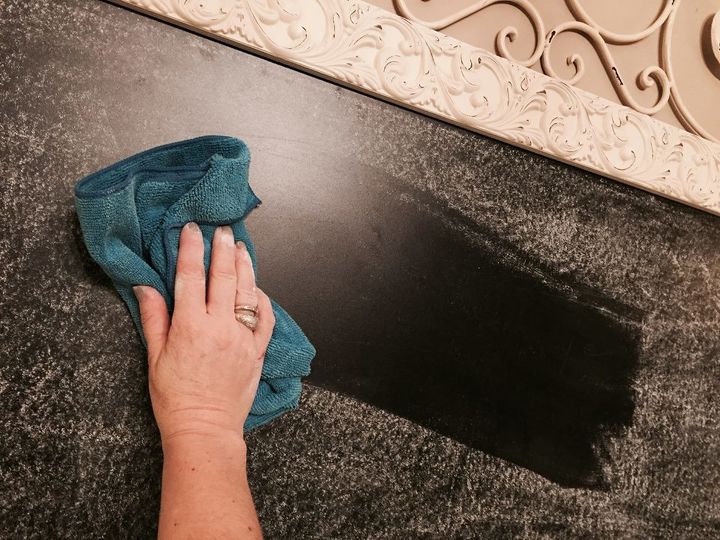
and now the fun starts!!
If you did it right the first time your board will look cloudy and you're done but if you missed any spots or the board seems too "greasy" or dark after you dust it, you'll have to repeat the procedure...like I did :0)
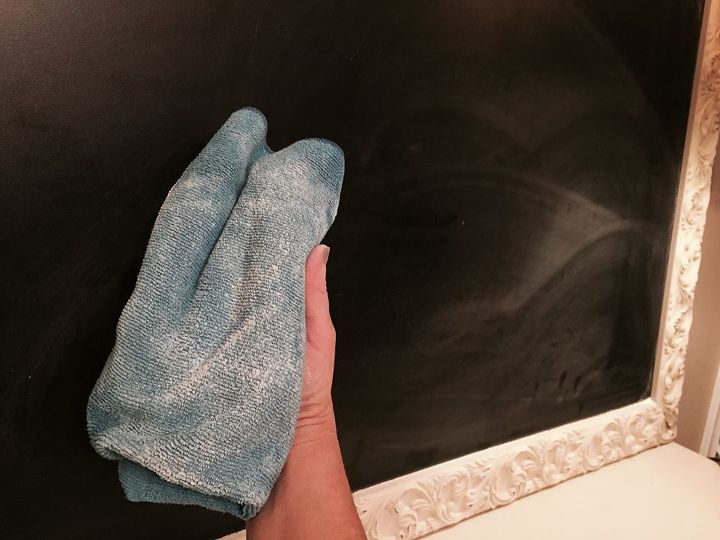
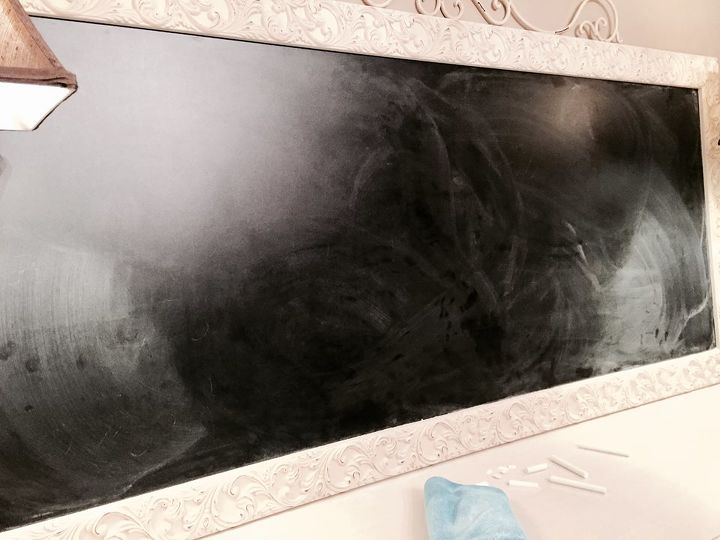
This time I did it right and after I dust off all the chalk from my board it looked cloudy and nice!
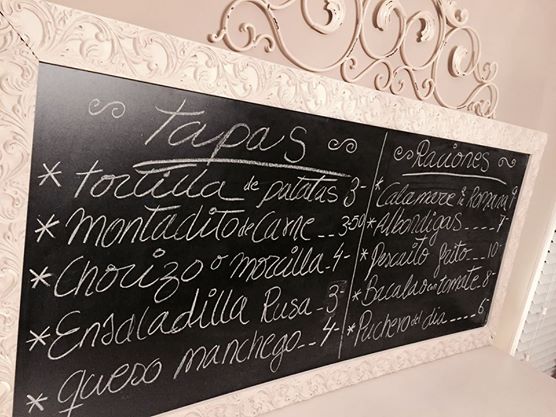
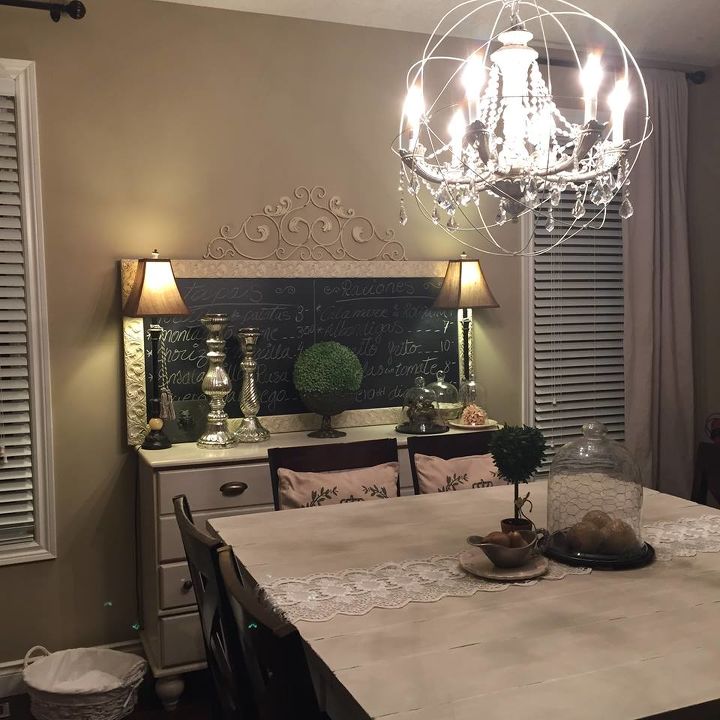
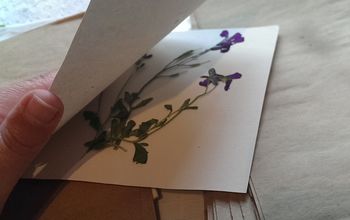
So I wrote a menu with the names of my favorite Spanish "tapas", the perfect addition to my Classy Bistro dining room theme.
Thanks for paying attention to my Tutorial and don't forget to visit my blog for more wonderful DIY's & Tutorials!!
Want more details about this and other DIY projects? Check out my blog post!
Comments
Join the conversation
1 comment
-
Great tips! Thanks for sharing :)


Frequently asked questions
Have a question about this project?
If I paint on the flat black paint, does it still need to be cured?