


DIY Farmhouse Style Frame For Botanical Art Prints

If you are in love with botanical prints like I am, then I think you'll love these easy DIY farmhouse style frames. You will be able to add style and character to your space in no time with these frames and you can truly put any artwork or picture inside the frame.
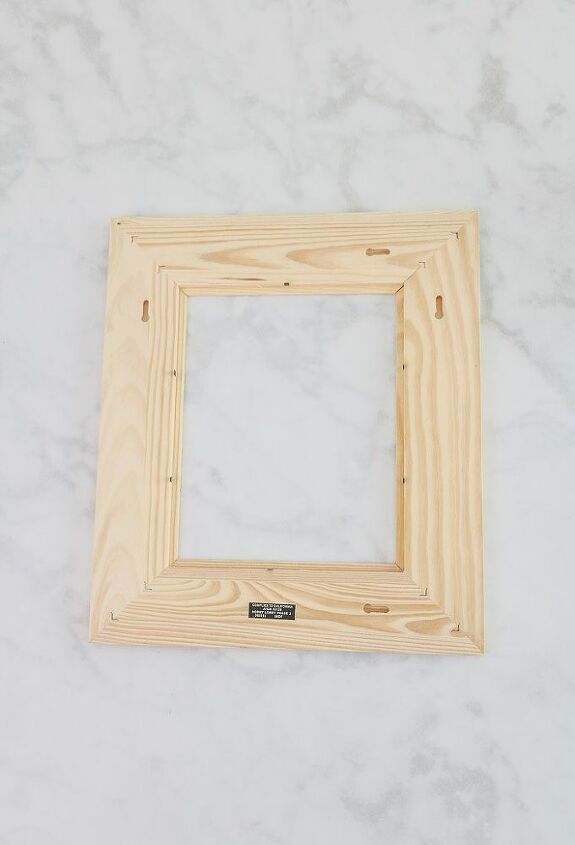
Start with an unfinished frame and the first step is to remove the interior pieces like the backing and glass if you have glass.
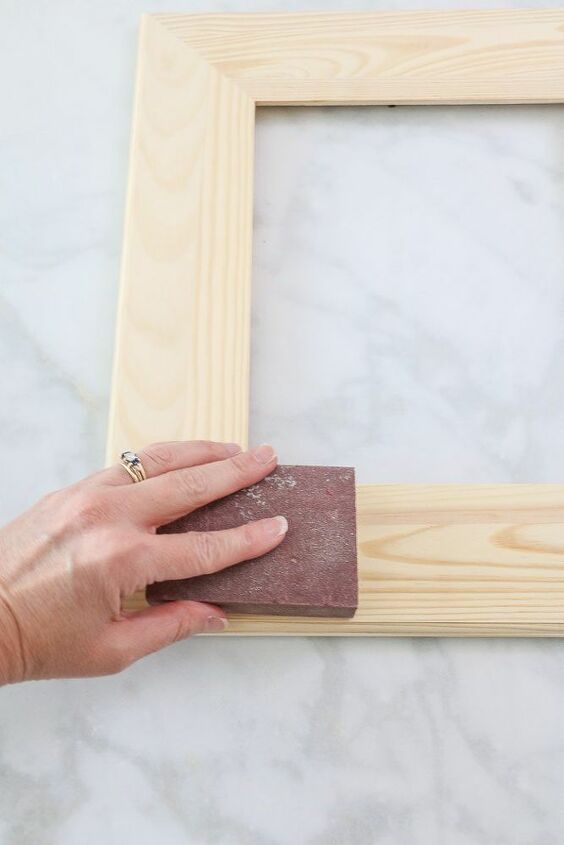
Now sand the wood with the sanding block.This sanding block is a medium grit block, but a light grit will work too.
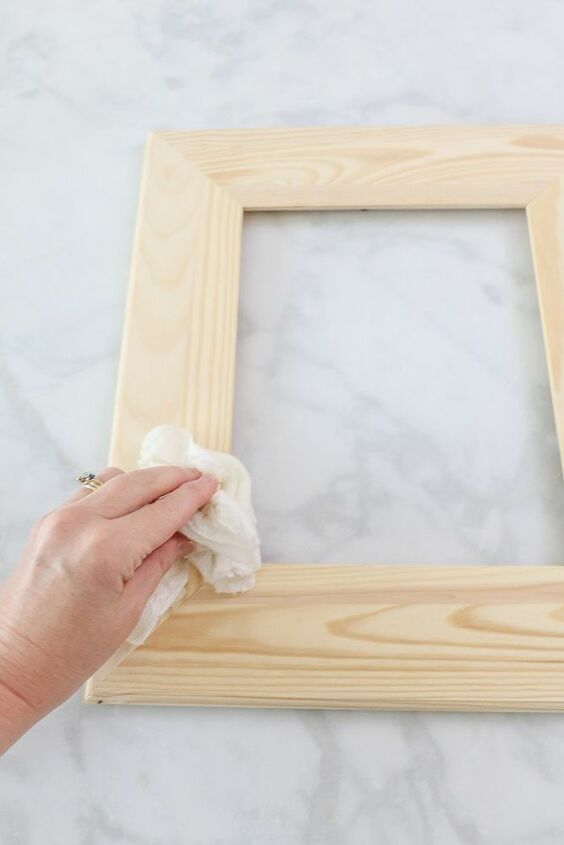
Next, take a damp paper towel and wipe away any grit from sanding.Be sure that you barely put water on the paper towel. My paper towel is more dry than wet.
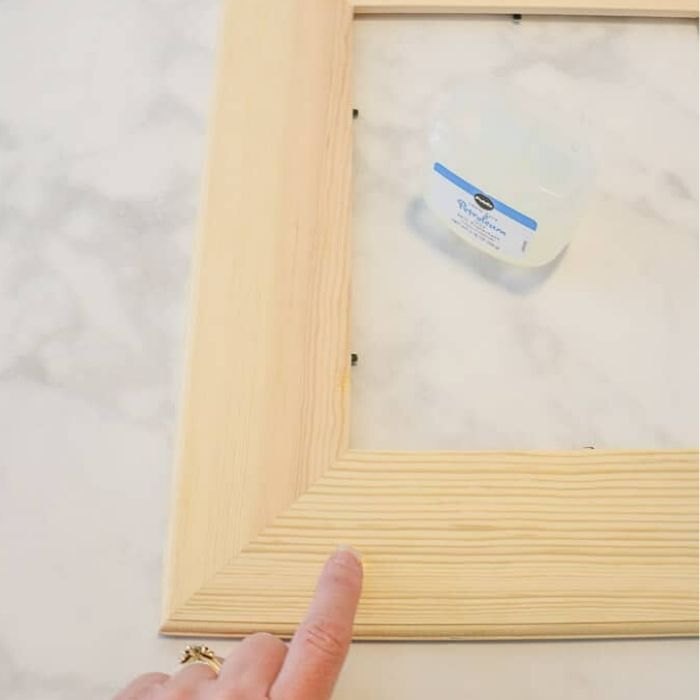
Now apply some Vaseline in areas where you do not want the paint to bond.Be very sparing with applying. It does not take much.I used a tiny tiny bit on my finger and gently applied it to the areas where I didn't want the paint to bond.I wanted a lightly distressed look, so I only did a few places here and there.
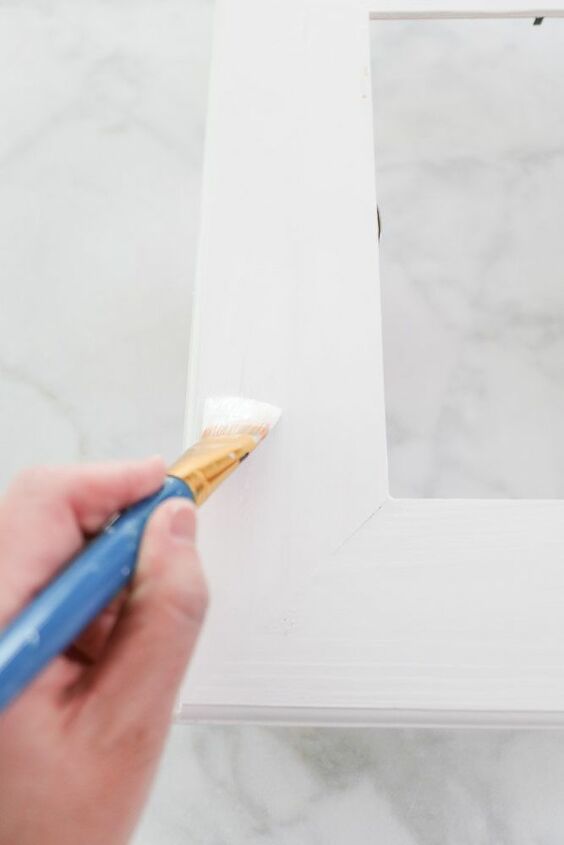
For the fun part and that is applying the Fusion mineral paint to the frame.I recommend following the grain when applying the paint. Move in long even strokes being sure to have enough time to start and finish your first coat.Fusion mineral paint dries quickly, so it is essential to be able to apply the first coat all at once with no breaks in between.You will notice as you glide the brush over the Vaseline that the paint beads right off. That is a good thing on the first coat.Remember me saying it does not take long for the paint to dry?Well, after about 30 minutes apply the second coat of paint. This time be more generous with the color if you want to cover some of the Vaseline marks.I found that I liked the look more if I applied more paint to those distressed areas, but it is a personal preference.
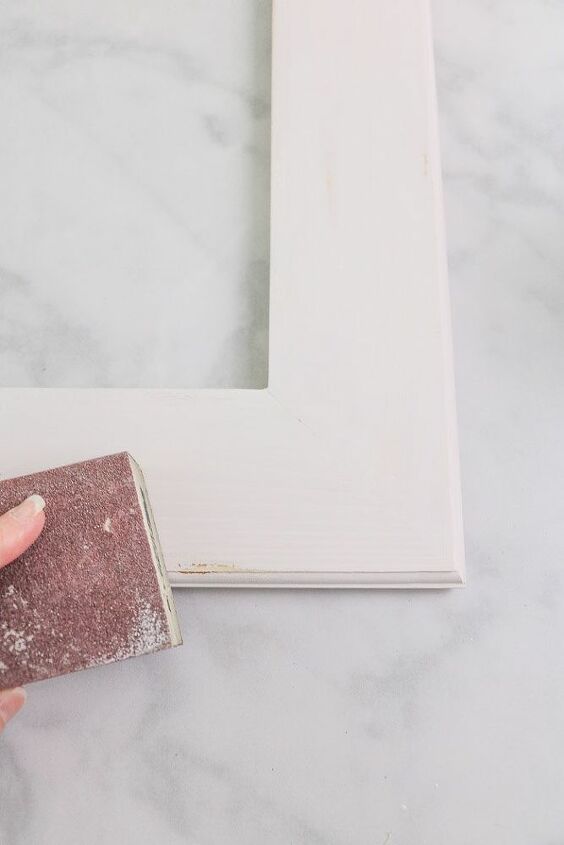
We are almost finished with this project.Lightly sand the paint to get a more smooth finish and then use the sanding block to hone away paint on the edges, corners and more.Sanding random areas and over the Vaseline areas will allow it to have more of a distressed look.Again, it is a personal preference on how much distress you want. I did a little here and there as you will see in the final photo.
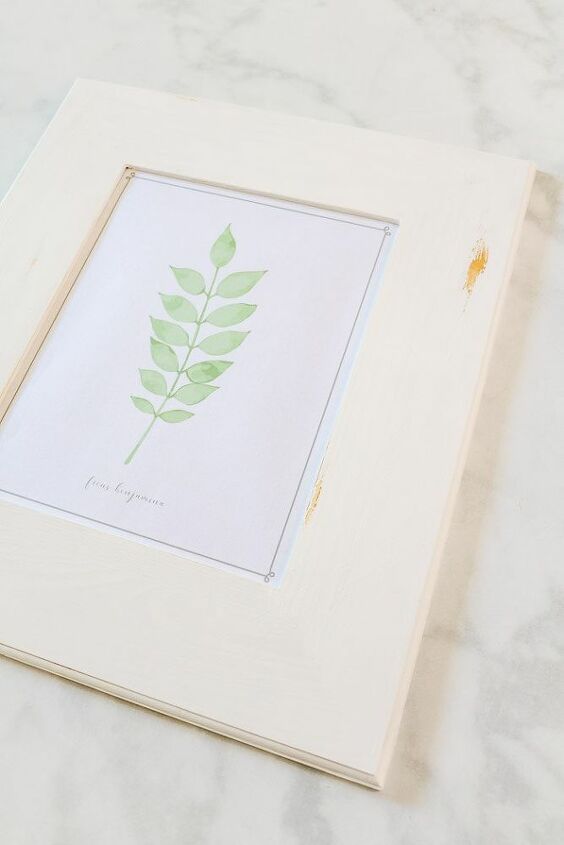
Next, drop the photo or artwork of your choice and the backing into the frame.
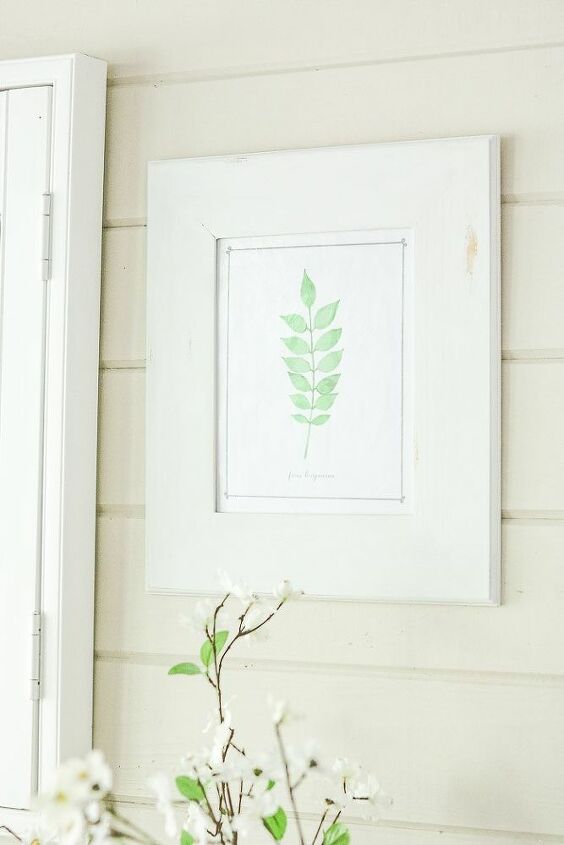
This botanical art is hung on my back patio.If you're interested in this botanical print, I offer it in my Free Printable Library on my blog. All you need to do is subscribe to my newsletter.For another way to hang artwork without frames, check out this Easy DIY Wall Hanging tutorial.
Resources for this project:
See all materials


Comments
Join the conversation
-
So simple, yet so beautiful. Thanks for sharing.
-
Very good idea got to do this! Thanks


Frequently asked questions
Have a question about this project?