


DIY Framed Wall Art - A Life Unfolding

Hello friends,
Today, I am sharing an easy DIY framed wall art I recently made for my covered porch.

I was looking for unique art for my porch refresh that was quick, easy, and since I had overspent on flowers (it happens to the best of us), cheap.
It also had to be readily AVAILABLE since shipping is so slow these days when I couldn’t find anything, I decided to make something myself.
Here is how I made my DIY framed wall art.
Step 1.
Choose your print
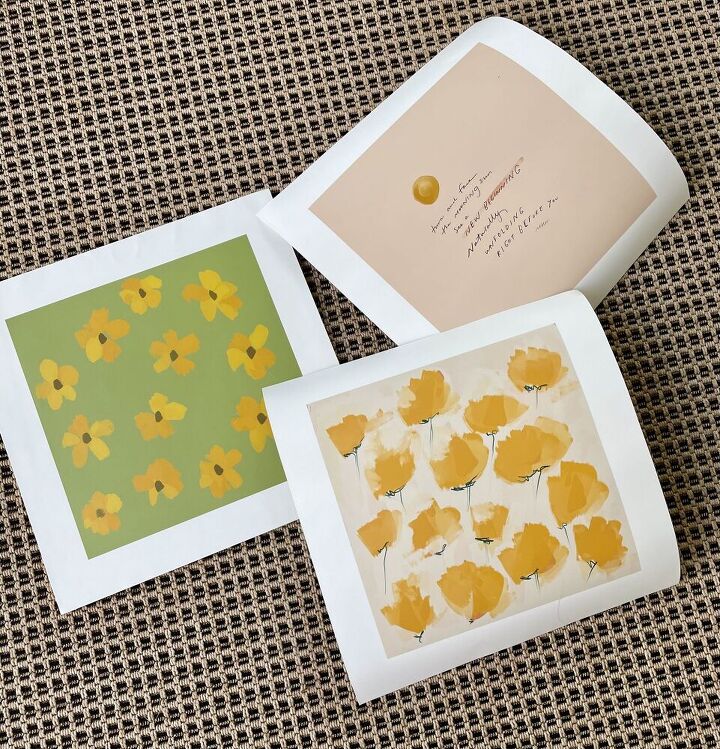
I choose these prints from Society6 during one of their 30% off sales.
You could also find prints on Etsy and print them at Walmart for less than $10.00.
And if you are really talented, you could design or paint your own.
STEP 2.
make sure your prints are flat -mine were shipped rolled, so I placed books on them for a few days to flatten them out.

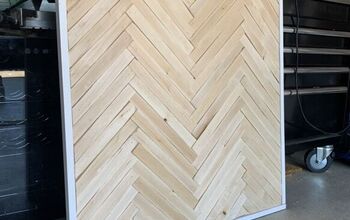
Step 3.
Cut plywood to the size of your prints
My husband cut three-piece of plywood to 17 x 17 to fit the print sizes.
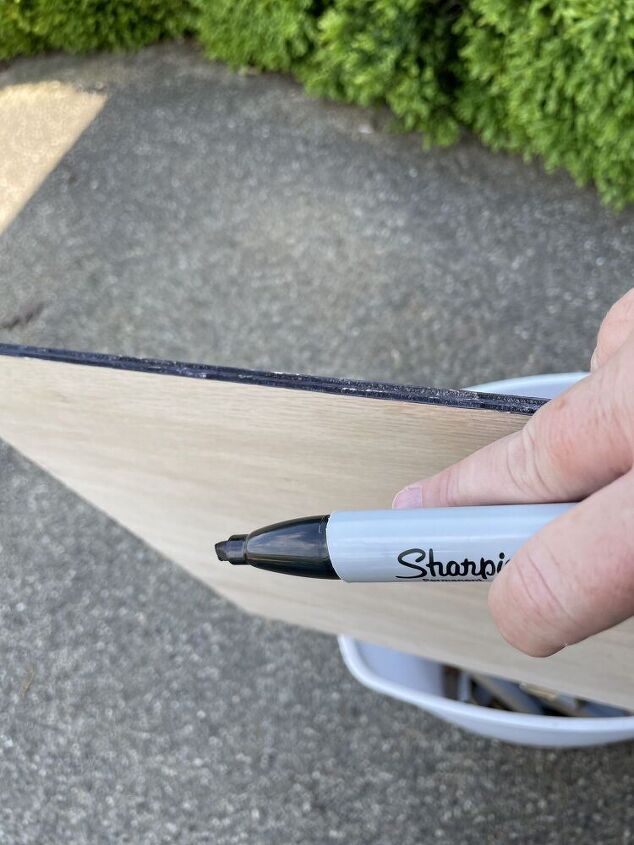
Once cut, your plywood edges are going to be raw.
Depending on the color you chose for your frames, you may want to paint or stain the edges of your plywood.
I knew that I would go dark on the frames, so I wanted a darker edge.
But I had already attached my prints…
This is a case of doing what I suggest, not as I do. I used a sharpie to darken mine.
I would stain them instead.
But it did work. 🙂
I went over it several times.
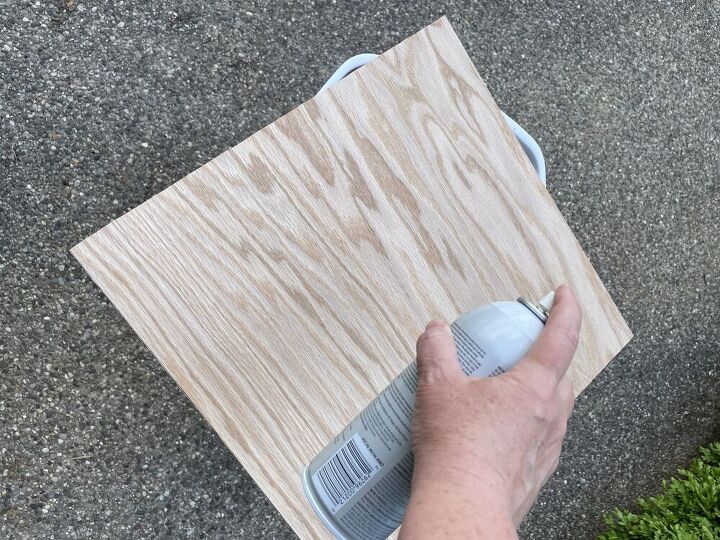
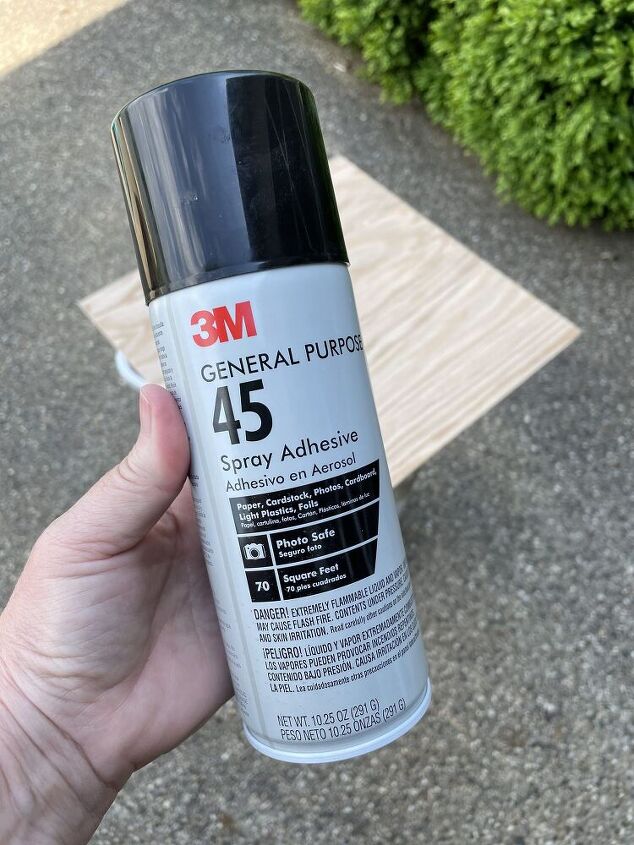
I then used spray adhesive to adhere the prints to the plywood.
Use a scraper, credit card, or in my case, a rigid bamboo plate I had laying around to smooth out air bubbles and make sure the print is in contact with the plywood.
Once all the air bubbles are removed, let sit for 30 minutes.
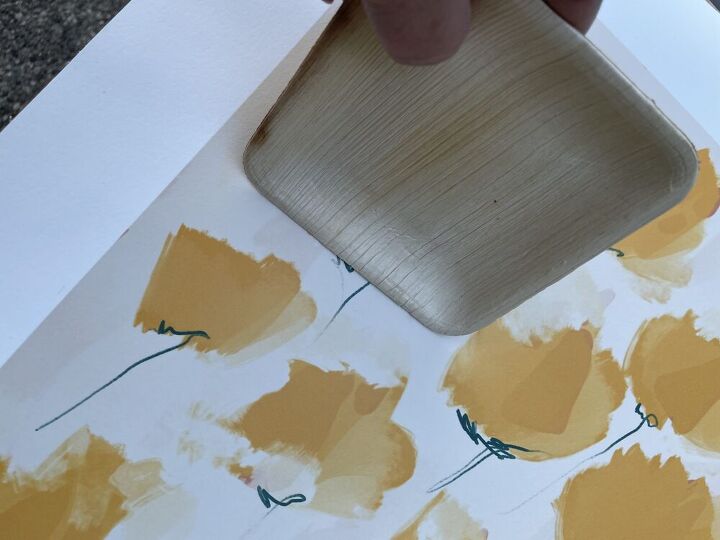
Checking for any missed bubbles.

Prep and assemble the frame
I used lattice moulding from the Home Depot, and my husband cut it to fit.
I then stained the pieces using Minwax stain (Ebony)
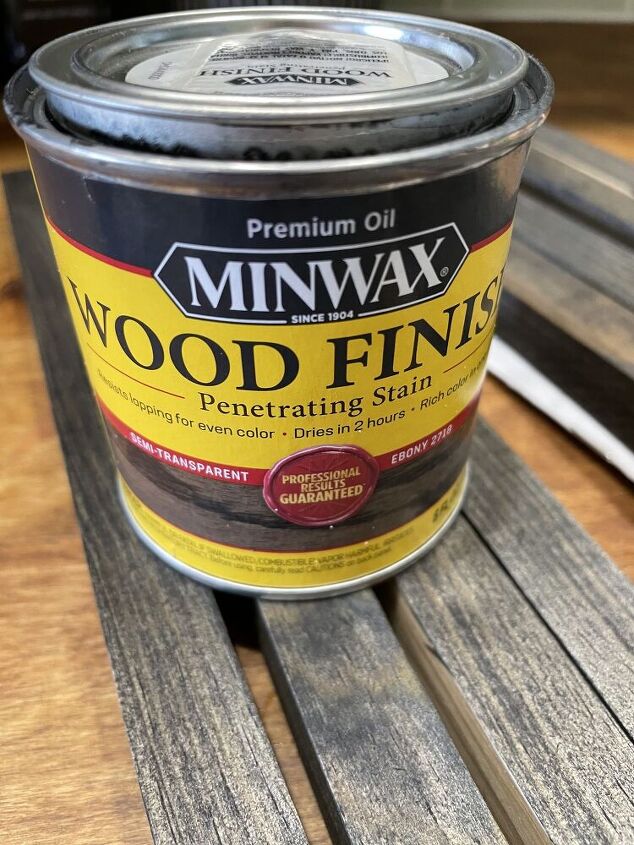
Let the stain dry overnight.
Be careful; you don’t want to have any wet stain bleed onto your print.
Then I used wood glue to attach the moulding directly to the prints.
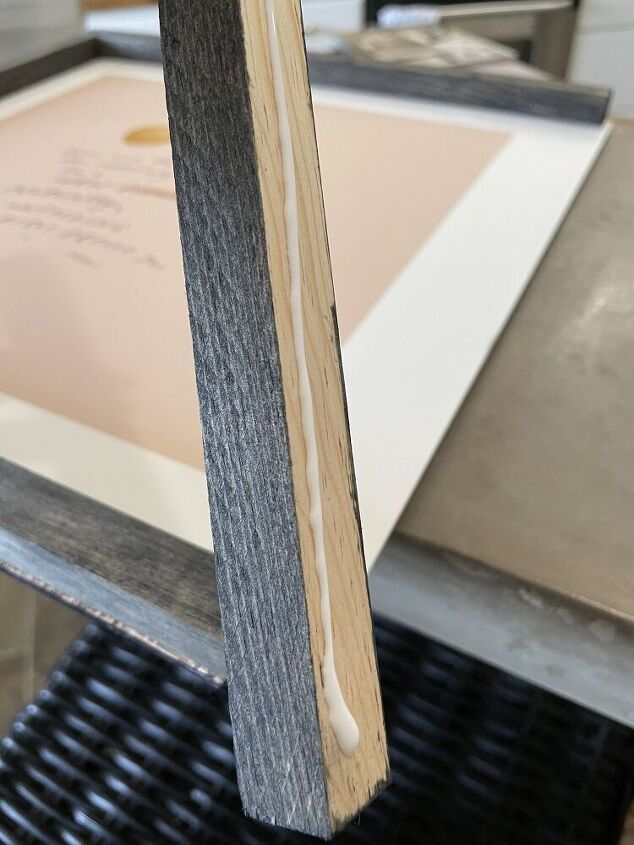
Once I finished gluing all four pieces of moulding I used a pneumatic stapler for added stability and put one staple in each corner (I forgot to photograph).
Hanging your wall art
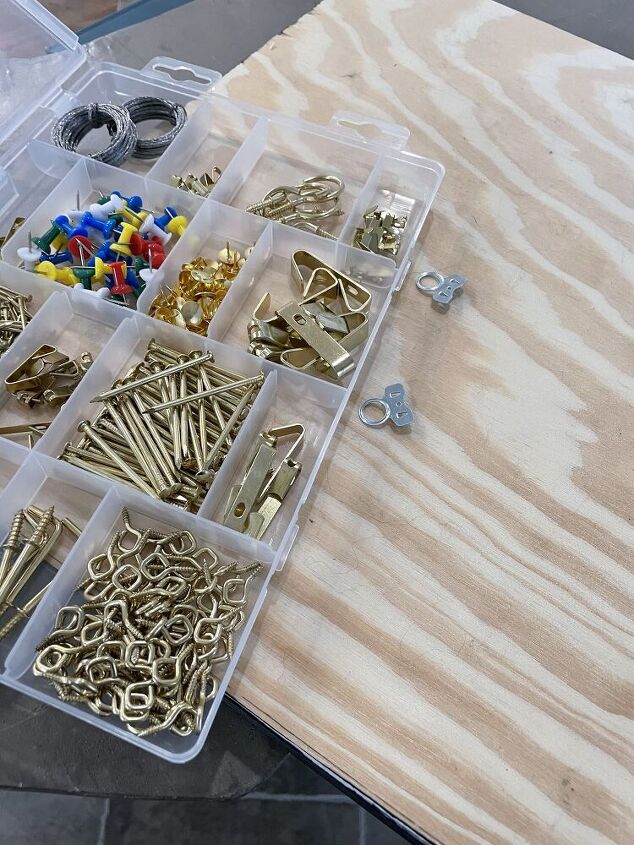
Choose your hanging hardware.
I have a little hardware kit that I bought from Walmart that I like to use.
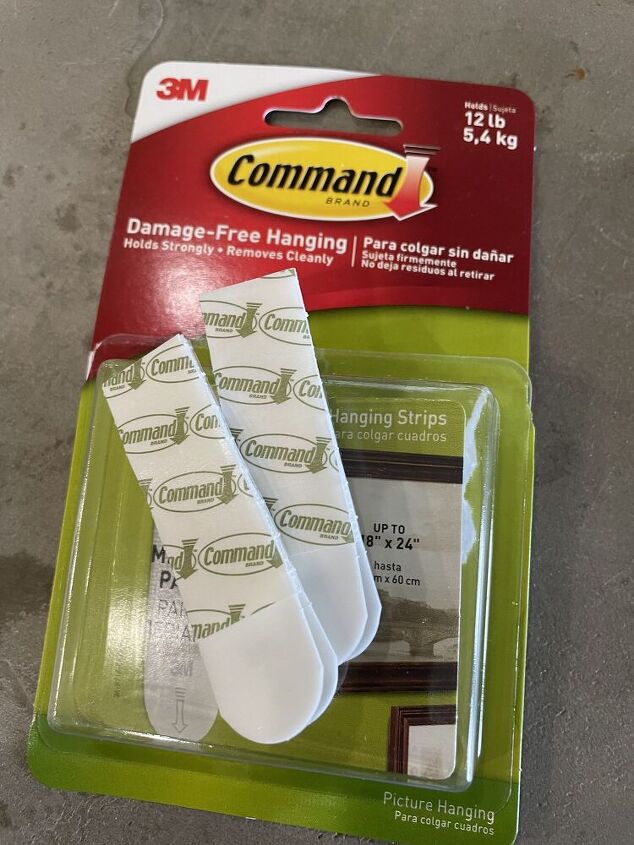
For this project, I am hanging it on the siding in our covered porch.
So I am using Command Strips (my husband HATES when I drill into the siding).
I am using 4 strips per frame.
Your wish is our Command
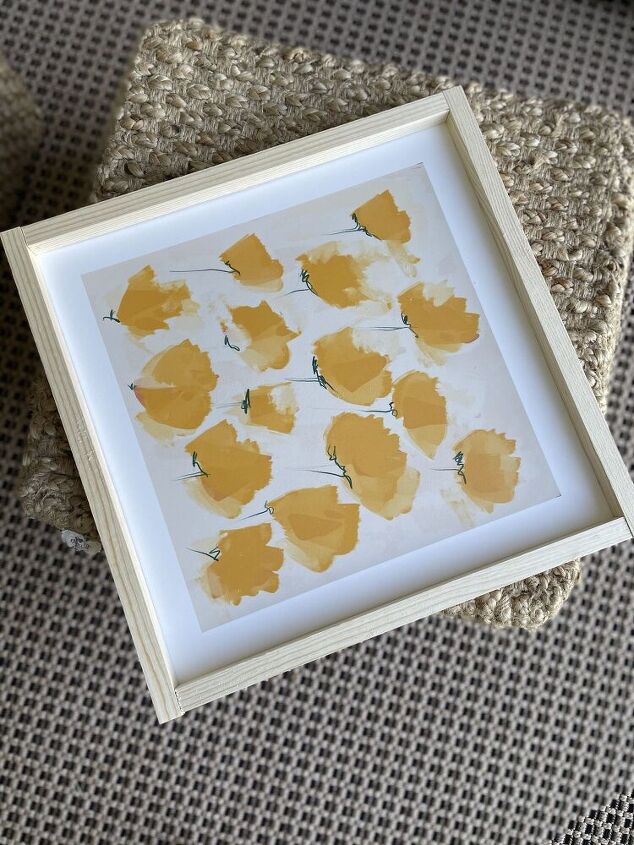
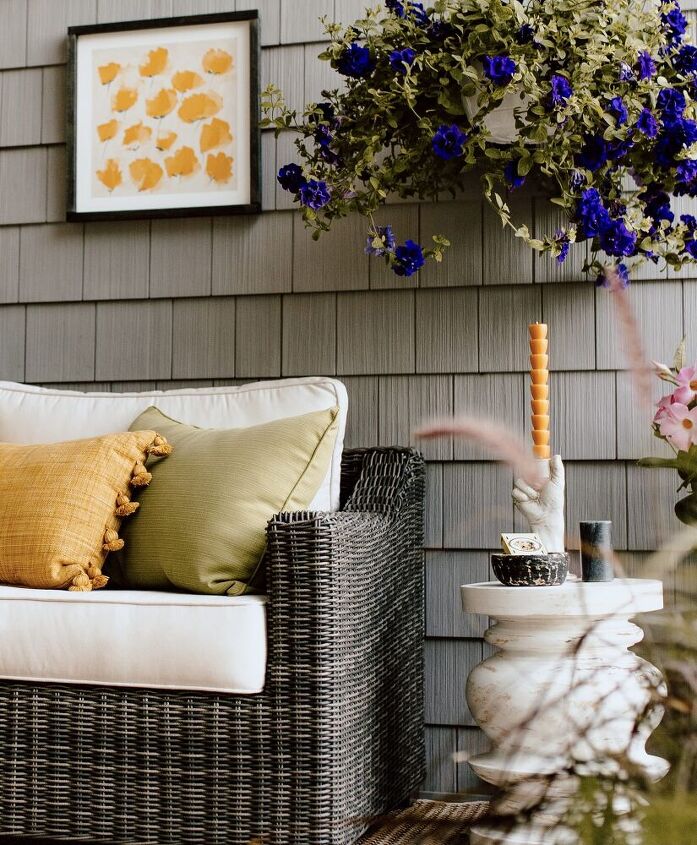
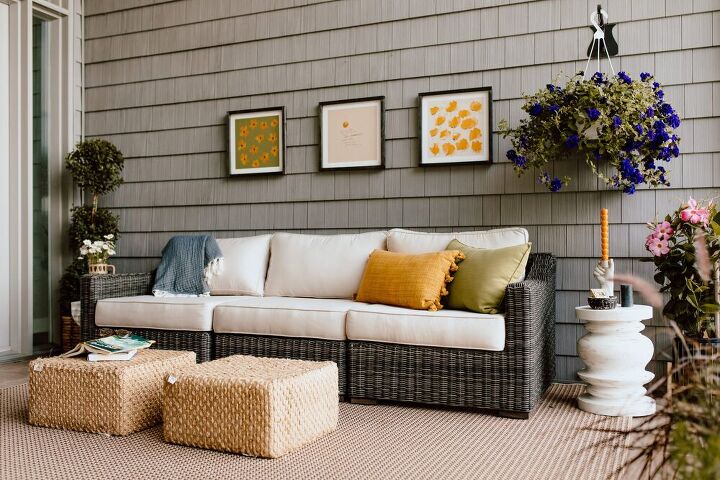
That is all there is to it!
I love how easy it was to make my own DIY wall art. It feels unique to my house and perfect for the space.


Comments
Join the conversation
-
This is such a great idea! Thank you!
-
Thanks for the idea! I have a print and was wondering what to do. This is perfect. Also, LOVE the hand candle holder. Where did you snag that?


Frequently asked questions
Have a question about this project?