


DIY GLITTER WALL ART
12 Materials
$60
4 Hours
Easy
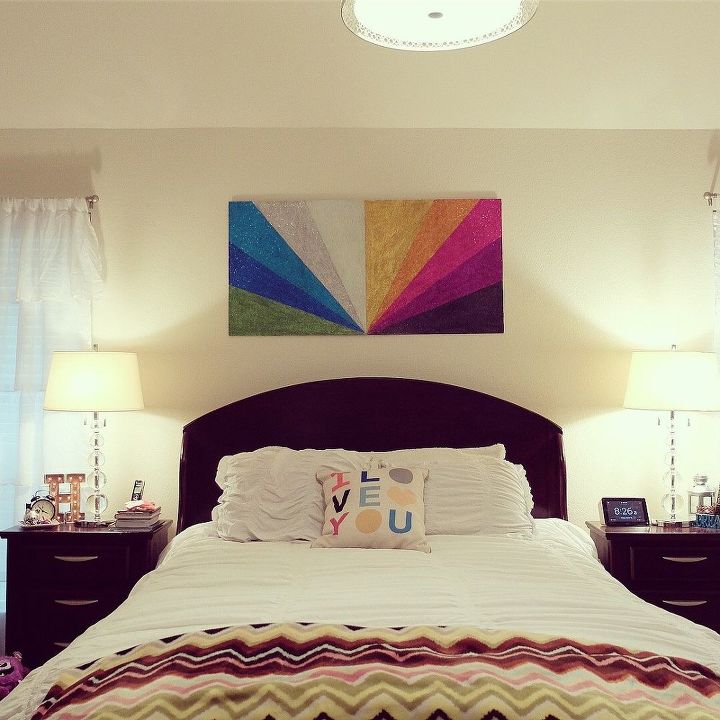
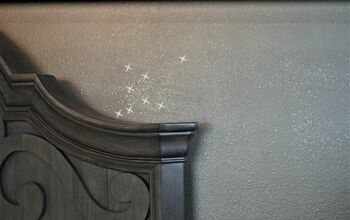
Art is such a great way to give each room in your home that special pop. The only downfall is that it can be so expensive. Fortunately, with some creativity, it is very easy to create custom pieces to adorn your walls. At a loss for how to start? Check out this DIY Glitter Wall Art that I was able to complete in a few hours! It makes my entire room sparkle!
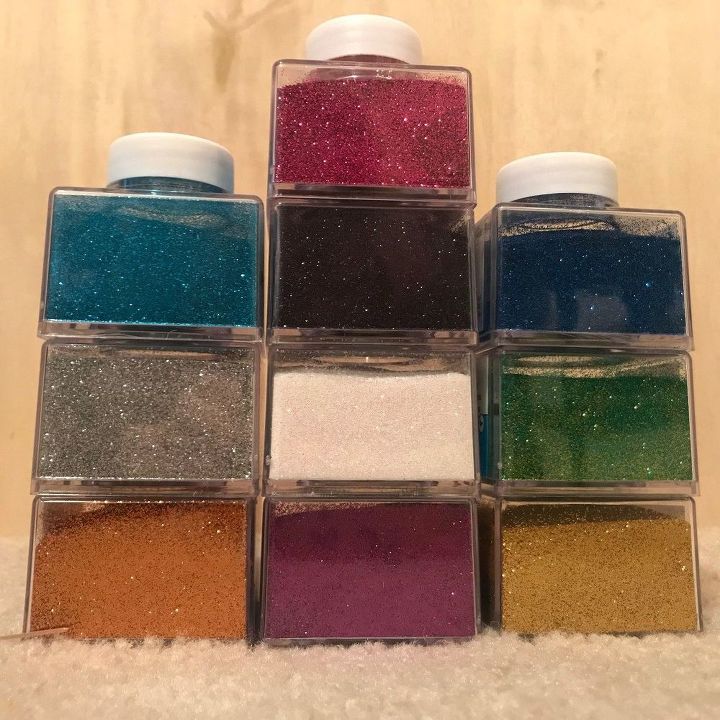
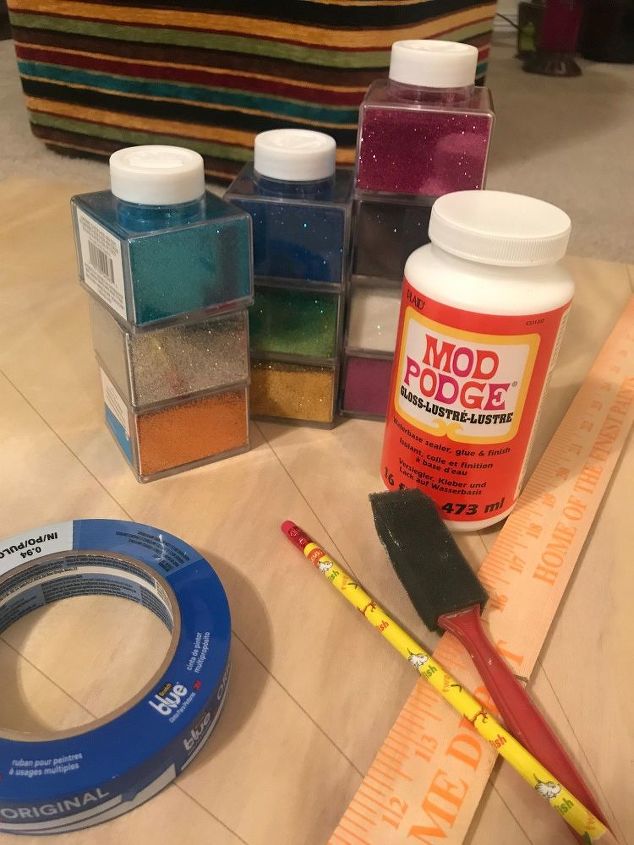
For this project, I used ten different colors of glitter. The extra fine glitter works great for this as it will not flake off in chunks. My favorite is the Creatology brand from Michael’s.
Let’s get this glitter party started!
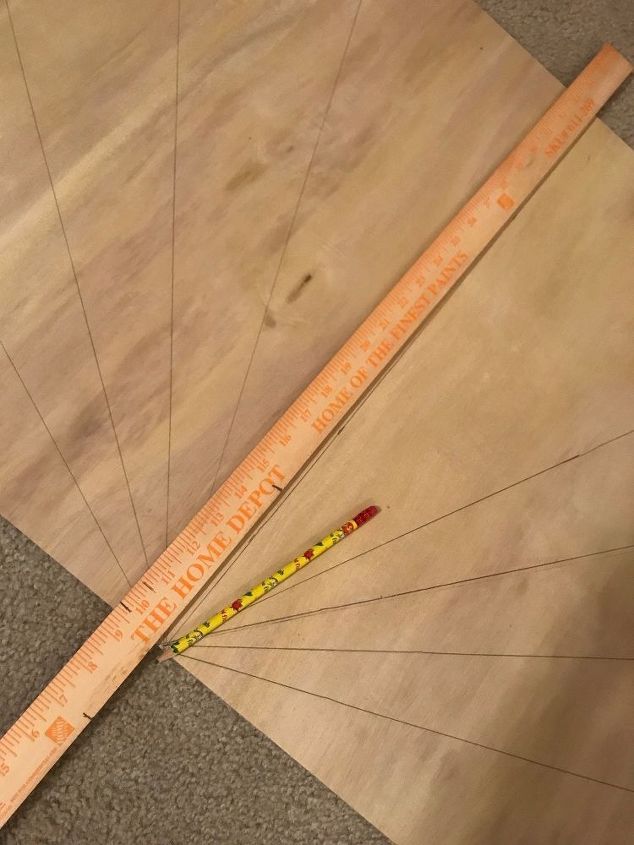
To begin measure off sections on your plywood. For this burst effect, find the center point of the wood and go from there. I evenly spaced each section out going across the top and then down the sides of the wood.
*Canvas can also be used for this project. However, I have found for larger sizes it is considerably more expensive and the plywood works just as well.
Next prep your workspace. The plywood I used was rather large so working on the floor was my best option. Due to the carpet floors, I had to make sure to cover the work area well so it would be easy to clean up. I used trash bags under the plywood to ensure no glue and glitter would get on the carpet.
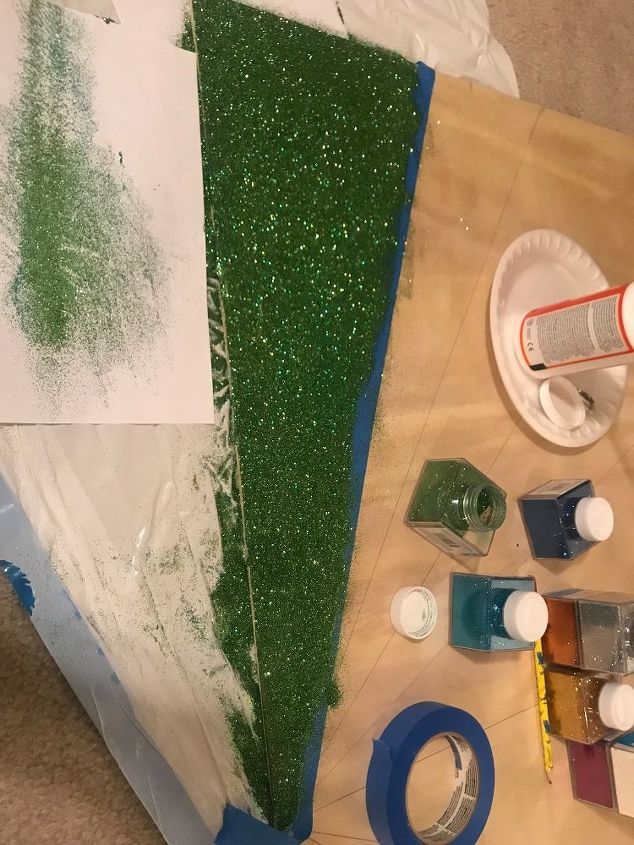
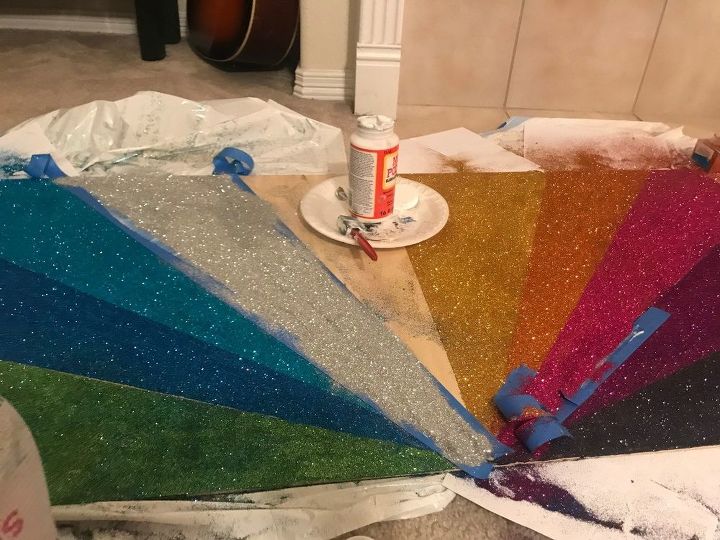
Once you are ready to start place painter’s tape along the line that was drawn for the section you are starting on. The tape should be on the outside of the section right up against the line. You can work on several sections at a time but it is best to work on areas that are not adjacent. This will give each section time to dry.
Using your foam brush paint the Mod Podge onto the plywood on the section you are working on. Sprinkle glitter liberally onto the section. Allow the section to dry. This usually takes around 45 minutes. You can start another section on the other side of your board at this time while waiting.
When each section is dry use a bristle paint brush to get the excess glitter off. I hate to waste my supplies so I use the brush to brush the glitter to the edge of each section onto a piece of paper (as shown above). Then I use the paper to pour the glitter back into the container to reuse.
As each section dries you may see some spots that need more glitter. Just repeat the previous steps by adding more Mod Podge and glitter.
Please excuse the mess!
As you work your way around the piece you will see it all starting to come together. If you need to do any touchups once the other colors are completed do not fear using the painter’s tape on top of the glitter. As long as the glitter is dry the tape will not rip it off.
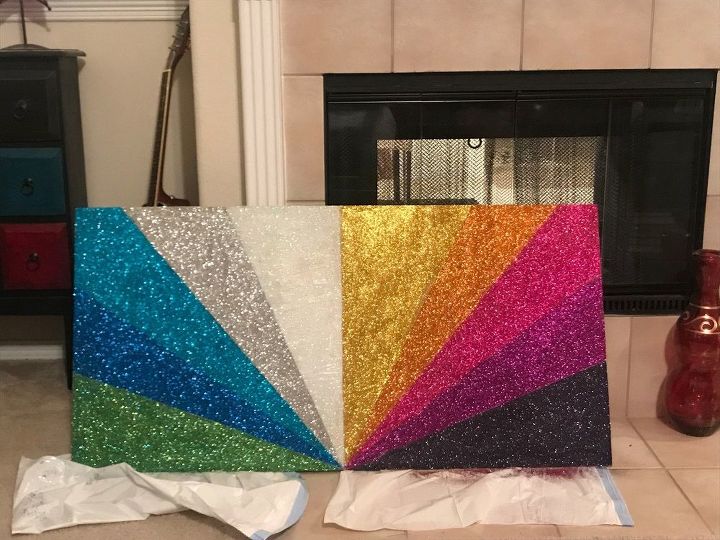
Once it is completed allow it to dry completely for a few hours. Afterwards, attach picture hooks to the back of the plywood to hang it.
Ta-da!
I know it looked a mess there for a moment, but I absolutely love how it turned out!
Resources for this project:
See all materials


Any price and availability information displayed on [relevant Amazon Site(s), as applicable] at the time of purchase will apply to the purchase of this product.
Hometalk may collect a small share of sales from the links on this page.More info

Want more details about this and other DIY projects? Check out my blog post!
Comments
Join the conversation
4 of 13 comments
-
This is so pretty, Heather!
-
You have inspired me!
Nice work!


Frequently asked questions
Have a question about this project?