


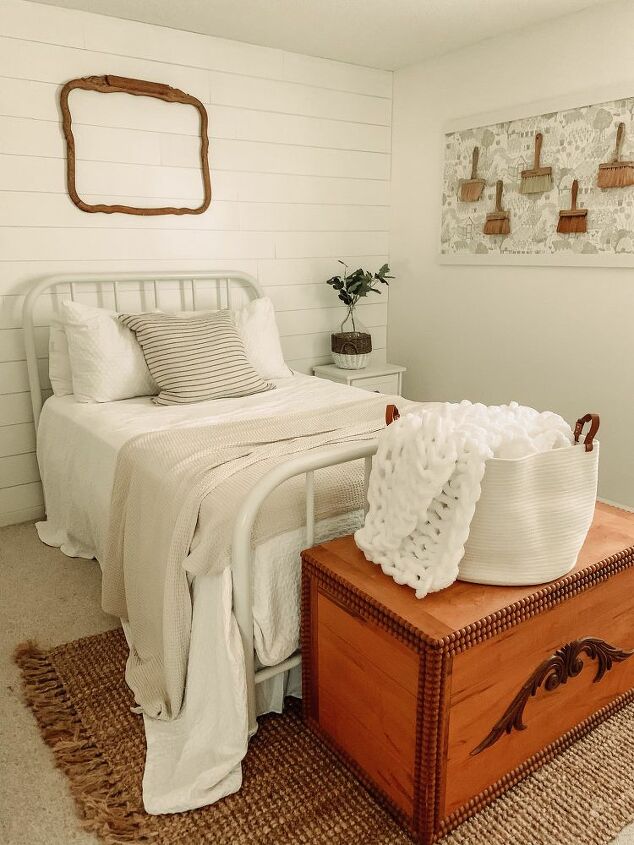
DIY Guest Bedroom Shiplap
Looking to add a little texture into a room without breaking the bank. I use a very simple and affordable way to do shiplapping to any wall in your home. Adding shiplap to a room can be a big project, but can be so simple at the same time. I only used 3 tools to complete this project. The tools were a chop saw, a nail gun ( if you do not have this you can use paneling nails and a hammer), and a flat metal rod. See more photos over at our blog Itty Bitty Farmhouse!

Rip your utility panel into the width of strips that you want. These ones were 6 inches wide.
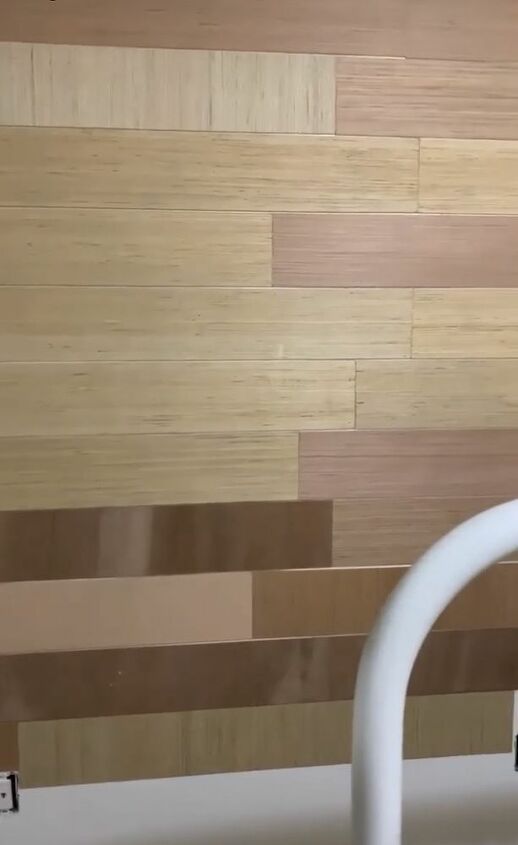
Start at the top of the wall and work your way down. I alternate the boards from long to short. For example, The very first piece I use is a 8ft piece. I take the nail gun and attach this piece to the top of the wall and tightly against the side wall. Once I have that piece in place, I take the next strip and put it directly against the 8ft piece and measure the length and mark it at the end of the wall. Then I use a saw and cut it to that length. Then I attach that piece to the wall to begin the very first row.

Once you have the first row up you will take your flat metal rod and put it under the first piece of shiplap and have it on the thin side against the wall. Then you will take your next piece of shiplap and push it against the metal rod and nail it into place. Continue this all the way down the wall. If you need to cut around an outlet, you can by shortening the boards length to fit it.
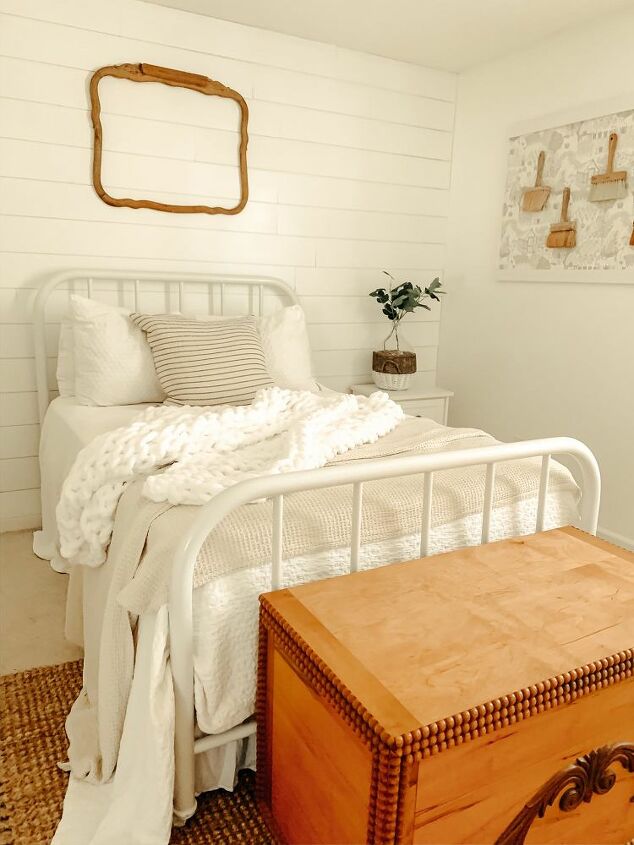
Now that the shiplap is hung, all that is left to do is paint! I did the trim with a brush and used a wall roller to for the major part of the wall.
See more of how to style this look on our Pinterest, https://www.pinterest.com


Comments
Join the conversation
-
This is so effective! Well done.
-
This looks fantastic. Good winter project.


Frequently asked questions
Have a question about this project?