


Diy Hanging Paper Scroll

There is something timeless about a scroll. It doesn't matter if it's displaying words, a phrase, or a print, I just love them. Canvas scrolls can be expensive, depending what you're looking for. I found an easy and inexpensive way to create your own!
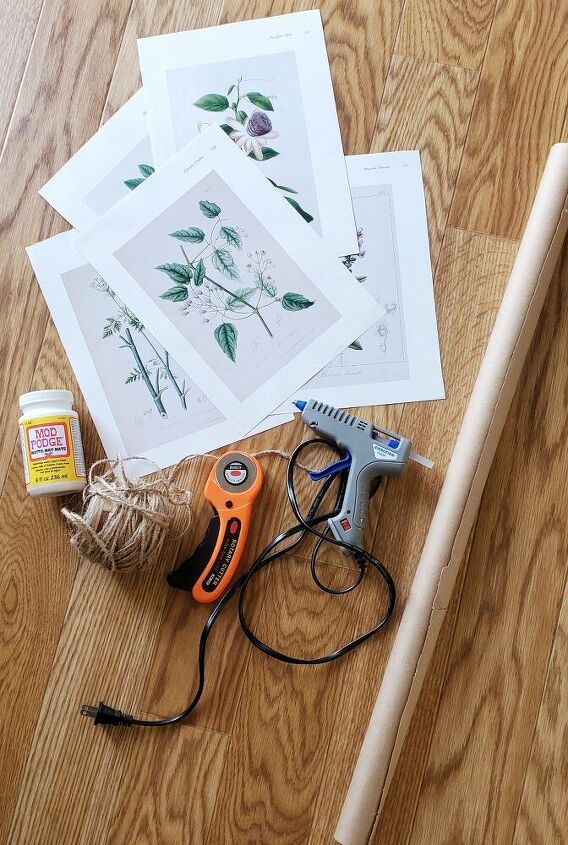
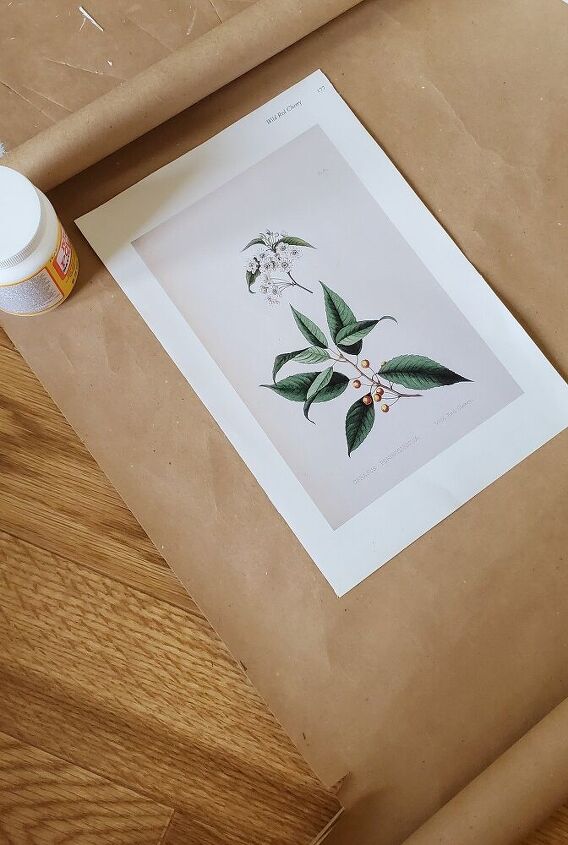
Using a roll of brown wrapping paper, a print of your choice, and some crafting tools, you can create your own customized paper scroll for your home.
For this project, I used a botanical print from a book I found at the Goodwill. I love botanical prints; and plan to make three scrolls to hang together, at some point.
You're also going to need, some form of glue. I chose hot glue (I ended up not using the Modge Podge,) some twine, brown wrapping paper, a rotary cutter or scissors, and a ruler.
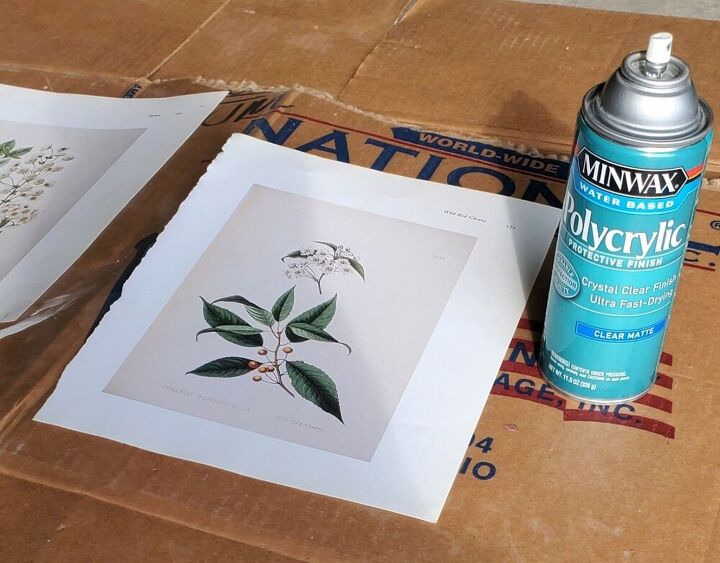
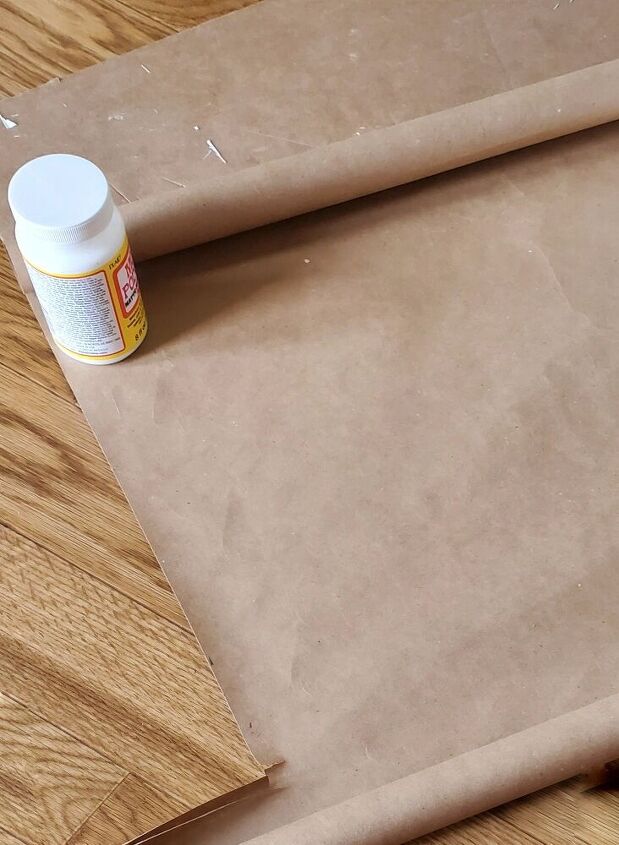
This step is not necessary; but I sprayed my papers with a clear polycrylic to help stiffen them a little. This helped with decreasing the warping that can happen on some paper when glue is applied.
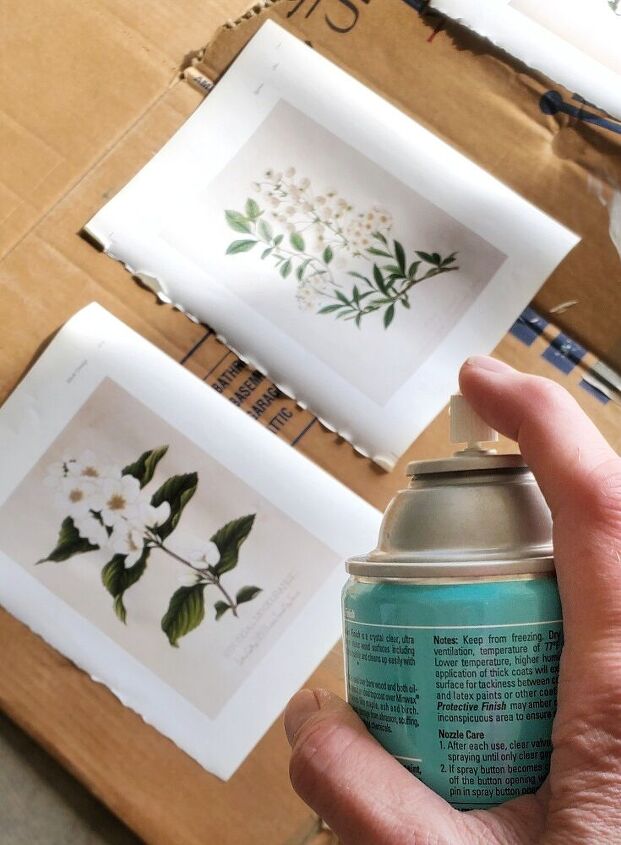
I sprayed both the front and back of the paper
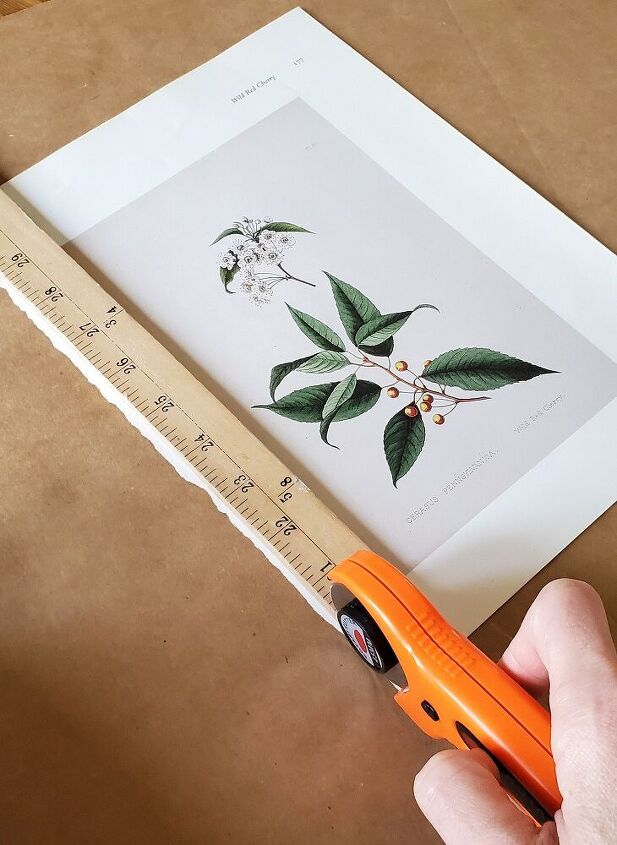
I then trimmed my print down to the desired size. I wanted my scroll a little on the smaller size; vs. A full size wall scroll.
I like to use a rotary cutter vs scissors because it helps get a straighter cut. I find placing a ruler against the cutter helps keep it on track.
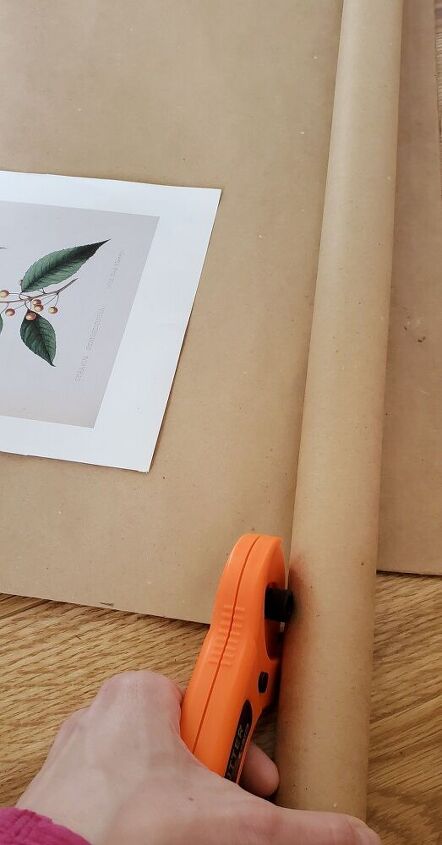
After I had my print cut to size, I cut my scroll paper. I found it easier to place the print down before cutting the paper. I did not glue it just yet; but wanted tp make sure I cut the scroll paper the right size.
Make sure to cut an inch or more added length to roll the top and bottom of your scroll.
I'm going to be honest, this brown paper was not easy to work with. Due to its natural roll, you will need to place something to hold the top and bottom down while working with it. If not, the paper will just roll up.
Now, I had an idea as to how I wanted to accomplish this, which included gluing the print down before rolling the top and bottom. I found this tricky due to the natural curl in the paper.
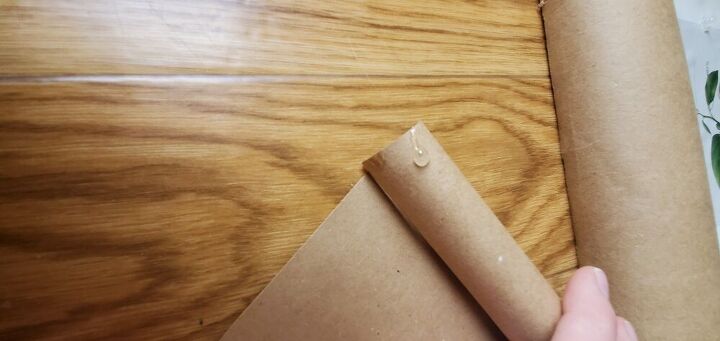
I decided to glue the top part of the scroll before doing any other gluing. This part is really personal preference. You can decide how lose or tight you want your roll. I added a touch of hot glue to the area of the roll where I wanted it held; and did the same to the opposite end.
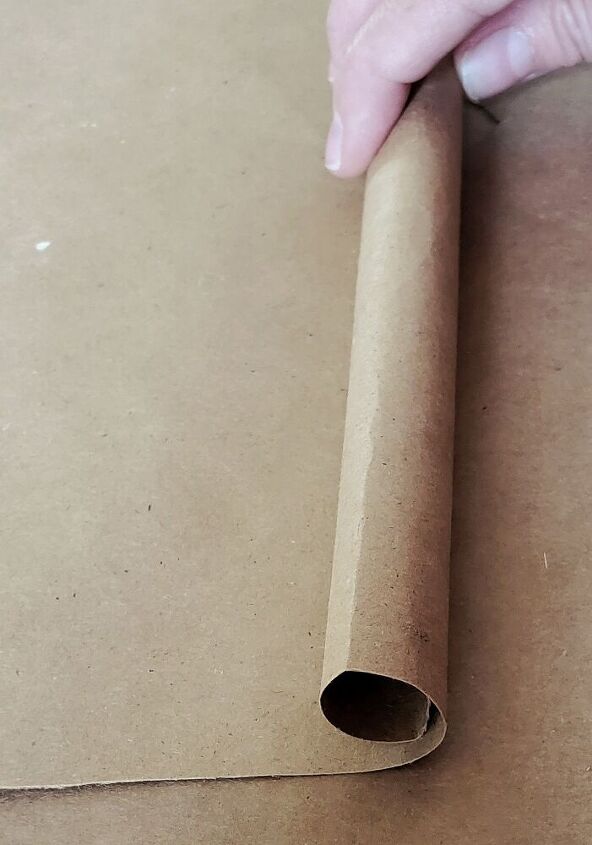
I then rolled the paper down until the glue touched the paper. This holds your roll in place.

Once glued down, It still wanted to ravel back up. I suggest using something heavy to block it from curling up.
Once the top part was rolled and glued, I glued down my print. I just ran a very thin layer of hot glue along the inner sides of the print.
After the print was glued down, I repeated the gluing process for the rolled on the bottom .
You may notice your scroll still wants to curl back up, after gluing. I placed a pen in the bottom roll, to help weigh it down.
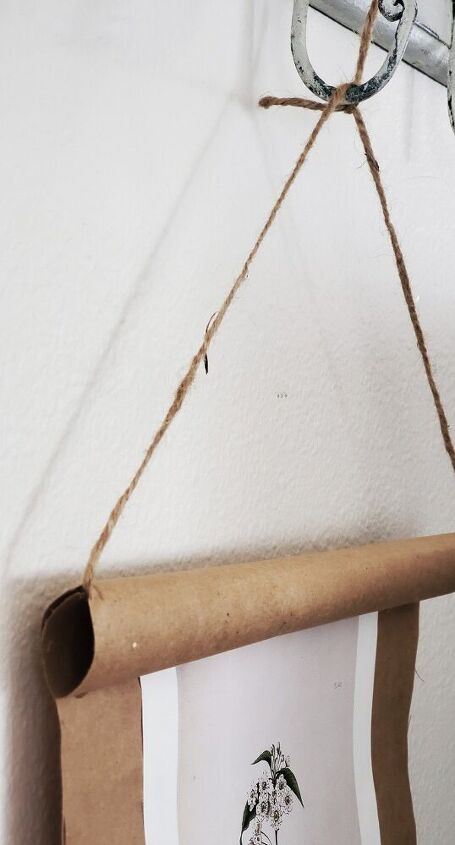
After all the glue has dried, you will cut a piece of ribbon or twine to the desired length. I pulled the twine through the top roll and tied the two ends together.
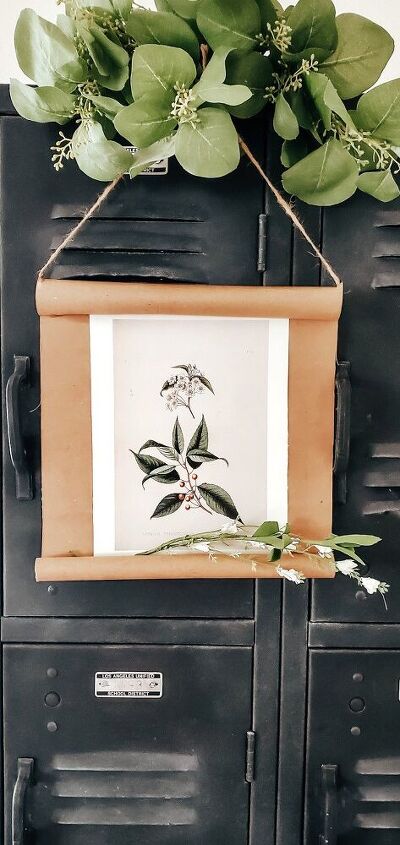
I like to add a little floral at the bottom of the scroll. It adds character and a little more weight to hold it down.
Resources for this project:
See all materials


Comments
Join the conversation
-
Very pretty
-
9 I is


Frequently asked questions
Have a question about this project?
Hi Georgia, nice idea thank you for sharing. Do you think that a small dowel cut a bit longer than the paper roll and then tying the twine to the dowel would keep the paper from ripping? You could also add some tassels to the ends :)