


DIY Magnetic Chalkboard
5 Materials
Are there things you collect when you travel? Maybe shot glasses or coffee mugs? Well, I collect magnets.
My refrigerator is covered with magnets from all parts of the world that serve as a sweet reminder of my wanderlust years. I recently decided to organize my collection and came across a tutorial that used a cookie sheet covered with fabric.
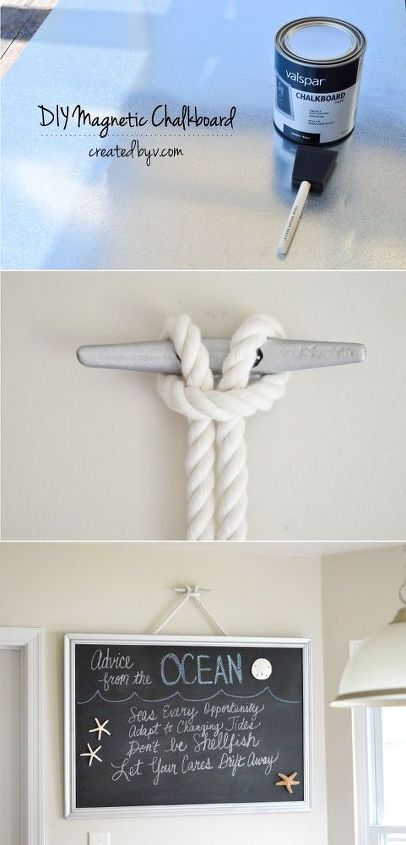
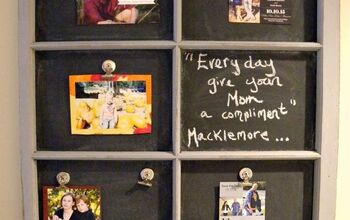
It was just the spark of inspiration I needed to create this: a framed piece of sheet metal covered in chalkboard paint and hung with nautical rope from a boat cleat.
My refrigerator is covered with magnets from all parts of the world that serve as a sweet reminder of my wanderlust years. I recently decided to organize my collection and came across a tutorial that used a cookie sheet covered with fabric.
It was just the spark of inspiration I needed to create this: a framed piece of sheet metal covered in chalkboard paint and hung with nautical rope from a boat cleat.
Have I inspired you to create one of your very own? Kindly allow me to assist with some thrifty advice and a simple tutorial.
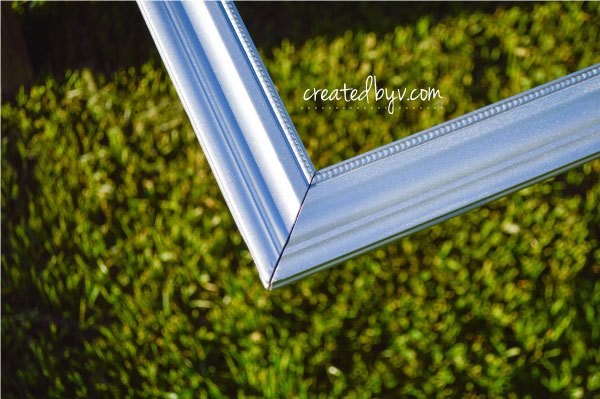
Since I planned to hang my chalkboard from a galvanized cast iron boat cleat, I spray painted the frame a metallic silver. The hubby kindly sandblasted the cleat for a cleaner finish, so I spray painted it to match, too.
{STEP 2} Buy sheet metal from the ductwork section of your home improvement store.
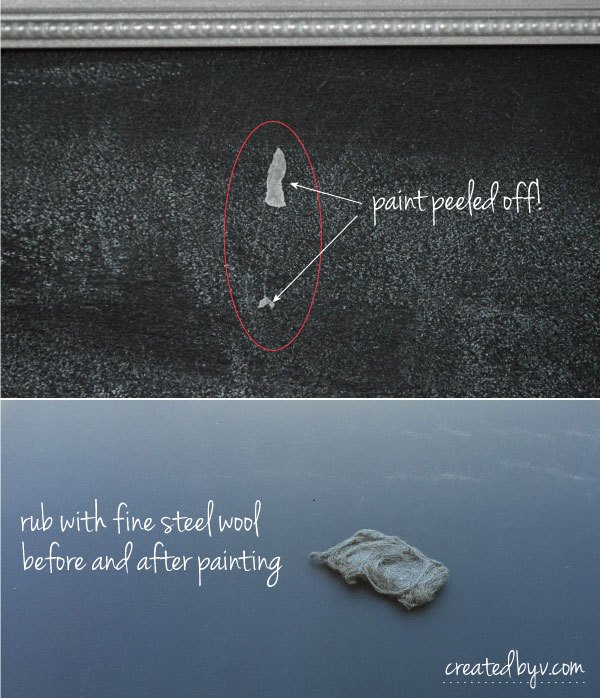
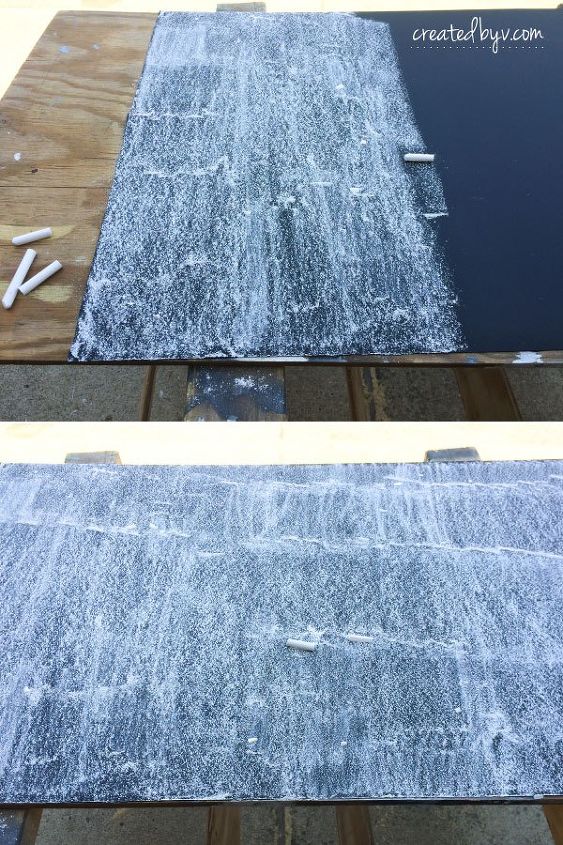
A few extra coats of paint quickly fixed the problem. Giving it another light rub with the steel wool pad after the paint dries produces a nicer finish as well. Just be sure to have proper ventilation and wear a mask to avoid inhalation of metal dust.
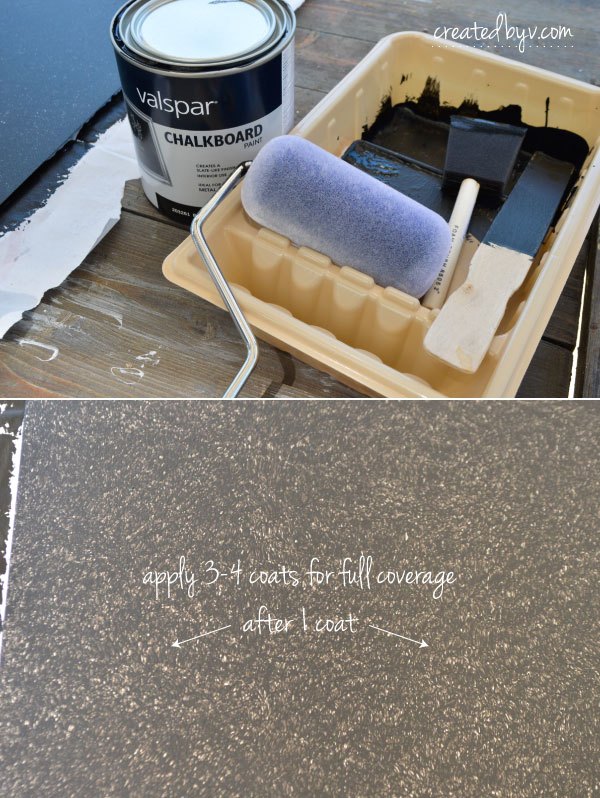
This is what it will look like after the first coat. You'll think I led you astray, but never fear. After a few more coats, you'll have a perfectly black chalkboard.
{STEP 6} Hang and enjoy!
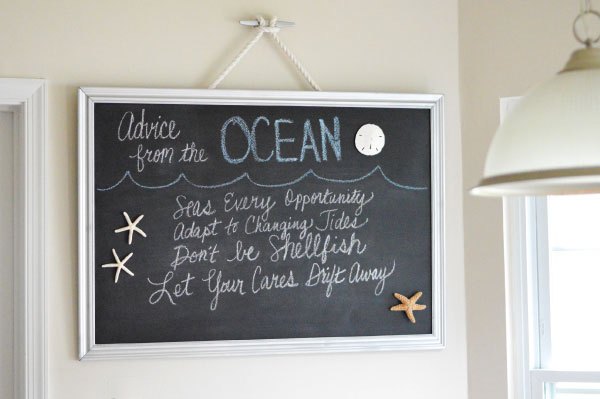
Now not only can I display my magnet obsession {yes, I turned those seashells into magnets with a little glob of hot glue}, but I can also share my profound thoughts in chalk. Like,

Want more details about this and other DIY projects? Check out my blog post!


Frequently asked questions
Have a question about this project?