


DIY Personalized Name Sign
I love a good personalized name sign, don’t you!?
Honestly, doesn’t everyone!?
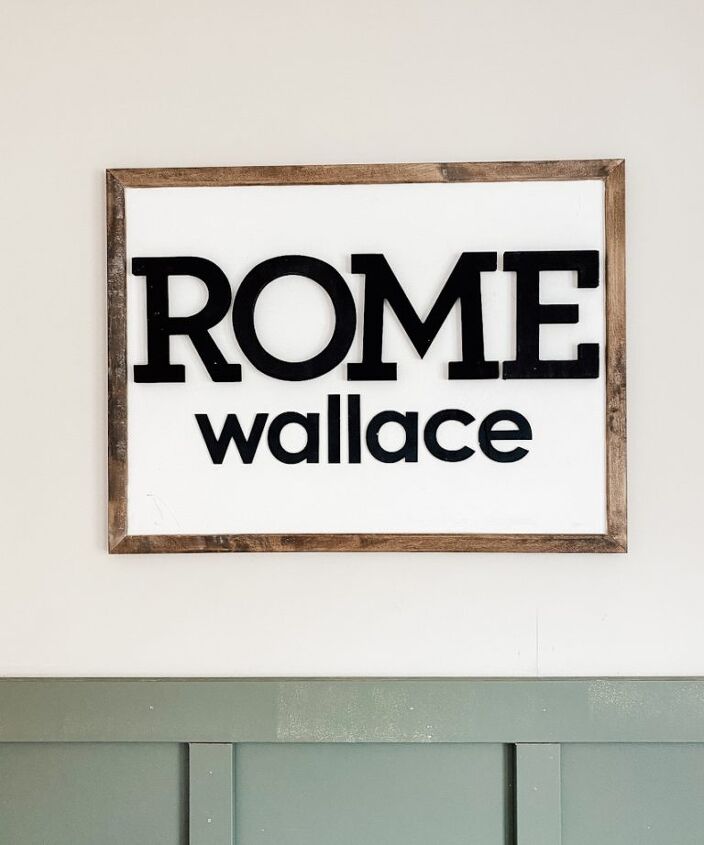
I knew I wanted a rather large sign that was a mix of modern and rustic, with 3D letters and a mix of both black and wooden elements to hang in baby number two’s nursery.
Not super specific at all, right!?
I know you’re going to be shocked when I tell you that no, I could not find exactly what I was looking for… or they cost waaaaay more than I am willing to pay.
SO I MADE MY OWN DIY PERSONALIZED NAME SIGN, OF COURSE!
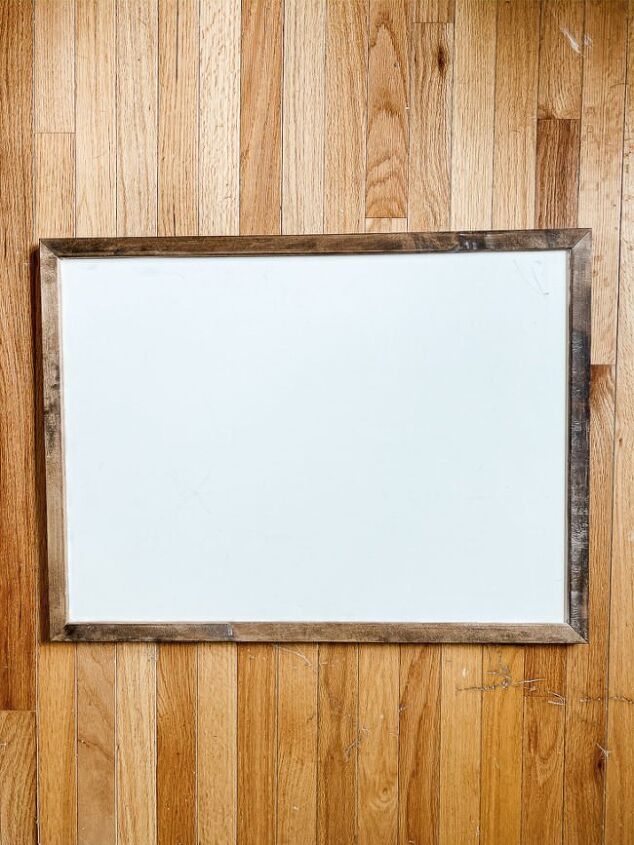
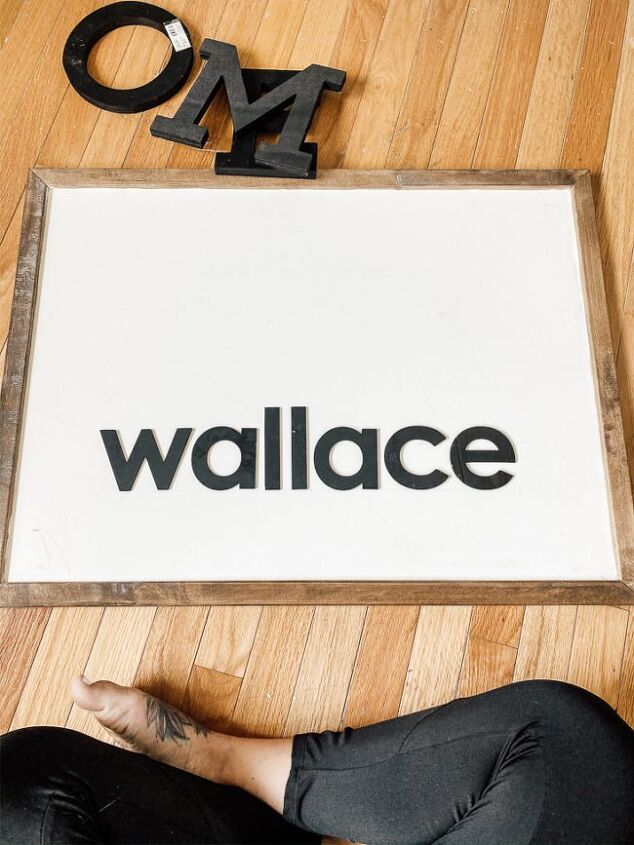
The sign I used was one I purchased at a craft show FOREVER ago. The color was a weird creamy yellow/off-white that never quite matched any of my decor, and I got bored with the quote that was on it.
So, I painted it white. Then it sat in my storage for MINIMUM a year, possibly longer.
If you don’t have any old signs laying around that you’re bored with, Amazon has plenty of blank sign options that will arrive at your house within two days (LOVE THAT PRIME SHIPPING!).
I have linked those for you in my blog post on this sign HERE.
Just be mindful of sizing before ordering. If the name you’re planning to put on it is ten letters long, and you want each letter to be at least two inches, then a twelve inch sign is probably not right for you.
Plenty of craft and home stores have wooden letters, there were a ton of options in the store and I’m seeing a ton more online.
I used two different styles of wooden letters that I picked up at JoAnn Fabrics. Another option is buying unfinished letters and painting them your color of choice.
IT’S YOUR DIY PERSONALIZED NAME SIGN, PERSONALIZE IT HOWEVER YOU WANT!
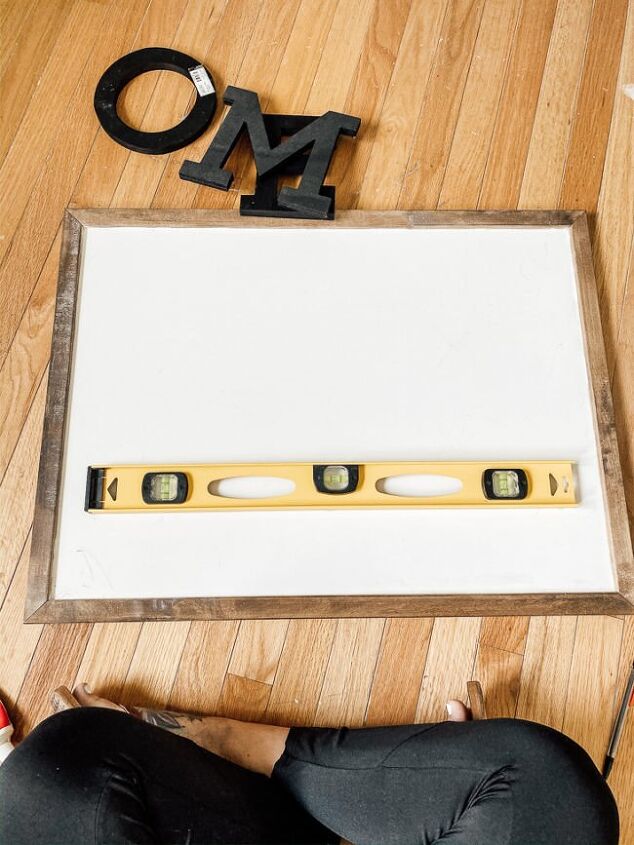
Since I had two different sized letters, I didn’t want to mess with finding the exact center of the board.
Instead, I decided to line the bottom line up four inches from the bottom of my sign and the top four inches down from the top of my sign.
I measured four inches up from each side and made a little mark and then used the level as a straight edge to connect the two. Then did the same down from the top. You could use a ruler, or anything with a straight edge that reaches across the length of your sign.
BAM, CENTERED! EASY PEASY!
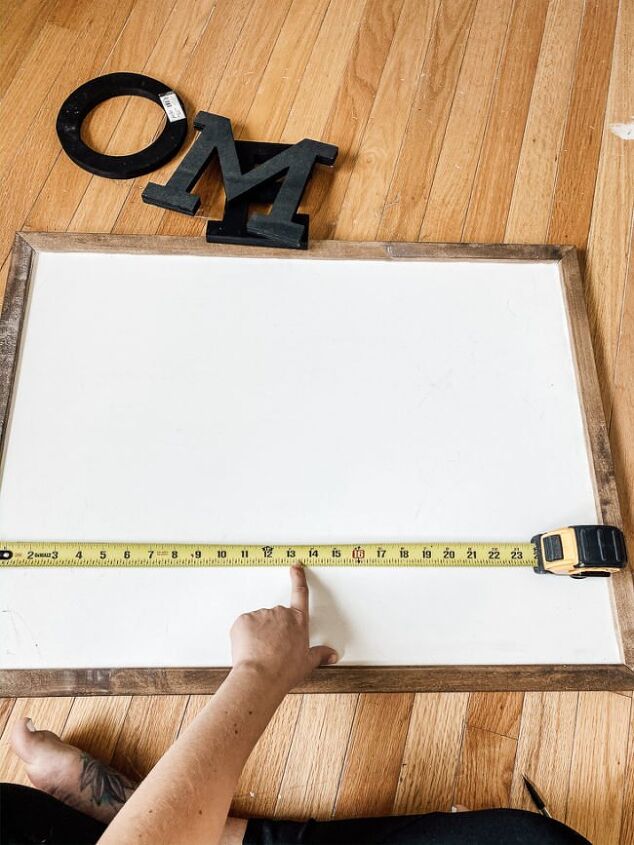
First, I marked the center of my sign.
Mine is 27″ inches wide, so I made a mark at 13.5″
Then, I laid out the letters of his middle name so I could find the center point of that.

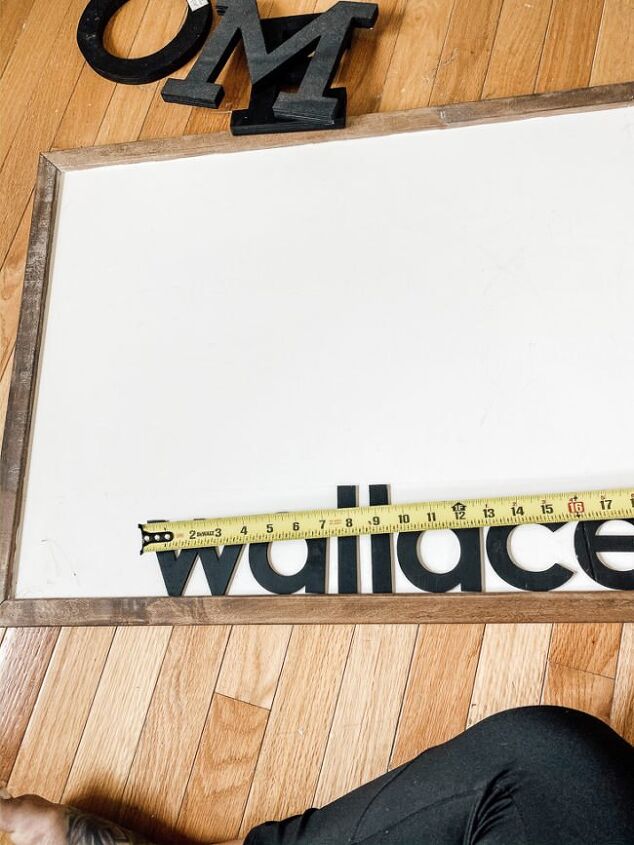
Since “WALLACE” was 19″ inches long, the center would be at 9.5″
(I wish I had taken another picture here, but bear with me.)
I took my tape measure and lined 9.5″ (the center of his middle name) up with my center mark on the sign, then put a little mark at the end of the tape measure, and another at 19″.
You could also use a centering ruler. I actually do have one, but have no idea on its current whereabouts.
This saved me from eyeballing my letters to get them centered, because I am REALLY bad at that.
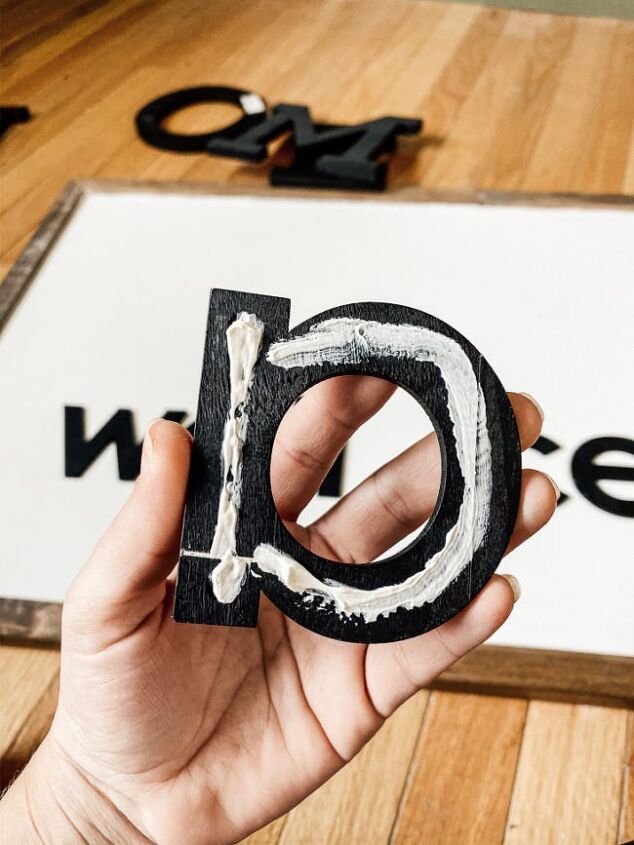
For this step, I used liquid nails small project adhesive in white and just spread a little on the backside of each letter.
BECAUSE… It’s what I found in my garage. Super technical, I know!
If you use the clear version, you don’t have to worry so much about it smushing out from under the sides of each letter. Which is something that became a problem, especially with my black letters.
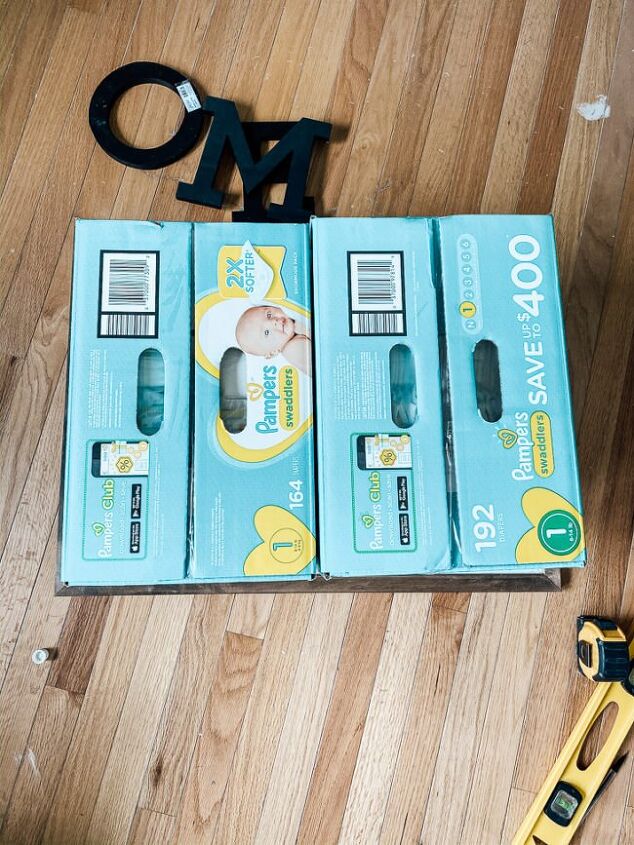
It is always a good idea to apply pressure to be sure your letters adhere properly. You can use a piece of scrap wood and clamps if you have them lying around. I do, but these diaper boxes were closer.
Books, or anything with a little bit of weight to it would also be a good option. Just be sure you won’t ruin your favorite Jodi Picoult book if a little glue happens to squeeze out on the cover accidentally.
If you noticed, I only glued down the middle name to begin with, there is a reason for that…
My letters are two different thicknesses.
I made sure to glue the thinner letters of his middle name down first. This allowed me to get an even pressure on them while the glue set. Then, I went back and repeated steps four, five, and six with the thicker letters of his first name.
I probably could have got away with just staggering my diaper boxes, but I was able to fold some laundry and accomplish other things while waiting for the thinner letters to fully set. No harm in an extra 20-30 minutes here.

Share you personalized name signs with me by tagging me on instagram @sydneyand_co I love to see your creations!


Frequently asked questions
Have a question about this project?