


Easy DIY Photo Ledge

I fell in love with Pottery Barn’s photo ledges but not so much with their price tag. As a DIY newbie this turned about to be the perfect weekend project!
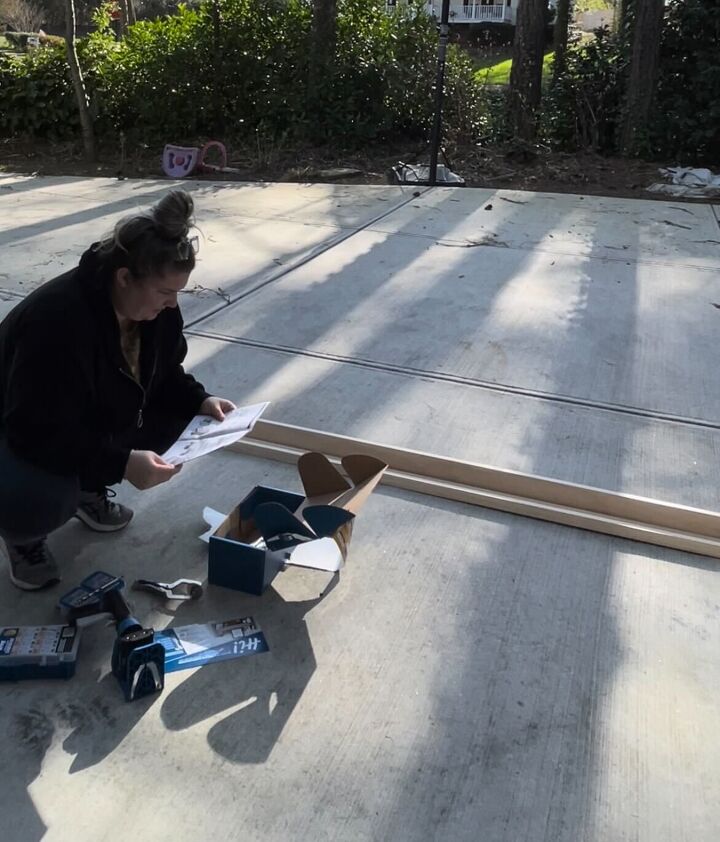
I went to Home Depot and picked up three 8ft pieces of select pine; a 1x2, 1x3 and 1x4. Make sure to check that they are as straight as possible! I wanted a LONG photo ledge but you can also ask them to cut them to size if you're going for something shorter and don't have the tools at home.
Once I got home I used my Kreg Jig (for the first time!) to create pocket holes in the 1x3 select pine. I added some wood glue and then used the pocket holes and screws to attach the 1x4 to the back and the 1x2 to the front of the 1x3.
I then sanded down the seems so it looked as much like one solid piece as possible.
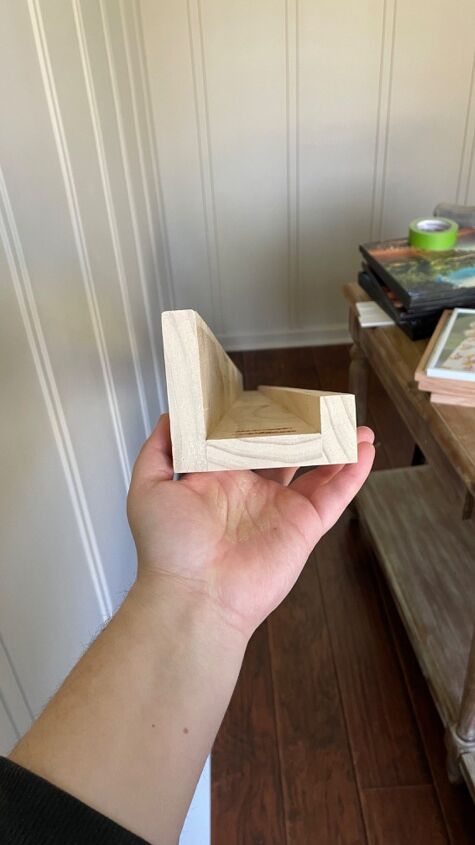
Even before I stained it was looking so good! You can see the 1x3 on the bottom, the 1x4 in the back and the 1x2 in the front.
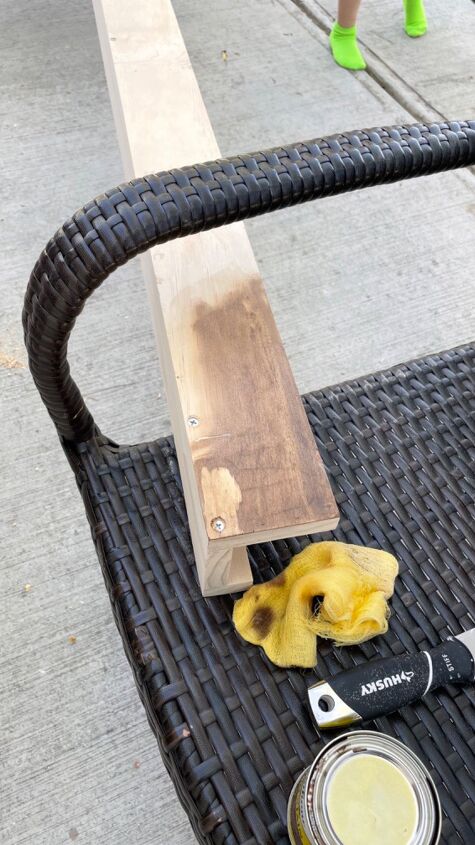
I then applied stain, this one is special walnut. I did learn to be careful with glue and wiping up any extra as much as possible as the stain will not take on areas with dried glue. This was the back of the shelf so I wasn't worried but I could have stained this down if I needed to.
After I stained the entire ledge and let it dry per the can directions, I applied a clear top coat.
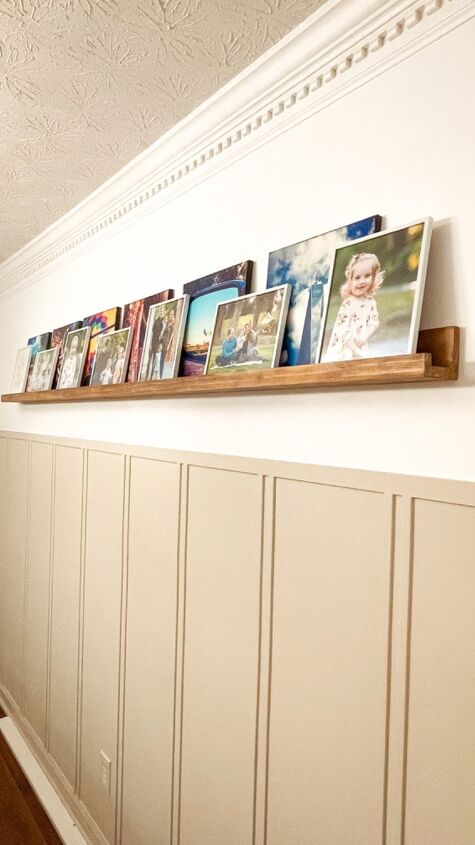
I attached it to the studs using 3" screws and then added our photos! I'm obsessed with how it turned out and it was only $35 for the wood!!


Frequently asked questions
Have a question about this project?