


DIY Picture Hanger: An Easy and Cheap Way to Display Wall Art
Make these easy picture hangers from scrap wood and display your favorite photo, art, or poster.
I made these picture hangers from scrap laths I had in my garage.
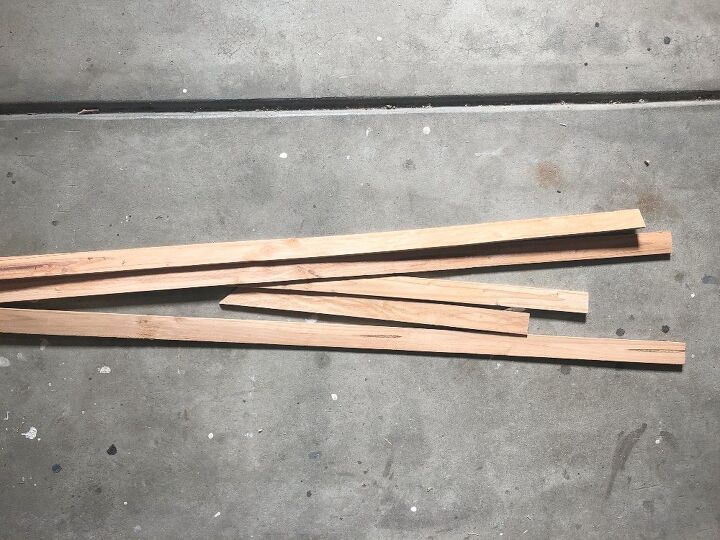
The wood on my picture hangers measured 7 1/8 x 1 3/8 inches. Due to the laths being thin, I used two pieces each for the top and bottom. Cut your wood to your sizing preferences or with what scrap wood you have available.
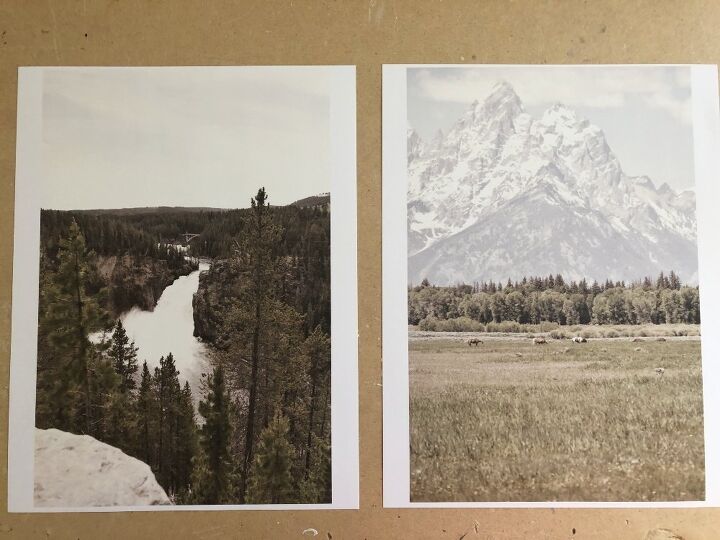
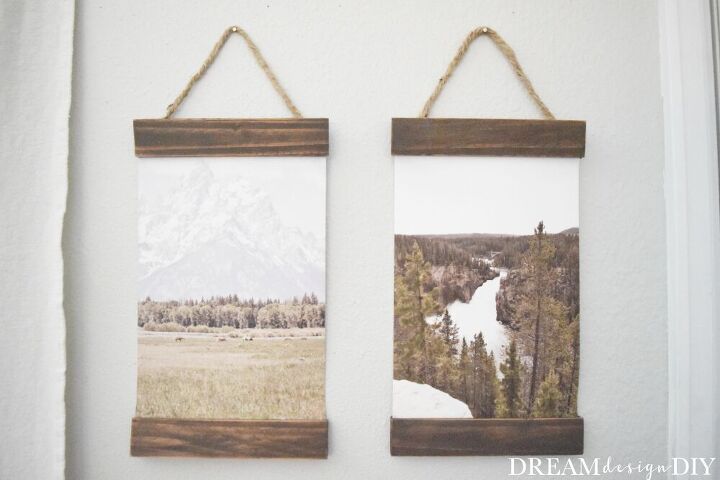
Print your photo, picture, art, etc. I used a couple of pictures I shot from our recent trip to the Tetons and Yellowstone. I edited them to give them a rustic, sephia look. Then I printed them on 8 1/2 x 11-inch matte photo paper.
Once you determine the size of your picture then make your woodcuts. Sand your pieces and stain them.
Once the stain dried I lightly sanded the tops and edges of the wood piece to give a worn look.
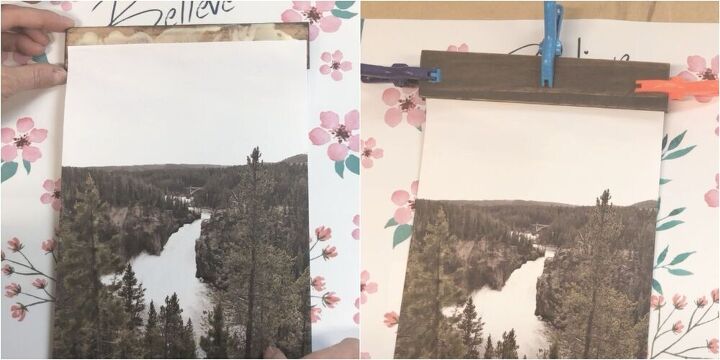
Measure and mark the back of the paper to determine where to attach the frame pieces. If you are doing two pictures that will be side by side, keep in mind to measure so they will be equal lengths. I measured, marked, and drew a line using a ruler. Add wood glue to both wood pieces. Lay your picture face down and apply the back wood piece meeting the line you marked.

Next, flip it over and glue the front piece sandwiching the picture between the two front and back wood pieces. Clamp the wood pieces together and let it dry for at least an hour. Repeat as needed.
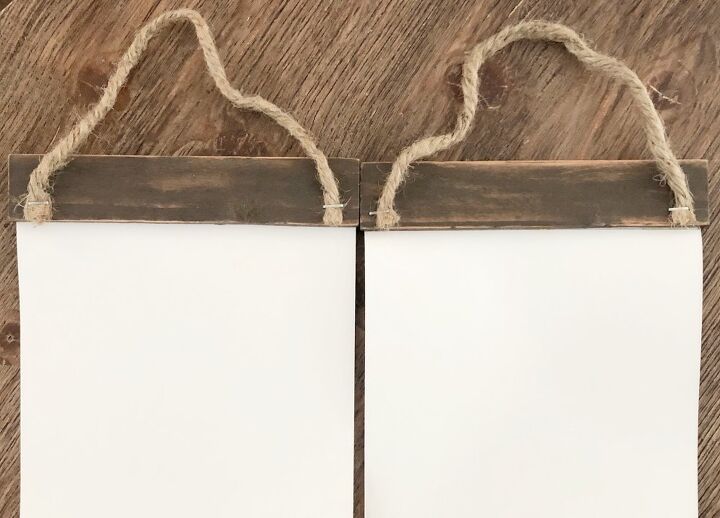
Attach your jute, string or hanging hardware. Mark your spot then attach your hanging hardware. I used a square to mark my spot then stapled 4 ply jute to the back of the top of the picture hanger.
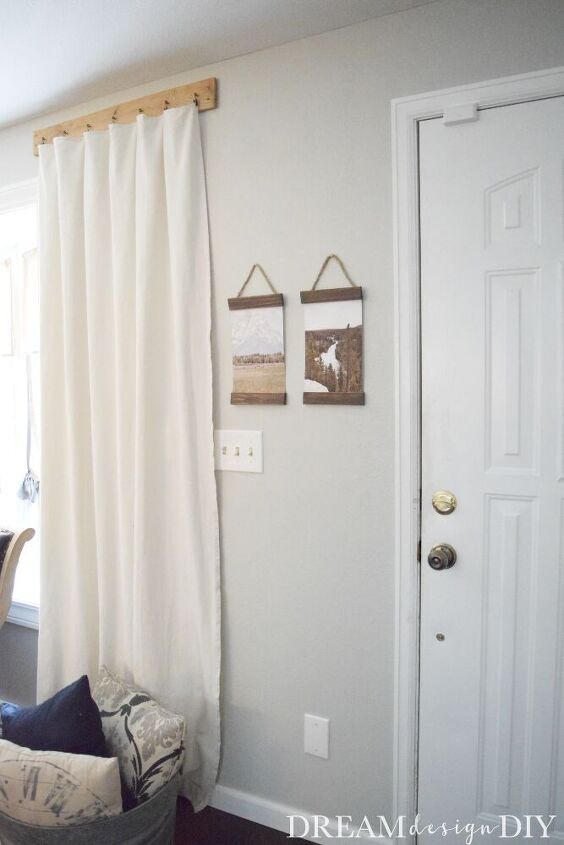
Hang your new wall art in its special place.
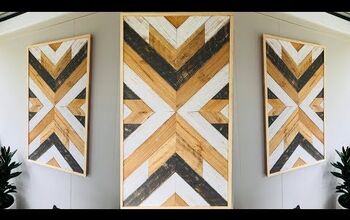
If you like these picture hangers then check out these other scrap wood projects.
If you need more ideas for hanging art on your wall then see how to make this $3 canvas frame.
Thank you for checking out this post.
Come by and visit me at Dream Design DIY where I believe you can create a beautiful practical home no matter your budget, time or talent.


Comments
Join the conversation
-
No question. I’ve been using this method for awkward sized needlework projects for years. Works great!
-
💗💗💗❗ so rustic 💗🥰❗


Frequently asked questions
Have a question about this project?