


DIY Poster Hanger
6 Materials
$20
3 Hours
Easy
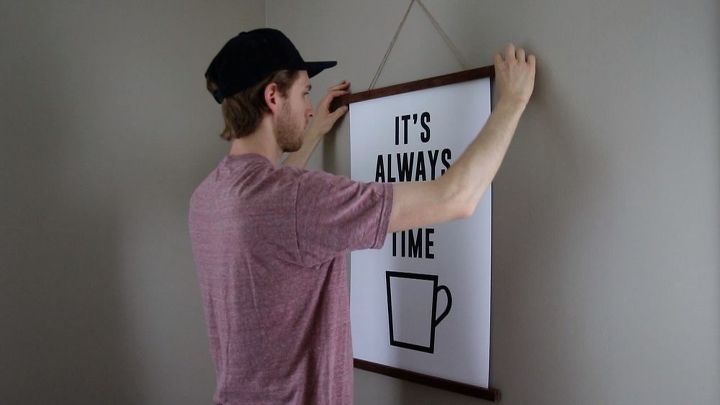
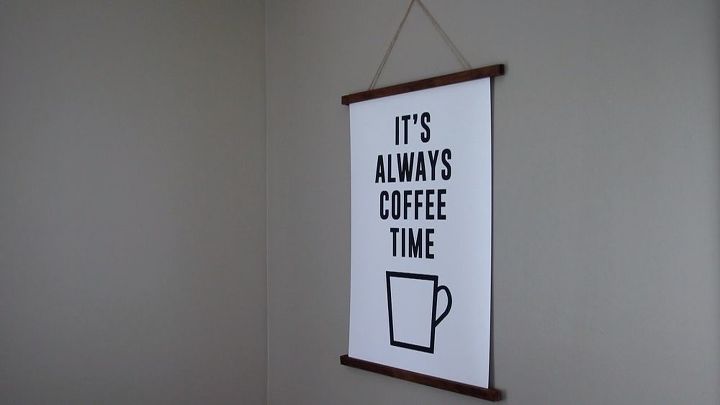
In this post I am going to show you how I made this DIY poster hanger made with walnut and held together with magnets. I saw this idea at a coffee shop while I was out of town. They were selling small posters with with a magnetic frame and I thought that I could replicate this with a little larger poster. The cool thing about this is you can change the poster out without having to drill or unscrew anything and you won’t damage your poster which is pretty cool. Of coarse I had to make a coffee poster to go in the hanger but you can add whatever you want. This is a very simple project that you can do in a day.
{
"id": "4849899",
"alt": "",
"title": "",
"video_link": "https://www.youtube.com/embed/qyk6ccGu-uo",
"youtube_video_id": "qyk6ccGu-uo"
}
{
"width": 634,
"height": 357,
"showRelated": true
}
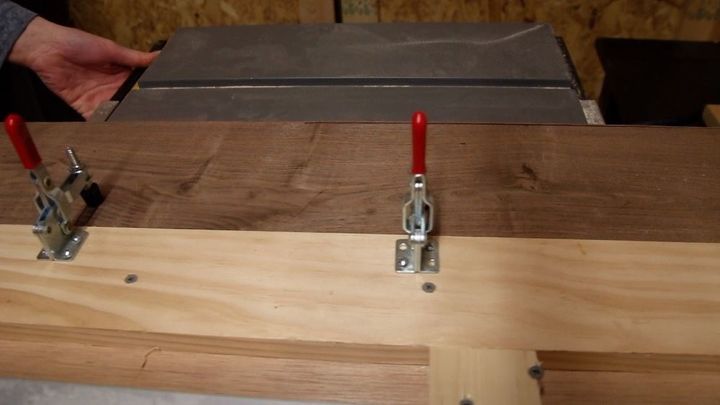
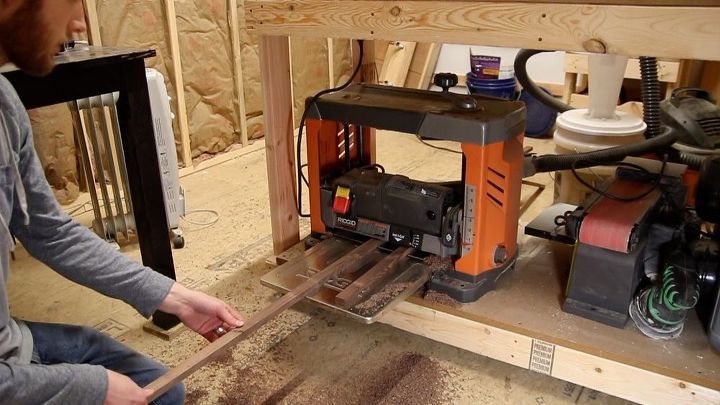
The first thing I you will have to do is cut the boards you are using into strips. You can use whatever type of wood you want and make them whatever size you want. The final dimensions of my strips were ½” thick/ 1” wide/ 22” long and I was adding a poster that was 20”x30”. You can actually purchase wood that is already cut into strips that are a usable size and all you would need to do is cut them to length. For mine, I had a piece of walnut that I wanted to use. First I planed down the board to get the roughness off. Then I used a jointer jig that I made for my table saw to get one side of board straight. Then I could use the table saw to square up the other side.
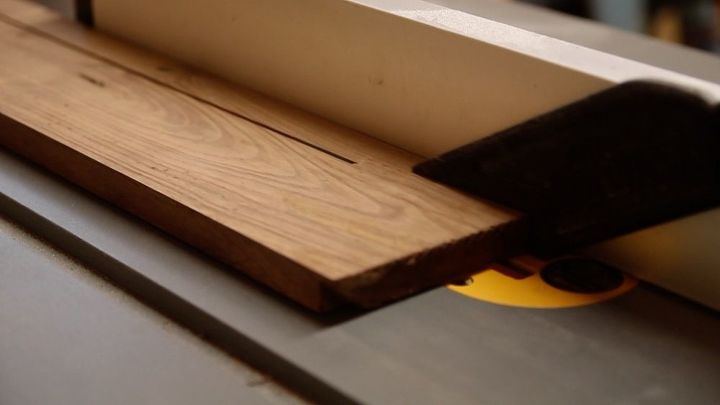
Once my board was square I cut the board into 1” strips on the table saw and then planed the strips down to ½” thick. After that I cut the boards to length using a circular saw.
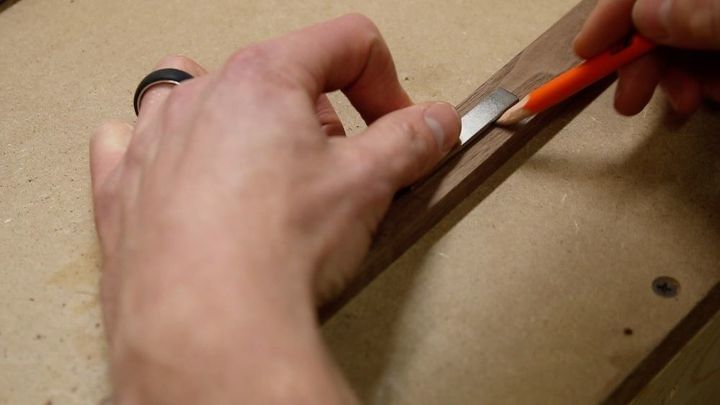
The next thing I had to do was trace out the magnets where I wanted them on the boards. I measured in about 4 inches and traced them. This took me two different tries to get right. I explained it much better in the video so you want to avoid my mistake, you may want to check it out for full details.
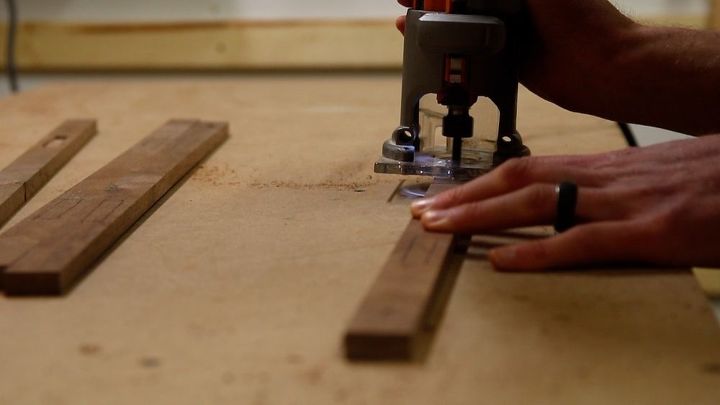
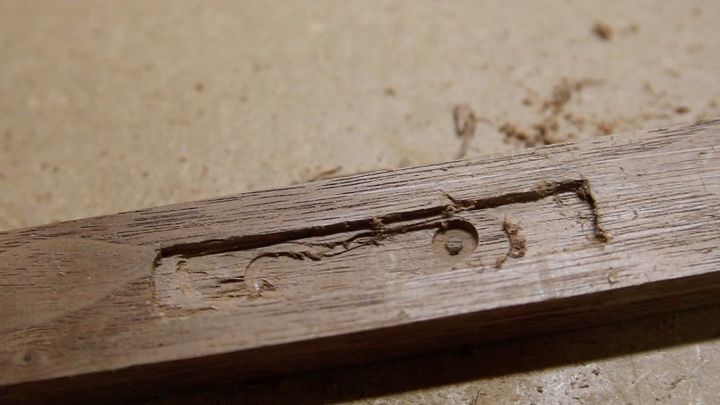
I used a router to get out the bulk of the material and then I used a chisel to get the corners and clean up the rest of it.
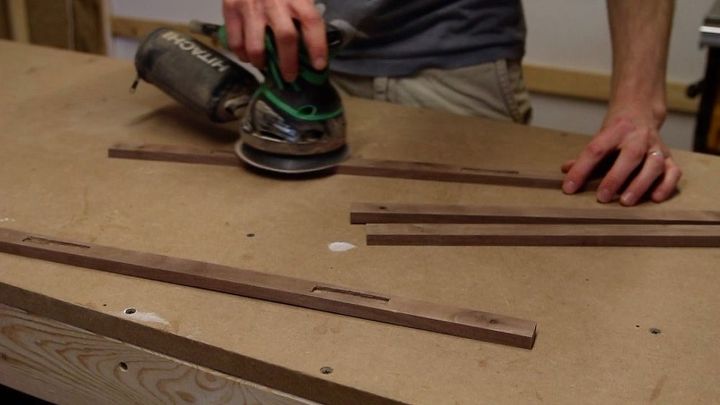
Next I sanded the boards all the way to 220 grit.
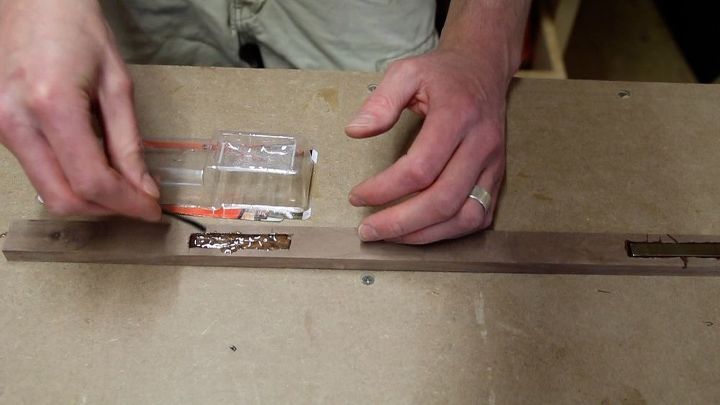
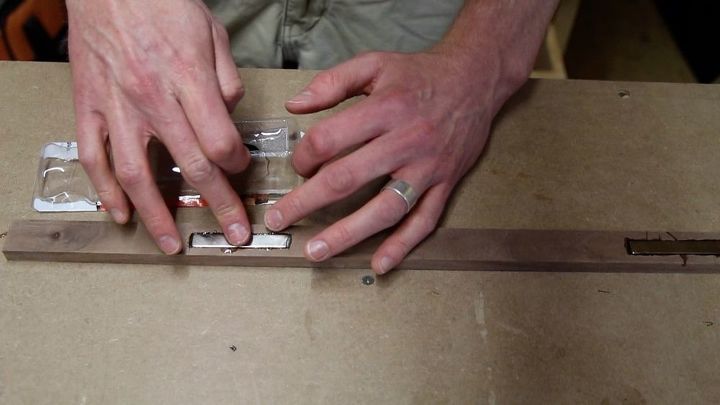
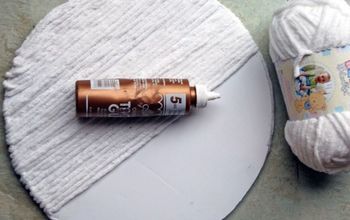
To install the magnets I used 5 minute epoxy. I just mixed it up, put it in the hole, and then put in the magnet. Make sure you pay attention to which direction the magnets are facing when you are doing this. And also make sure the magnets are level. The first attempt at this, my magnets were not very level and it didn’t make a good connection with the other magnet when I was testing it out.
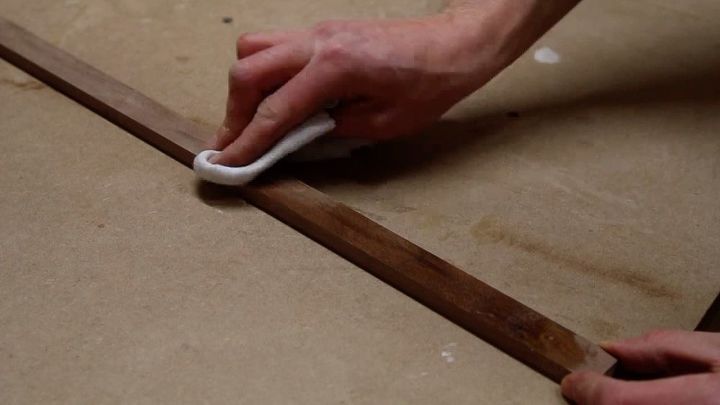
After this I added the finish. I decided to use danish oil on the wood strips. This is my favorite finish to add to walnut because it makes the grain pop like crazy. I love the way it looks. For the first version of this project, I added finish before the magnets and for the second version I added finish after installing the magnets. Either way is fine, but I liked adding the finish after installing the magnets better, just because you can clean up some of the epoxy before adding the danish oil on it.
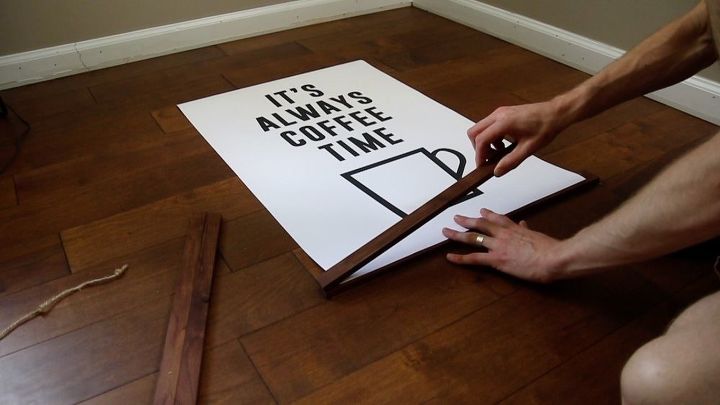
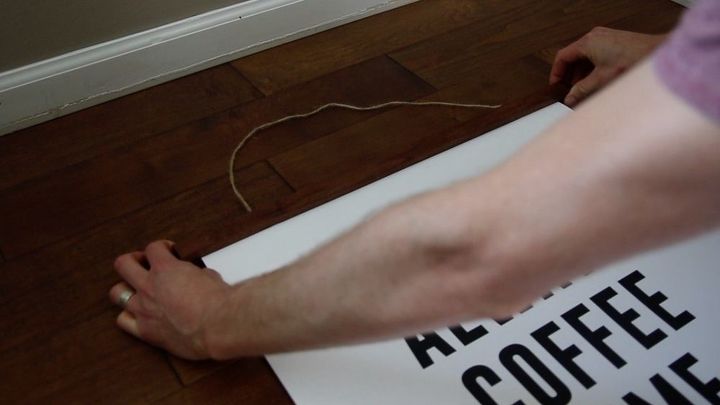
After the strips were finished, the main part of the project was complete. Next all you need to do is add your poster and your string to hang. For the poster, I decided to make my own design using photoshop. I have the design I made available for free on my website if you are interested using it as your poster (madebymitch.net). It is 20”x 30”, but it can scale down if you need a different size. I got mine printed at my local print shop. To hang the poster, I used a piece of twine. I tied a knot on each end and then put it between the boards behind the poster. The force of the magnets holding the boards together keeps the string secure. This method worked better than I thought it would. After the string was attached, I could hang the poster and the project was complete!
Be sure to check out the video for the entire process. It was very simple to make. Also, you can download the poster file I used for free by clicking here. Thank for checking this out. I hope it is useful for you.
Website - http://madebymitch.net
Instagram - @made_by_mitch
Twitter - @made_by_mitch


Any price and availability information displayed on [relevant Amazon Site(s), as applicable] at the time of purchase will apply to the purchase of this product.
Hometalk may collect a small share of sales from the links on this page.More info

Want more details about this and other DIY projects? Check out my blog post!
Comments
Join the conversation
3 of 13 comments
-
Great idea. But I don't have great tools, so I purchased precut balsa wood and magnets from Michaels. The front piece is larger than the back so it looks good without being perfect. Thanks for the idea.
-
Couldn’t you use like a smooth plastic vinyl material for outside and if you have a porch incloced or not and hang it outside that way ???
You can write on the Vinyl it is not smooth like soft and shiny but like old shades were made of ?? Then you can use a permanent marker and write what ever you want on it ???


Frequently asked questions
Have a question about this project?
Can you do something like that for outdoor?