


How to Create a DIY Rustic Corner Shelf

The best kinds of project to make on Hometalk are those that not only provide something creative and allow you to express yourself through DIY but also serve a functional purpose. These rustic shelf ideas help you to learn how to create a rustic floating wall shelf or a rustic corner shelf, which can add a wow factor to any room. Friends and family will be impressed, and you’ll be able to add a timeless feature to any room with these simple and easy steps. You’ll no longer need to settle for plain old shelves with these rustic shelf ideas.
Tools & Materials
For this project, I used:
- Several pieces of wood
- A nail gun
- Chalk paint (black and white)
- Decor items from Dollar Tree
- Wood glue/screws to fix the shelf to the wall

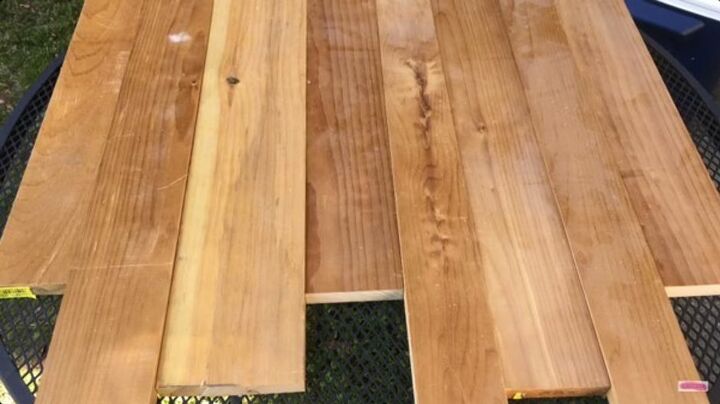
Step 1: Gather Your Materials
The first step for this project is to collect the materials you are going to need. You need the tools to fit it all together, but the creativity comes mainly from the wooden design you opt for and the color you choose to paint it. I found several pieces of different kinds of wood and varied their lengths above and below the actual shelf for this rustic floating wall shelf design. As well as these pieces of wood – which you’ll need to check actually fit into the space you want your finished rustic wall shelf to hang – you’ll need some wood to create a support on the back and also the wooden plank for the shelf. Ensure that all of these fit the length of the wood that will form the backboard of the shelf.
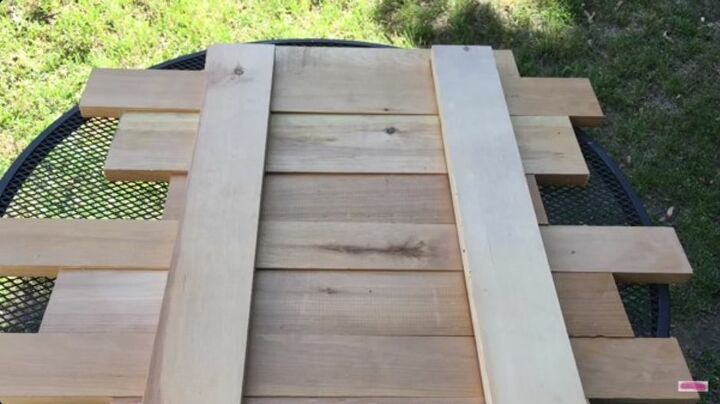
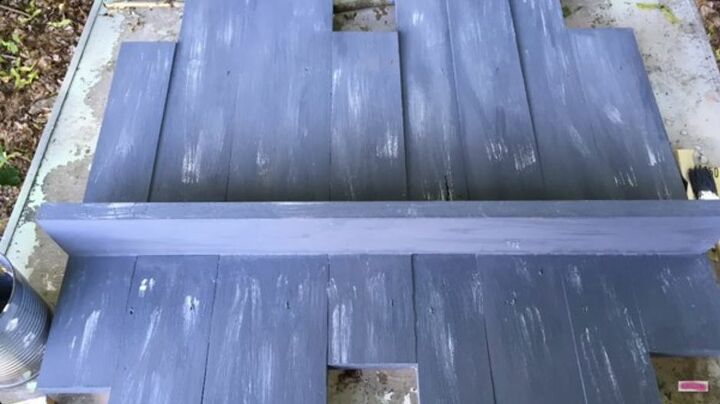
Step 2: Attach Boards
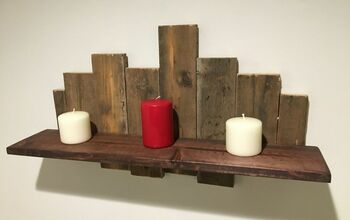
The first practical stage of the project was to fit the boards together. I chose the pieces of wood I wanted to use and slotted them together to create the backboard effect I wanted for the rustic corner shelf. You don’t have to vary the pieces of wood and can have them all uniform, but I deliberately chose wooden boards that were not the same size - I liked the asymmetry of having some were wider, some narrower, some longer, and some shorter. They were the same depth so that they could be properly fitted together, but the imperfect look this created personifies the rustic aesthetic.
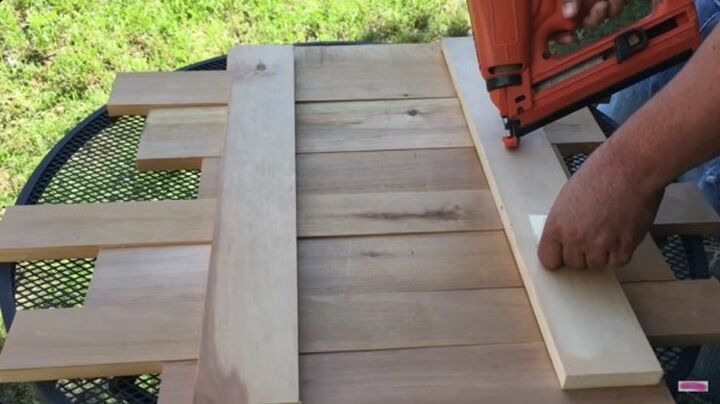
Step 3: Attach Two Boards to the Back
To fix the pieces of wood together, create the backboard by taking two pieces of matching wood and use a nail gun to fix them to the back of each of the boards at the front. You’ll need to make sure the wooden boards at the back are thick enough to have the nail penetrate them and the wood that will make up the backboard, although you'll also have to make sure you don't choose a nail that's so long it will pierce through the wood of the actual shelf. You can use a hammer and nails if you don’t have a nail gun. The two pieces of wood will hold the boards together in a secure way. These two boards will also be used to hang the finished shelf onto the wall so that it looks as though it is floating.
Step 4: Attach a Board to the Front
For the shelf itself, I took the same type of board, placed it in the center of the backboard, and then nailed it in place from behind. This should hide any of the fixtures, while also ensuring that the shelf doesn’t shift from its place. You can be as creative as you want with this part and choose whatever kind of shelf you want. Its placement can vary – for instance, you could hang it higher on the backboard and attach some hooks underneath it for mugs, keys, or anything that might need to hang.
Or, you could place it lower if you want some taller items to adorn it when it's up on the wall. I opted for a spot in the middle to create some symmetry in this otherwise asymmetrical design. Make sure that the shelf is securely in place before hanging it. The next stages will help you test how strong the shelf is as you'll be moving the board around. If it’s loose, it will let you know.
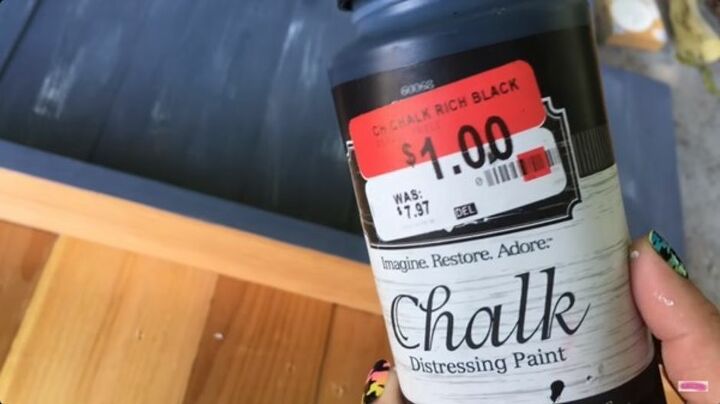
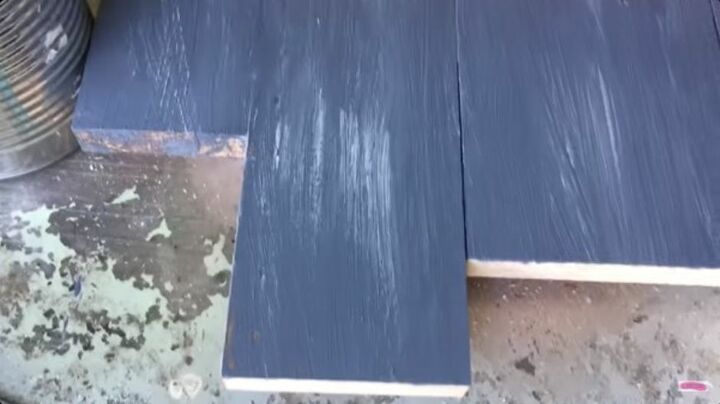
Step 5: Paint
Once the boards are all fixed in place and you’re happy with how the project will look on the wall and how functional it may be, it’s time to paint it. I like to use two different kinds of chalk paint mixed together. I use white and black chalk paint to create a gray color and then apply liberally on the boards. While you can write on the chalk paint with chalk once it’s dry, I don’t tend to do this and use it mainly to create the rustic effect.
When painting, it doesn’t have to be particularly neat or delicate as the more imperfections, the more rustic the look will be. Try to cover all the areas that will be visible, but patchy paint will only amplify the rustic effect once the project is up on the wall. You don’t have to use gray, but the rustic look comes from the muted color, so if you are using more than one shade, try to pick something that doesn’t pop too brightly. Fall colors work well for rustic looks, so dark reds, oranges, and browns that aren’t too bright would work well.
Step 6: Dry Brush
The next stage was to dry brush the painted boards. I like to use the white chalk paint to dry brush whenever I paint it gray so that it gives the project the true rustic effect. Dry brushing is a skill that takes some honing, so I’d suggest practicing a few brush strokes on some newspaper or an old scrap of wood beforehand so that you don’t end up painting too vigorously. The trick with dry brushing is to dip a dry paintbrush into a tiny amount of white paint and then lightly coat it in various patches. This technique means that some parts will get coated with more white paint than others to give them the faded rustic feel.
The amount you dry brush depends on how much you want to contrast between the gray and white to stand out. The harder you press with the brush, the more white paint will end up at various points of the boards.
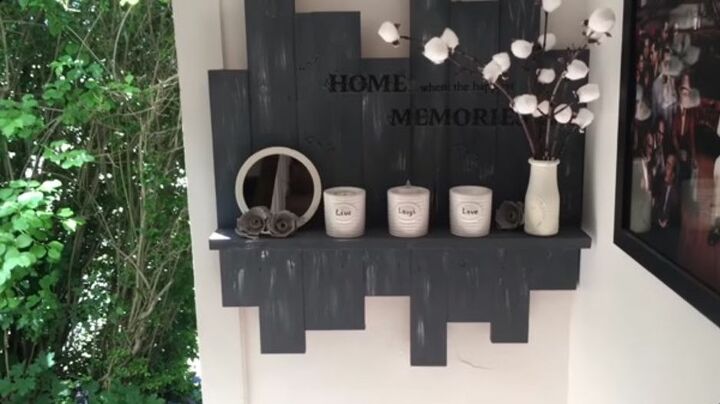
Step 7. Hang and Enjoy
Once you are pleased with how the shelf looks, it’s time to hang and then customize it. I hung my shelf in the corner of the room to help add a pop to that area. You can hang it wherever and however you like. If you're hanging it above where people might be, you’ll need to make sure that it is securely in place, with fixing nails/screws into the wall. Sturdy wood glue, if used instead, would give off that floating element of the shelf as there is no bracket visible, but would be less secure.
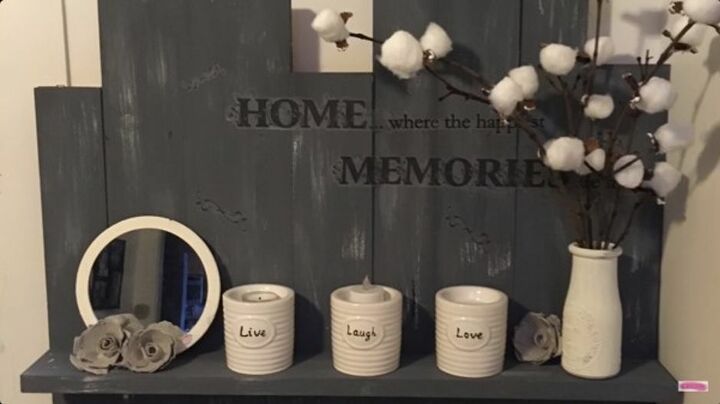
For the décor, I got most of the items from Dollar Tree. They have a huge range of trinkets and objects with positive slogans on them that are perfect for a project like this. I also made a cotton bud tree. This aspect of the project allows for the most creativity as you can place anything that you want on the shelves. You could use family photographs, candles, a small mirror, or small decorations that you have found. Dollar Tree has a good range of these things, so that’s why I chose items from there – plus it keeps costs down so that this project really is extremely affordable.
Creating this rustic floating wall shelf is simple and can be done with materials you have lying around already. No two shelves will look the same, so the project is open to tons of creativity and letting your innovative flair loose. The shelf can act as a functional item for storage or can be used to create a statement with some positivity-inspired décor to help bring some good energy into a room. The shelf can be placed in almost any room and has a multitude of uses. It is the perfect project to expand your creativity when it comes to designing features for your home.
If you’ve had a go at making this project, why not share the end result of your creation or send this project to a friend if you think they’d enjoy making it. Don’t forget to join Hometalk to find more quick, easy, and spectacular projects like this!


Frequently asked questions
Have a question about this project?