


DIY Sea Glass Window Art
3 Materials
$30
4 Hours
Medium
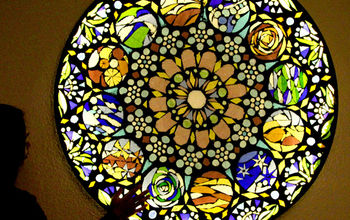
I’ve always loved these beautiful sea glass windows. I’ve seen them in the shops on Cape Cod and online and have always wanted one. A few years ago I made this Sea Glass Dolphin and Sea Glass Sea Horse and I thought, ‘hey maybe I could try to make one of those windows’! Well, I finally did. And here is how...

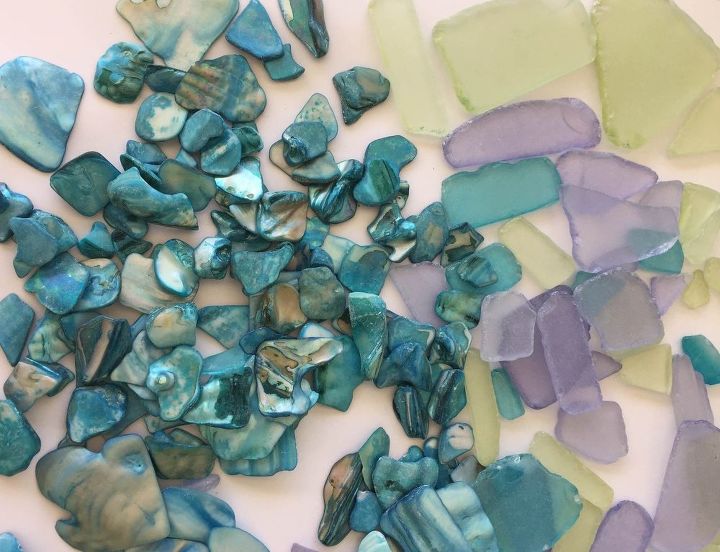
Step 1: The first step in making your DIY Sea Glass Window Art is to dump out all the Sea Glass and arrange it by color. I know these mosaic tiles I bought from Michaels aren’t really ‘sea glass’ but I bought them anyway. I’m glad I did. The colors are awesome! Also, if you have your own collection of sea glass, use that. I do not have my own collection so I bought these.
Step 2:
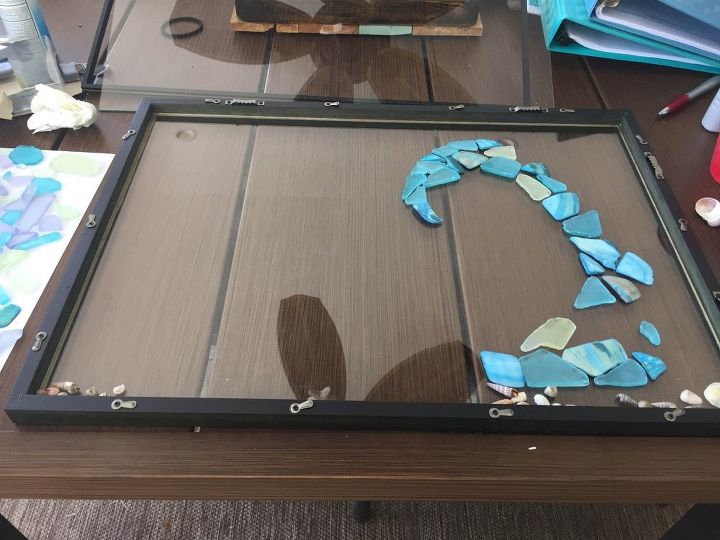
Lay out your frame and start playing around with some designs on your glass. This step takes a while. It is like doing a puzzle. I knew I wanted to make a wave so I imagined a basic shape and then started putting pieces in.
Please note, I didn’t have access to a real window like the ones on etsy.com so I bought a float frame from Michaels (11×14). They were $24.99, but were buy one get one free (so I can make another one!). If you want to try this project and can get a hold of an old window, great! Go for it.
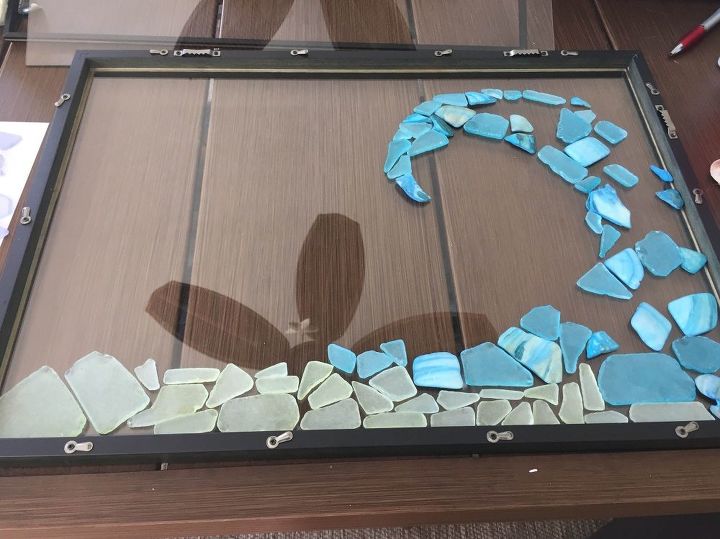
After playing around with it for a while, I decided I wasn’t liking the purple sea glass so I put those aside. I also decided to use the yellow as the ‘sand’ (see below), although I did use a few pieces of yellow in the wave part too. I also found some shells from my collection and added in a few of those. Once you have what you like, move on to step 3.
Step 3:
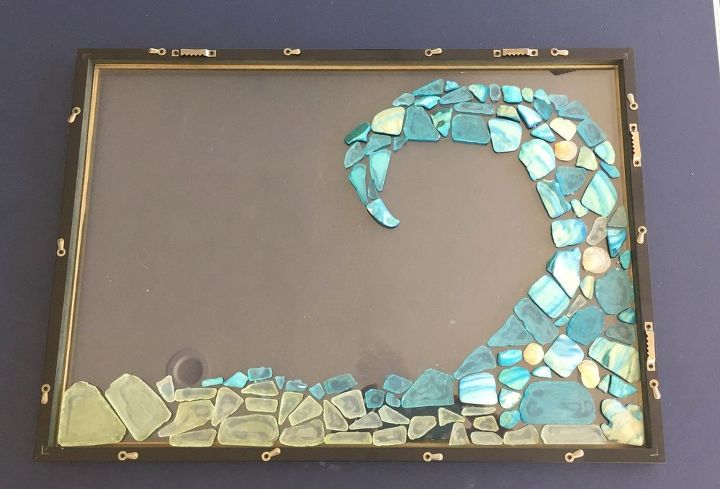
Start gluing them down. This is where it gets tricky. Once you start to glue, you end up rearranging the sea glass a bit. It takes a long time to get them right. Be patient. I found walking away from it and taking a break every now and then helped me to get it done. I used my glue gun to glue them down. I’m not sure this was the best glue to use, but it definitely did the trick.
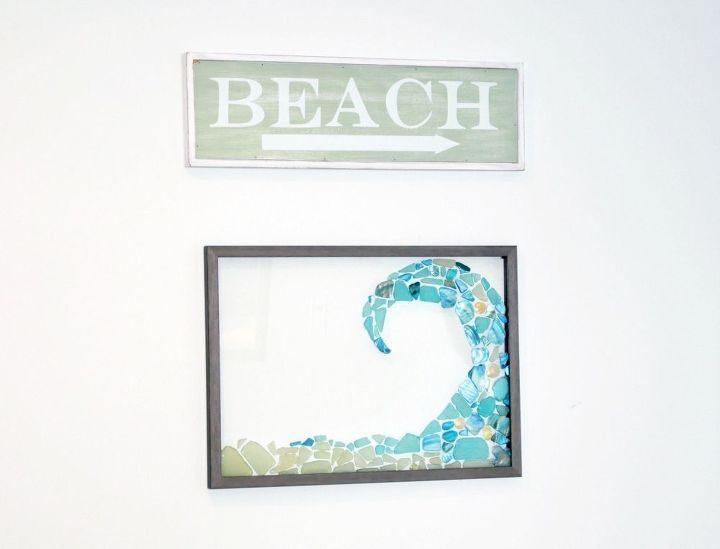
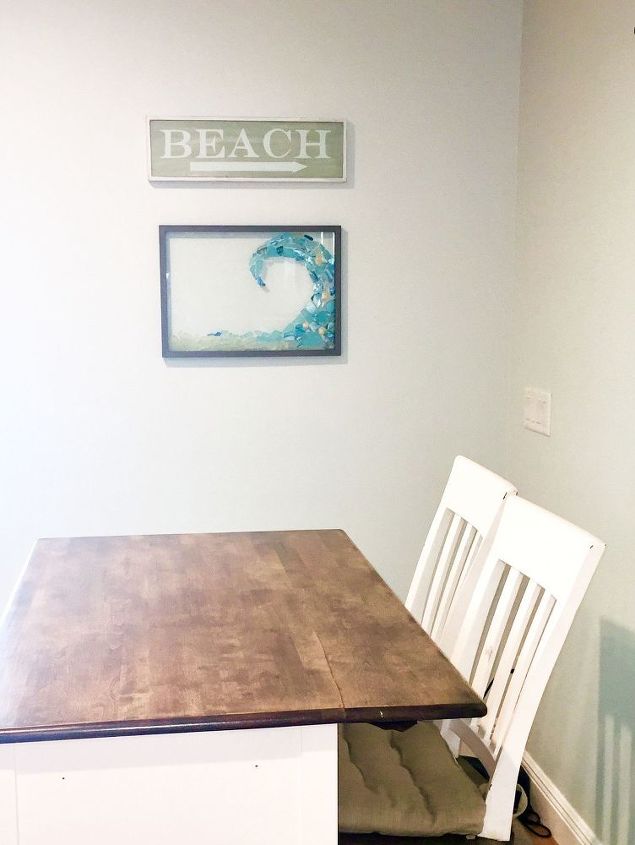
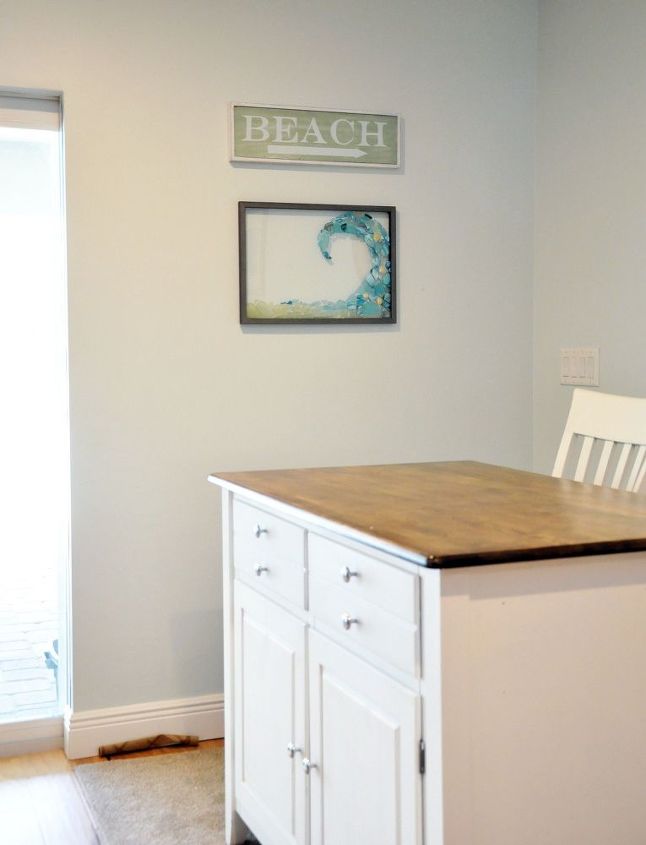
And, viola, here is the final product!
Like this project? Please check out my blog for lots more DIY and home decor ideas and please sign up for my email list.


Any price and availability information displayed on [relevant Amazon Site(s), as applicable] at the time of purchase will apply to the purchase of this product.
Hometalk may collect a small share of sales from the links on this page.More info

Want more details about this and other DIY projects? Check out my blog post!
Comments
Join the conversation
4 of 45 comments
-
Ok..you have made my day. My husband said he really likes it too. We drew chair patterns from a beach stay and I think this will make the perfect wall accent. We are headed to find sea glass.👵
-
I did my bathroom in a beach design, I love this idea.


Frequently asked questions
Have a question about this project?
Does the glue show through the glass as I assume that you are putting the glass side out towards the room?
How long ago did you do it? Wondering if the glue help up.
I can’t believe this is from a year ago...and how did I miss it? I am a glass freak..all sorts. I have had this in the back of my mind for a long time now..I love seeing you actually did it,and it doesn’t look as intimidating as I thought it would be. Very very nicely done.
I have done all sorts of things with gems,but haven’t touched the sea glass I have bought NUMEROUS times,because,I love glass.😁Anything glass.
this is lovely...now I am inspired. I will get to work...soon!🥴🤪👏
Am glad this came up again. Have you done any more?
This would be so cool in a bathroom too!