


DIY Sign Without a Cricut

I've been wanting to make a sign for our garden. Using a Cricut would have been nice and easy but I don't have one, so I had to get a little creative. For this DIY sign, all you need is a computer or laptop and printer! It was very simple to do, and (bonus) it was another free project for us because we had everything on hand.
What you'll need:
Wood
Computer & a printer
Pencil
Permanent marker
Paint/stain (optional)
Polyurethane (optional)
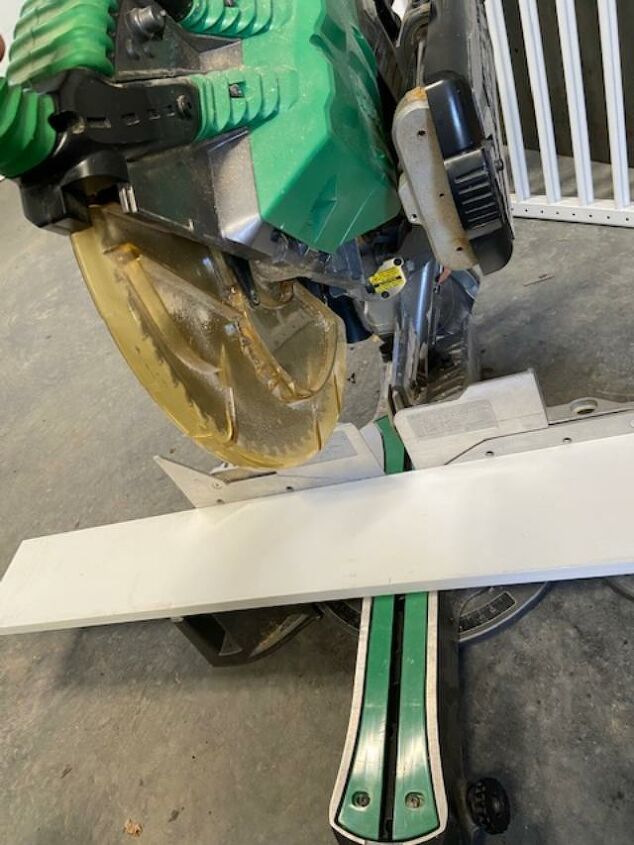
Step 1: Cut your wood to size
Decide on what size you want your sign to be, and cut your wood. I took some leftover 1x6 (primed pine) from another project and cut it to 2 feet long.
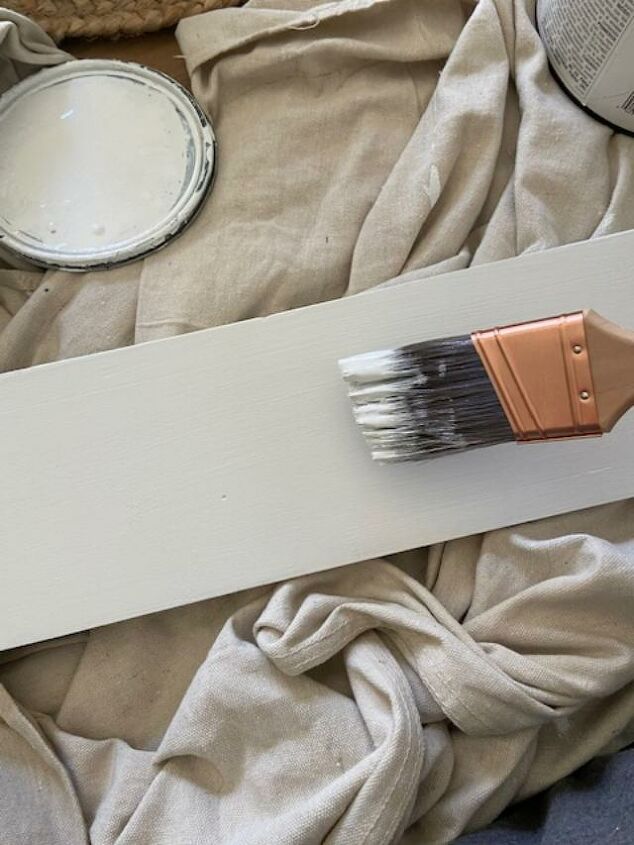
(Optional) Step 2: Paint/stain
I gave it a light sanding (because it had a little gunk on it), then a quick coat of white paint. You can skip this step if you want your sign to be a natural wood grain.
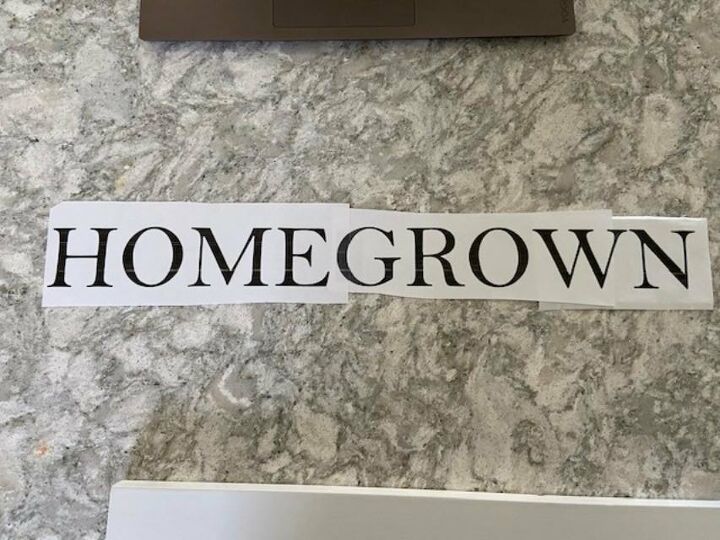
Step 3: Make your stencil
Print out whatever quote/words you want, to size. I played with different fonts and sizes until I was happy. If you have to use multiple sheets of paper like I did, cut and tape them together to form one stencil.
Step 4: Prep your stencil
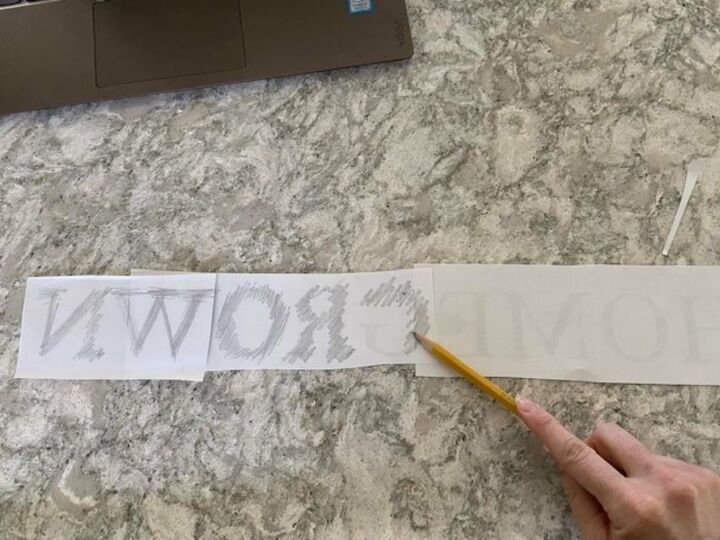
Flip your stencil over and shade the back of each letter. Use a pencil if your sign is a lighter color, or chalk if your sign is a darker color. Don't worry about making this part neat, just make sure the whole letter is covered.
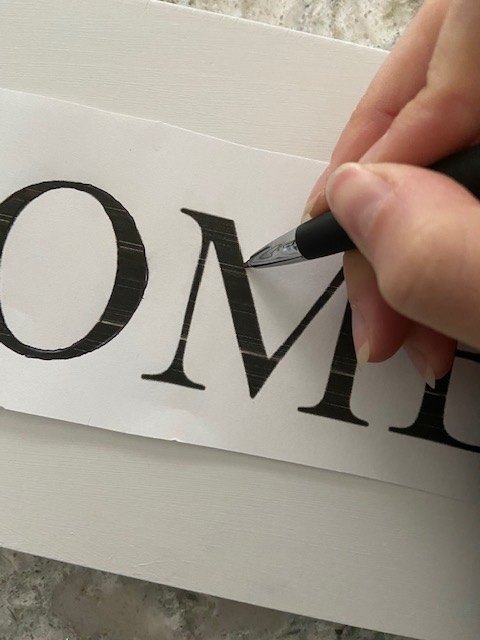
Step 5: Tape and trace your stencil
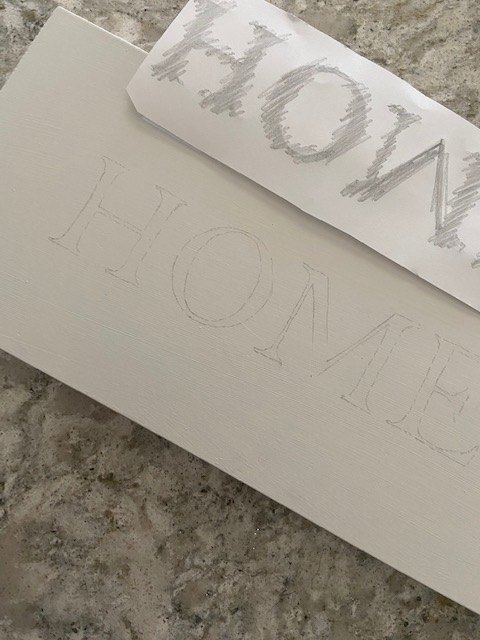
Position your stencil where you want it on your sign and tape it down. Then trace the outline of each letter. This is going to push the pencil markings on the back of your stencil onto your sign. You should be left with something like this...
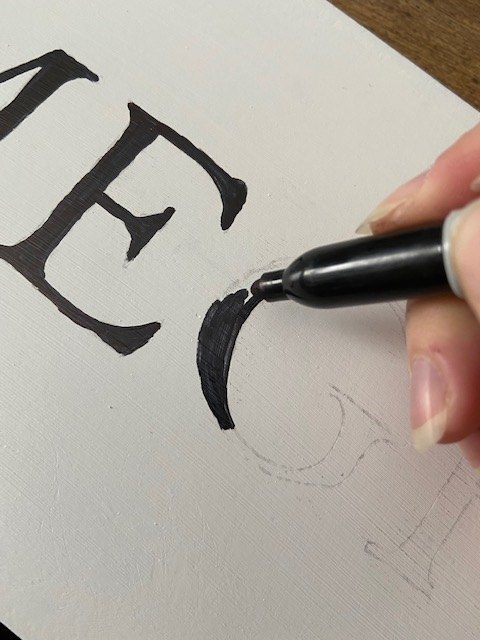
Step 6: Color in the letters
I used a permanent marker for this part because I've found it to be easier than painting. I just used black but you can use any color! Once I did all of the letters once, I went back and did it a second time to remove any streaking left by the marker, and to clean up my lines a bit.

(Optional) Step 7: Seal
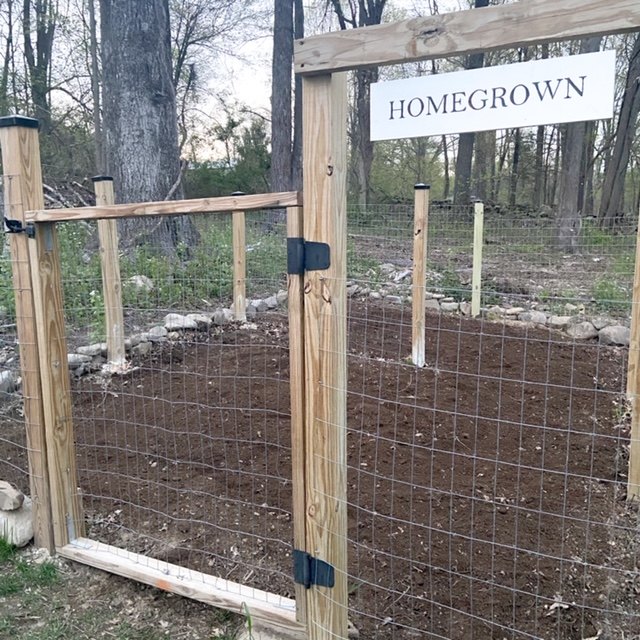
I sealed my sign with clear polyurethane because we put it outside, but if you're using your sign inside I don't think sealing it is necessary.
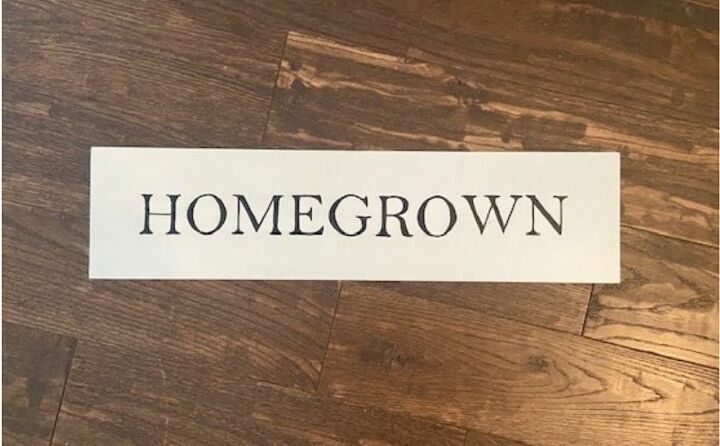
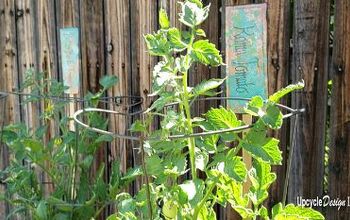
I hung it up in our garden using some small hooks, and I love how it looks! I'm very happy with how it came out, and for another free DIY, I have no complaints.


Comments
Join the conversation
-
Great idea, I will be trying this for sure. Thanx
-
So glad to see this! Thank you!


Frequently asked questions
Have a question about this project?