


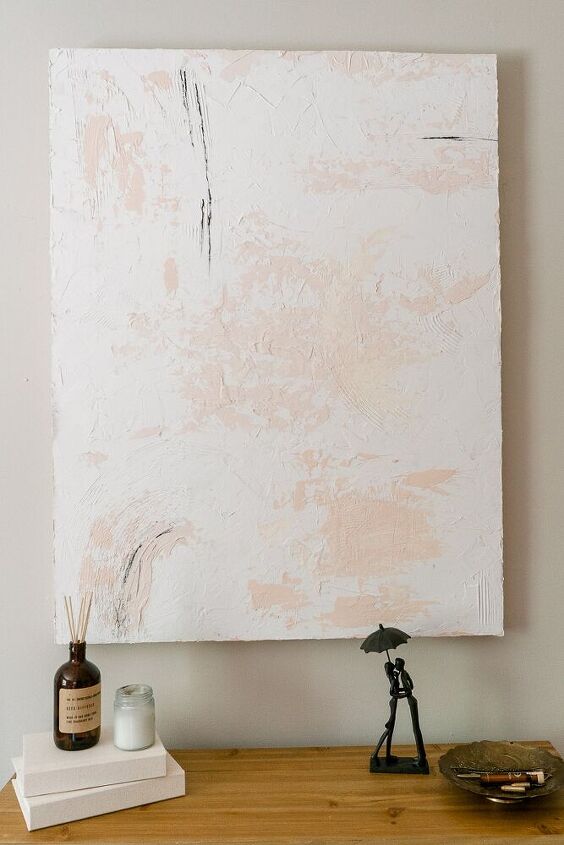
DIY Textured Abstract Wall Art for Less Than $30

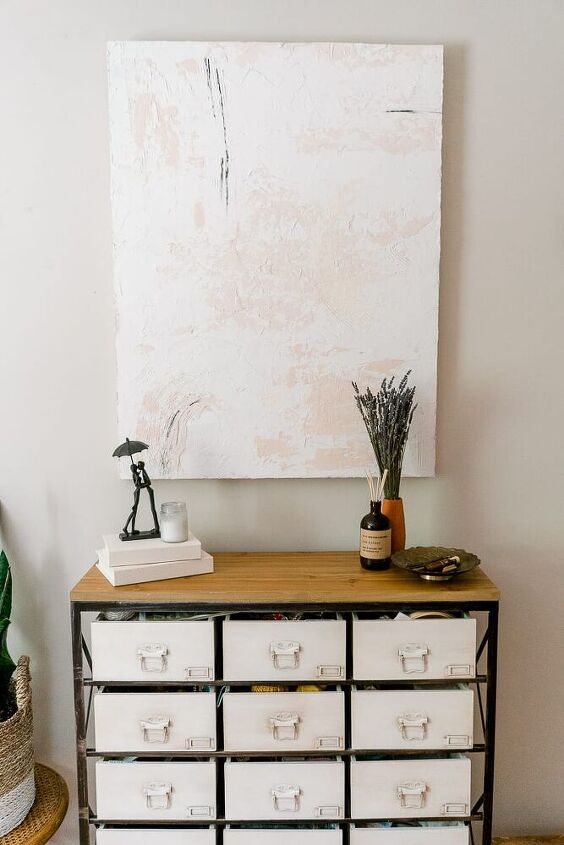
I recently started an impromptu office makeover. After rearranging some furniture, I got a space above this beautiful industrial storage unit. I decided to fill it with DIY textured art, and today I'll show you how to create textured wall art for your home for less than $30.
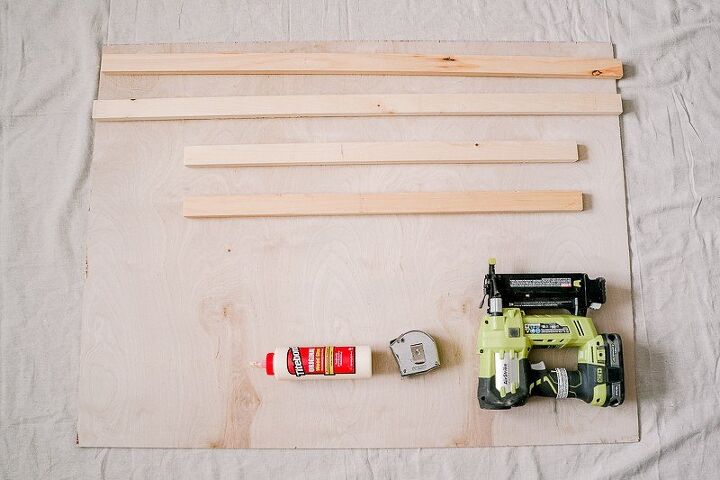
You'd simply need (2) 1x2s and an 48x48" underlayment mat.
You can ask Home Depot to cut that for you to the right dimensions.
When you have all materials ready, attach 1x2s to the underpayment using wood glue and Brad nailer. Drive nails from the side of the plywood. I made a mistake first, it's a funny story, you can watch it on YouTube ;D
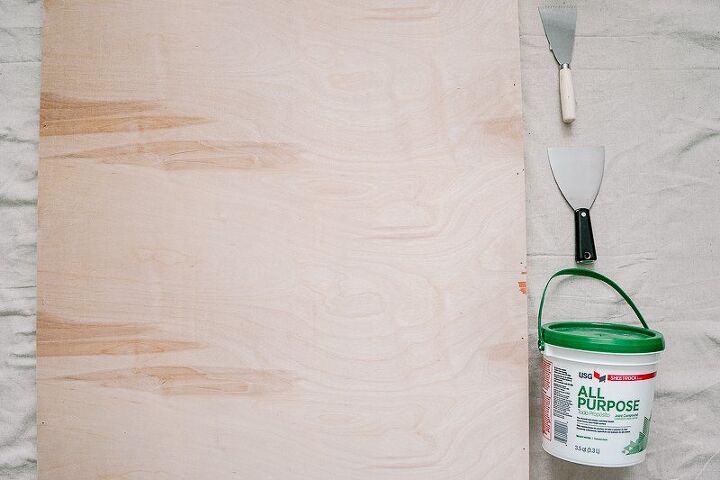
Using your taping knife, apply joint compound to the plywood. You can go in any direction. Use as wide, or narrow a taping knife as you want! There are no rules! And even if there are any, this would be a perfect place to break all the rules!
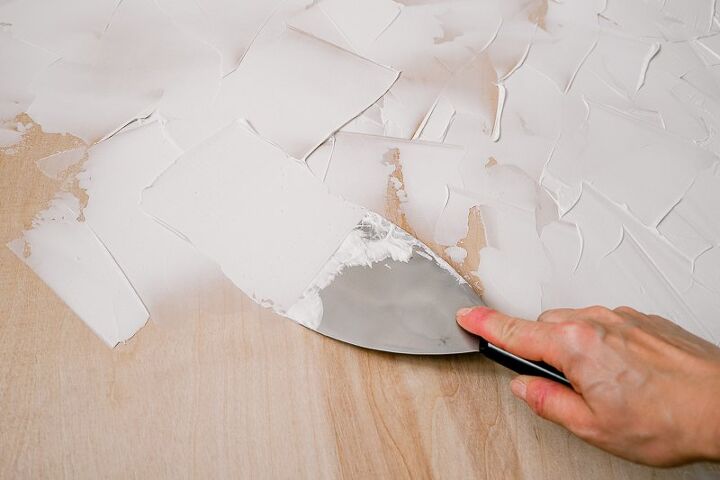
Use different notch trowels to create different textured effects.
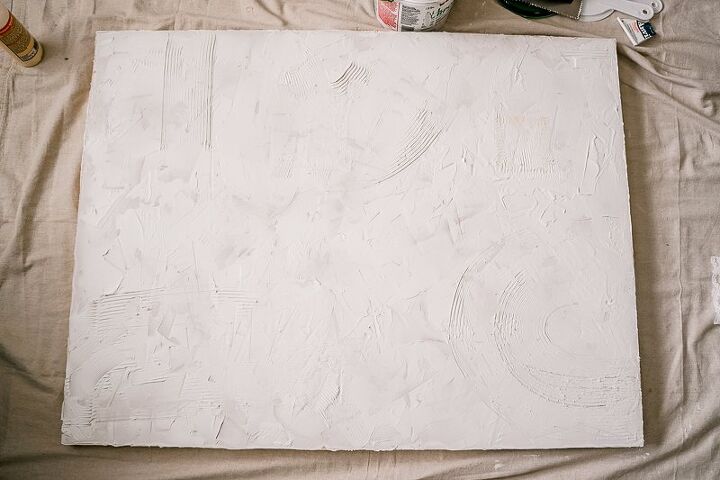
I let the first layer of the joint compound dry for almost 24 hours. I think it was already dry after 12.
Read about how to hang heavy art and more tips on how to get more texture on my blog.


Frequently asked questions
Have a question about this project?
I think you are such a creative person!! I enjoyed watching the project grow and become beautiful. I might try it?? Also, will you share where you bought the small sculpture of the couple kissing under an umbrella? Thank for sharing. God bless you in your future crafts! Carole Lee