


DIY Thrift Store Farmhouse Sign Makeover
I love a good farmhouse sign, I love crafting, and I also love thrifting, so when those three things came together for my DIY Thrift Store Farmhouse Sign Makeover, I was especially happy. 😁
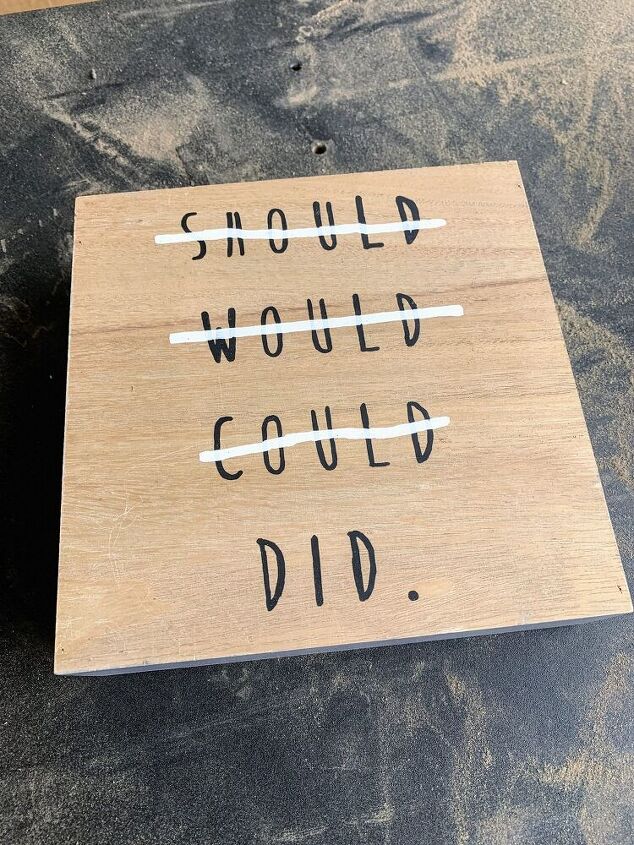
Recently, while poking around in a thrift store, I came across these two signs for just a couple of bucks each. Even though I didn’t particularly like the quotes that were already on them, I knew that without much trouble, they’d work perfectly for this DIY Thrift Store Farmhouse Sign Makeover project!
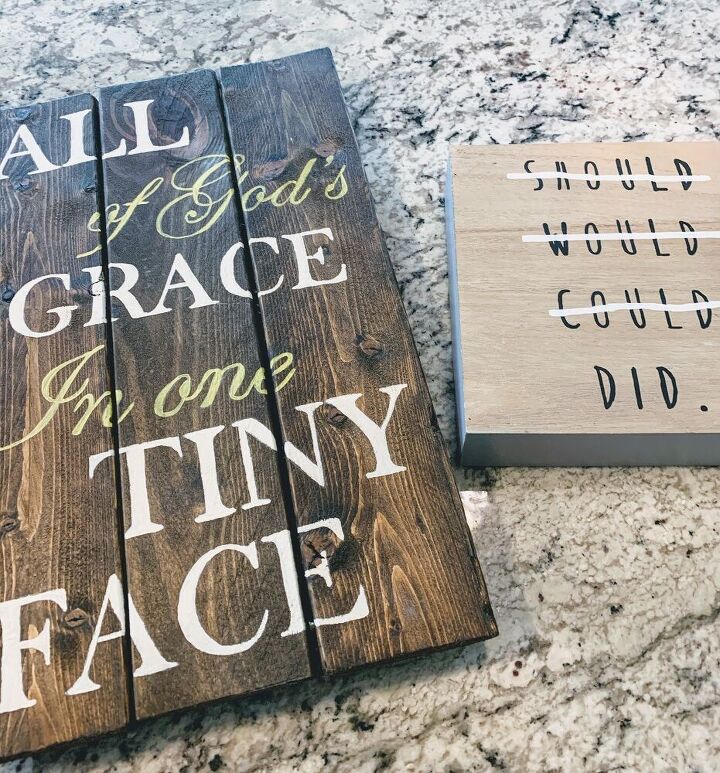
The first sign looks like it came from one of those make-your-own-sign workshops. My daughter and I did that ,pre-pandemic, and it was fun. But, I can guarantee you that whomever made the “All of God’s Grace in One Tiny Face” sign paid a whole lot more than 2 bucks for it. It’s a good solid sign, made from some hefty wood. Definitely worth the 2 bucks.
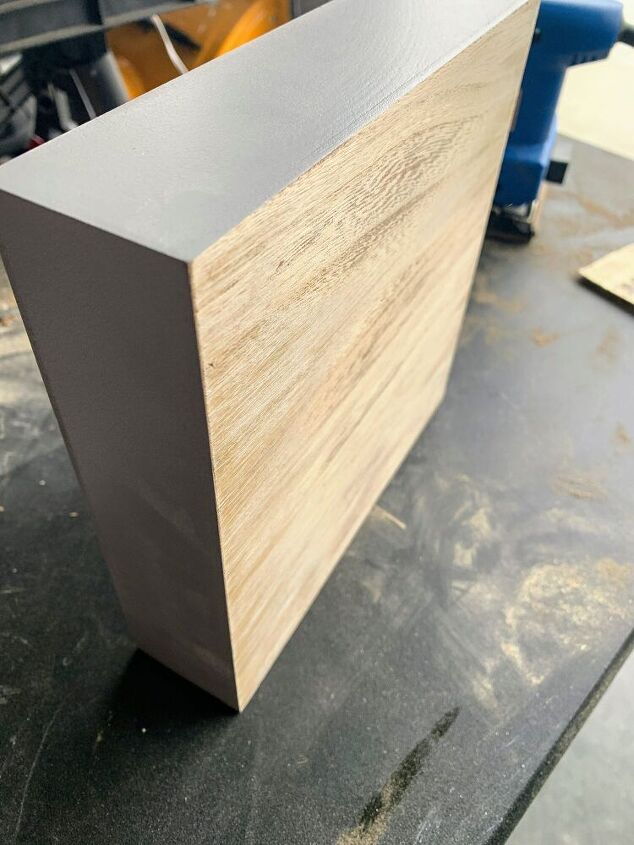
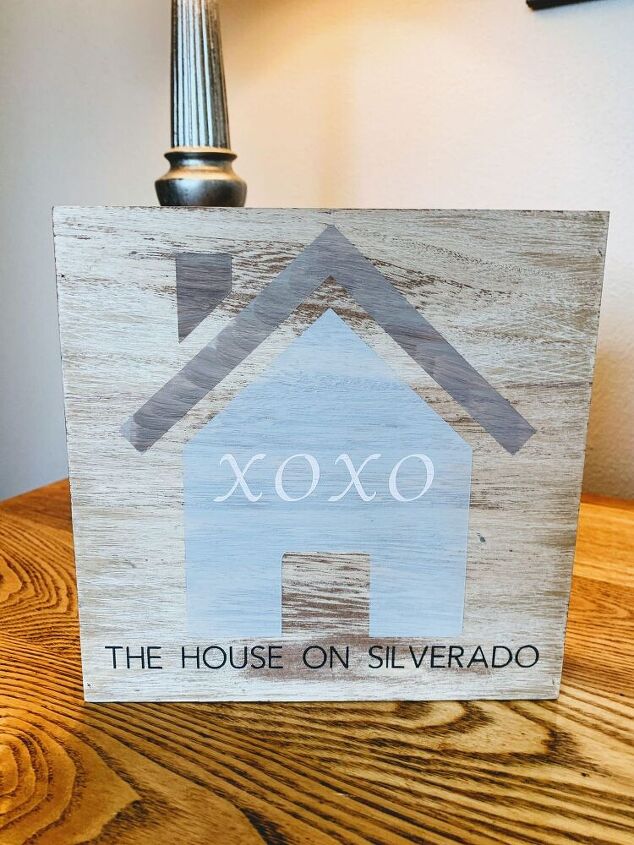
The other sign is a 3-dimensional, manufactured block wood sign. The sides were already painted gray, and I liked the natural wood front on it. The quote? Not so much.
Nothing an orbital sander and some coffee can’t fix….☕️
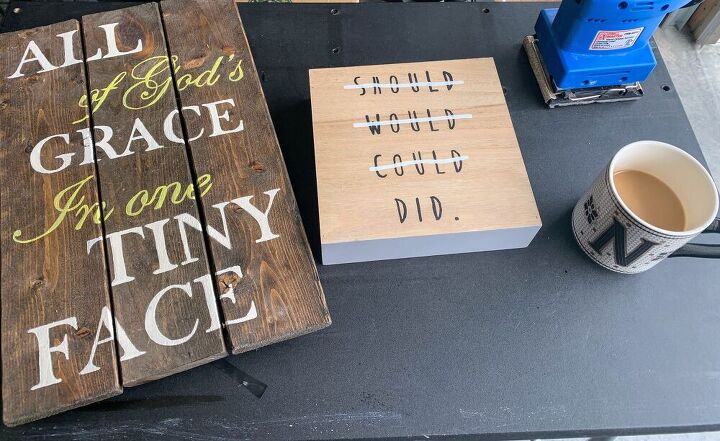
Okay, well the coffee might not be absolutely necessary, but it will make your project go more smoothly. That’s coffee’s super power.
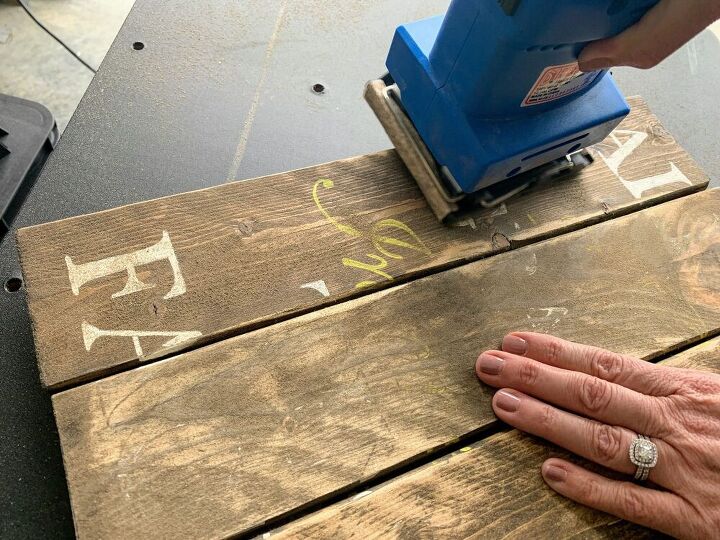
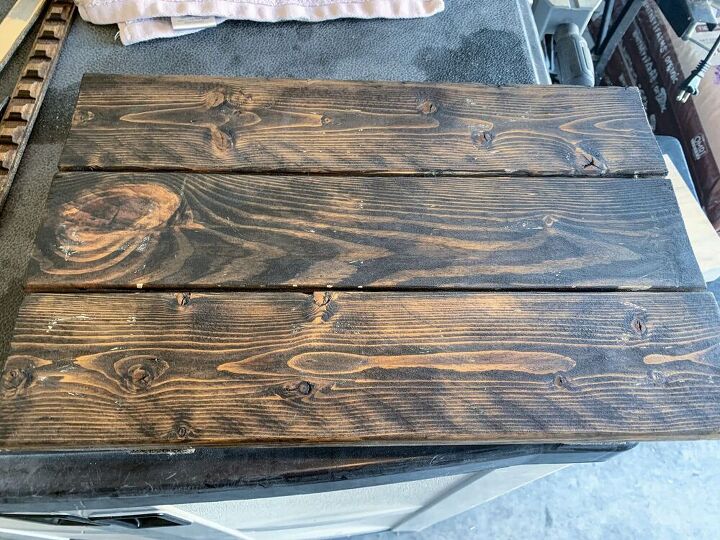
Using the orbital sander, the stenciled lettering came off like butter.

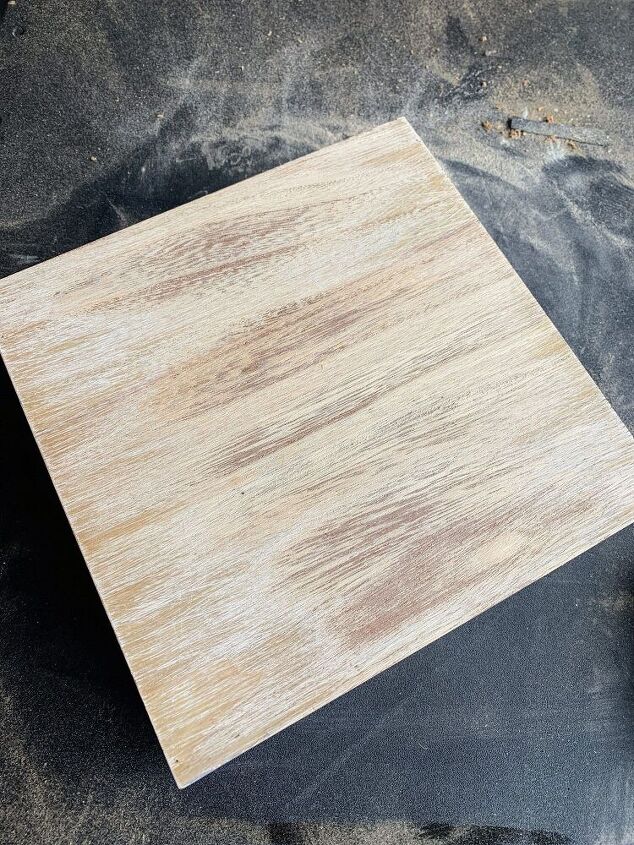
I was a bit more cautious on the wooden box, since it was thinner and hollow, so I used a hand sanding block for this one. Still, the painted lettering came off easily.
Stain
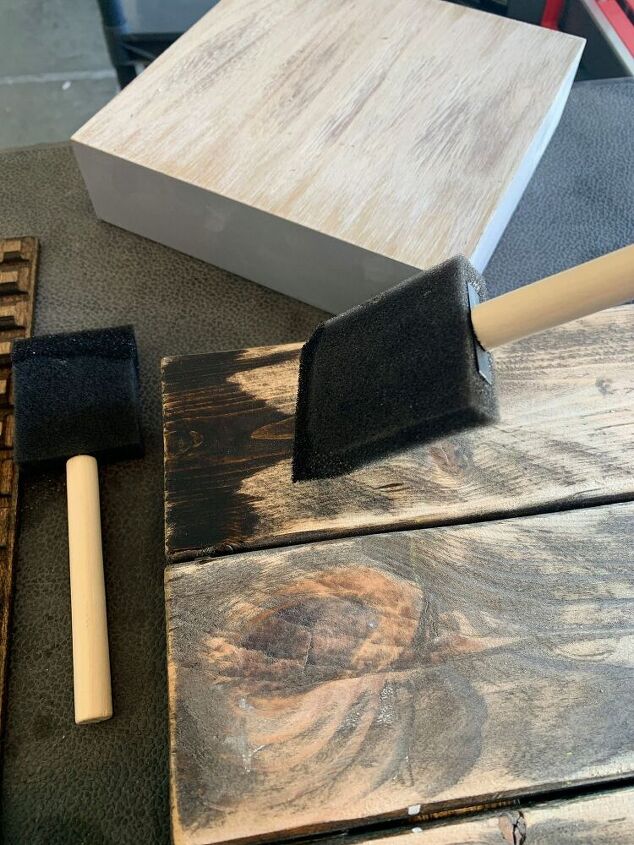
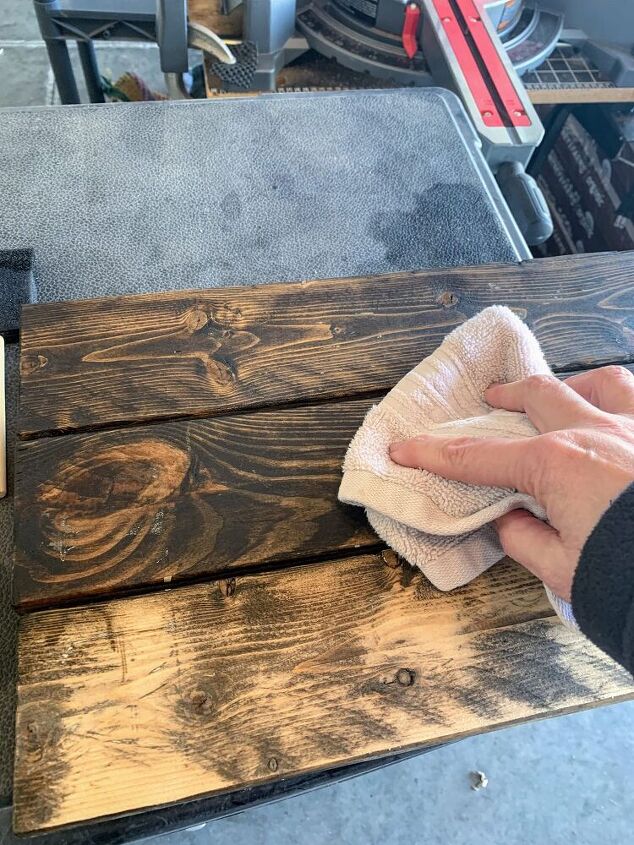
The box sign I left alone, but after sanding, the stain on the larger sign was pretty uneven. Using a can of stain left over from another project, I just brushed a little on with a foam brush, and then immediately wiped it off again with an old cloth. I didn’t want it to penetrate too deeply or be too dark, because I still wanted to see the wood grain.
Stencils
Using my Cricut, I created a couple of simple stencils. I decided the box sign would look cute in my office, so I made a very basic stencil with the name of my blog on it. This is why making your own signs is so fun– it’s one of a kind!

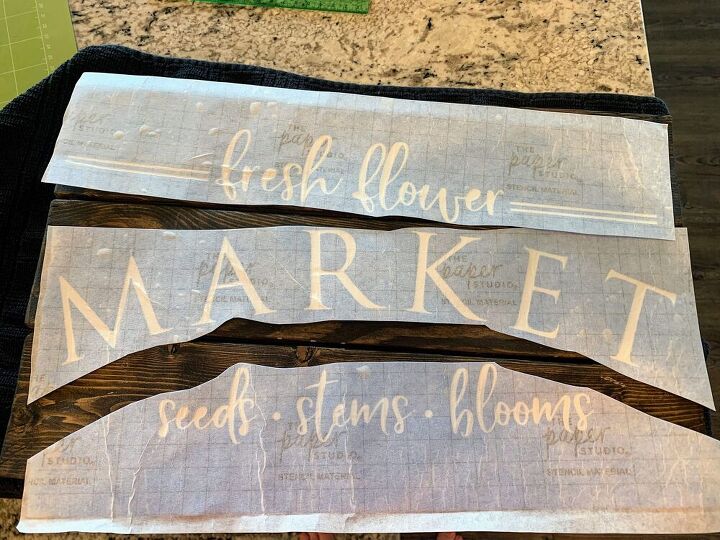
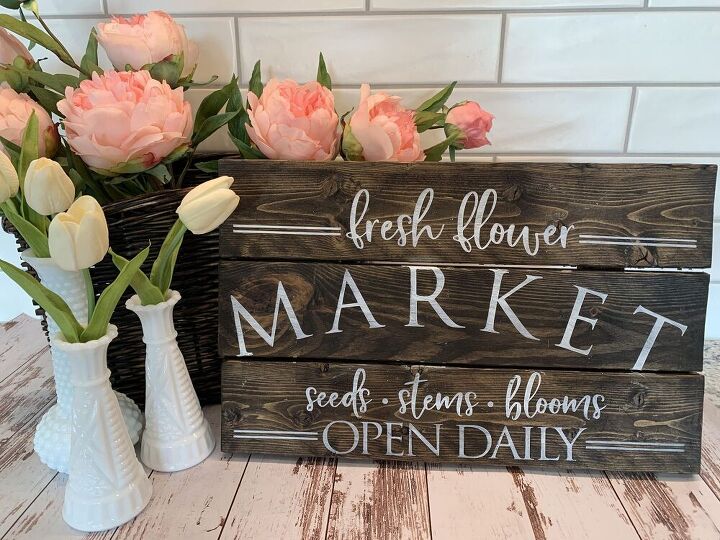
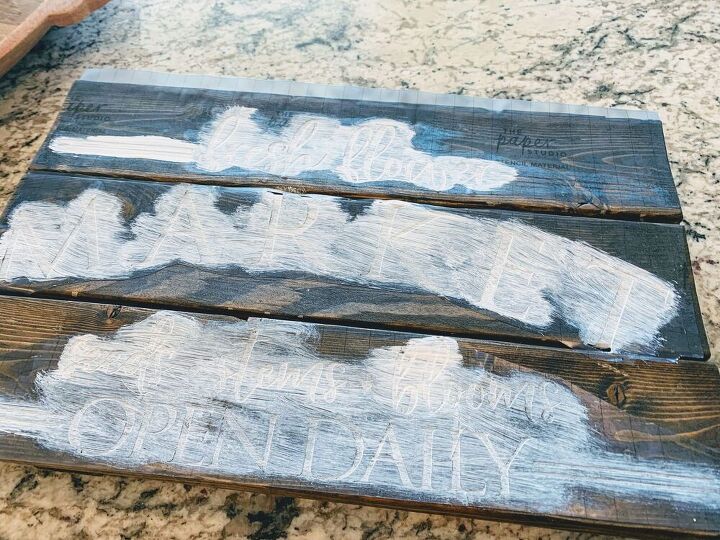
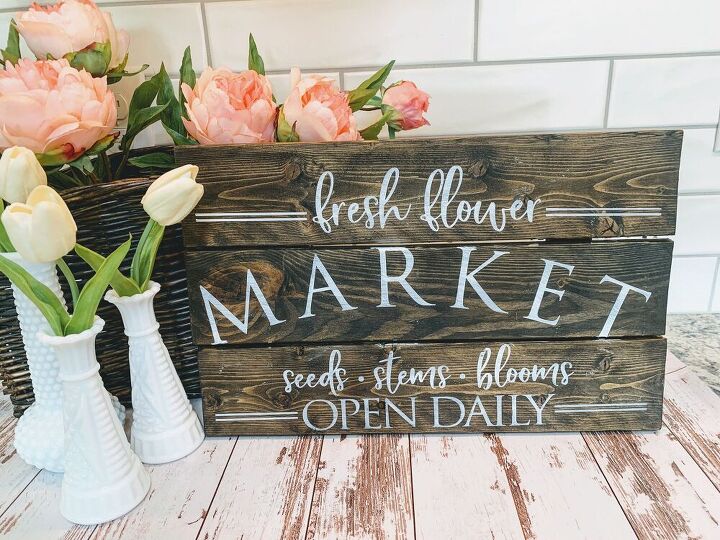
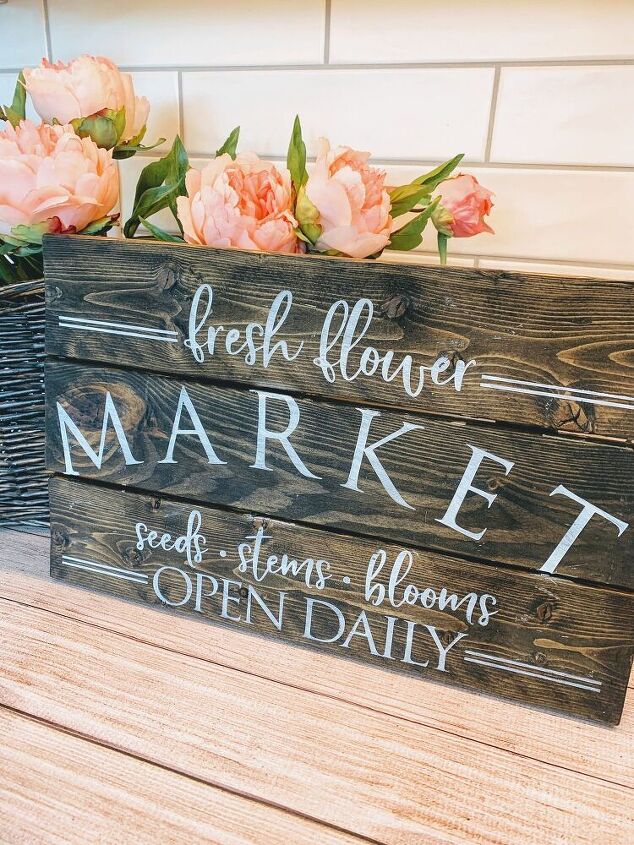
For spring, I decided I wanted a farmhouse-style flower market sign. I could have made the stencil myself on Cricut Design Studio, but there are so many free SVGs online that I took a quicker route. This one was nearly perfect for what I wanted, so I uploaded it into Design Studio, and cut it out on stenciling vinyl.
To get it to fit better on my three horizontal wood strips, I cut the stencil apart so I could line it up how I wanted. Transfer tape is the key to getting it situated precisely.
If you don’t have a Cricut, there are lots of pre-made stencils you can find to create your lettering. You could even use the free “print and trace method” I used for my Herb Box and my Fall Porch Sign. These methods are easy and work well, too! No Cricut necessary!
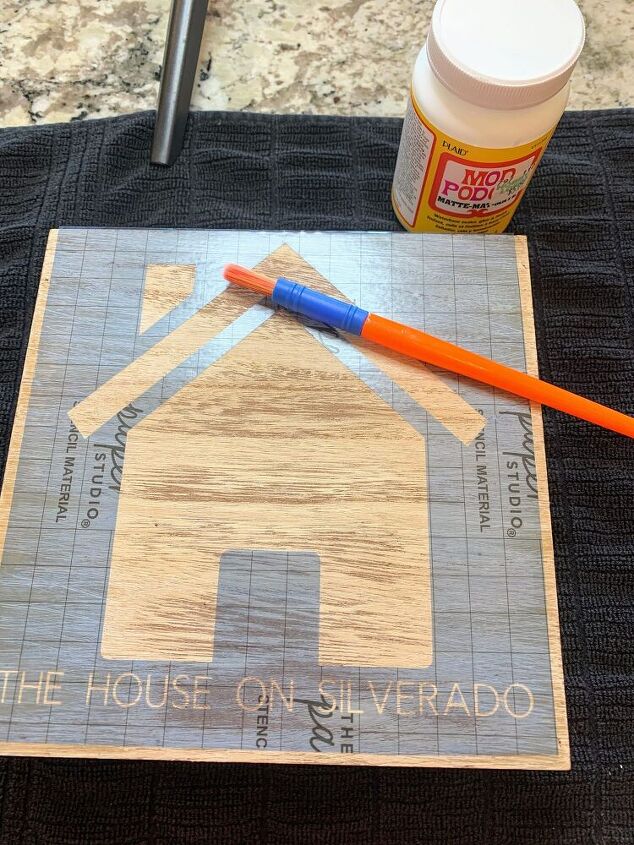
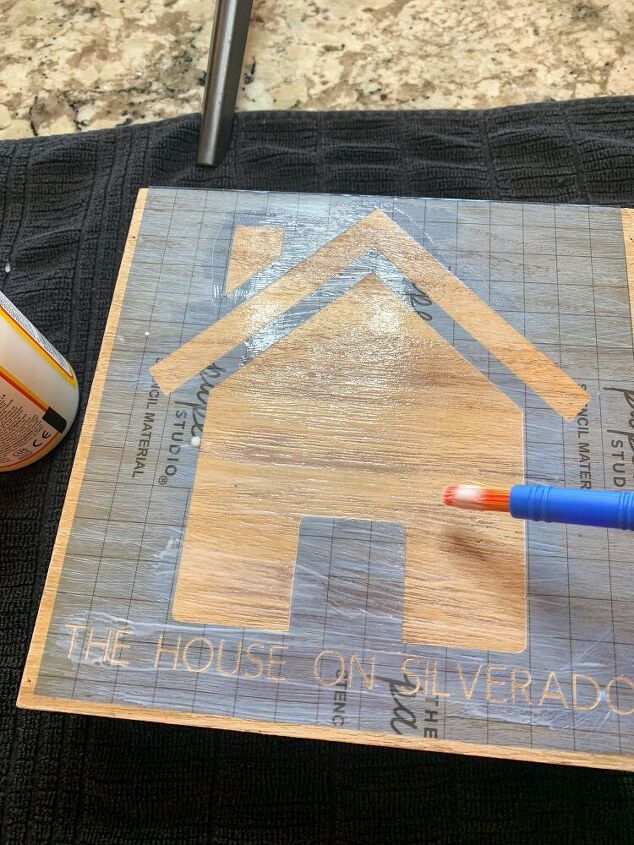
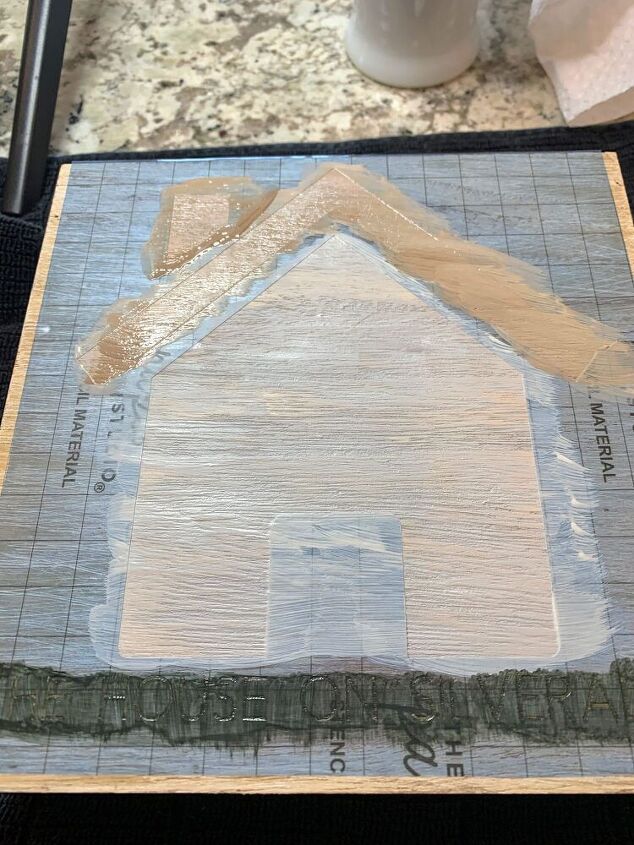
Mod Podge is my secret weapon for creating crisp lettering on any stenciling project. Simply fill in the stencils with Mod Podge first, let it dry and then use your choice of paint. The Mod Podge “seals” the edges of the stencil and prevents the paint from seeping under and making fuzzy letters. So easy, and it works like a charm!
Paint
I’m so happy with how they both turned out! Aren’t they so much better than how I found them?
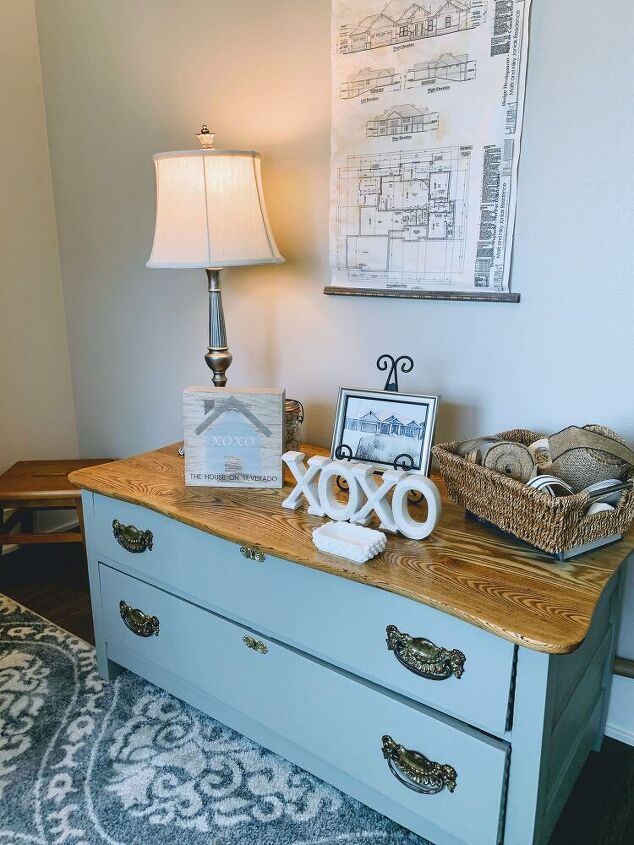
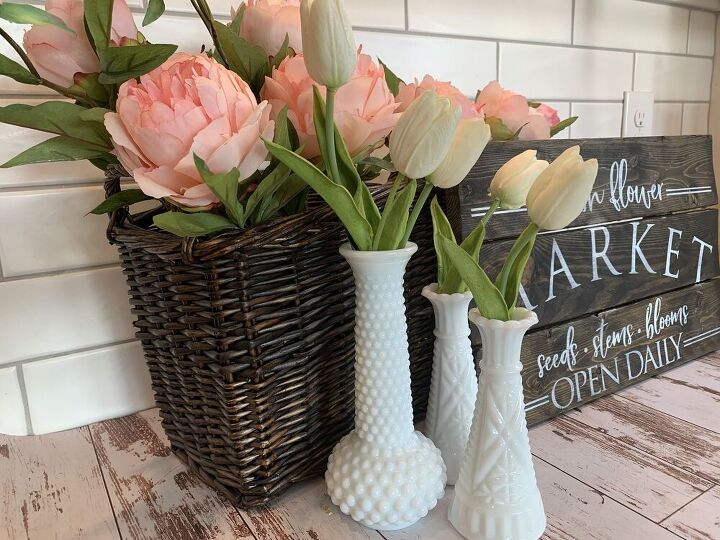

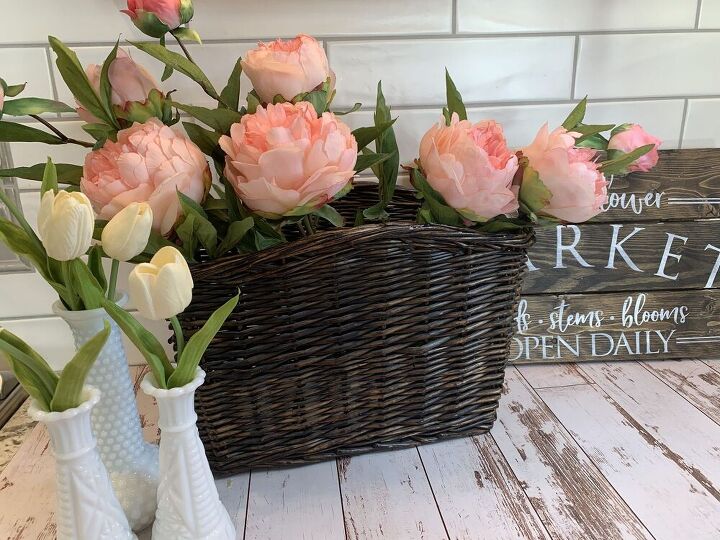
Do you enjoy thrifting? Can I just take a moment to also tell you that not only are my DIY Thrift Store Farmhouse Signs thrifted, but so is the basket and the white milk glass bud vases!
The basket will be perfect for a variety of uses throughout the seasons and I only paid $3.99 for it. The bud vases…. hold onto your hats folks…. were 10 cents each. I know! I mean, 10 cents is practically free, and you know how I love milk glass. Steal of a deal for sure.
Plus, on the same thrifting adventure last weekend, I came home with this vintage ironstone tureen for only 3 bucks. You can see how I used it in my Spring Kitchen Counters Pinterest Challenge earlier this week.
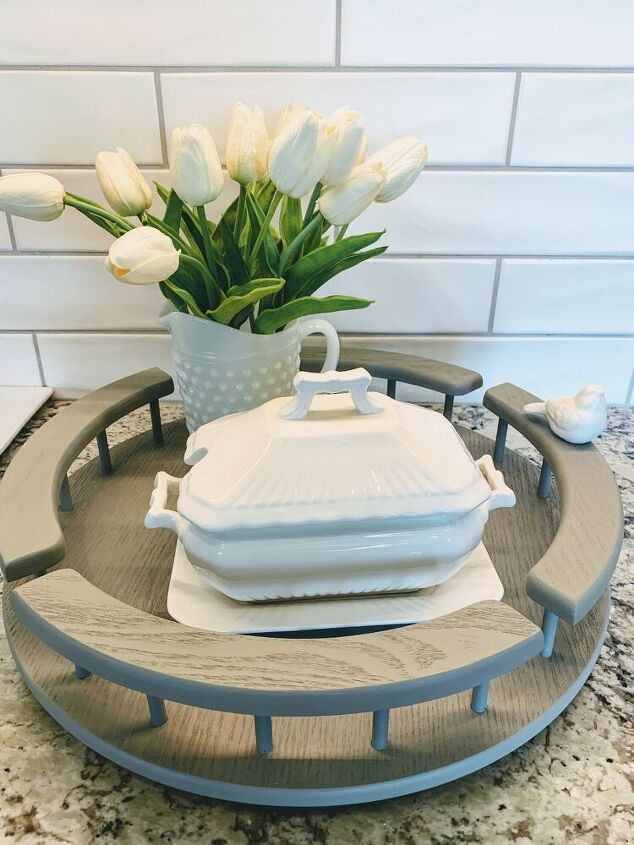
Remember this old lazy Susan upcycled with paint? Doesn't it look nice with my new finds?


Frequently asked questions
Have a question about this project?