


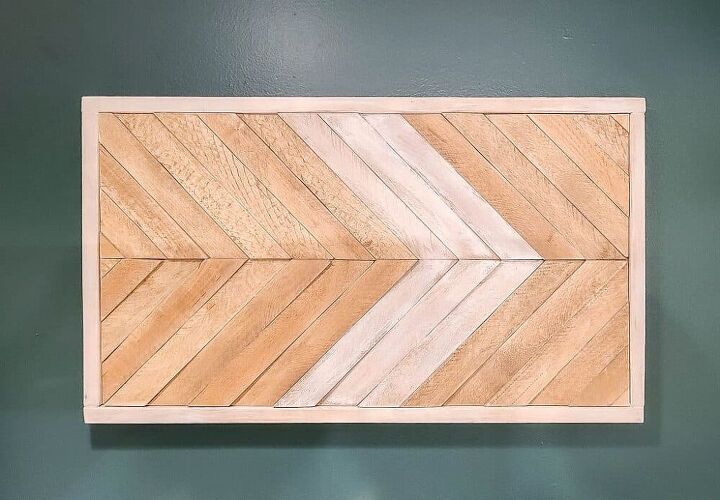
DIY Wall Art With Scrap Wood and Wood Shims
Looking for scrap wood projects? This easy DIY wall art project is the perfect solution to fill in an empty space. With scrap wood, I created this piece of wall decor with plywood and wood shims. Learn how to do this easy project with this step-by-step tutorial.
If you love this project, grab your quick start DIY guide & subscribe to our blog!
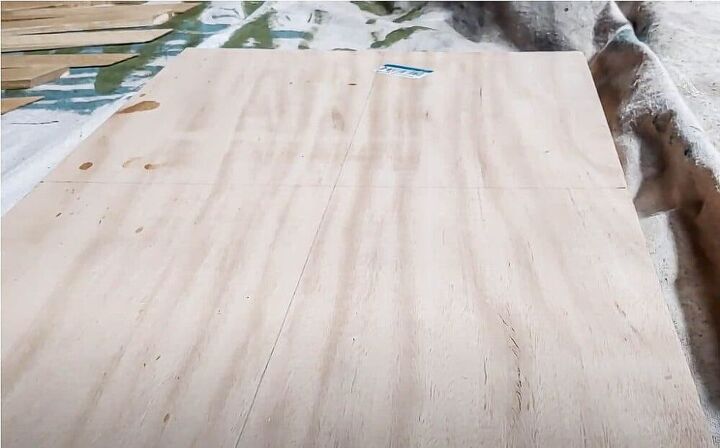
Step 1. Mark the center of the plywood board.
Every successful project begins with a center focus. Mark the middle of the plywood by drawing a “t” across the middle to find the center point.
This marks the center of the board and will help as you lay out the shims and progress through the project.
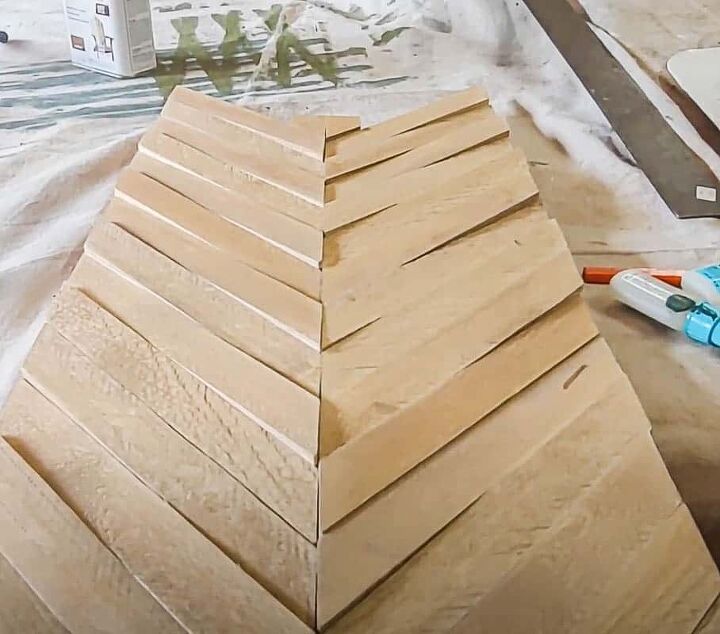
Step 2. Measure and mark the wood shims.
You will mark where the center of the board meets the shim and where the shim overhangs from the adjacent edge of the plywood.
To do this, place a square tool in the bottom corner of the plywood board to create a 45 degree angle. Place the shim against the edge of the square, so the shim overhangs off of the edge.
Then, mark where the shim intersects the center line, and where the shim overhangs from the adjacent edge. Feel free to darken and fill in the lines to make cutting easier. These lines will serve as a cutting guide to create those clean 45 degree angles.
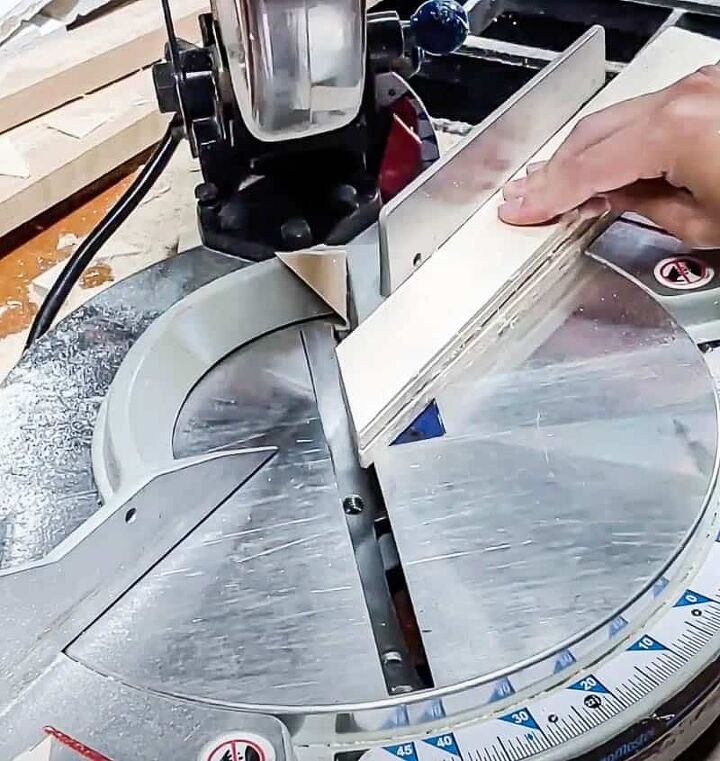
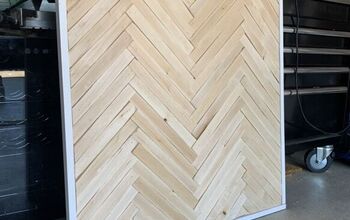
Step 3. Cut & sand the wood shims.
Using a miter saw, trim the shims using the markings you made in the previous step as a guide.
Then, lightly sand each shim, focusing on the corners, sides, and edges of each piece.
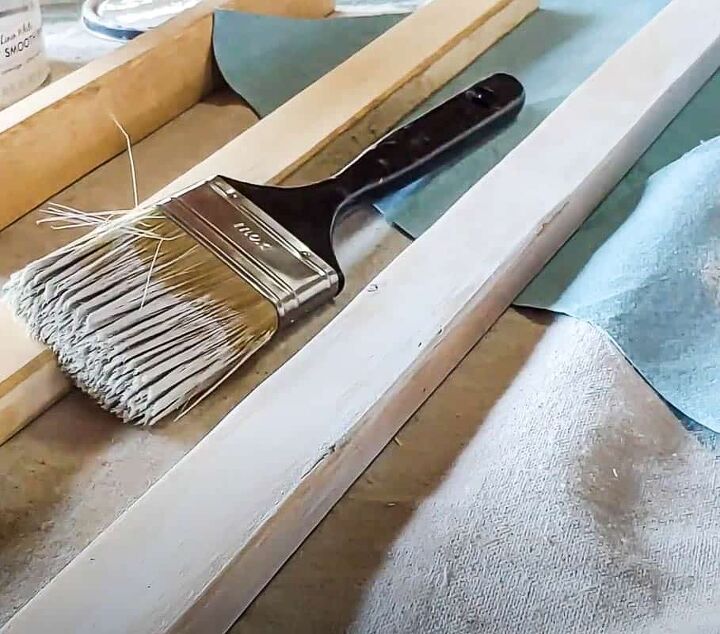
Step 4. Stain the shims.
Lay out all shims on a flat work surface. Using a paint brush, brush on the teak oil stain in smooth strokes.
Step 5. Glue the shims in place.
Step 6. Trim edges with a multi-tool.
Once the glue has dried and the boards are nicely adhered, trim the overhanging edges using a multi-tool.
Step 7. Sand smooth.
Step 8. Make the frame for DIY wall art with furring strips.
Step 9. Attach the frame with a brad nailer.
Step 10. Tape off and paint shims (optional)
To add your own unique style, you can tape off a few shims with painter’s tape and apply paint or stain to the others for a contrasted look. I also like to use the dry brushing technique here, too.
Step 11: Fill nail holes
As a final step, fill in the nail holes using Wood Putty. This small detail gives it a more finished and refined look.
Step 12. Seal.
Before you are ready to hang, seal your piece with clear spray sealer.
Now, you are ready to hang and enjoy your new wall art!
If you love this DIY wood wall art, check out all of my DIY wall decor tutorials in the archive here!
Resources for this project:
See all materials


Comments
Join the conversation
-
I love this and have been wanting to make one. Thanks for shaing.
-
I actually did this in my pantry


Frequently asked questions
Have a question about this project?