


How to Make a DIY Baby Mobile Using Christmas Ornaments

I am so drawn to the Scandinavian decor style with its clean lines, soft natural color mixed with wood, and minimal clutter.
When I was shopping for a baby mobile, I didn’t find one that matched that aesthetic and instead found that most sold in stores have much more ornamentation and color than I wanted or cost much more than I wanted to pay.
A baby nursery is one of the most special places in the home and one of the best places for unique, handmade decor; so when I saw soft cream-colored llama ornaments at Christmas time I knew they were perfect for a DIY wooden baby mobile!
It is so easy to find several of the same Christmas ornament, they are perfect for hanging and stringing, and there are so many cute options, so stock up when they go on sale and try this tutorial to make one-of-a-kind decor for the sweetest room in the house.
You Will Need:
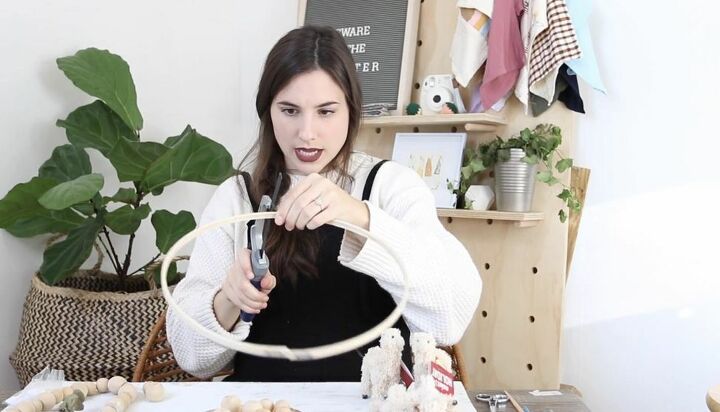
- Wooden Embroidery Hoop
- Saw or Wire Cutters
- Sandpaper
- Small Stuffed Animal Ornaments (I used 5)
- Wood Beads (I used 16)
- Tiny pompoms (to fit inside wood beads as stoppers)
- String or Embroidery Floss
- Needle
More DIY Embroidery Hoop Ideas
Step 1: Cut Embroidery Hoop in Half
I used a small saw to cut my embroidery hoop in half. Depending on the thickness of the hoop you use, you may be able to cut with wire cutters and then use sandpaper to very lightly sand any rough cut edges.
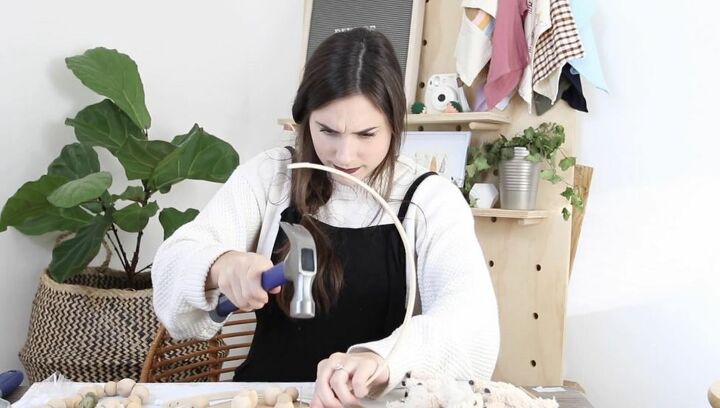
Step 2: Create Holes in Hoop
My embroidery hoop had two existing holes at the tip and so I made holes in the two ends that did not. I used a hammer to lightly tap a tiny nail into the wood to create a hole just large enough to fit my needle and thread through. Be careful to tap very lightly in order to prevent splitting the wood.
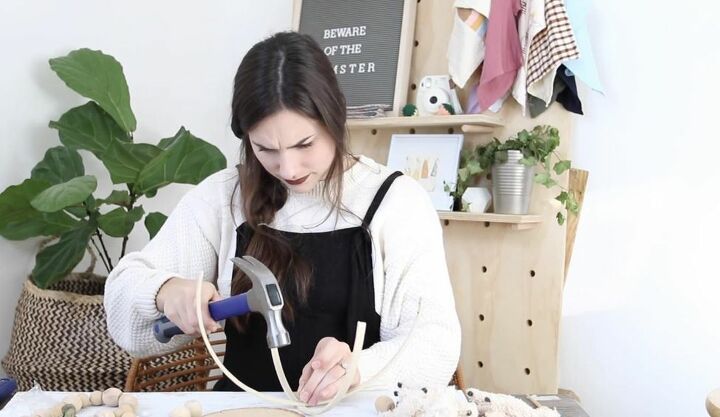
Step 3: Create Criss-Crossed Arches and Make Hole Through Center
I marked the center of both pieces and lined them up together. I turned the arch frame the pieces created upside down and hammered a nail lightly through both pieces to create a hole in the center.
Step 4: Attach Arches and Create Center String
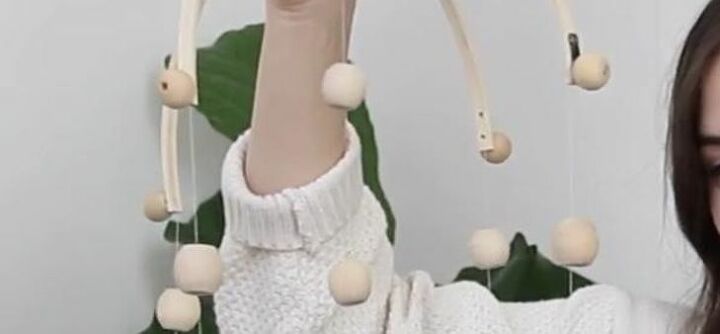
I used a needle to grab the end of my string. I started with the center string and made x’s over and under my arch shape sewing a bead on top and a bead on the bottom of the mobile frame, leaving a string hanging straight down from the top in the center of my mobile. The two wooden beads hold the arches together tightly and look lovely.

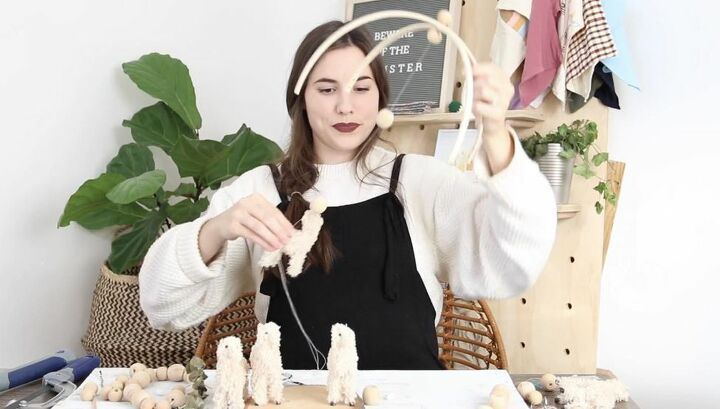
Step 5: String Wooden Beads
I inserted a tiny pompom inside my wooden beads to act as a stopper and keep the bead from sliding straight down the string. I used a needle to thread the string through each bead. Once you get the bead placement the way you like it on the mobile, tie a couple of small knots underneath the bead to get it to stay in place.

Step 6: Add Llama Ornaments to String
I used my needle to thread the string through the ornament hook loop on the back of the llama and when it was in the place where I wanted it to be, tied it off with a couple of knots. After adding the llama at the bottom of the string, trim off any excess string that remains.
Step 7: Create Remaining Strings
After I finished the center arrangement, I repeated the process with a llama and two beads on the remaining four arms of the mobile. Thread four pieces of string through each one of the holes on the four arms and add beads followed by a llama.
I placed the llamas on the outer four strings lower than the center one and the beads and llamas at approximately the same height as each other. You can stagger the height and placement any way you want depending on what ornament you choose to string. It looks great whether the ornaments and beads are symmetrical or placed at varying heights.

Step 8: Finish Arms with Beads
To finish my mobile, I glued a wooden bead on the tip of each arm of my mobile. This gives a polished finished look to the mobile and also helps disguise the edges of the cut embroidery hoop nicely.
Step 9: Hang Mobile
Hang the mobile in the space you and the baby will enjoy watching it! You could easily add a small eye hook to the top wooden bead and use that to suspend your mobile from the ceiling with fishing line. Be sure to keep the mobile safely out of reach of the baby.

My mobile turned out so adorable and looks even more amazing than I envisioned it! Christmas ornaments were the ideal material to use for my mobile and were a very inexpensive option.
They are lightweight which makes them perfect for hanging and come with a small loop built in to make stringing them so easy.
The options for a DIY mobile using Christmas ornaments really are endless and waiting until after Christmas when ornaments go on sale would make this even more budget-friendly.
DIY baby mobile
I could not be happier with the way my adorable llama Christmas ornaments combined with natural wood beads to create this gorgeous, inexpensive, baby mobile with the Scandinavian vibe I love for my home.
Have you designed and created your own baby mobile or other handmade nursery items to get exactly the look or theme you wanted for a baby’s room? Share your tips and tricks for DIY decor or find inspiration for how to personalize the sweetest room in the house on Hometalk!


Frequently asked questions
Have a question about this project?