


DIY Wooden Sign
6 Materials
$10
30 Minutes
Easy
Make your own budget savvy wooden sign for any area of your home with these super easy steps!
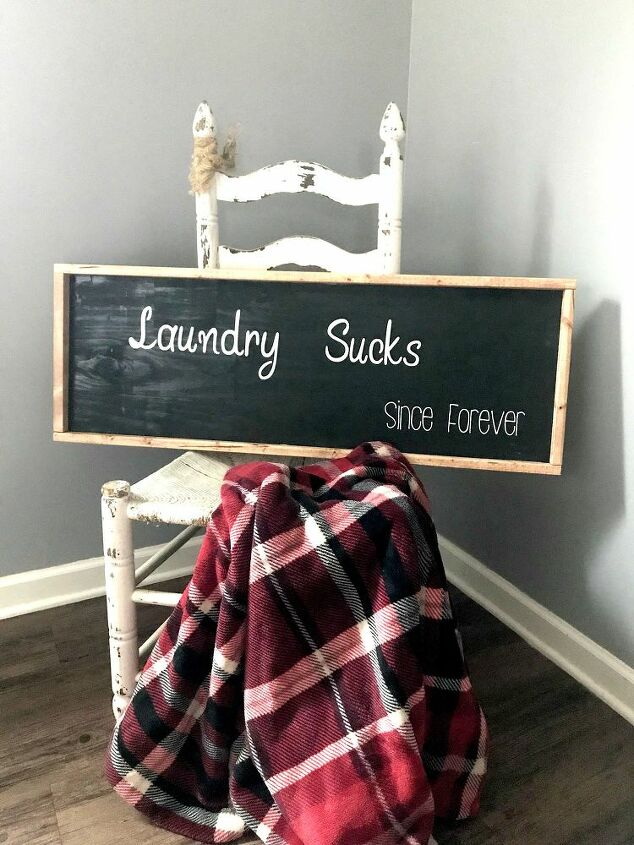
DIY Budget Savvy Wooden Sign
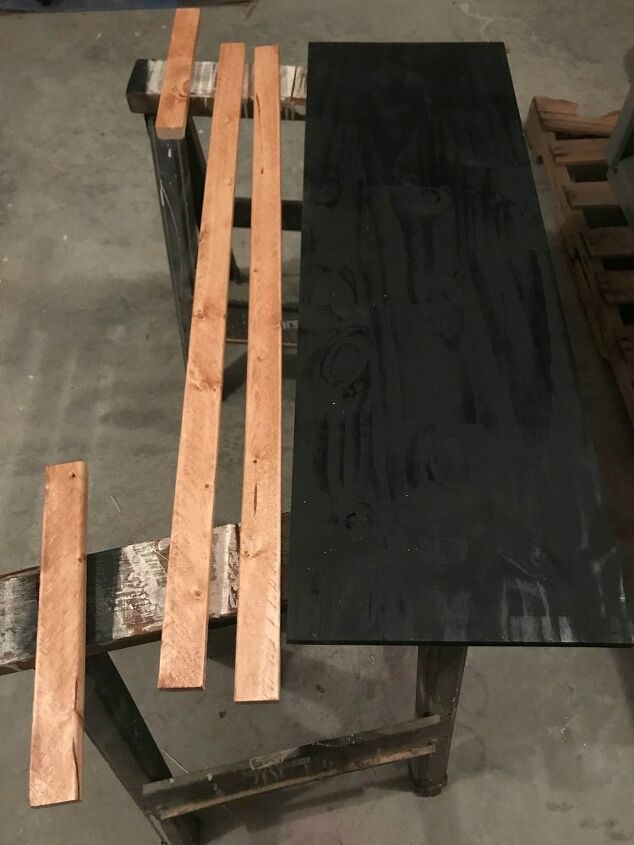
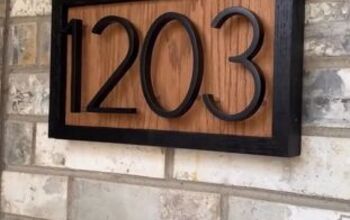
- The first thing I did was paint my panel with black spray paint. It took about two coats to get the coverage I wanted. While that was drying I cut the 1X2X8 into 4 pieces to go around the panel.
- Once you have the 4 edge pieces cut, stain them with your choice of stain. I like to use Minwax personally. To stain these pieces I used an old rag and simply wiped the stain on making sure it was even.
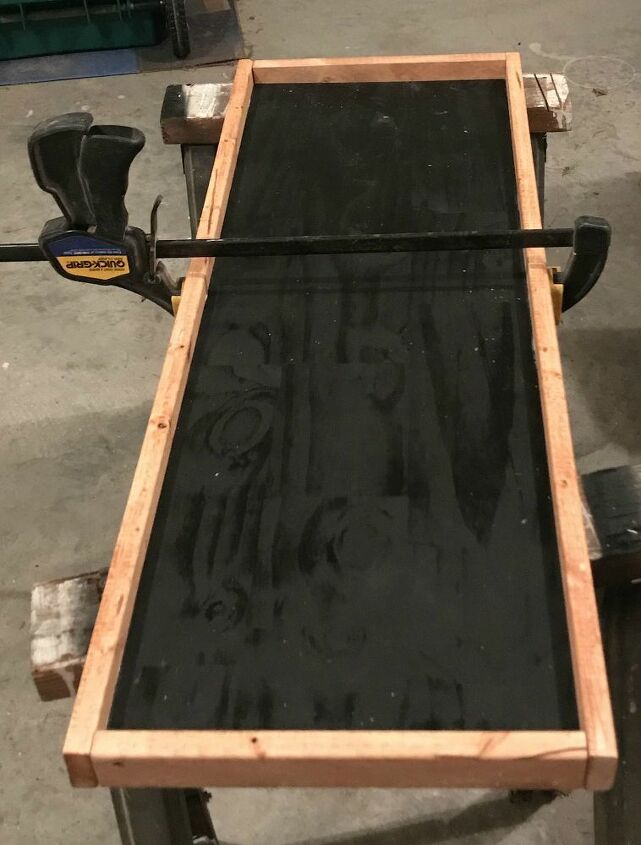
3. Fit the 4 pieces around the panel, apply wood glue & hold them into place with clamps. Then secure them with a few finishing nails.
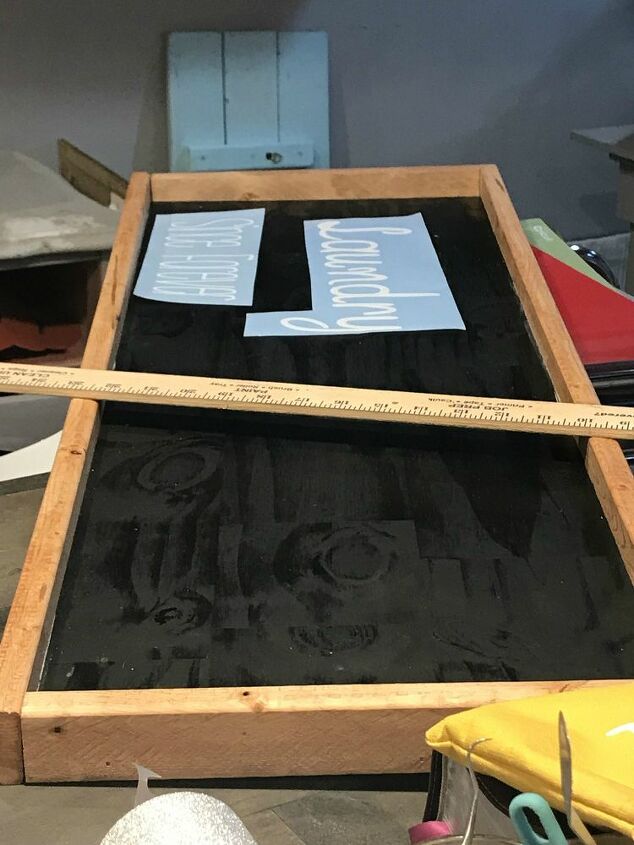
4.You can use stencils or vinyl for your lettering. I chose to use vinyl. You could even use regular stickers if you prefer.

Ta-Da fancy wood sign for half the cost of a pre-made one! This sign in stores is upwards of $60 but only $10 to make this super easy way!

Want more details about this and other DIY projects? Check out my blog post!


Frequently asked questions
Have a question about this project?
How did you cut the vinyl? It would probably be easy with something like a Cricut. Do you think it could be done with an Exacto knife?