


Easy Board and Batten in Our Small Entryway
This post is generously sponsored by Roborock.
I have been fighting with this space for a while now. It's our side entrance, that basically we and every one of our good friends use to get into our home. It's full of shoes, dirt, and doesn't feel fresh anymore.
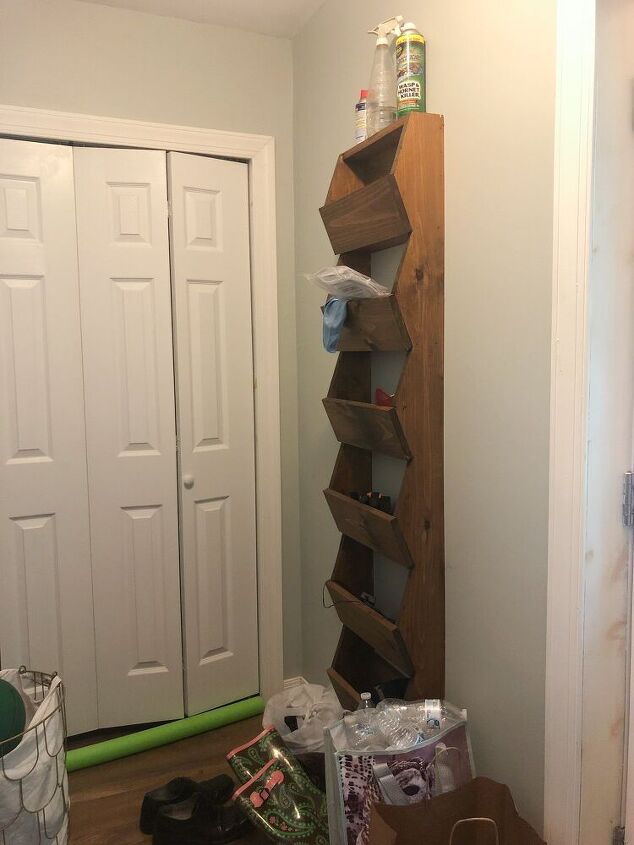
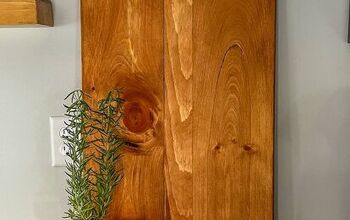
So I decided that the catch all wood organizer hanging on the wall needs to go and I wanted to add more board and batten to make the space cohesive since the other walls have board and batten as well.
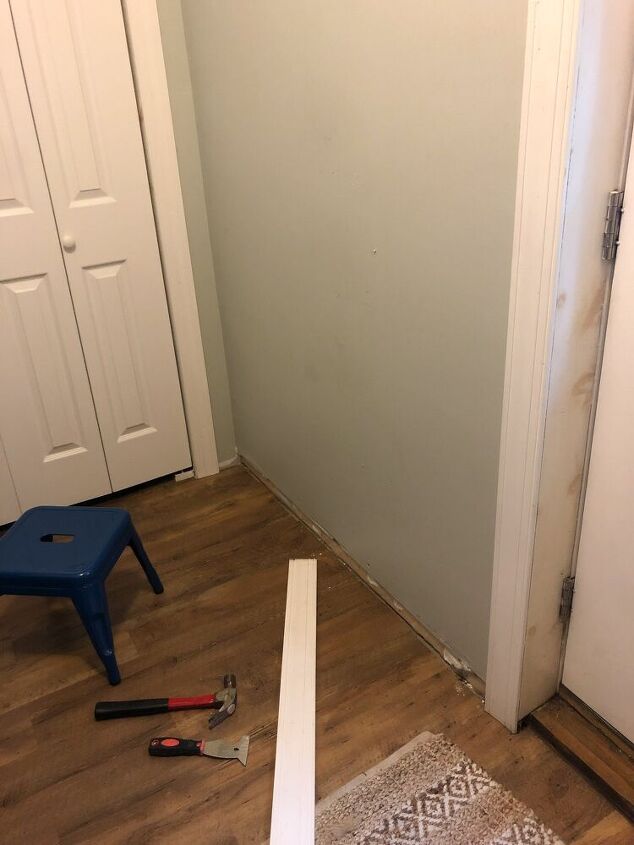
First, I removed the wood organizer as well as the base moulding. I wanted to match the rest of the board and batten so I purchased 1x3 primed MDF boards for the vertical pieces and 1x4 primed MDF boards for the horizontal pieces.
These boards are less expensive and don't have knots to contend with so they are perfect for this kind of project.
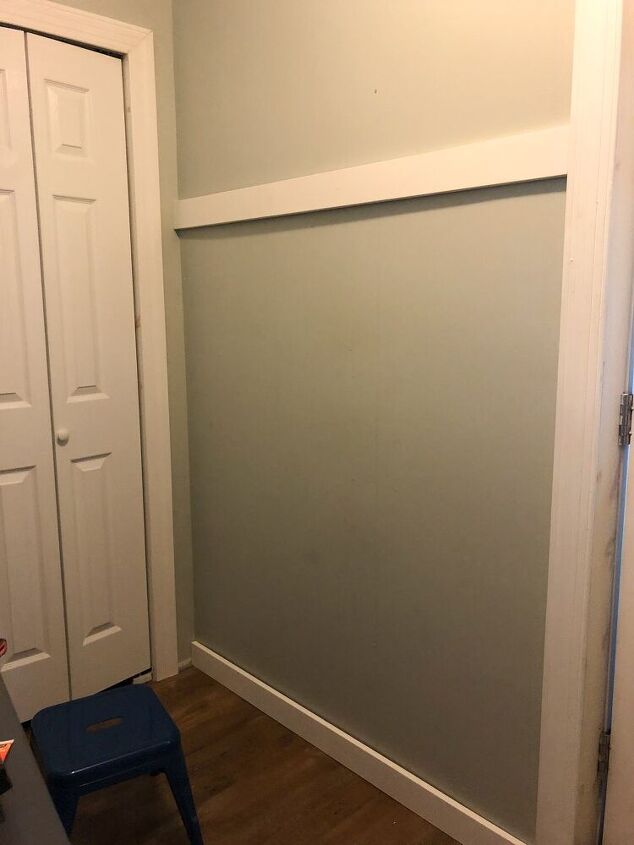
Using my miter saw, I cut the 1x4 to length for the base. I then cut another 1x4 to length for the top of the board and batten. I did these two boards first so I can accurately measure the vertical pieces.
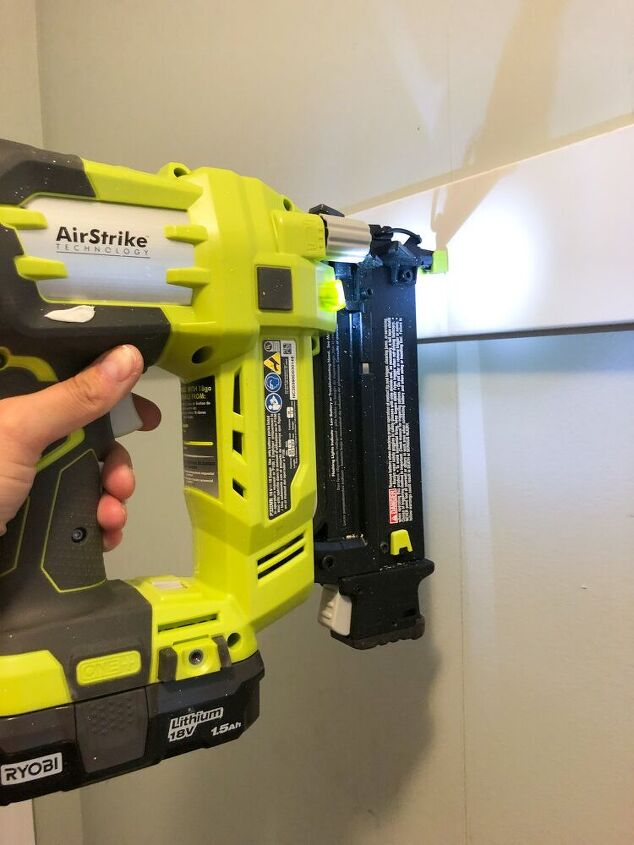
I used my brad nailer to nail the boards into the studs but you could easily just use a hammer and finishing nails.
From there, to get the spacing correct for the vertical pieces, I measured the length of the wall minus the width of the two boards, which in total were 5". That gave me the measurement of space between each vertical piece.
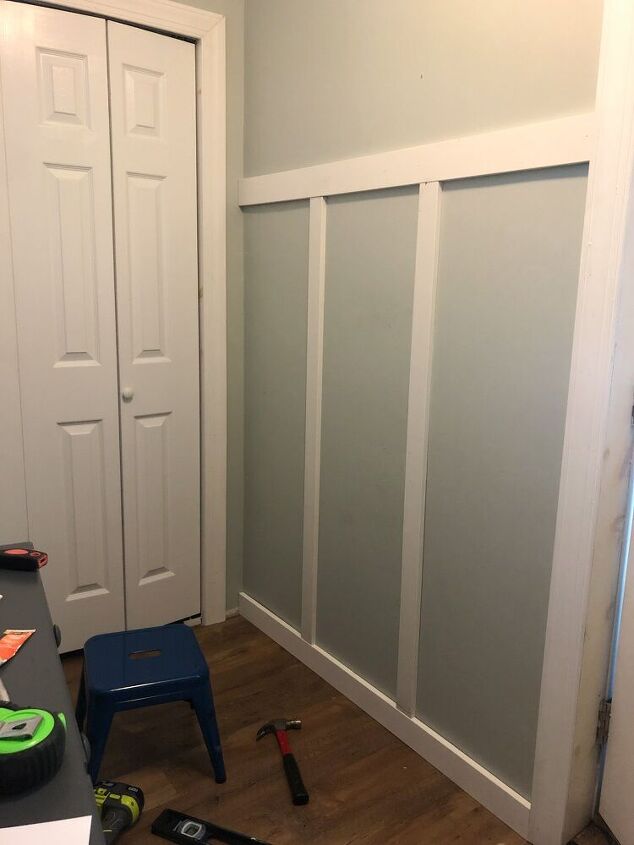
One of the boards was on a stud, so that was simple to nail into the wall, the other I used liquid nails as well and nailing it with my nailer for extra hold.
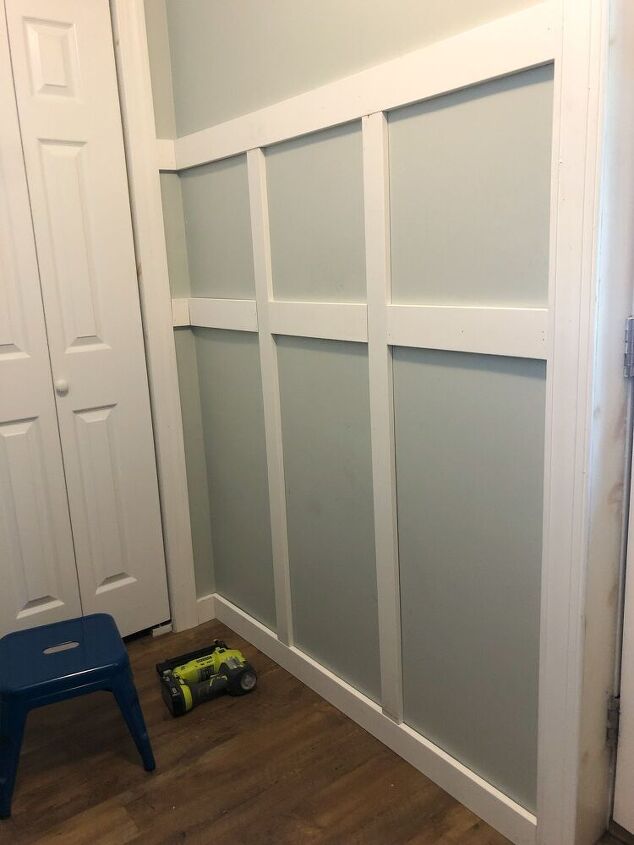
The next 1x4 pieces were cut to size to fit in between the verticals and that was it!
Of course with any project, caulk is your best friend. I used DAP caulk which is my favorite to go over any gaps in the wood and against the wall. When that was dry I gave everything one coat of simply white paint.
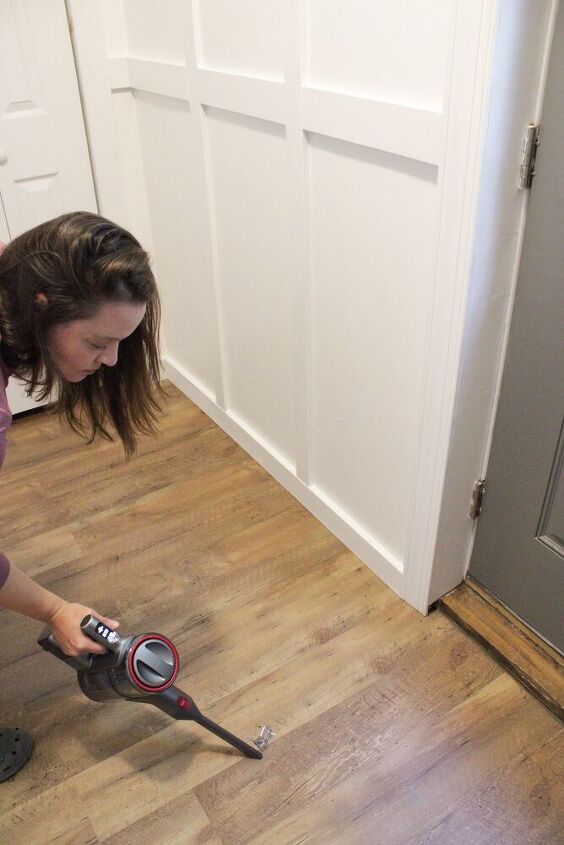
Since I was updating the space I decided to update the paint color on top of the board and batten as well. But before I could paint the new color, I needed to vacuum up the cobwebs and dust all around the corners of the ceiling as well as the other board and batten.
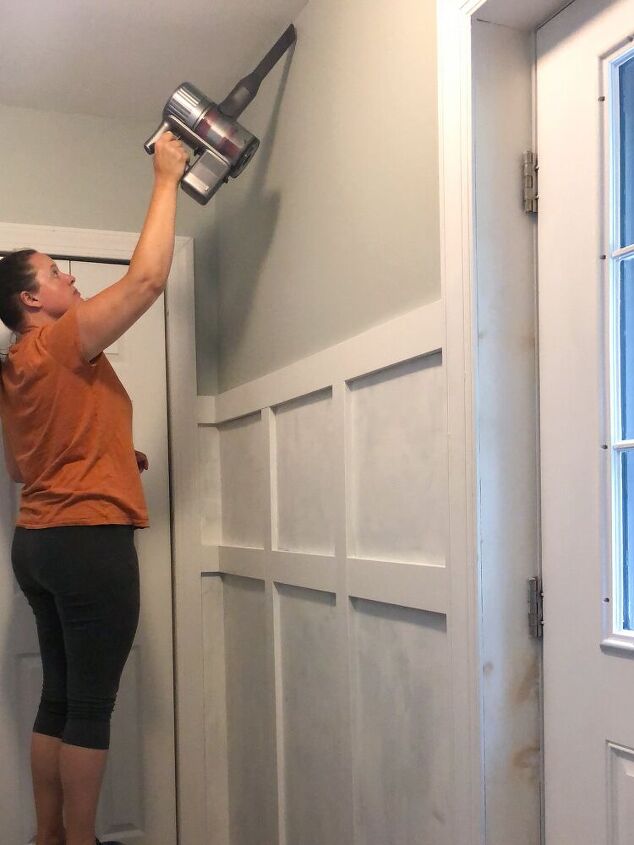
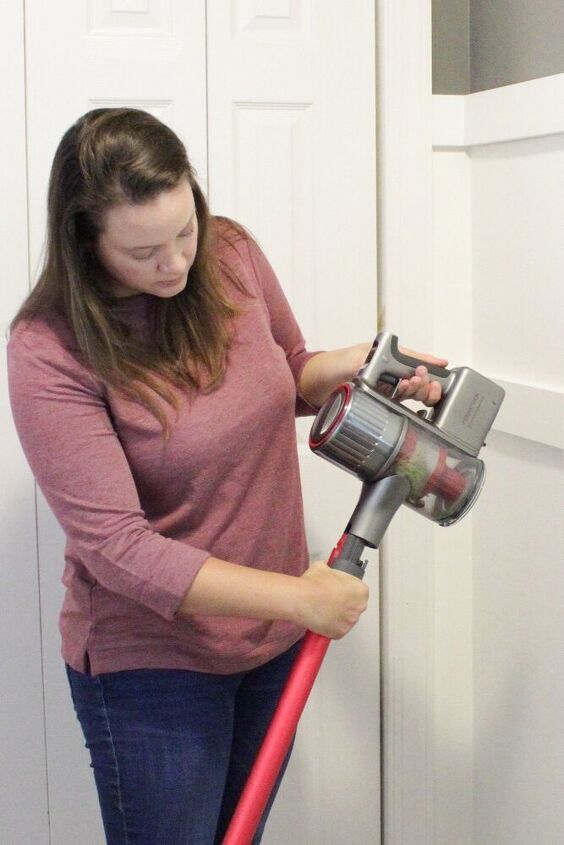
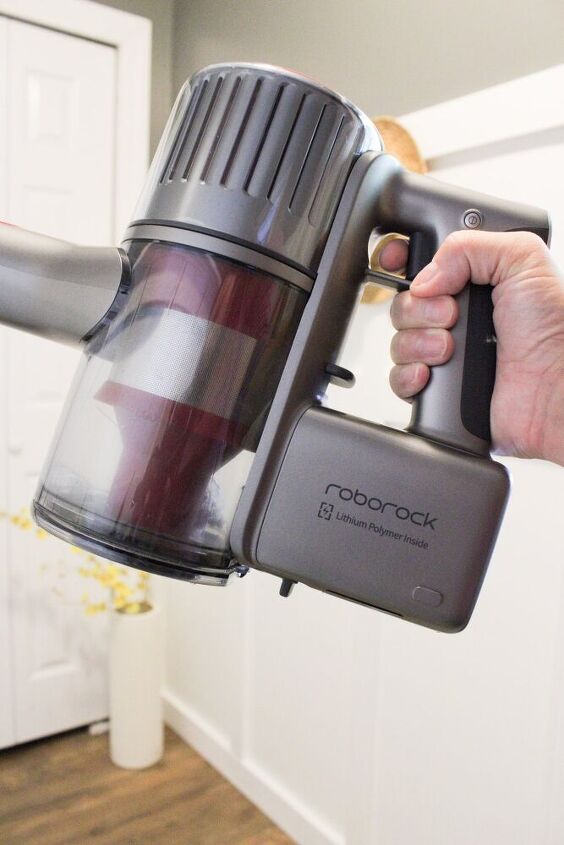
To make this task easier I grabbed my new Roborock H7 Cordless Stick Vacuum. This vacuum is so easy to use, lightweight and cordless. Switching out the attachments takes no time at all so I can easily move from the floor to the ceilings, to all the little edges the board and batten create.
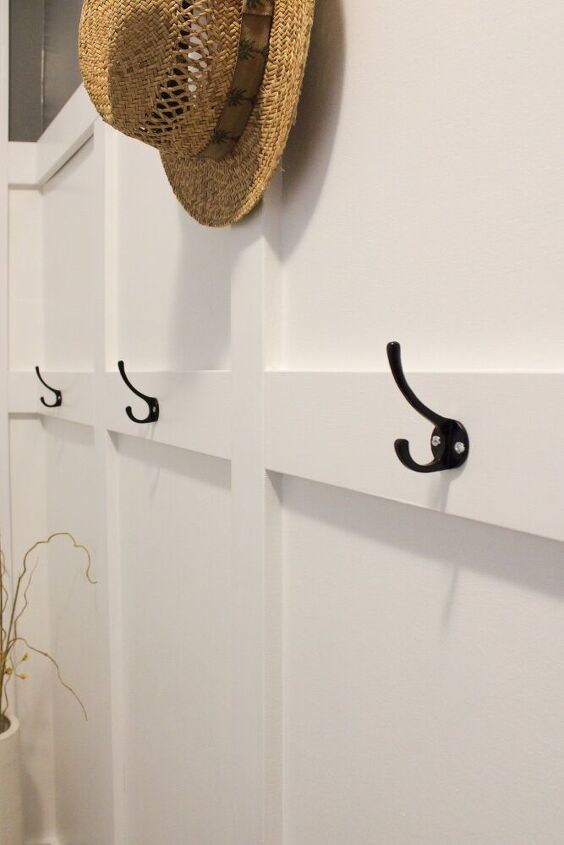
After painting the top of the walls, Amherst Gray by Benjamin Moore, I painted a second coat of white on the board and batten and added hooks from Hobby Lobby.
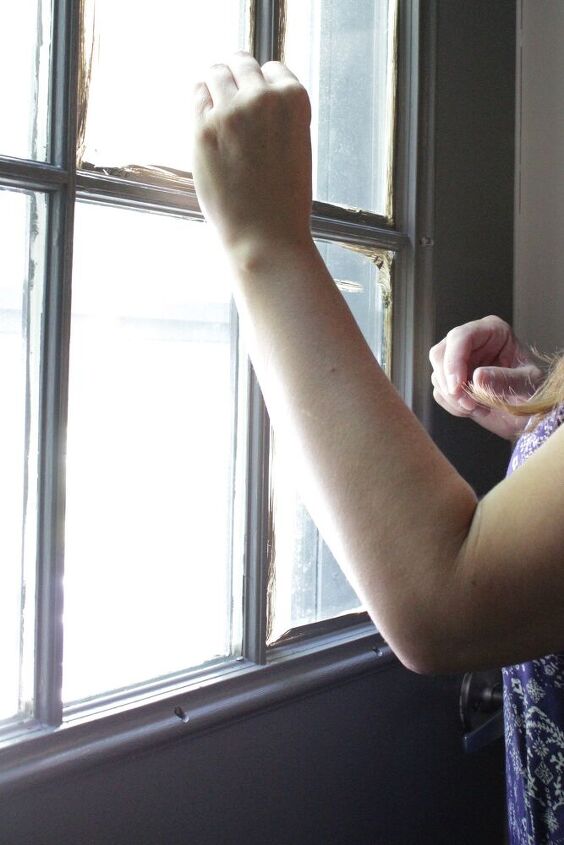
Shortly after that I decided to use up the rest of the paint and paint the door as well. Of course I am team scrape, not team tape. So when the scraping was done, cleaning up the debris of the scraped off paint was quick and easy using the H7 vacuum.
What a difference in this space! It looks so clean and a little more sophisticated. The Roborock vacuum will also be a lifesaver since this is where we all enter the house.
The kids track in dirt, sand after the playground, and salt in the winter. With the Roborock vacuum, it makes it easy to go from floor to rug, and switch out the attachments as necessary. Just a click!
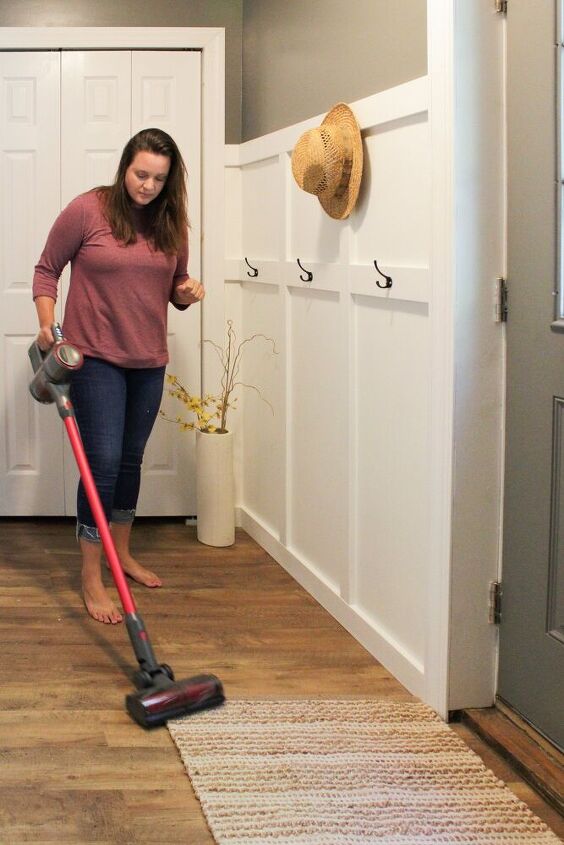
Doesn't it look so good? I love how fresh it looks!
Resources for this project:


Comments
Join the conversation
-
Love it! What a difference! I would place a bench (you could even make one) and place bins - or baskets) under for shoes or boots depending on season.
-
I have a laundry room I just repainted and think this might be the answer. Where dis all of the shoes end up being stored


Frequently asked questions
Have a question about this project?
What. Brand white paint did you use?? That looks beautiful!!
Is this post about your home project (nicely done) or is it a vacuum cleaner commercial?
Why are we being subjected to an ad for this vacuum? Not interested.