


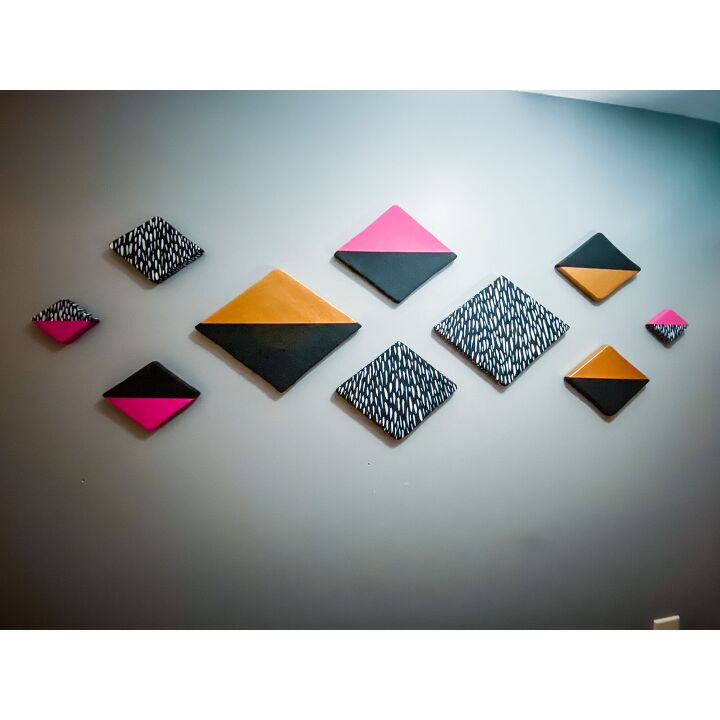
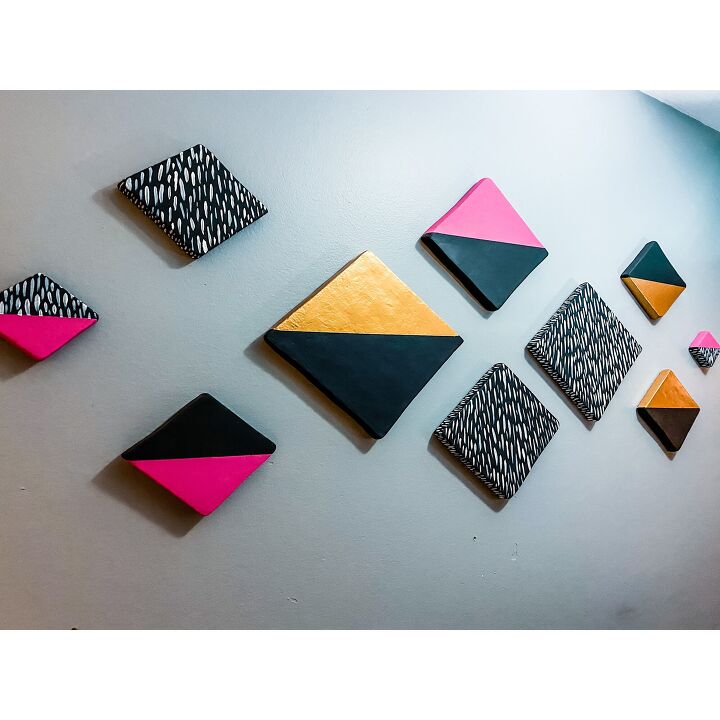
Easy DIY Foam Geo Wall Art

I came across this idea of Geo Wall art made out of styrofoam from this blog Here. It's an easy cheap project to do.
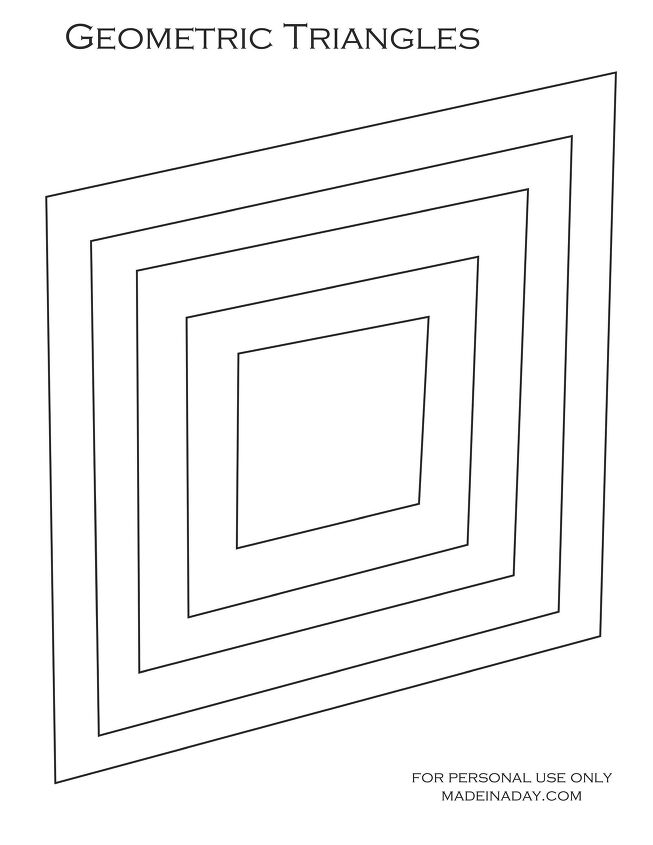
Print out a few copies of the triangle printable here
Cut out & trace the guide onto your foam pieces.
Then use a knife or foam cutter, cut out the Styrofoam pieces along the lines you just traced.
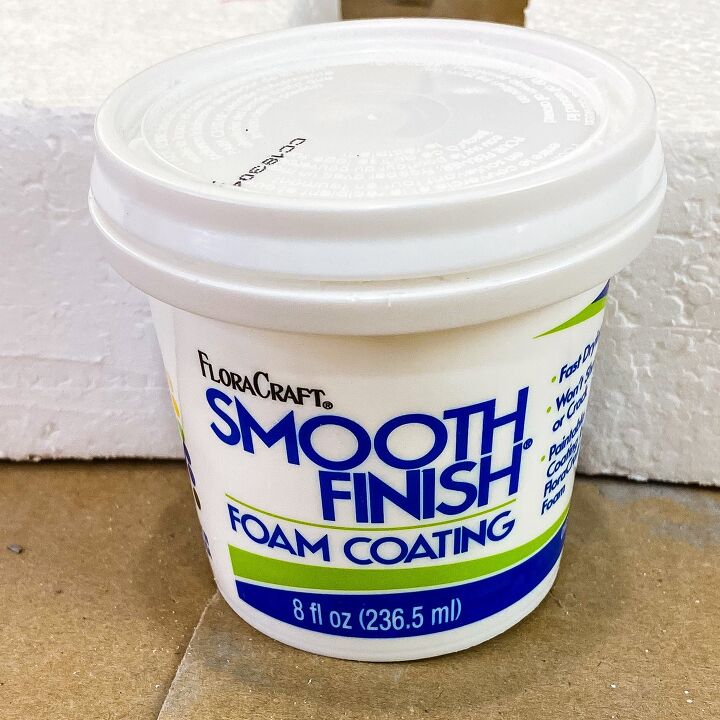
Now you'll want to take the spatula/ popsicle stick or whatever you have to apply the foam coating to the foam & do just that, lol apply the coating to the foam.
I ended up applying 3 layers total, letting each layer dry before applying another.
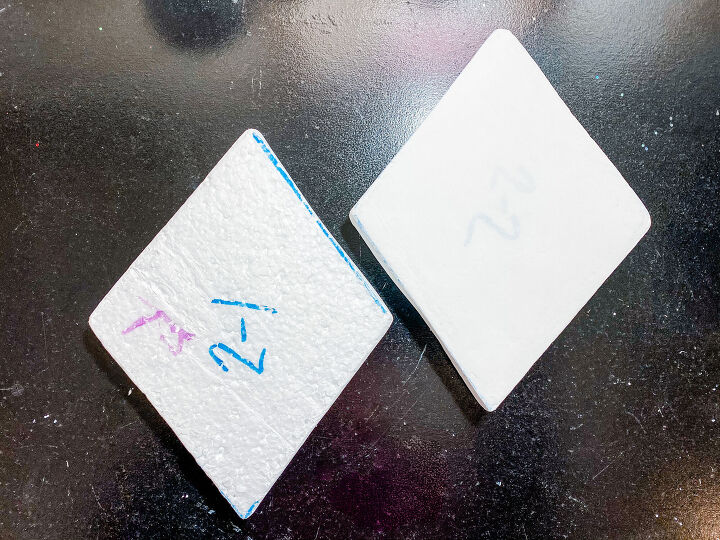
Then take a piece of sandpaper & sand down any sharp or jagged edges.
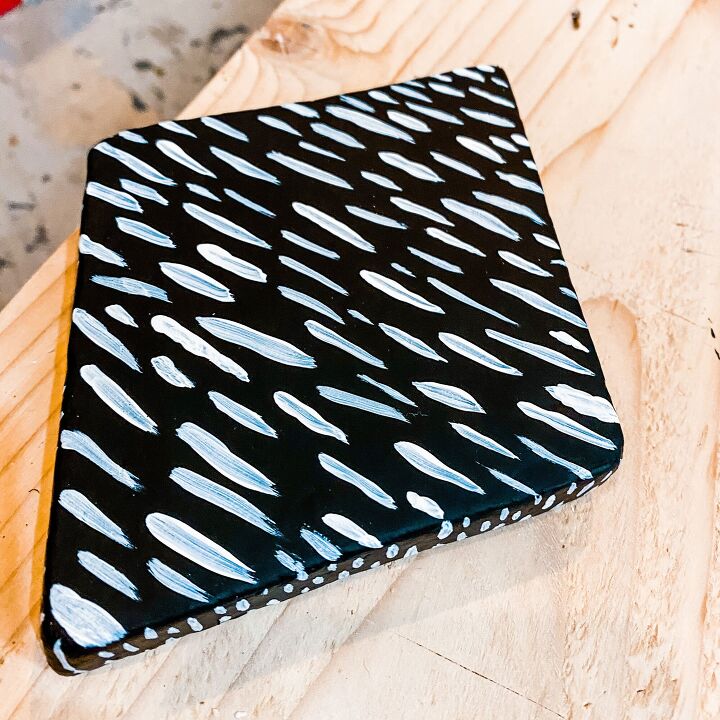
Pictured : on the left is one without anything on it & on the right its what it looks like finished with the coating on & sanded down.
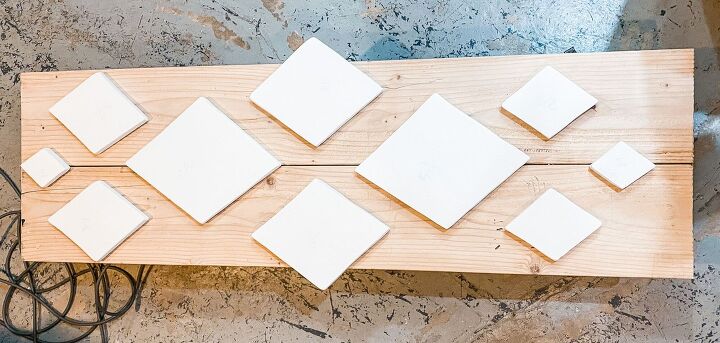
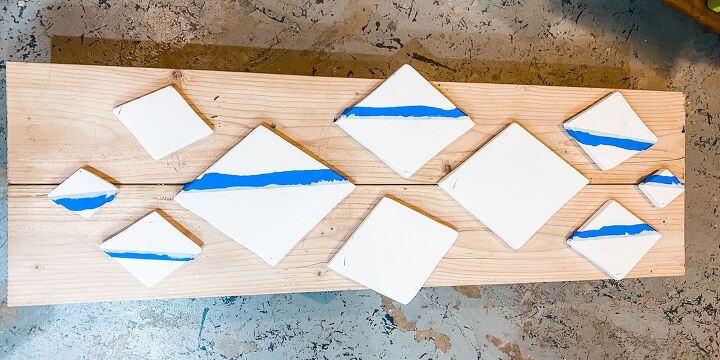
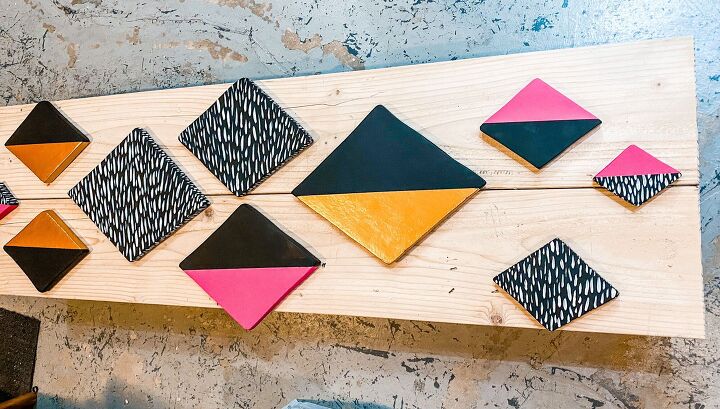
Figure out & place your pieces in the order you'd like to hang them on the wall.
Then if you are planning on having some or all of them be 2 different colors, go ahead & place your painter's tape onto those pieces.
TIP: to help with any kind of bleed-through I painted some white acrylic paint over the edge of painters tape
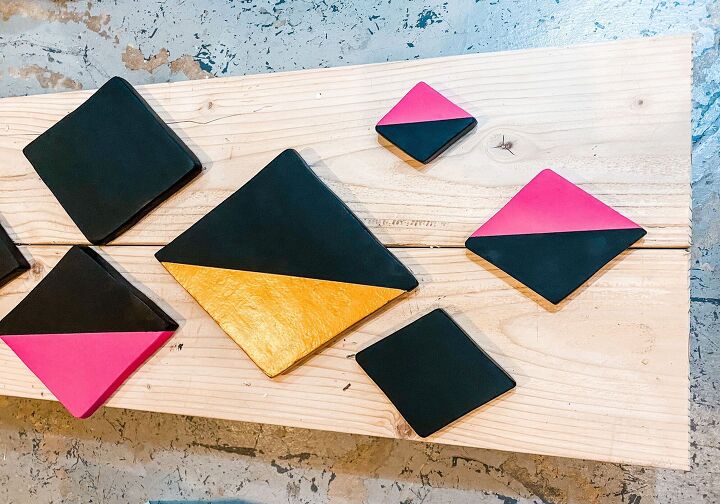
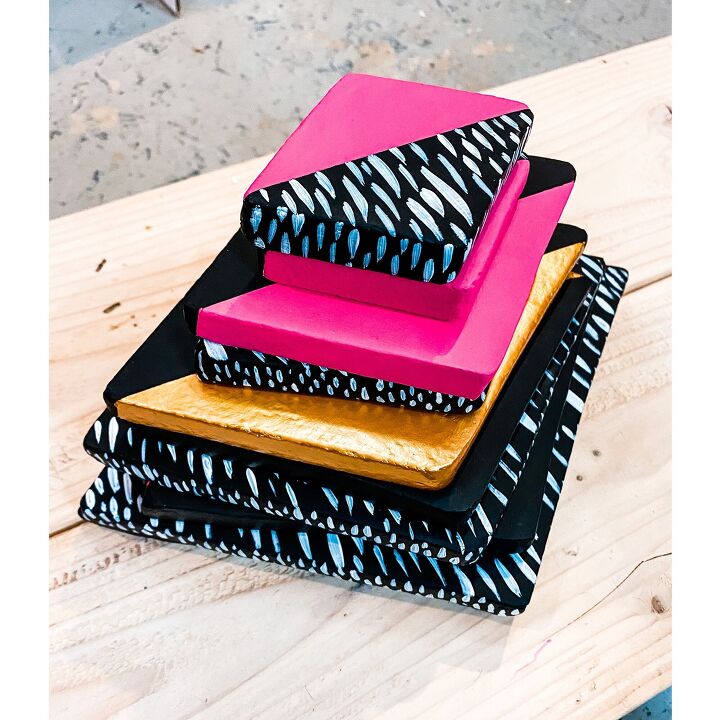
Take your acrylic paint & get to paintin' 😁
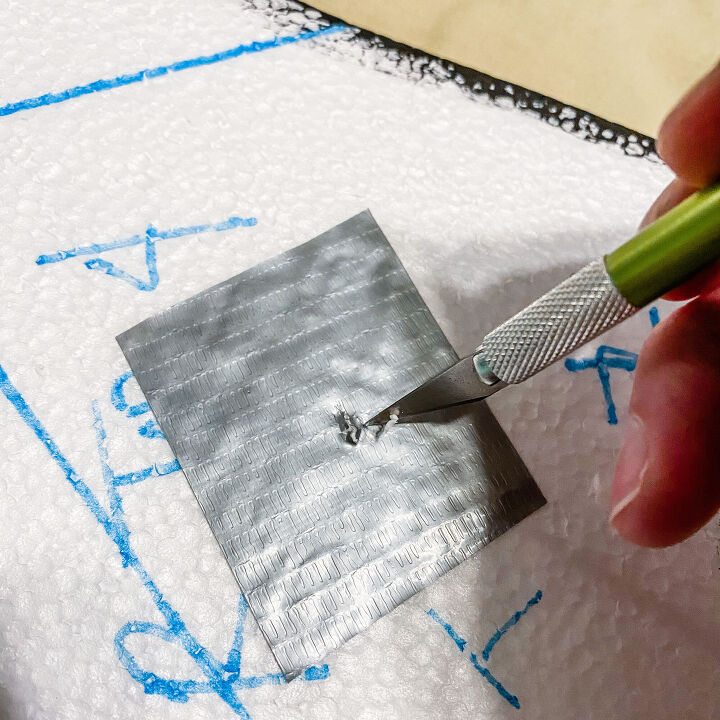
Now it's time to hang your artwork up. I put a piece of duct tape on the back in the middle to make it more "secure" not sure if it actually will but it sounds good lol.
Then I took an Exacto knife & cut a small hole into it where the tape is. Make sure you don't cut too deep & go through the front!
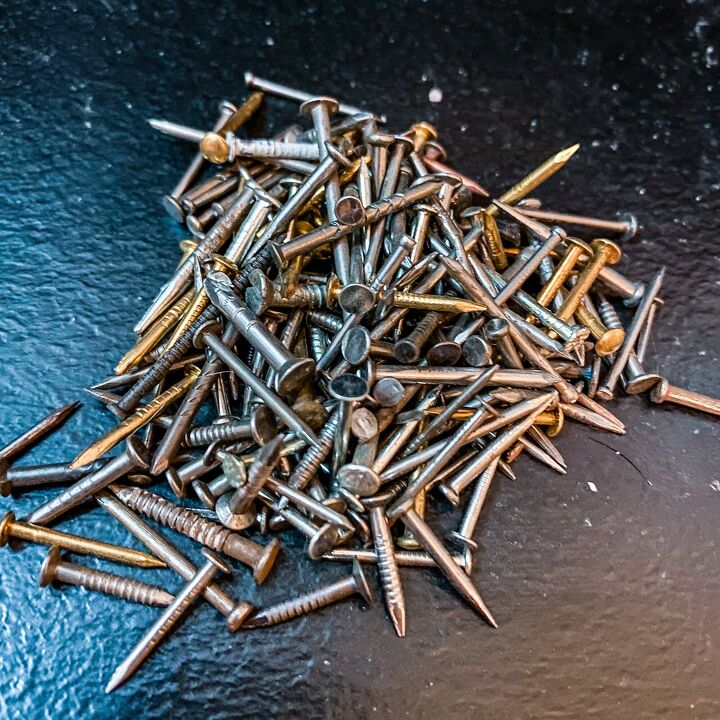
I used some small nails that I had in the garage to hang them up since the pieces aren't heavy or very big, the smaller nails worked perfectly!
& there you go, you're all done 😊 Congratulations!
Resources for this project:
See all materials


Comments
Join the conversation
-
Love this idea! Now to choose colors...
-
So Neat!


Frequently asked questions
Have a question about this project?