


Easy DIY Large Chalkboard
15 Materials
$40
2 Hours
Medium
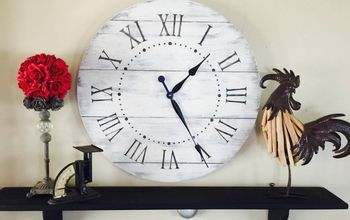
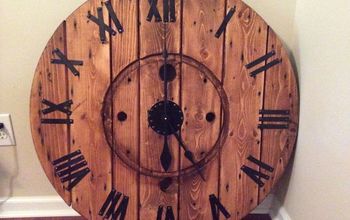
Have you jumped on the chalkboard bandwagon yet? I recently did, and I’m so excited that I’ve put together a step-by-step tutorial so that you can make your own easy DIY large chalkboard.I have been working on making over my kitchen recently. (Okay, so I actually started like 8 months ago, but who’s counting.) We have a small eat-in area in the kitchen, which is where we eat most of our meals. Prior to the redo, we had a large clock hanging on the wall next to the table. At some point in the redecorating process, I got another large clock to fill the same space in the kitchen, but it just never felt right. Then, just a couple of weeks ago, inspiration struck. Chalkboards are hugely popular right now, and I absolutely love seeing how everyone decorates their own chalkboards. Plus, they just look like a lot of fun! I’ve been wanting to make one for myself, but wasn’t sure exactly where I would put it. Duh – in the kitchen where the clock has been hanging. So, let's get started.First, you need to gather your supplies. All of the supplies needed can be found at the hardware store. You can actually have the store cut your piece of MDF to whatever dimensions you want, which makes that part super easy. I had them cut mine to 30″ x 40″, which I felt would fit well in my space.For my particular chalkboard, I needed two 8-foot long 1″ x 3″ boards. If you decide to make yours a different size, just be sure you have enough wood for the frame.
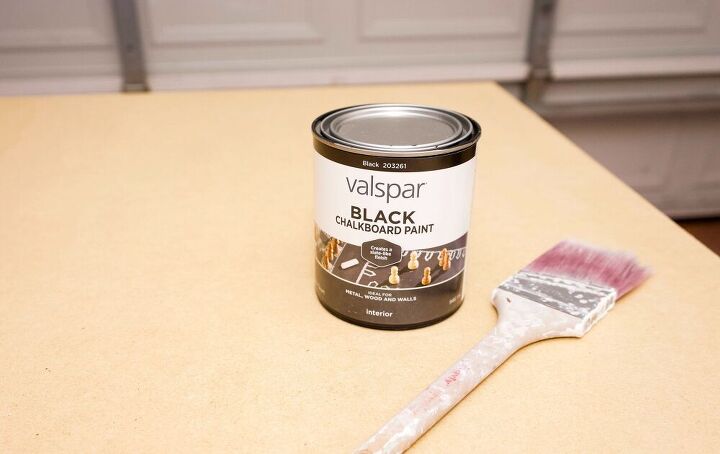
Paint the MDF
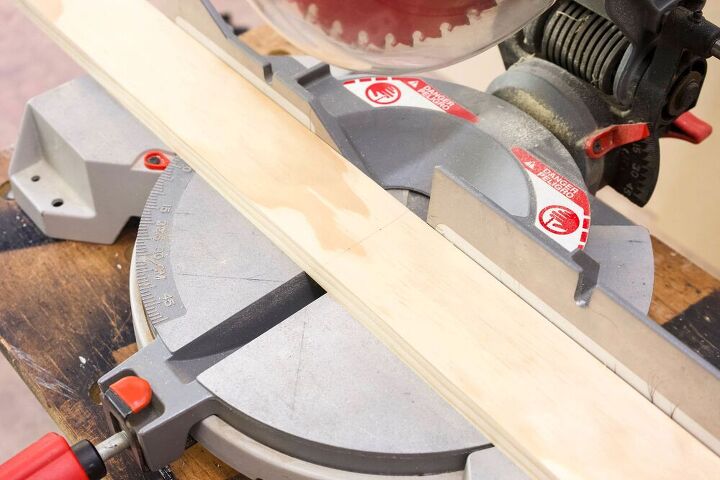
Cut, Sand, and Stain Frame Pieces
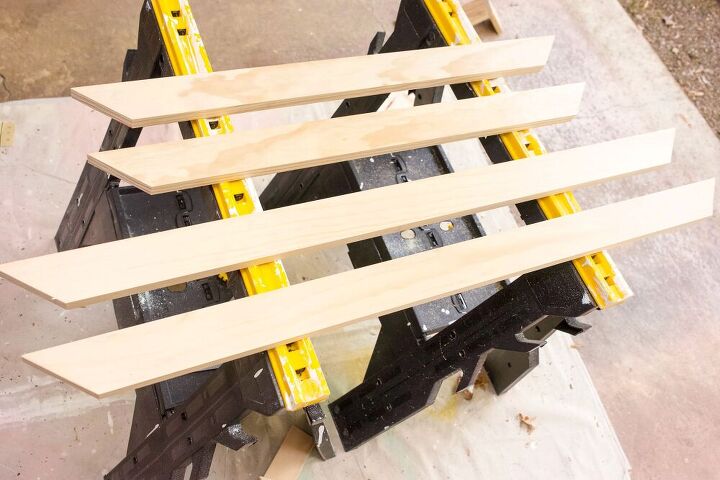
Then, I sanded the edges to round them out just a bit with coarse sandpaper. This does not need to be perfect – I just didn’t want the harsh corners on my frame.
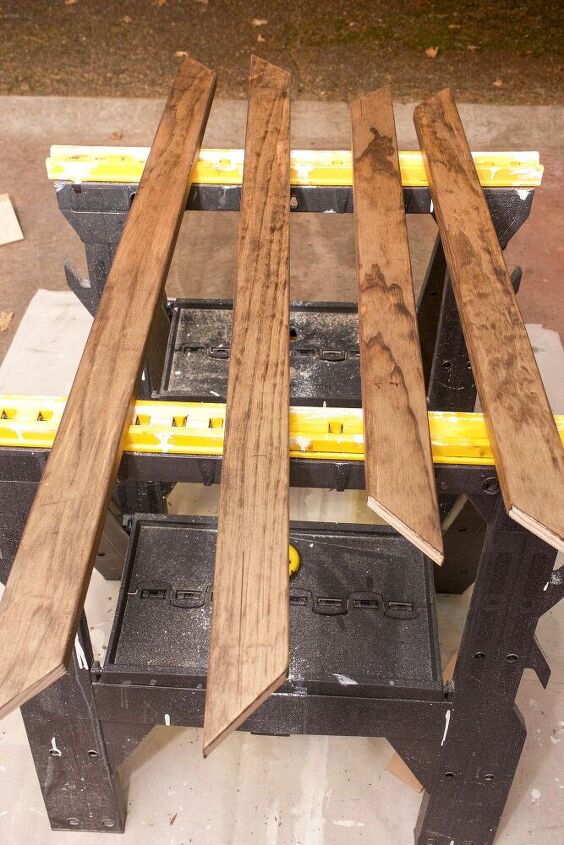
I then gave the frame pieces a quick coat of stain in my favorite Minwax color – Provincial. It’s got a slightly gray tone it, which I love. I used a foam brush for the stain.
for the stain.
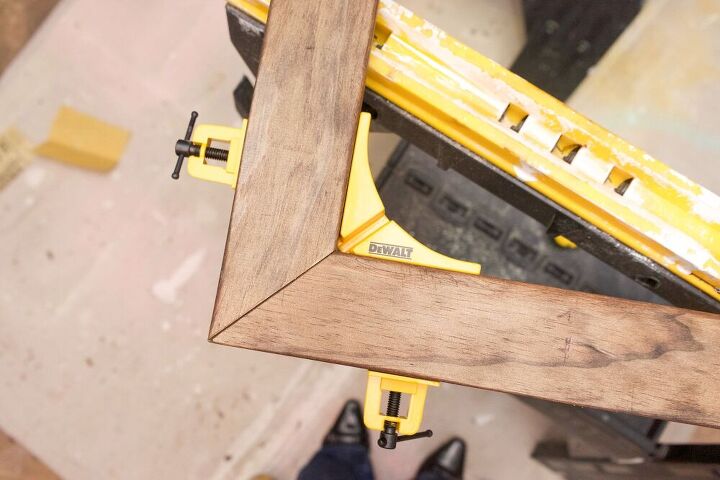
Put Frame Together
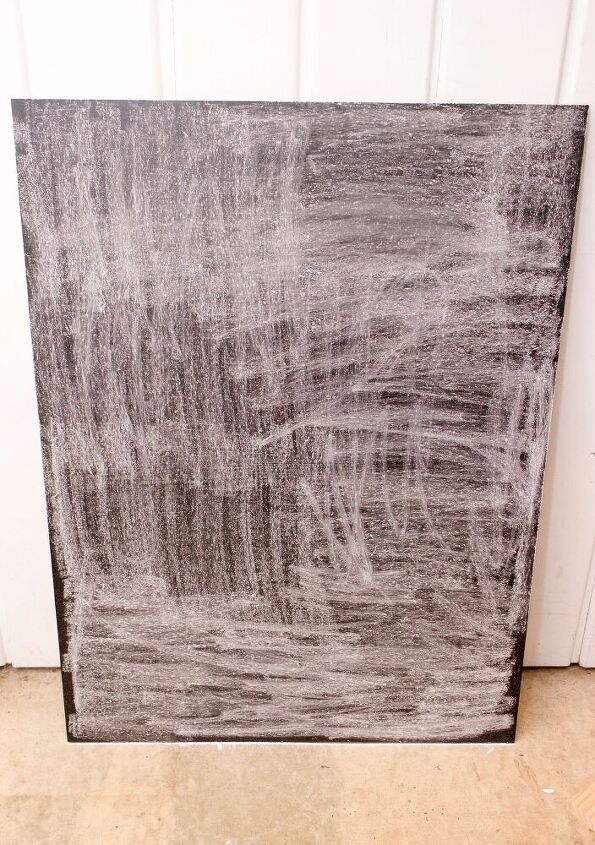
Prime the Chalkboard
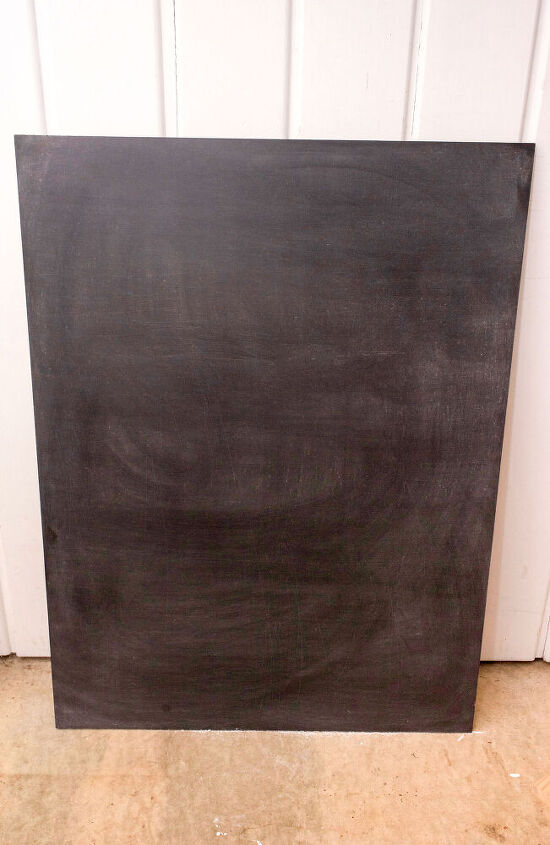
Then, simply wipe the chalk off with a dry rag.Now, you won’t have to worry about any chalk renderings becoming permanent.

Attach the Chalkboard to the Frame
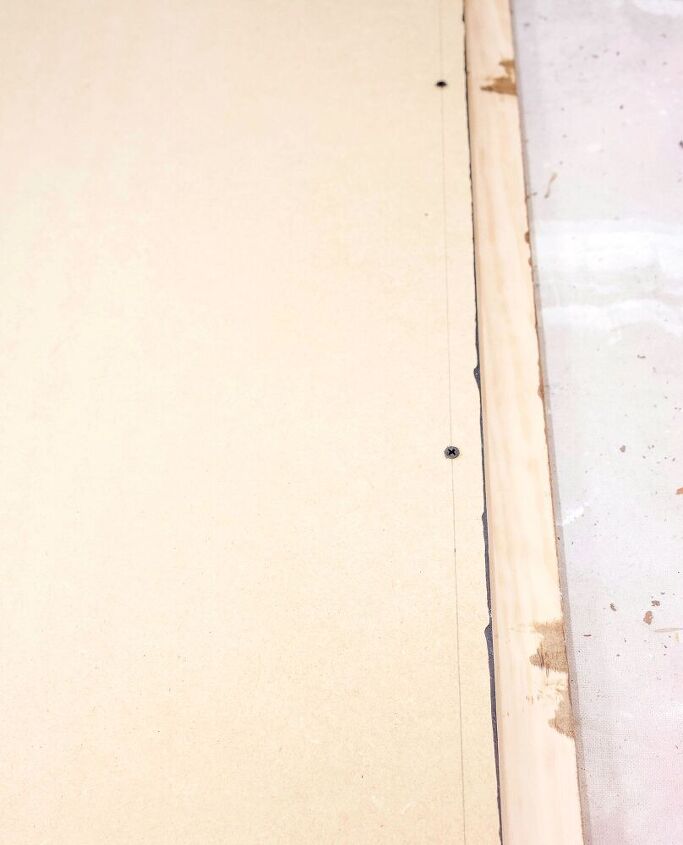
Then, lay the chalkboard face down on top of the frame. Make sure it is centered up on the frame. Once the frame is centered draw a line 3/4″ from the edge of the chalkboard all the way around. This is where you will want to put your screws. Then, using 1.25″ screws, screw the chalkboard onto the frame.
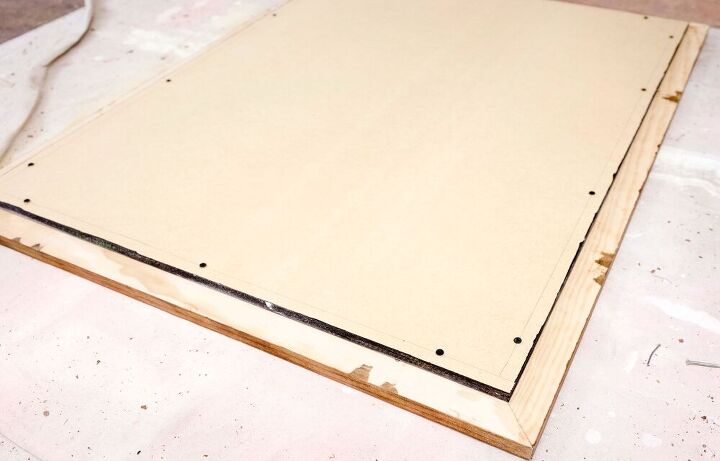
We put 4 screws down the length of the chalkboard and 3 screws along the width. It will be best to drill pilot holes before actually attaching the two pieces together.
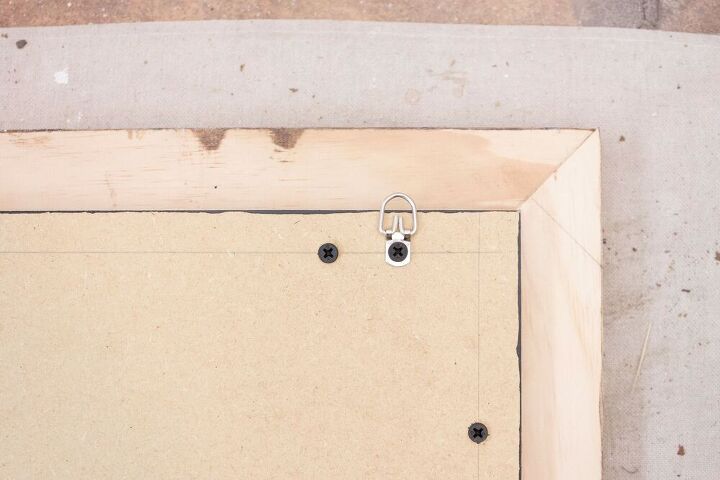
Add the Hangers

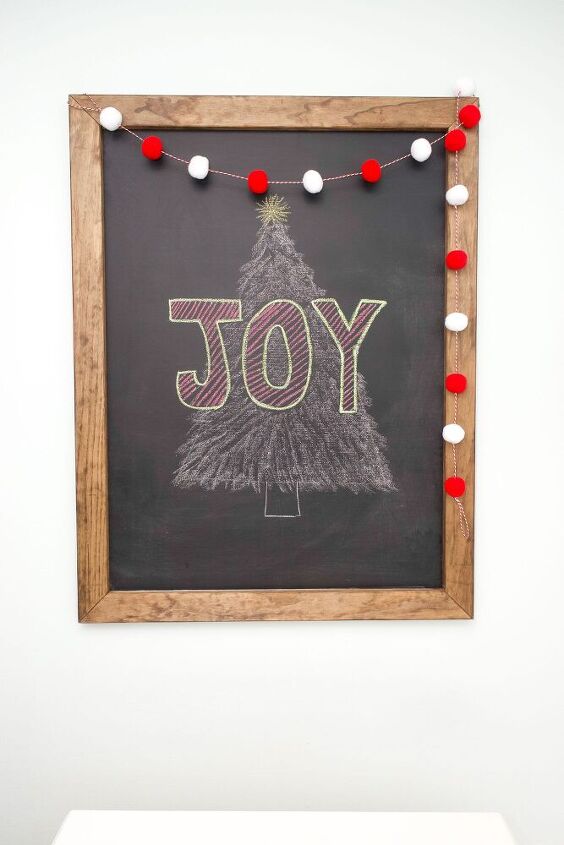
All that’s left now is to hang it up and decorate!
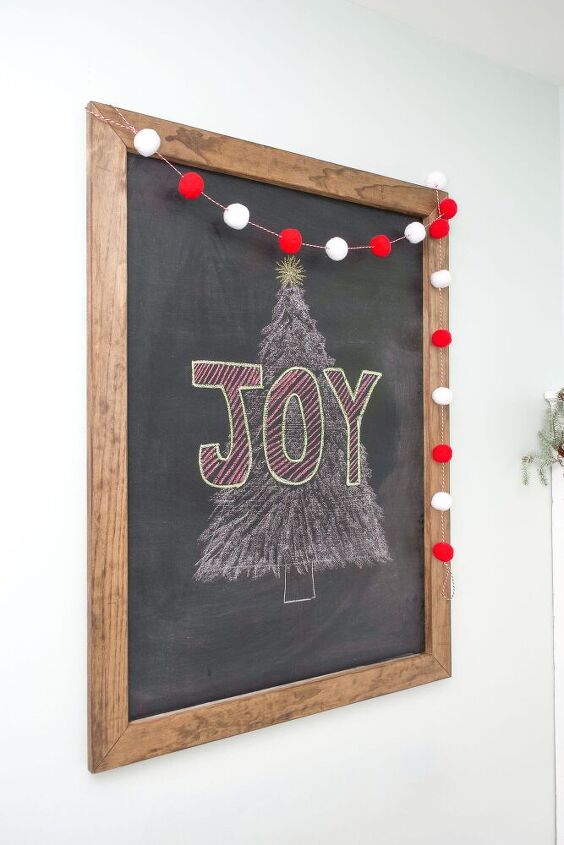
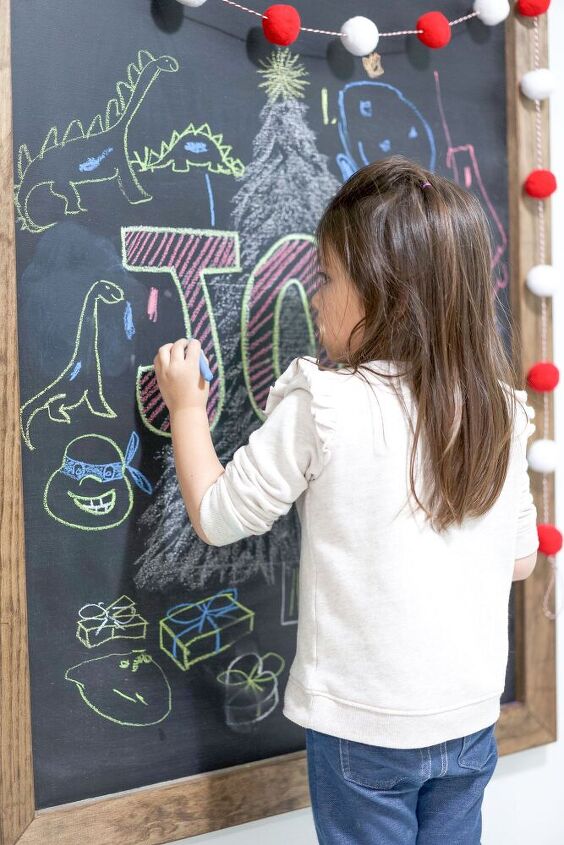
I’m absolutely loving this chalkboard, and I think it will be so fun to decorate throughout the seasons. I am definitely going to have to build another one soon for my kids (and husband) though.

Want more details about this and other DIY projects? Check out my blog post!


Frequently asked questions
Have a question about this project?
Love this. I’ve been wanting a chalkboard, but I want a chalk tray on the bottom of mine. Any suggestions on how to do that?