Easy DIY Wall Plate Rack

I'VE BEEN WANTING A PLATE RACK ON MY WALL SINCE WE BUILT THE FARMHOUSE. I LOOKED AT SO MANY DIY TUTORIALS THAT SEEMS DOABLE, BUT NOTHING WAS EXACTLY WHAT I WANTED. I LOVE TO LAYER DISHES AND BREAD BOARDS SO THE STANDARD PLATE RACK JUST DIDN'T ALLOW FOR MUCH LAYERING. WHEN I FOUND A PALLET STYLE SHELVE AT HOBBY LOBBY I DECIDED TO GIVE IT A TRY.
The base was 5 1/2 inches deep with a lip that was 2 1/2 inches high. Perfect for layering. If you love easy DIY here is another one you might enjoy.
Step one is to wait for the shelf to go on sale. You will need two shelves so with the sale, your can purchase two for the price of one. They are usually on sale approx. every other week.
- Two side pieces cut 2 - 3 inches longer than the length you want your plate rack - additional details below.
- 1 dowel rod 1/2 inches in diameter cut slightly longer than the width of the shelf.
- Two shelves from Hobby Lobby
- Paint
- Wood Glue
- Wood Screws
- Drill & Drill Bit 1/2 inch.
- Level
- S hooks
You will need something to connect the two shelves so that it appears to be one unit. You could use any trim molding or just a simple board attached to the sides. I had a couple of old spindles with chippy blue paint that I decided to use. You can also purchase spindles at the hardware store if you don't have access to vintage ones. You will also want a dowel rod 1/2 inch in diameter.
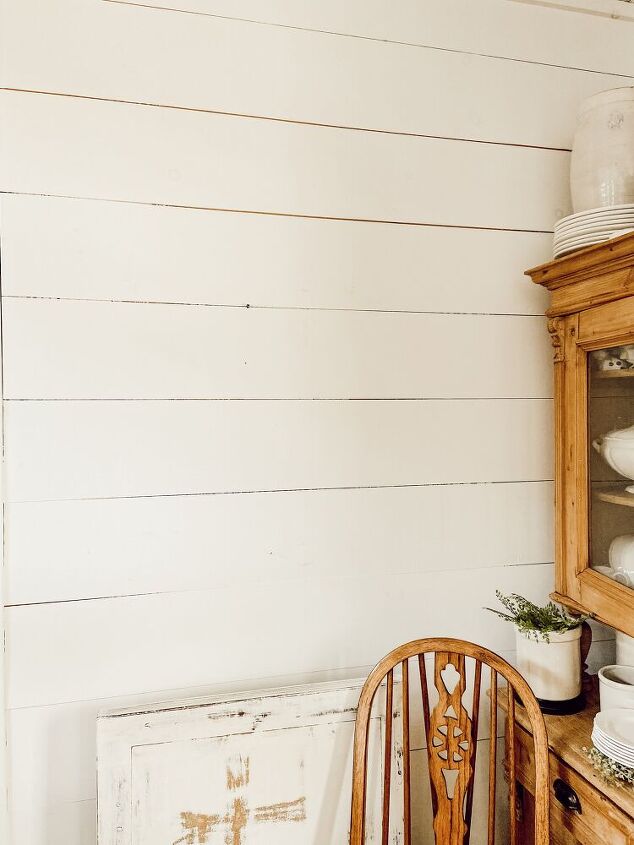
If you want your plate rack to match your wall, use the exact same wall paint. I used White Dove by Benjamin Moore because my ship lap is painted that color.
Paint your materials
Begin by painting the shelves and the dowel rod. If your side pieces are going to match, paint those as well. I decided to leave my spindles with the chippy blue paint instead.
Once the paint is dry, begin installing the two shelves one above the other with wood screws. To make sure your shelves are level your should use a level or laser level before attaching the screws. If you are working on sheet rock and cannot align your screws with a wall stud, be sure to use wall anchors. The distance between your shelves is a personal preference or based on the length of your side material. Since I was attaching spindles to the side, I had to allow for 2-3 inches to hang below the bottom shelf.
Using a drill bit, drill a hole into the bottom of your side pieces from the inside. This will all the dowel rod to be installed. I suggest doing this before installing the side piece. Just be sure the holes are the same distance from the bottom of your side piece and are in alignment. If you don't desire a rod at the bottom, you can skip this step.
Using your drill and wood screws, attach your side pieces to the side of each shelf. Remember to leave 2-3 inches below the bottom shelf of your plate rack.
Run your dowel rod through the drilled holes at the bottom of your side piece. You can add a drop of wood glue to each end to hold the rod in place. Touch up any area that may have been damaged during installation with your paint. Add S Hooks if desired to hold additional items.
The deep shelf on this Easy DIY Plate Rack allows for the layering of plates, vases, bread boards, etc.
How do you like it? I'm thrilled with the results. It's exactly to look I wanted and add so much storage space as well. This is one of the easiest DIY projects I've done. If you have questions or any comments, please leave them below. Thanks so much for stopping by.
Rachel
PS. Here is another fun DIY Project.
Enjoyed the project?
Resources for this project:
See all materials
Comments
Join the conversation
-
 Marilee H
on Feb 15, 2021
What a great project! My tiny kitchen can always use some pretty storage.
-
-
 Cheryl Clements
on Mar 12, 2021
I absolutely love this! I think it can also be done using pieces of a pallet instead of buying the shelves. I will have to give it a try one day. Thanks for sharing! God bless you and yours.
-
 Rachel The Ponds Farmhouse
on Mar 12, 2021
Cheryl,
if you have the pallets, that will absolutely work. Thanks so much
-
-









Frequently asked questions
Have a question about this project?