


Easy Hot Glue Wall Art
Besides doing Diy projects I also love to do mixed media art. My aim for this project was to try and create a wall hanging using a hot gun to add some texture to the surface of my canvas. When I create a mixed media art canvas, I like to try and add an assortment of textures to the surface before I start to add my layers. Some people may think this is a waste because most of it will be covered up. But once you start adding the metallic wax paste it will show all the hidden details that were not really visible before. In this post, I will share a few examples of how you can use your hot glue gun to create wall art for your home.
Some of these examples I am sharing with you today were trial runs I did to see how it would turn out. To avoid wasting money I used recycled canvas that I got from the art class at work. I will share a couple of easy ways to create modern wall art for your home. I also think these are so basic that no artistic skill is needed.
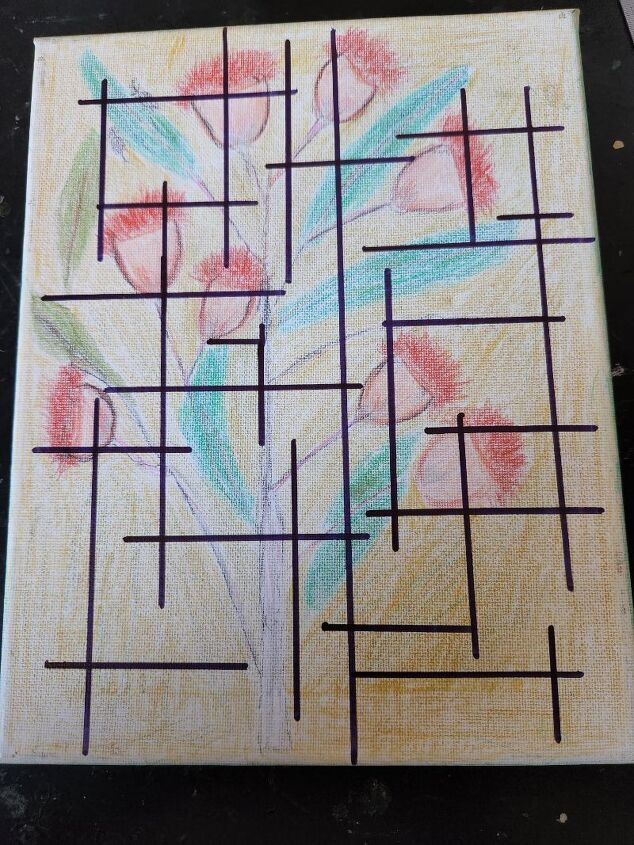
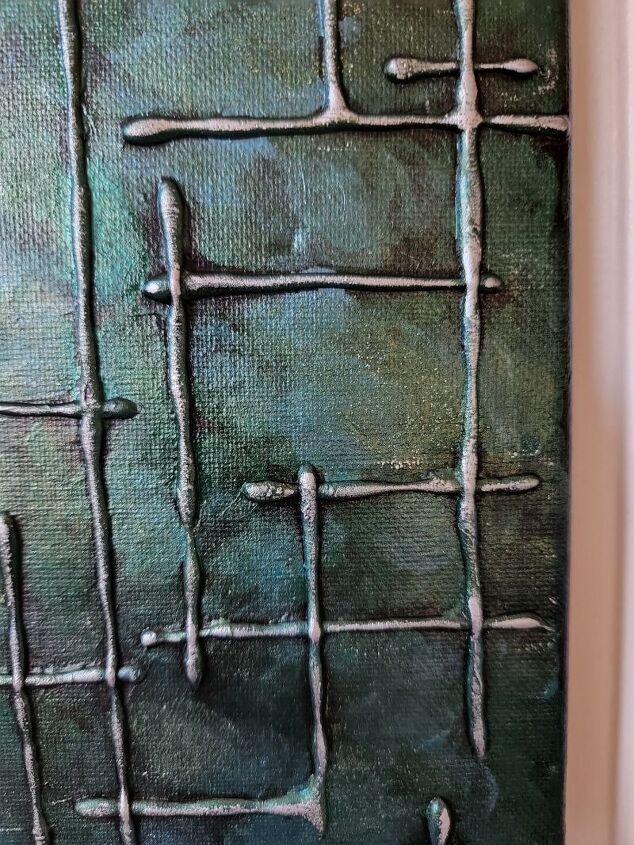
The first test I did was to randomly add some lines onto my canvas using a marker pen. These lines will be my guide for adding the hot glue. If you get stuck looking for a design you can google simple designs using straight lines for inspiration. I also prefer to use black hot glue because it blends in easier than the clear which has a slight purple colour. And using the larger hot glue gun makes this project easier to make.
Adding the hot glue
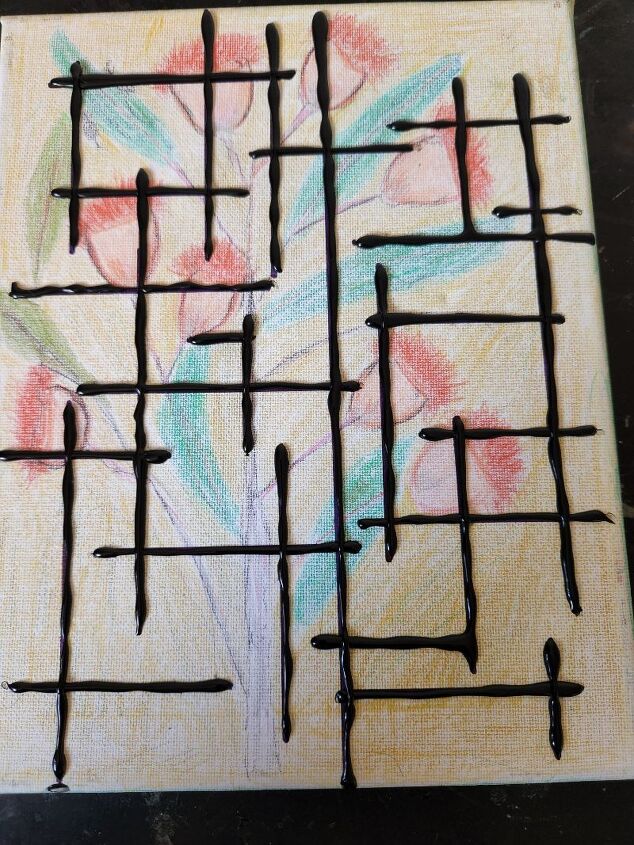
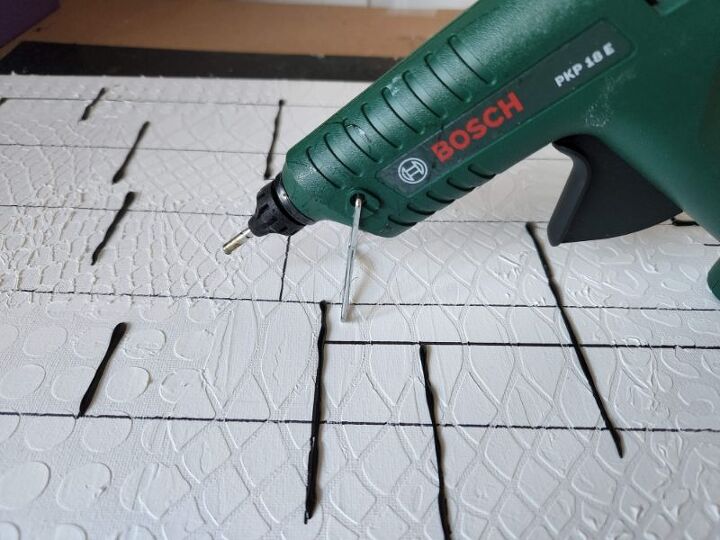
Next, I went over the lines using the hot glue gun. To try and eliminate some of the strings caused by the hot glue gun, at the end of the line, I doubled back over the line. This seemed to work very well. Another tip is to leave the hot glue gun stand for a minute or two before doing the longer lines. In my trials, I found this gave me a smoother line.
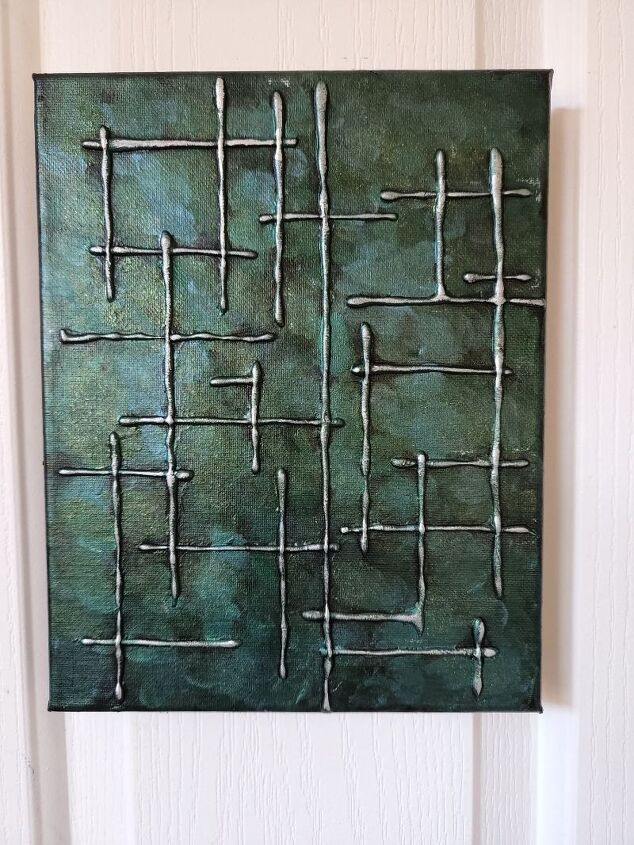
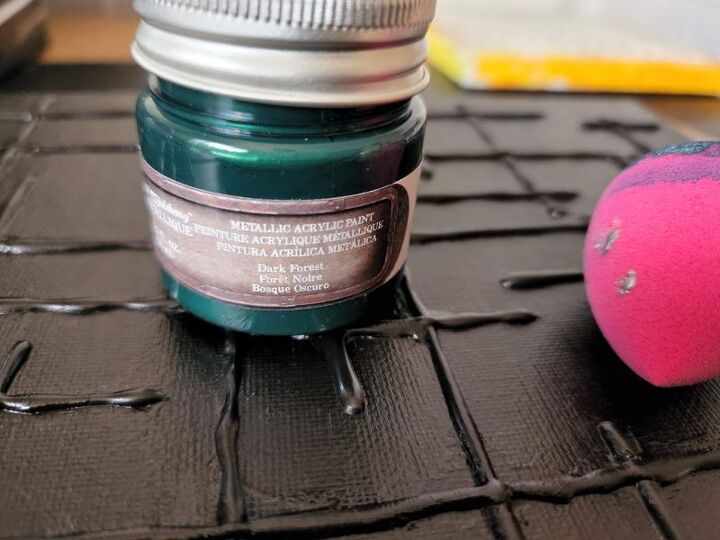
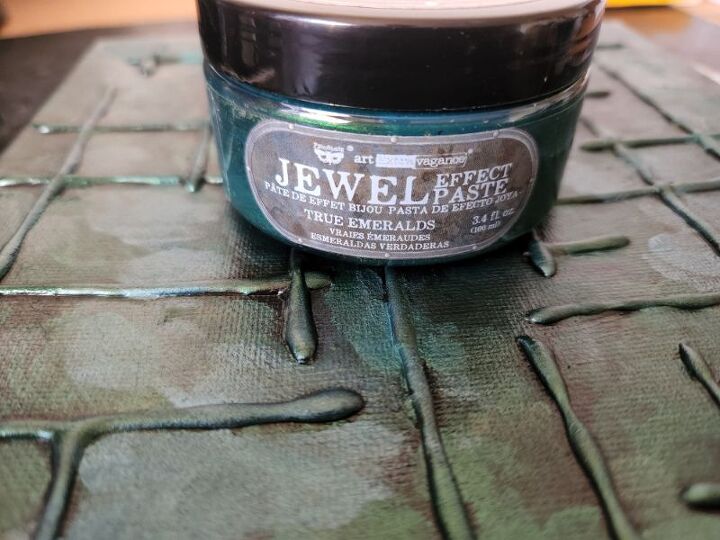
After the hot glue has set you can paint the whole canvas using black acrylic paint before adding your colours. For this canvas, I used an assortment of metallic acrylic paints, I prefer the prima brand but there are lots of cheaper options. If you feel you don’t have a good eye for which colours will complement each other, you can always refer to the colour wheel.
Painting the canvas
I used a simple method of adding colours using a small sponge dipped into the metallic acrylic paints. To add the colour you first blot the sponge onto a plastic surface to remove the excess paint. I have seen many people blotting onto tissue or paper to remove the excess, but I have found I waste a lot of paint using this method. By using plastic the paint does not absorb into the surface and you can use the excess.
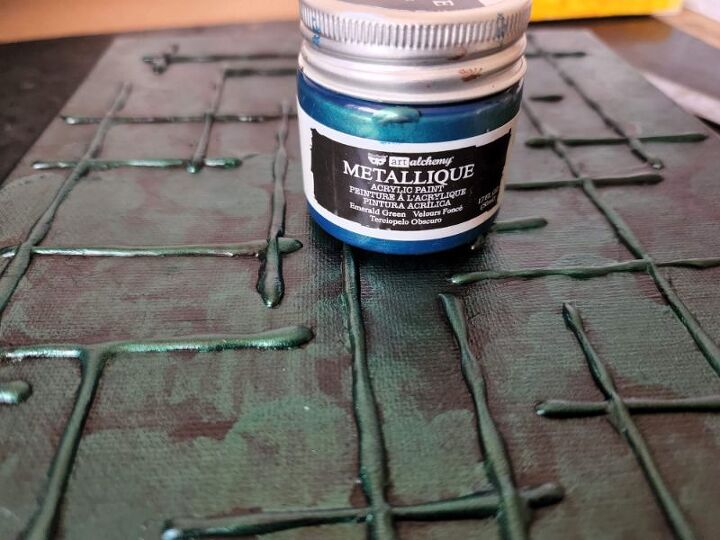
Next, you randomly push the sponge down onto the canvas. I repeated this step with 3 different colours, leaving a small amount of the black base colour showing through. If you are impatient like me, you can use a hair dryer to dry the paint, these paints only take a few minutes using this method.
To get the hot glue to stand out you use a metallic silver wax paste. You can buy the paste or make your own if you have the products needed at home.
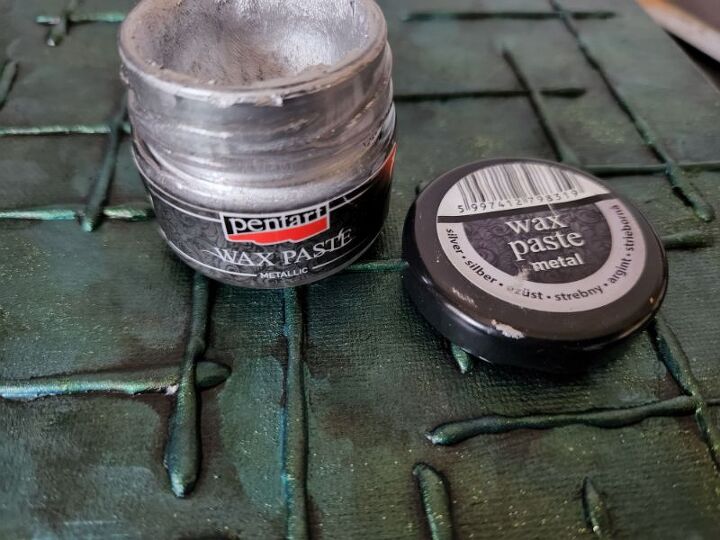
To add the silver wax it is as simple as touching the wax surface with your finger and rubbing the silver over the surface of the hot glue.
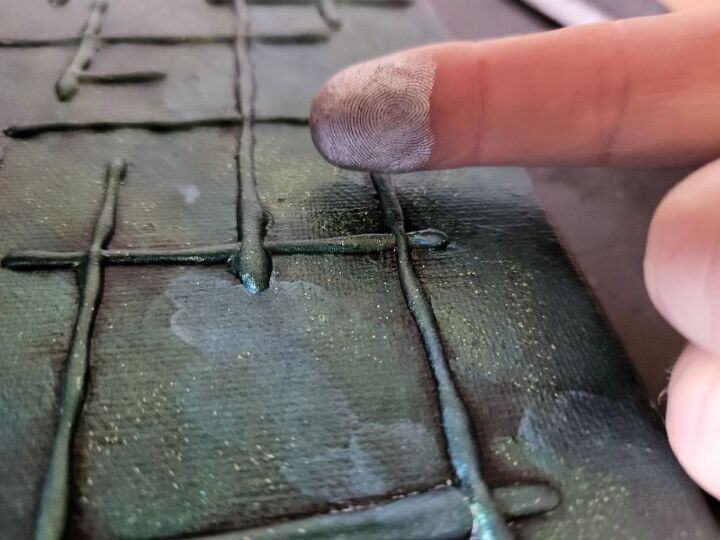
This will make the hot glue pop and stand out. The other benefit to using metallic paints is that the colours will look different depending on the light and angle.
Canvas with texture
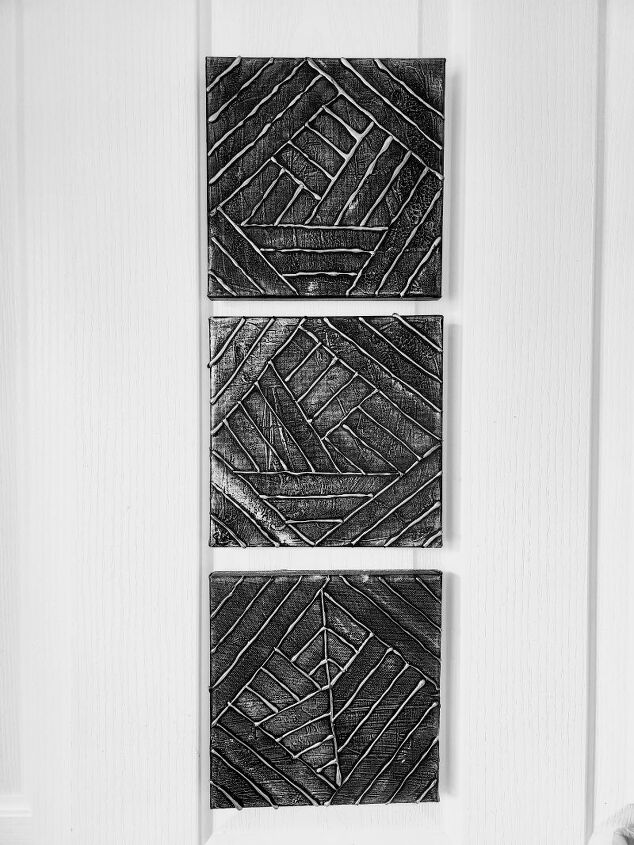
For this canvas, I also used a recycled canvas that had previously been painted on using oil paint. This caused the surface to be textured. I followed the same method of adding the lines just randomly this time to create a design. Next, I painted the canvas with black acrylic paint before lightly rubbing the silver wax over the entire surface.
The silver wax will highlight all the textures on the surface to create the effect you can see below. If you like the textured effect continue reading and I will show you how to add your own texture.

Adding texture to the canvas
The easiest way to add texture to a canvas is to use stencils and texture paste. There are many ways to add texture to mixed media art and I have shared a few in this post.
For this canvas, I used a variety of stencils just to show you the effects that you can expect. Stencils come in so many designs now you are sure to find some to suit your taste. Another option is to make your own stencils using mylar film and a Cricut/ Cameo vinyl cutting machine.
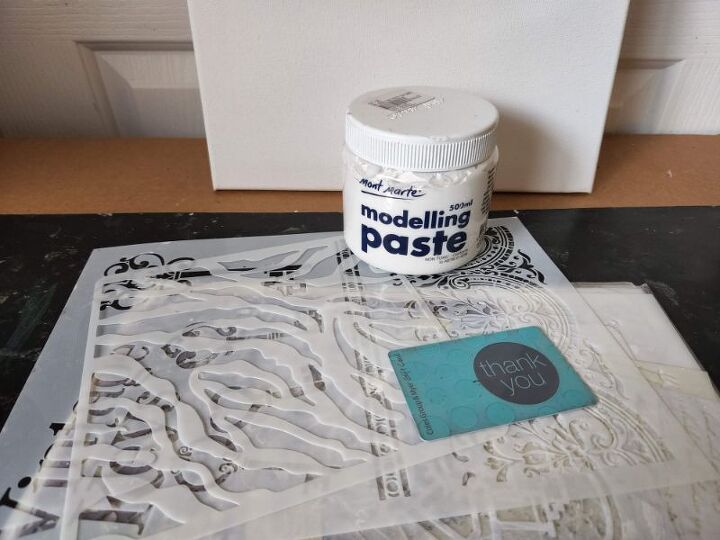
Adding the texture/modelling paste
This process is as simple as adding the stencil to the canvas and using a scraper or credit card to smooth the texture paste over the surface. This step does not have to look perfect because the silver wax will only enhance any imperfections.
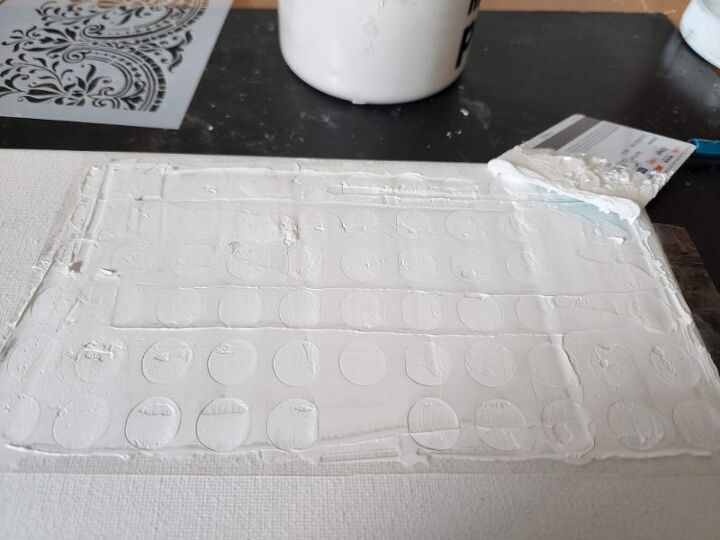
I covered the entire surface using different stencils, before using a hairdryer to dry the paste quickly.
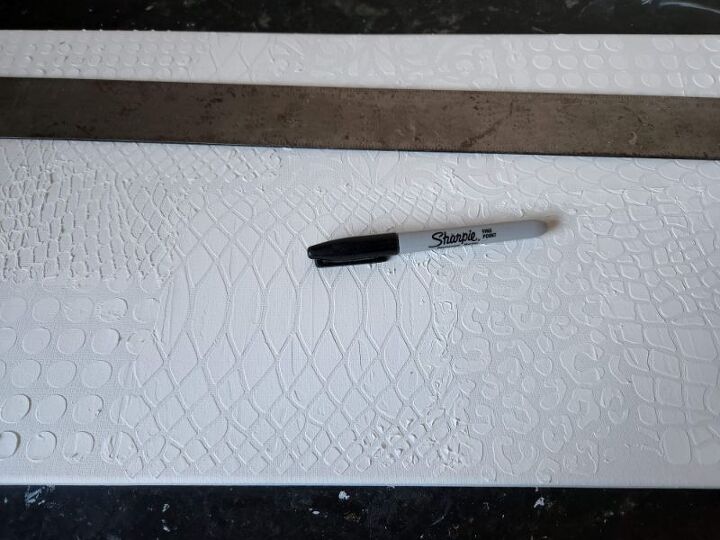
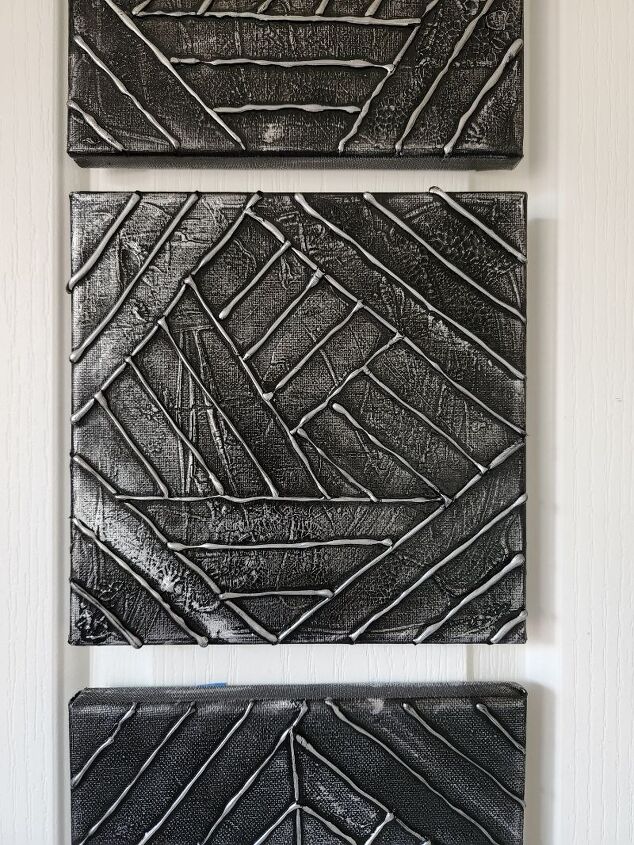
For this canvas, I again used the marker pen and ruler to add the lines before adding the hot glue in the same way as above.
I repeated the steps above of painting the surface black and adding the silver wax to highlight any textures.

This canvas was very hard to photograph because it was mainly silver the light seemed to reflect off the surface.

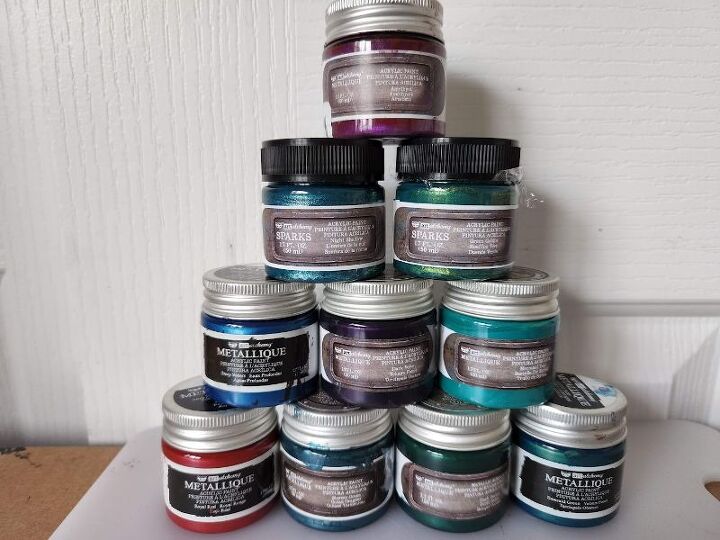
Paints and waxes
I only used silver wax in this post to keep it simple, but the wax pastes come in many different colours. I am one of those people who jump in feet first and buy one of every colour only to find I have wasted my money. Here are the colours I use the most which I feel have the most dramatic results. I have had these waxes for a few years now, the new stock seems to come in tubes like the front colour.
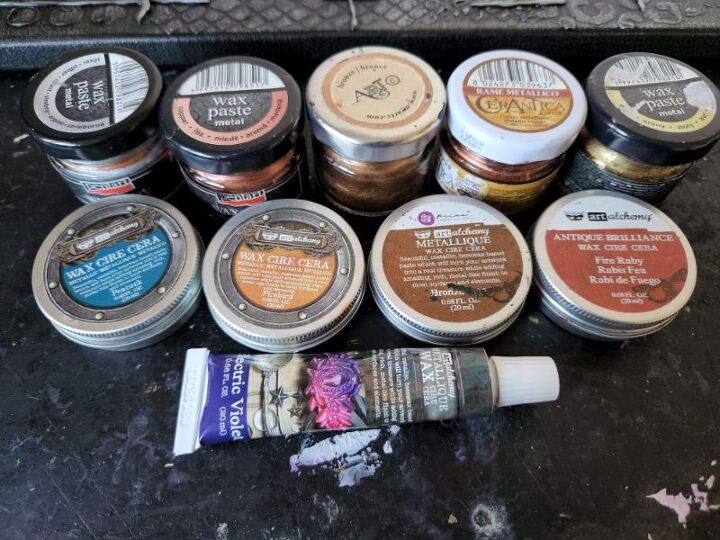
I also tend to use the metallic and spark range of paints from prima marketing because the colours are so vibrant with an iridescent effect.
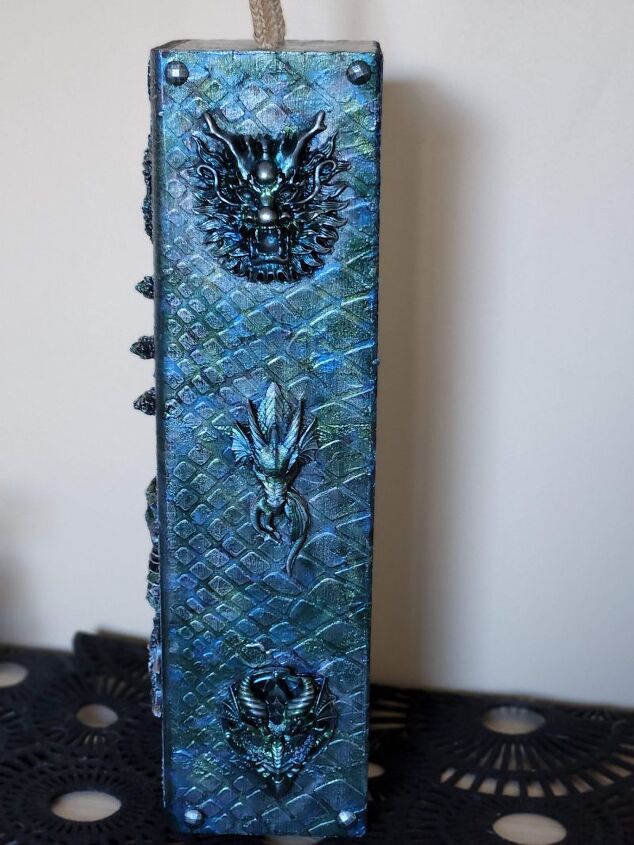
This is the effect you can expect from these paints. I painted this box using 3 of the paints shown above.
More mixed media art projects
Mixed media art Steampunk Mannequin was created using a similar method using paint and wax paste.

Here is another tutorial showing you how you can learn to decorate empty recycled bottles.

Resources for this project:
See all materials


Comments
Join the conversation
-
I never knew hot glue came in different colors either.
'Goes to show that you never know what you might learn here on Hometalk!
-
I just salvaged 4 matching canvases from the HOA dumpster enclosure. They are in perfect condition but not my style. Thanks for the tutorial. Can't wait to upcycle them.


Frequently asked questions
Have a question about this project?
Did you glue the stencil to the canvas ?