


Easy Rustic Wood USA Sign
4 Materials
$10
2 Hours
Easy
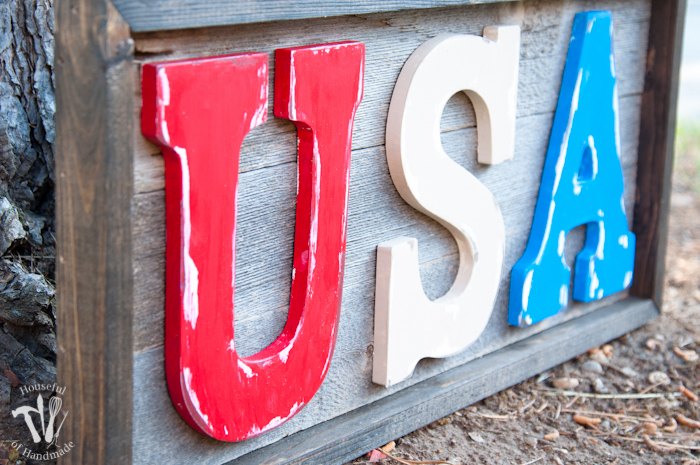
We have been busy decorating our home for the 4th of July. Don't you just love rustic American decor? I needed a big statement piece to complete our patriotic mantle so I grabbed some reclaimed wood and made this super easy wood sign in just a couple hours.
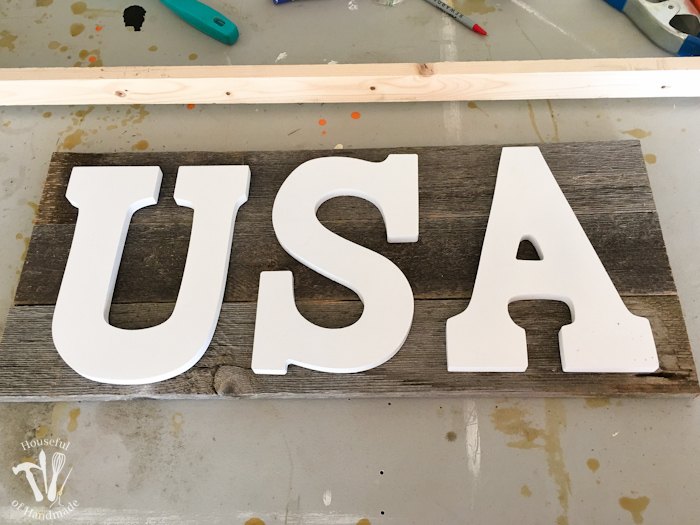
I had some boards left over from ripping down my parents old fence. They have a beautiful gray color to them and I knew they would be perfect for our rustic mantle.
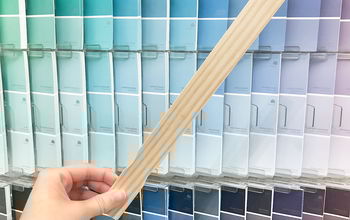
After cutting my boards it was time to make a frame. I used a new piece of 1x2 to make it cause it was the right size and only $1. I cut the frame boards so that each end was at a 45 degree angle with inside (smaller) edge the same size as my boards. These simple cuts can be done easily with a hand saw or miter saw.
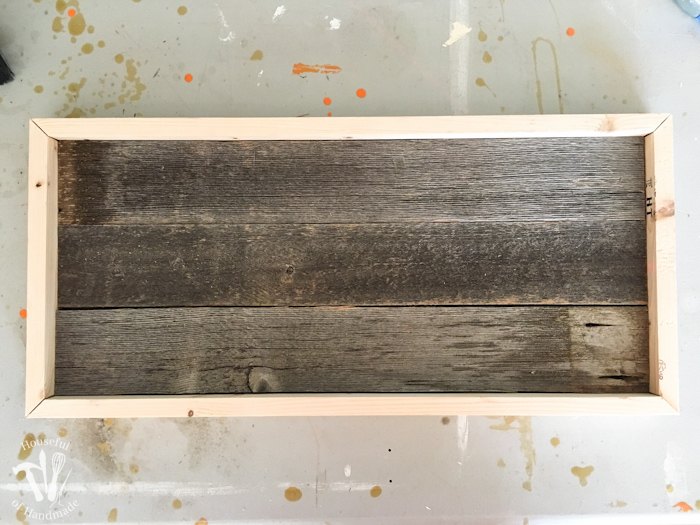
I decided to stain the frame so it would blend better with my reclaimed wood. I gave it a quick coat and let it dry while I painted my letters.
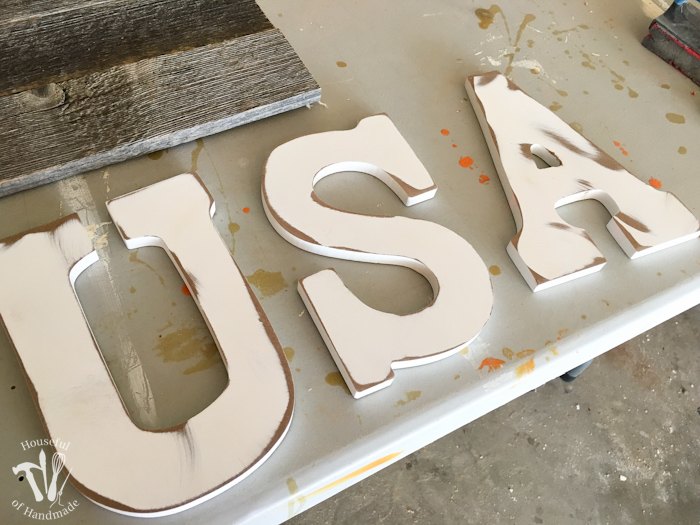
My store bought letters were already painted white, but I wanted to add some red, white & blue and I wanted them to be chippy and worn so they matched the rustic reclaimed wood. I started by sanding a bit around the edges of the letters. Then I used a little vaseline randomly rubbed around the edges to make spots where the paint would not stick and painted them with a couple coats of craft paint.
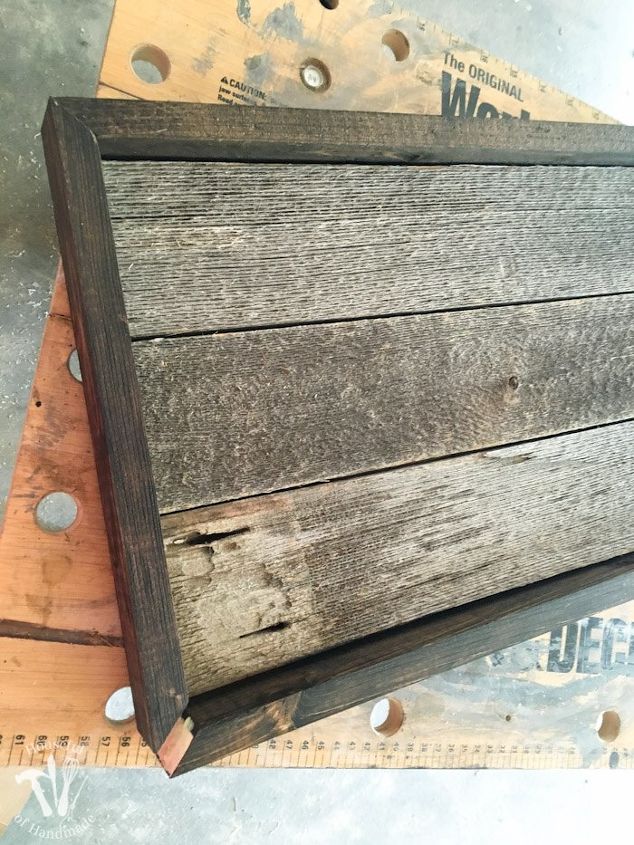
I added wood glue to the corners and then clamped them tight while I used my nail gun to put three 1 1/4″ nails into the corner to hold it tight. After assembling 3 corners, I put the pieces of reclaimed wood into the center of the frame before I closed up the 4th corner because it was a tight fit (which is what I wanted).

Then I secured the reclaimed wood to the frame with a few more nails.
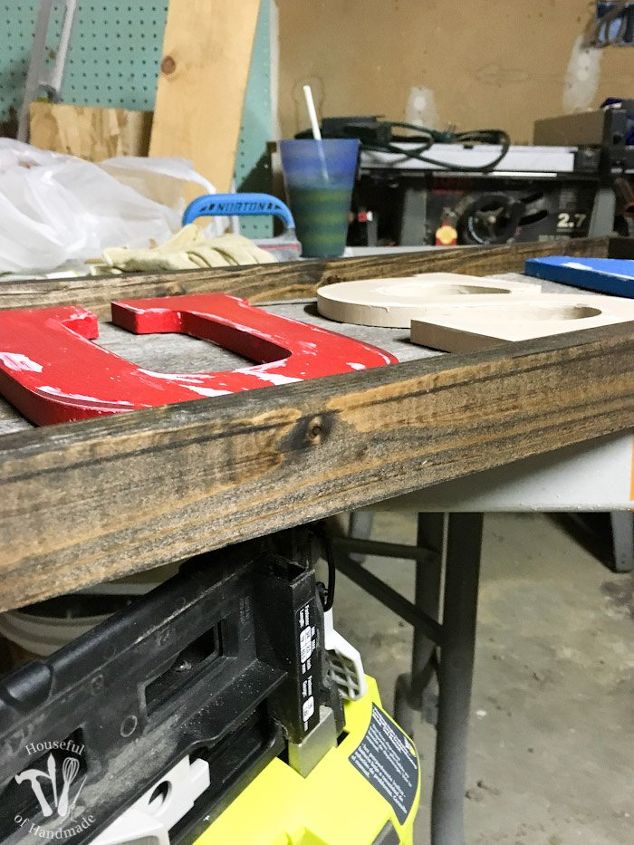
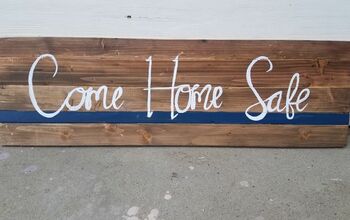
Now all I needed to do was to attach my chippy painted letters. I used my nail gun again and secured them with a couple 1" nails from the back of the frame. Then it was time to display it!
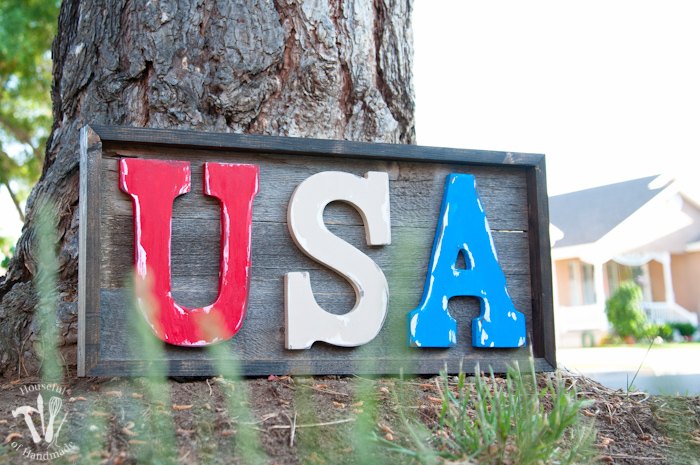
It's the perfect statement piece for our July mantle!

Want more details about this and other DIY projects? Check out my blog post!
Comments
Join the conversation
2 comments
-
Ahh this is awesome!
-
I wish make CANADA


Frequently asked questions
Have a question about this project?