


Easy to Make Cutlery Wall Hanging
This was a quick and easy DIY for my kitchen and I got everything I needed in the craft aisle of Walmart. This large wood cutlery wall hanging is a fun update to hang in my kitchen for Spring!
This project idea came to me when I was cruising down the craft aisle at Walmart to grab some paintbrushes. I saw the unfinished wood knife, fork, and spoon set hanging off the shelf… and that triggered the memory of the giant fork and spoon set my Nana had back in the day hanging in her dining room. She also had a collection of little souvenir spoons hanging on another wall that I inherited and still add to.
Supplies:
- Wood Panel Sign 16 x 20
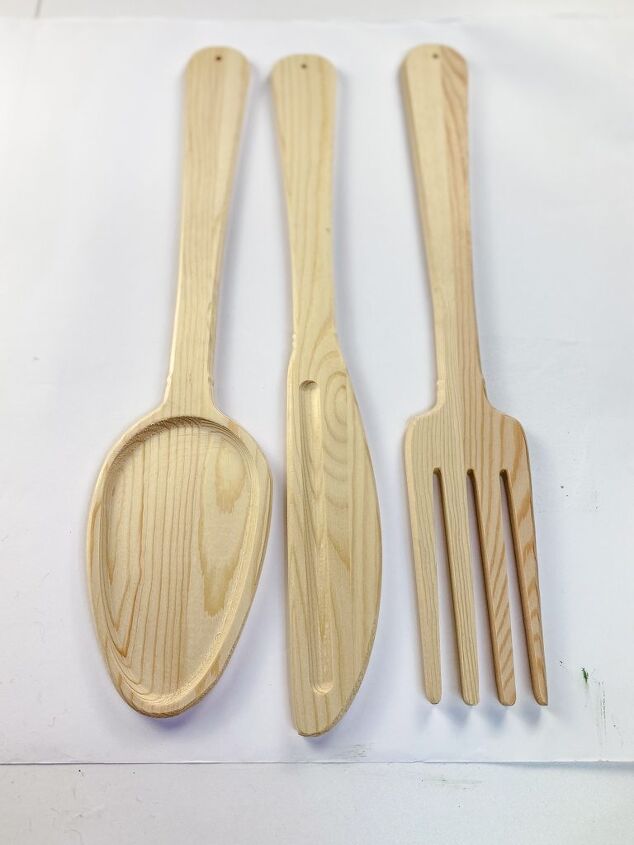
- Wood Cutlery Set
- FolkArt Metallic Antique Copper Paint
- Waverly Antique Wax
- Matte Spray Paint (I’m using a moss shade)
I also grabbed a 16 x 20 wood panel. Michael’s and Hobby Lobby always have unfinished wood signs too. The wood cutlery set is around 18 inches in height so a 20-inch board is perfect for this craft project. I can’t link the set but it’s $6.32 and right with the unfinished woodcraft signs.
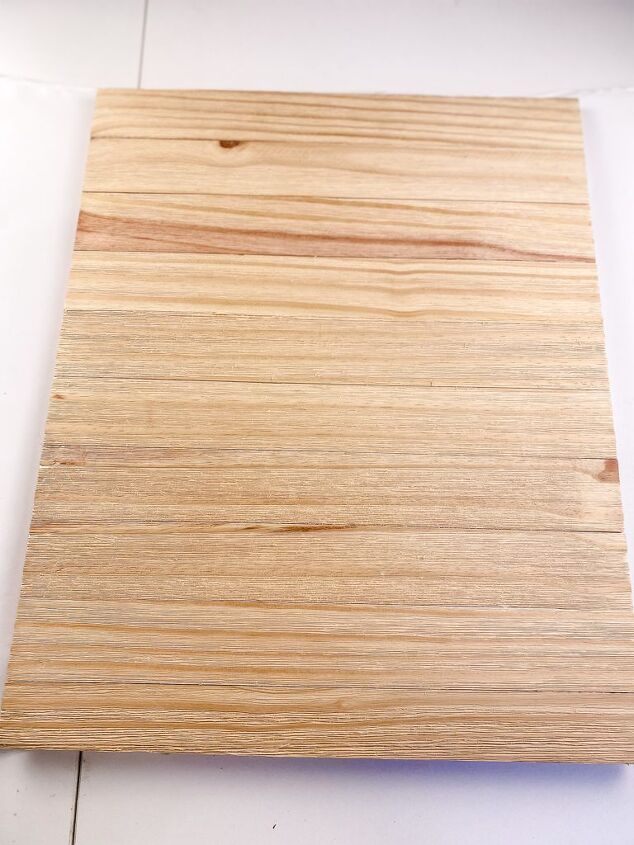
The wood cutlery set is around 18 inches in height so a 20-inch board is perfect for this craft project. I can’t link the set but it’s $6.32 and right with the unfinished wood craft signs
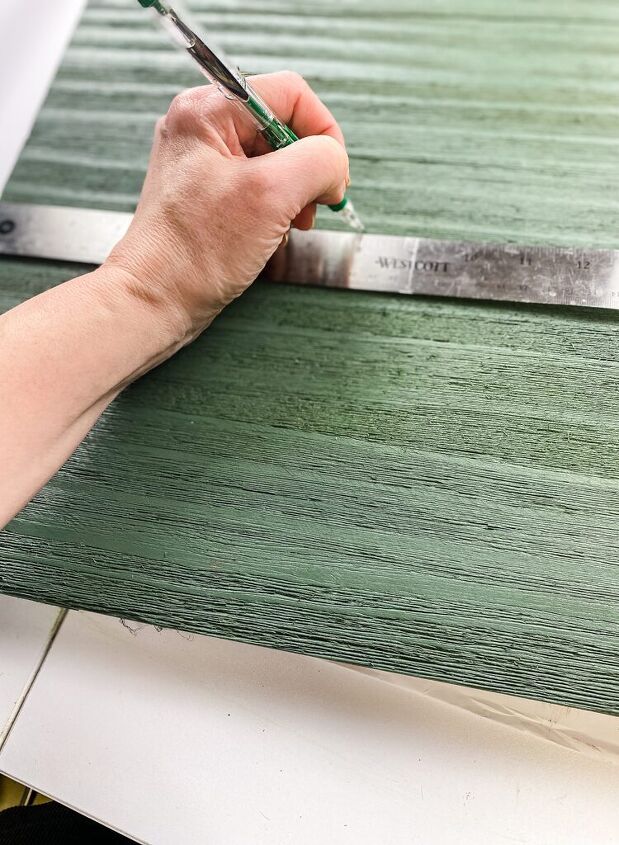
The first step is to paint the board. I had originally tried using chalk paint but the wood was so porous that it was basically absorbed into the wood…so I plan B’d it! I had a can of matte moss green spray paint in my vast collection (LOL) which was the color I wanted to paint it anyway to coordinate with my kitchen! Any paint color would work as the base, so you do you.
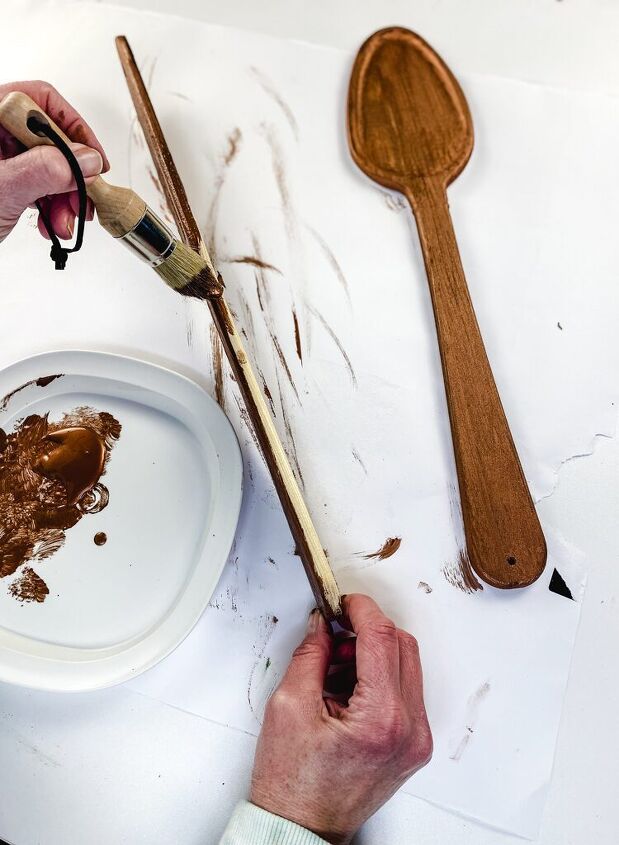
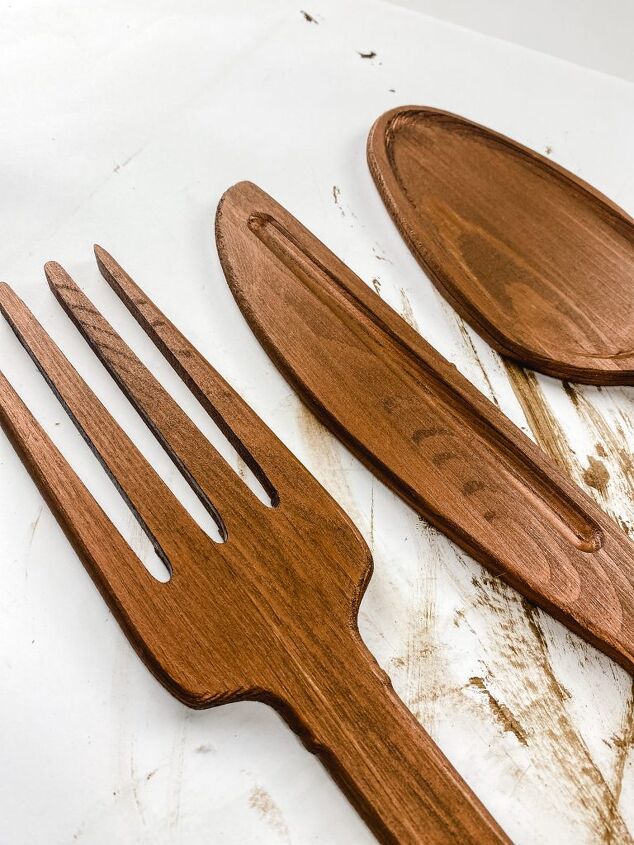
While the spray paint was drying on the board. I headed back down to my studio to paint the cutlery. I’m painting it with FolkArt Antique Copper craft paint. I LOVE this color and used it quite a bit for my Christmas decor last season!!

It took one good coat of the copper paint to cover the wood cutlery set. For getting in between the fork tines I used a small paintbrush.
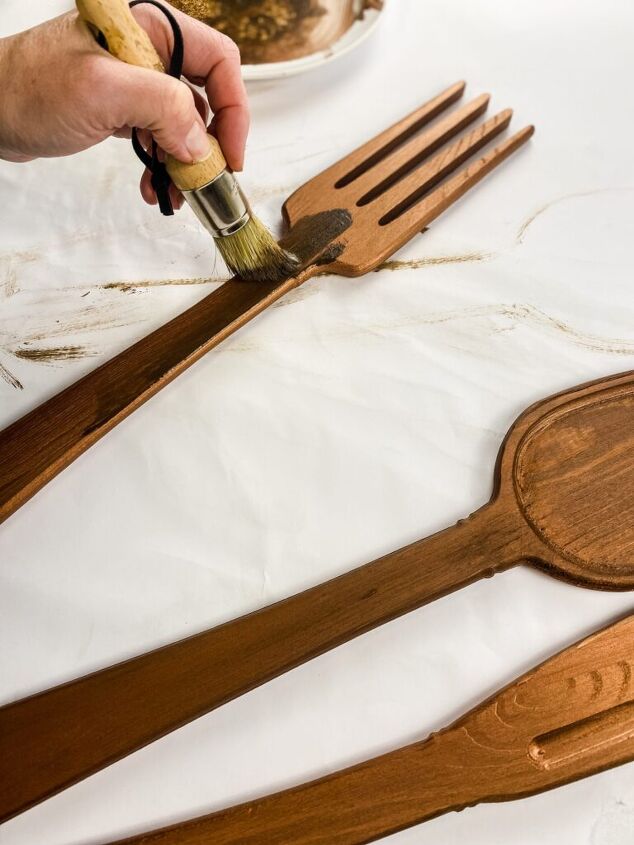
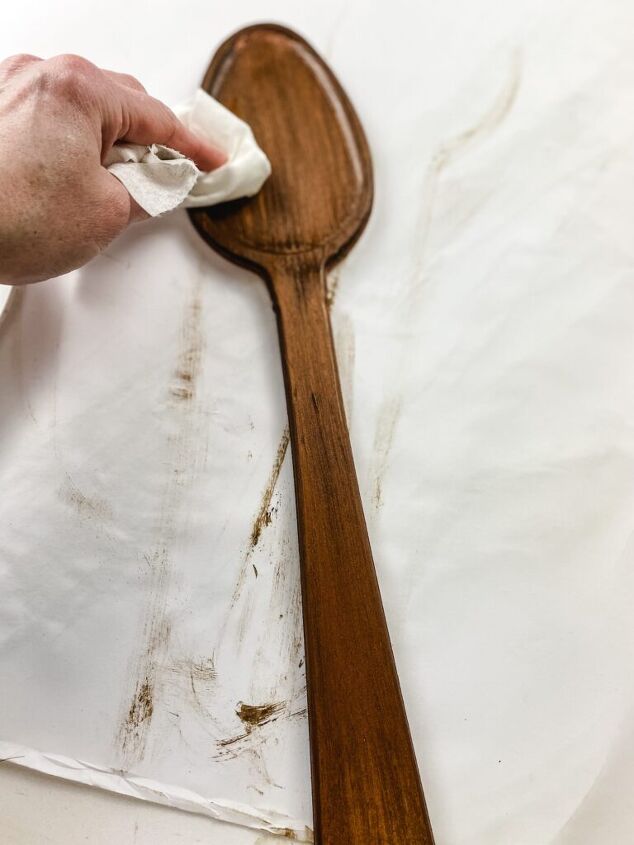
After the paint dried, it was time to add a little depth to the color by brushing on a coat of Waverly Antique Wax. What I did was brush the wax over the entire piece then go back and wipe off the excess wax with a paper towel.
It took away a bit of the copper shine but left a deeper tone and showed some of the natural wood details.
Now time to put it all together! The sign is 16 inches across so I found the middle point of 8 inches and made a pencil mark. This is where I will put the knife facing upward.
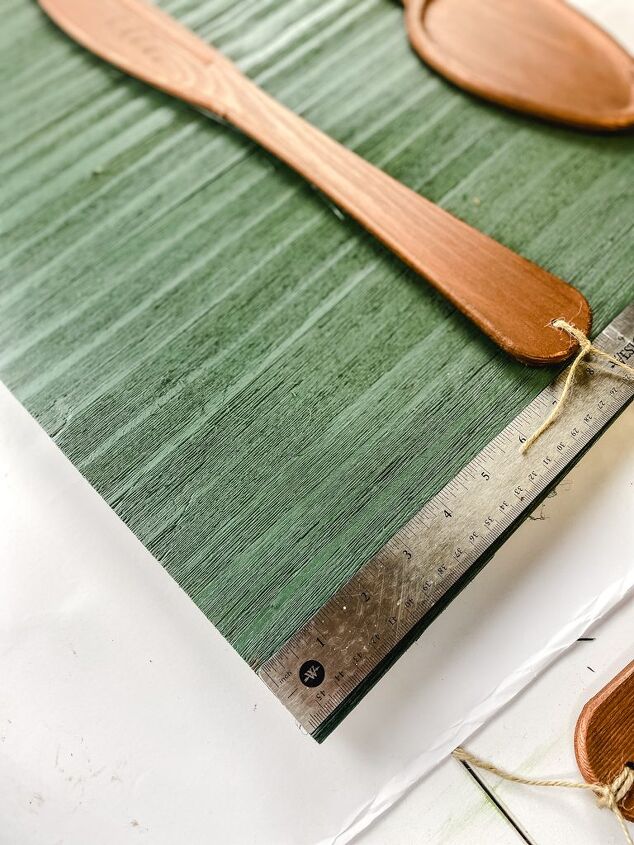
Oh, I also tied a small piece of jute twine through the holes at the end of the cutlery.
Using gorilla brand hot glue (it’s really the best and it’s much stronger than the random hot glue sticks you find at the craft stores) I applied a bead of glue down the back of the knife and centered it on the board.
My ruler is an inch thick and I placed it across the bottom of the board to keep me level.
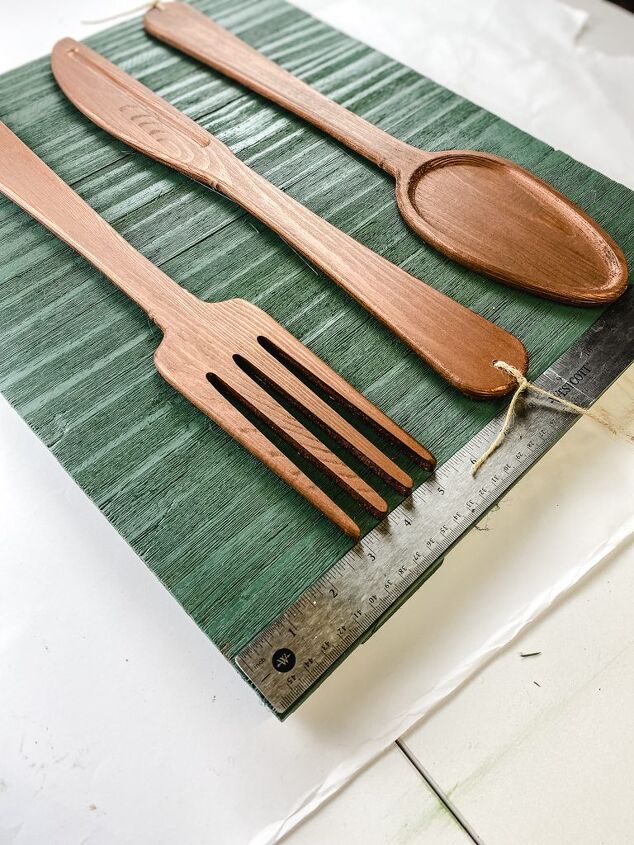
The fork and spoon I glued on facing downward. The fork at the 4-inch mark and the spoon at the 12-inch mark on the board.
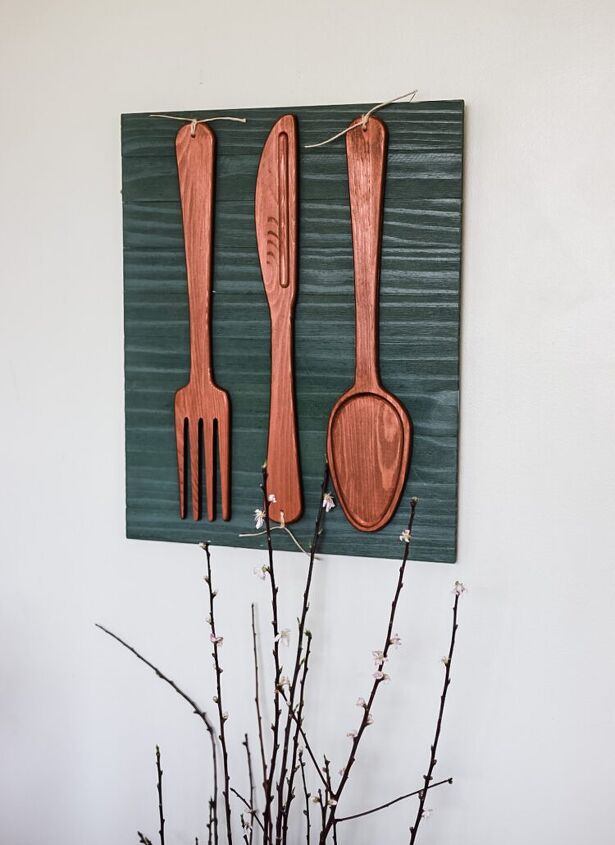
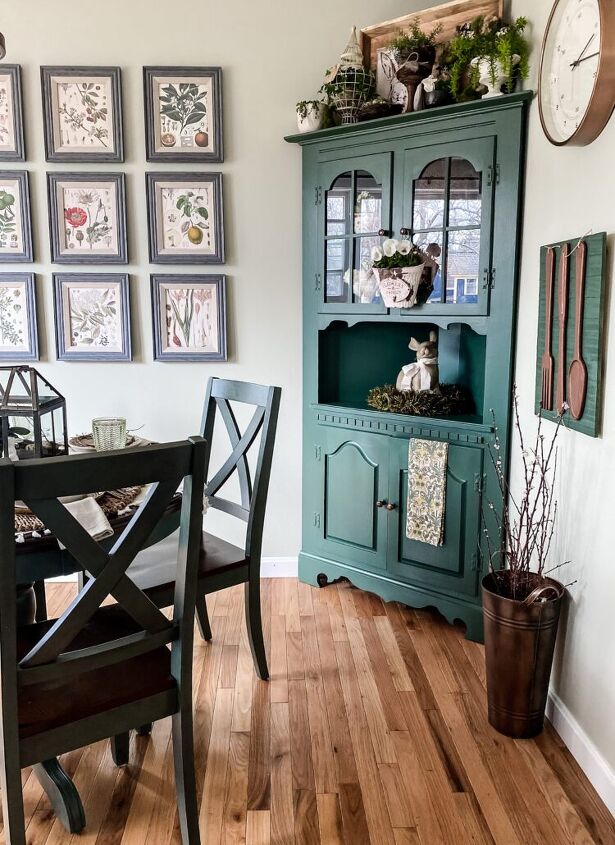
So for hardly any effort…seriously, this was an easy one…I have a unique piece of wall art! I hung it up on the smaller wall in my kitchen dining area and I think it looks just right!
I'd love for you to stop by my site to see some of my other DIY projects.


Frequently asked questions
Have a question about this project?