


Epoxy & Wood Clock
Working with a new medium can be challenging. I’ll be honest, when my husband said, “Let’s try Something new and working with epoxy.” I thought he was joking. Somehow he convinced me to add one more thing to our plate, and I’m really glad he did. Keep reading to see how we created an epoxy and wood clock.
First- let’s talk about specialty tools- we used:
•a CNC machine
•vector software (v-carve)
•1/8th” flat end mill bit
•1/16th” flat end mill bit
to cut out and emboss the design in the wood.
We also purchased the DXF extort files from The FireFlyDesignn Etsy shop.
Next- gather the rest of your materials:
•Table leaf/ scrap wood
•220 & 320 grit sandpaper
•epoxy resin
•orbital sander
•diy clock kit
•Odies Oil
•rags
•mineral spirits
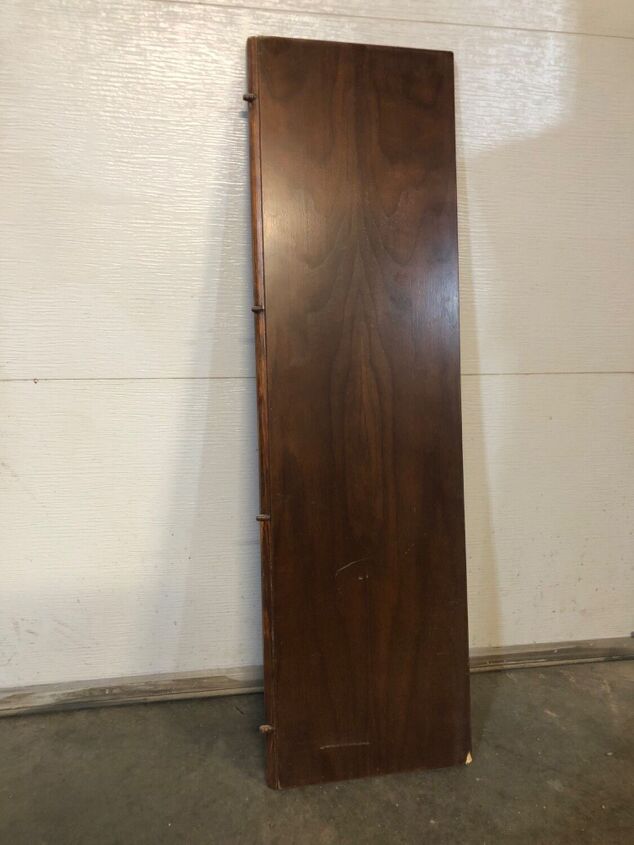
We ended up with a couple of table leaves that didn’t belong to a table we had purchased from a garage sale. With the rising price of wood these days, we try to put any piece of wood to good use around our house. The first project from this piece- a clock!
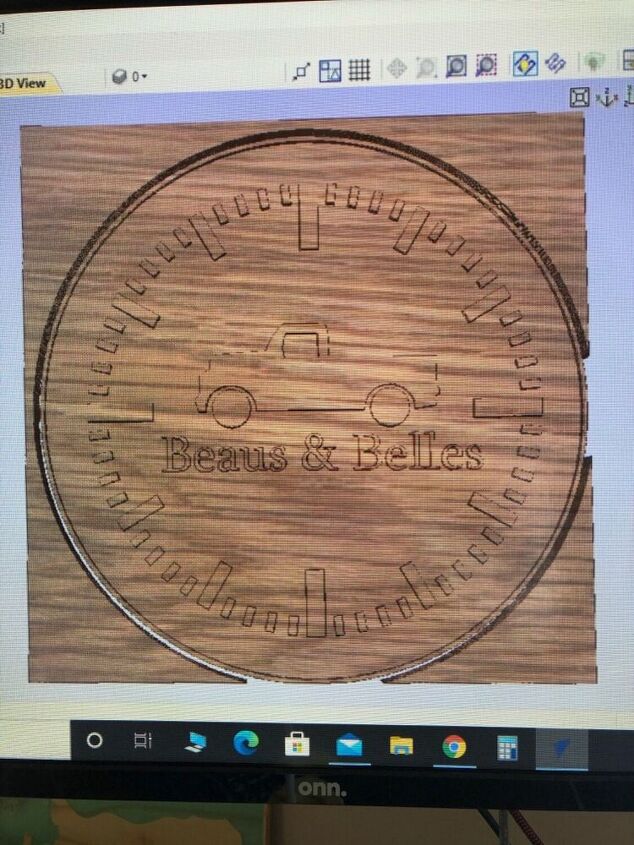
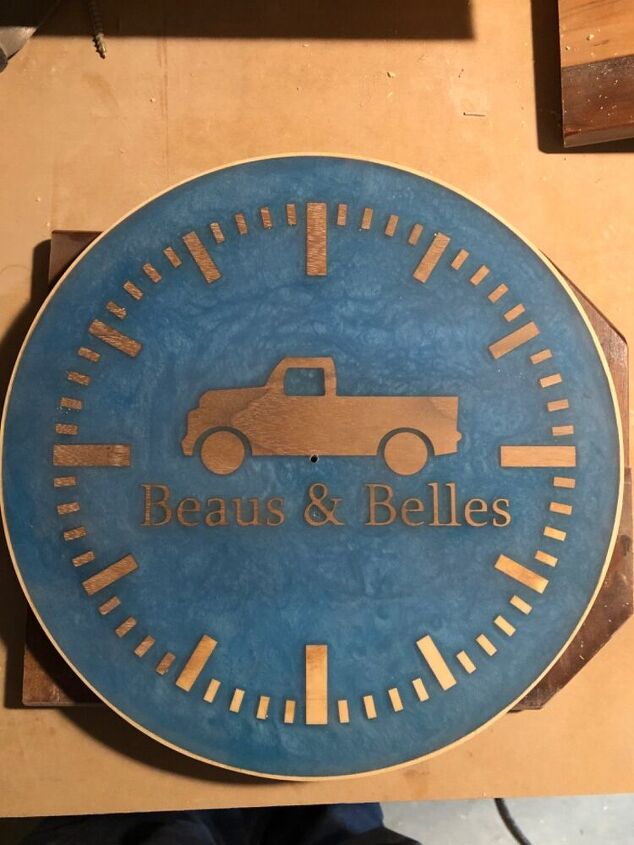
We ordered the DXF extort files from an Etsy shop called The FireFlyDesignn, loaded it into the V-Carve design software and created a g-code to send to the CNC machine. CNC Machines are great. There is a learning curve with them but once you understand them- they open a whole new world of creating potential.
If you know how, you can always design and create your own designs for the V-Carve.

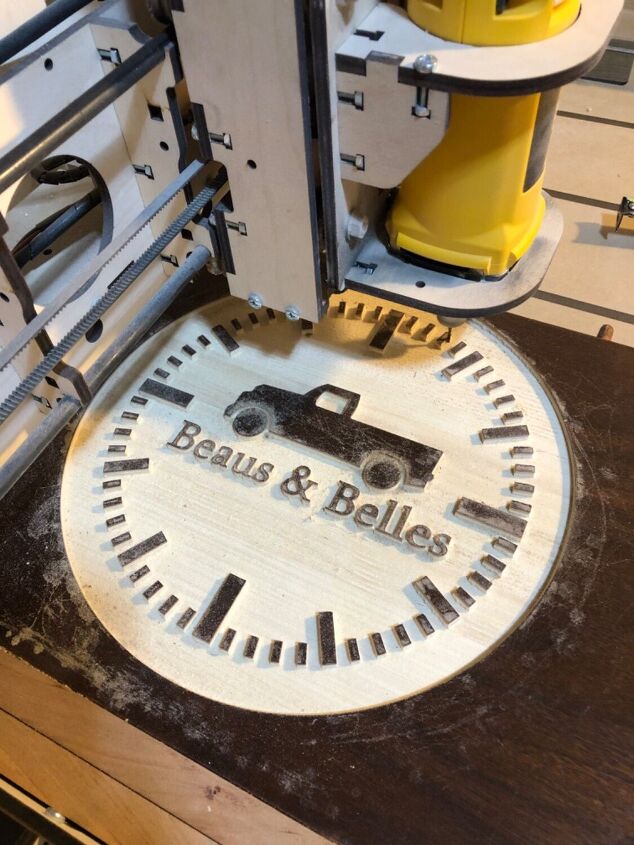
After a few minutes of set up and installing the correct bits, just hit start and it does all the work of carving out for you
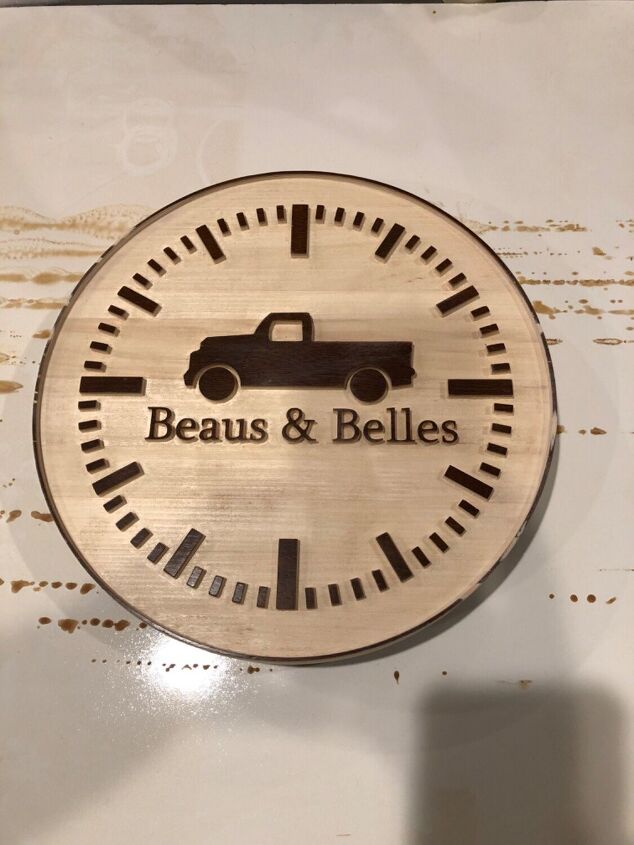
Once the design was cut, we went over any rough edges with some 320 grit sandpaper to clean it up. I then wiped the whole piece down with mineral spirits and let it dry.
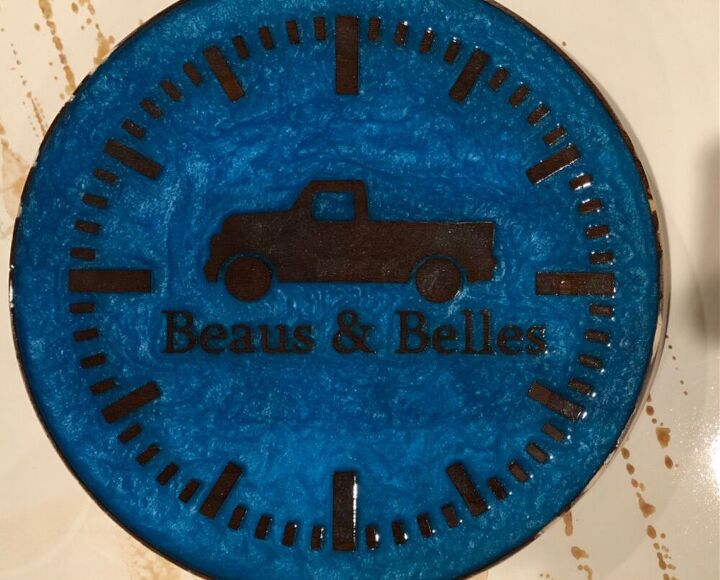
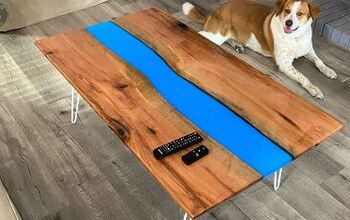
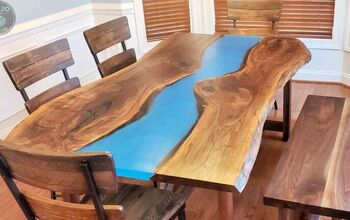
We decided on a blue resin, mixed it up poured it in to the carved areas.
** Please make sure you are mixing, pouring and letting the resin dry in a well ventilated area.**
After about 48 hours of drying/curing, we sanded the surface with 220 grit orbital sander, then moved up to the 320 grit to sand.
Once the sanding was complete, we wiped it down, and applied a light coat of Odies Oil to the whole surface. After a few hours, I wiped any excess oil from the clock with a clean rag.

We purchased a DIY clock kit from Amazon. We marked the center of the clock, drilled a hole through, then following the directions, drilled to the size indicated and completed assembly.
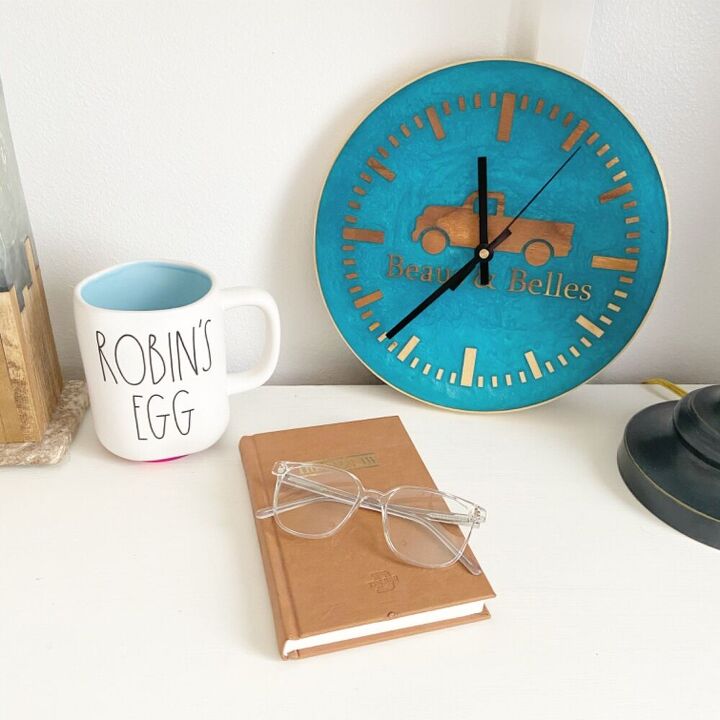
Right now the clock is sitting in our room on one of our night stands. We are hoping to find a permanent home for it, on a wall in the dining room. To see more projects and how we design and decorate our home visit our IG @therefininghome


Frequently asked questions
Have a question about this project?