


Farmhouse Style Sign Made With Repurposed Lug Wrench and Pallet Wood
If you love this project, grab your quick start DIY guide & subscribe to our blog!
If you are anything like me….you will recognize this scenario… You’re strolling through the aisle of your favorite thrift store and you see the perfect piece of junk. You instantly know exactly what do do with it. That’s exactly what happened when I came across this rusty old lug wrench. I could see the DIY farmhouse sign design in my head instantly.
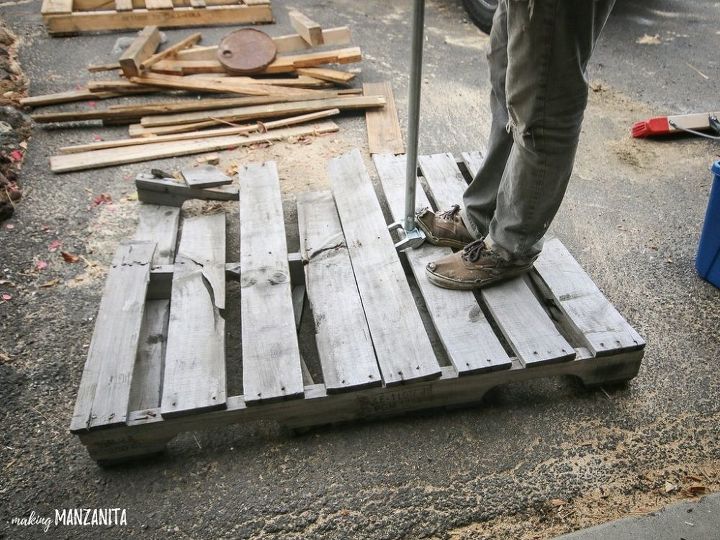
STEP 1. TAKE APART PALLET (IF NECESSARY).
We have this handy tool called the Pallet Buster that helps with this.
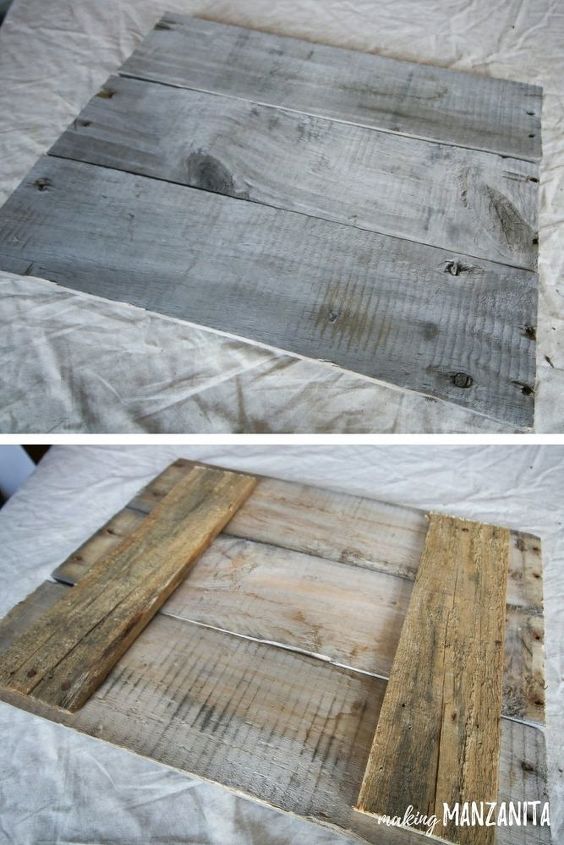
STEP 2. CUT WOOD AND BUILD SIGN.
We used three pallet pieces together. To build the sign, add 2 pallet wood pieces on the back of the sign and nail them in.
STEP 3. CUT STENCIL.
I used my handy Cameo and adhesive shelf liner/contact paper to make stencils with the letters for FARM.
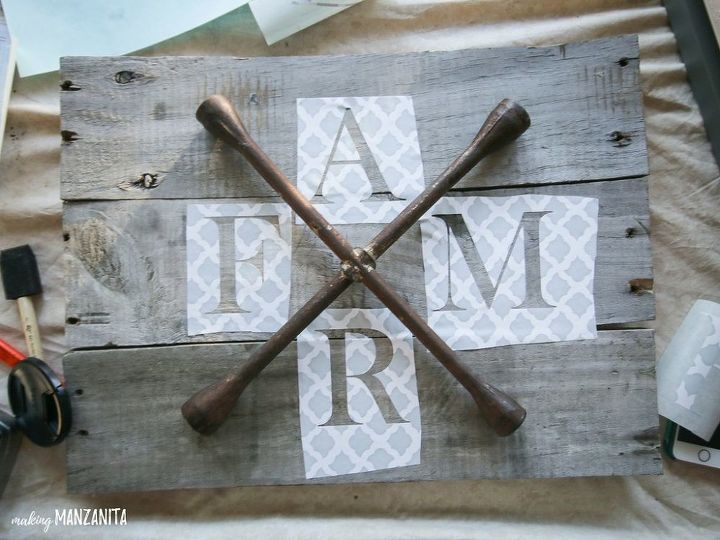
STEP 4. APPLY STENCIL.
For the full tutorial on how to seal your stencil WITHOUT having any bleeding under your stencil and getting these nice crisp lines, you want to hop over to this post. This sign making hack has definitely changed the way that I DIY wood signs.
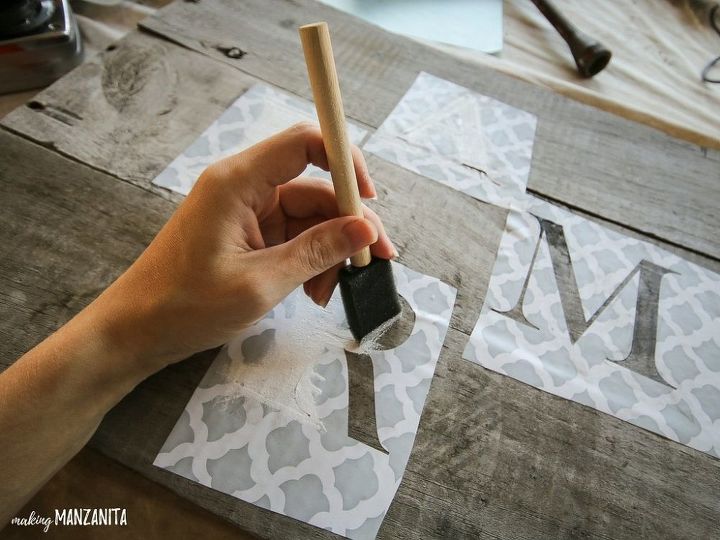
STEP 5. PAINT OVER STENCIL.
Using a foam brush, paint over the stencil. I usually do 2 coats.
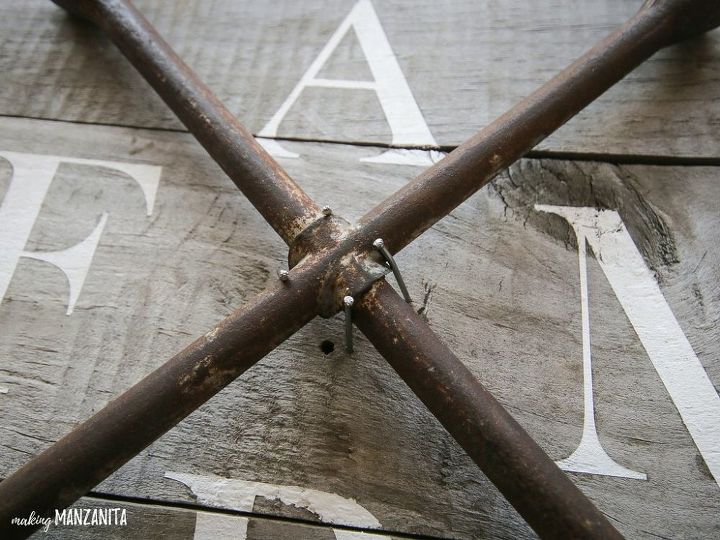
STEP 6. ATTACH REPURPOSED LUG WRENCH.
There are few different ways you could attach the lug wrench to the sign. We chose to add 4 nails around the corners to keep it in place..
STEP 7. SEAL SIGN.
To seal the sign, spray on a couple coats of sealer.
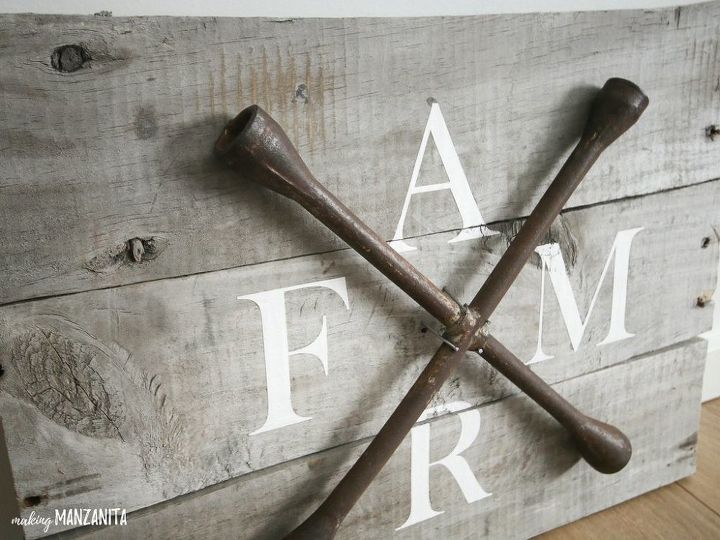
I love how this DIY farmhouse sign with pallet wood and repurposed lug wrench turned out.
To see more details on the tutorial and check out more pictures of the finished product, visit the blog post linked below.

Comments
Join the conversation
-
This is SO cool!
-
Very cool. Great imagination. Had to laugh. Great creativity.


Frequently asked questions
Have a question about this project?