


Farmhouse Wainscot Ideas And DIY Board And Batten

There are so many beautiful rich farmhouse wainscot ideas that will bring loads of character to any home. Board and baton, shiplap, and bead board to name a few. This post will show you the different styles and how we installed board and baton.
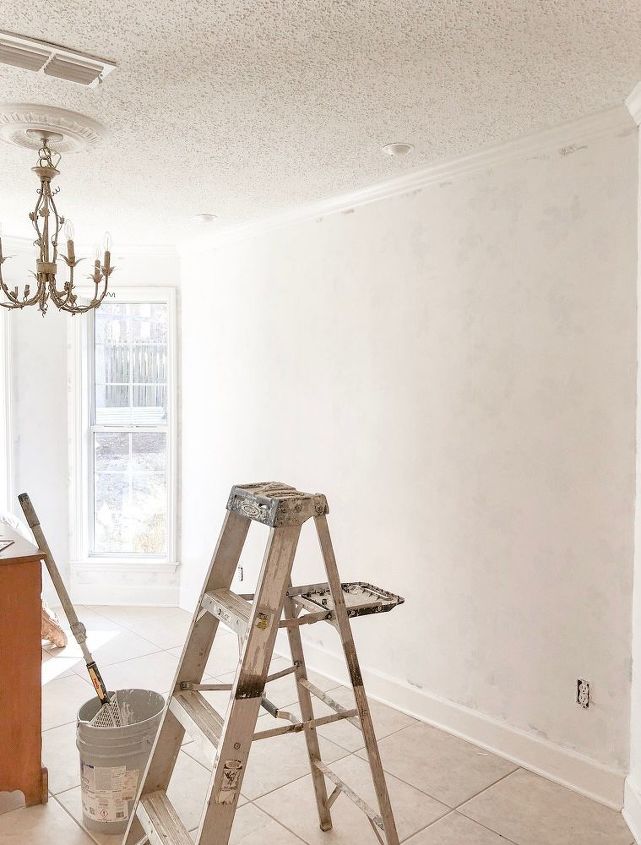
Most people are surprised when I tell them it is very easy to add trim. This room was so plan and ordinary until I added board and batten which I think is the easiest to install if you use the thin trim like I did. Check out some wainscot ideas first and then see how to add board and baton to your home.
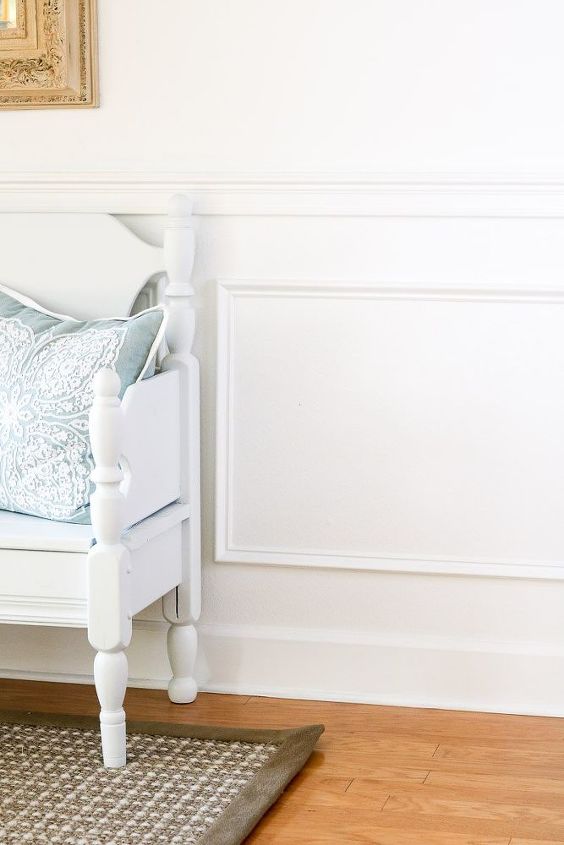
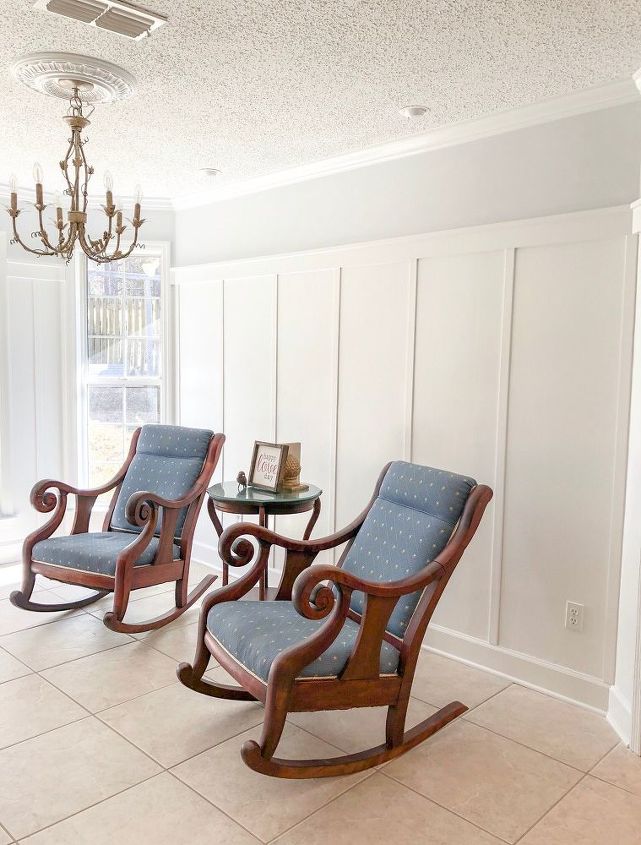
RAISED PANEL WAINSCOT
This wainscot is an excellent example of modern and more classic. There are many ways to get this look but the way I installed this one was super easy, and I didn’t have to interrupt the baseboard.
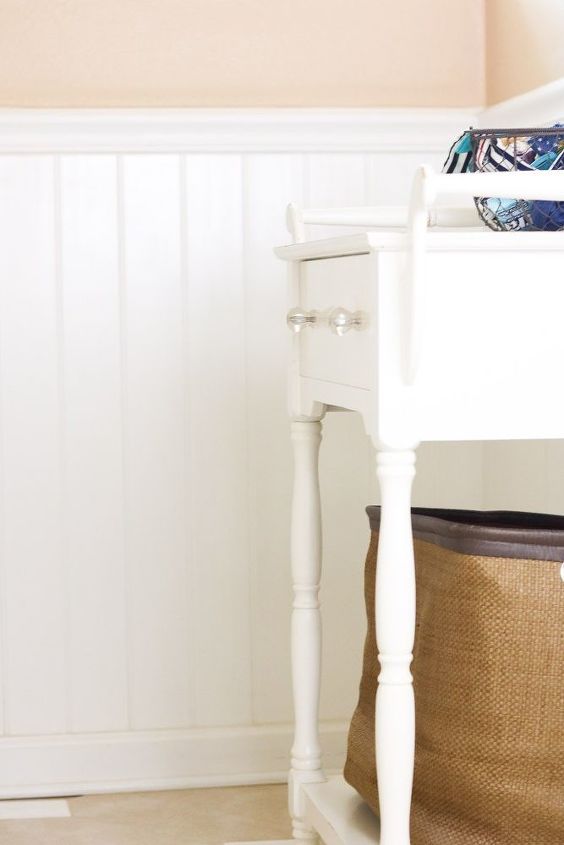
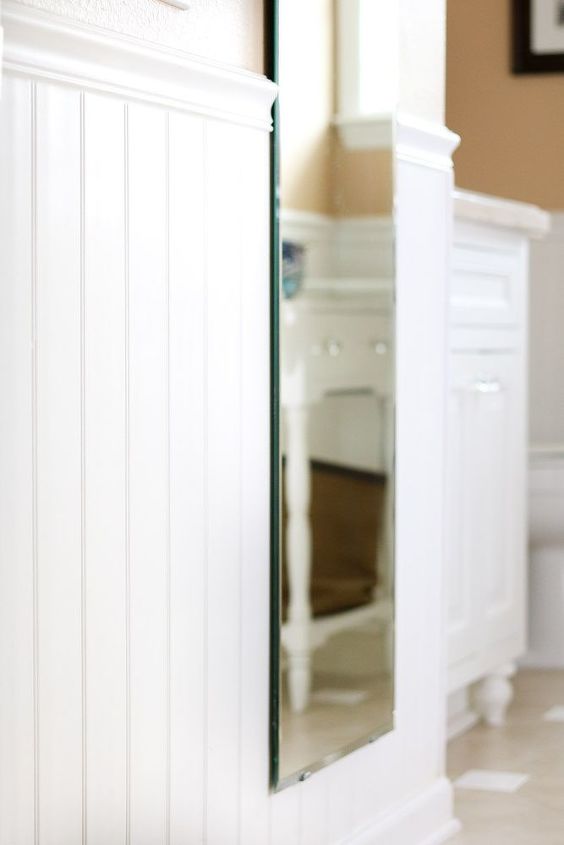
BEADBOARD WAINSCOT
When I started planning the design for this room I wanted something more informal but still classic. It was a simple decision to do the beadboard. The beauty of beadboard is that it can be dressed up or down merely with the paint or finish.
The other thing I like about this beadboard is that it is vinyl, but I did paint over it to seal the cracks. If you would like to see the whole bathroom click the link to take you to my blog post.
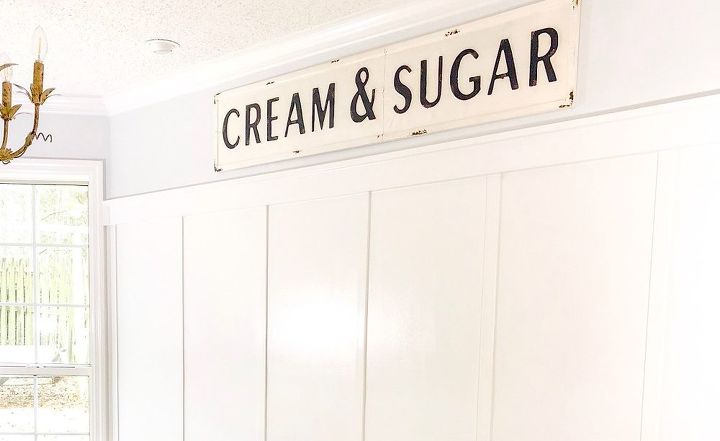
SHIPLAP
Now you know you cannot talk farmhouse trim without talking about shiplap. This trimwork began on the outside of houses and now has moved its way inside.
Well, with all this inspiration it now time to try your down trim design. The easiest is board and baton I think so let's jump in and talk about how to create a board and baton look.
If you love this trim design you can find more detailed direction on my website at . But you may find all you need here on my hometalk post.
Let's get started!
Remember me saying I think it is the easiest of all wainscots? Well that is because you don't have to remove your baseboard.
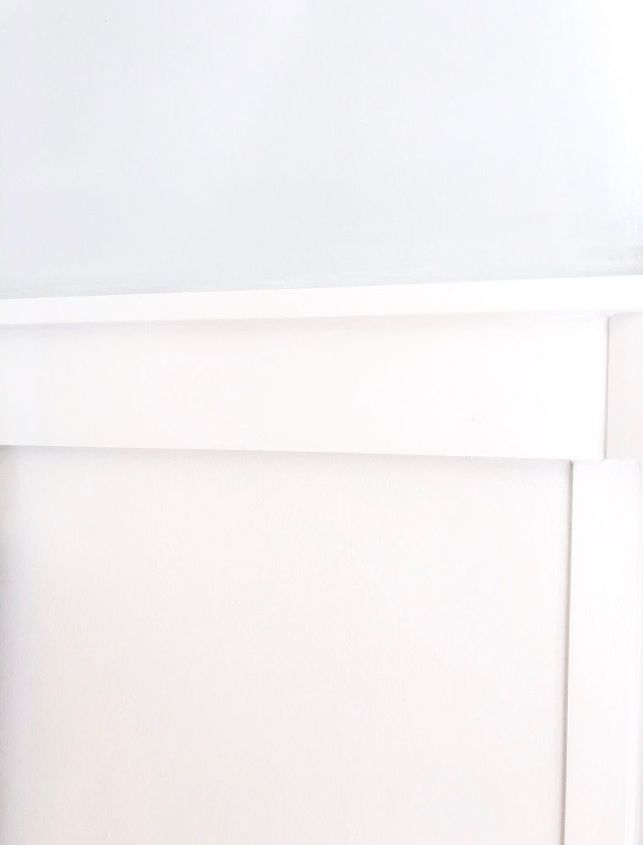
Start with the top horizontal piece. We used a 1 x 4 and a 1 x 2. Use your laser level to mark a straight line about three quarters up on the wall.
Measure the width of the wall and cut both pieces of wood. Now place the 1 x 4 and nail it in with a brad nailer or finishing nails.
Next sit the 1 x 2 on the top of the 1 x 4 and nail it in from the top.
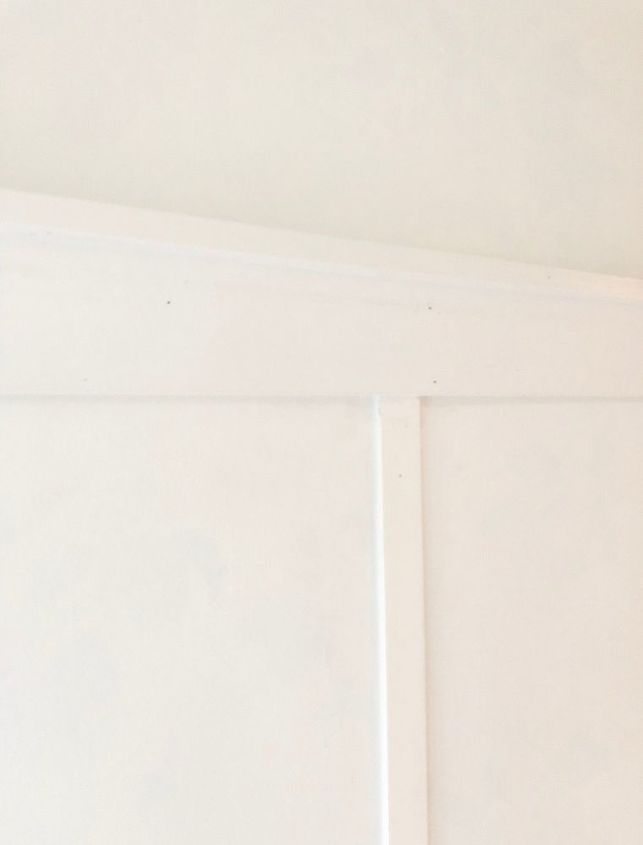
Now for the vertical pieces. Look for two inch wide stripes of wood that are about a quarter inch thick. The main thing is look for thin pieces. This is what makes this project so easy because it sits on the top of the baseboard without going over the base.
See how easy this project is going?
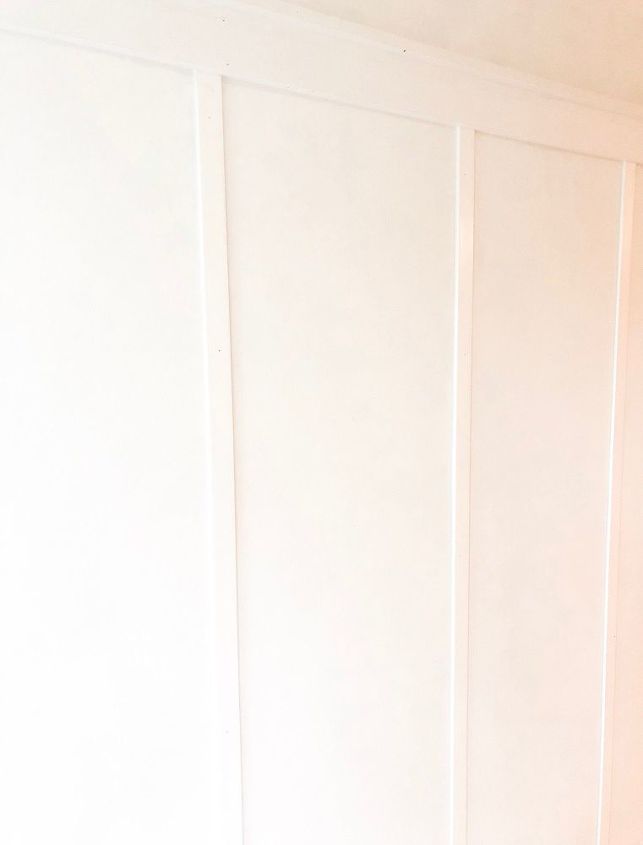
Okay we are almost finished. Simply use your laser level to create straight lines up the wall and mark where the trim pieces will go. I like my stripes to be around 18" apart but that is flexible based on the width of the wall. Make sure your marks are evenly spaces down the wall.
Next measure the distance from the base to the horizontal board and cut all your stripes.
Nail them to the wall with your brad nailer or finishing nails.
Woo hoo! The project is done and now all it needs is some paint. I hope this post has been helpful. For tips on painting the wainscot try my
Resources for this project:
See all materials


Frequently asked questions
Have a question about this project?