


Faux Brick Wall
My son and I had been talking about redoing his room for years. We already knew what we were going to do…a faux brick wall spray painted with graffiti. All he had to do was keep his room clean (or at least manageable). Needless to say, he never did. If truth be known, I think I was wanting to do this to his room just as much, IF NOT MORE, than he did. I needed a creative outlet and his eyesore-of-a-room was it!!
I started on a Friday, after my daughter had gone to school and worked all day on it. I predicted that this would take the whole weekend. Wrong-o. It took me a full week. You’re probably thinking that I must be one of the slowest painters in the world but you need to keep in mind that the stencil I was working with was a four-brick stencil (two full bricks on top with one full brick on bottom with a half brick on each side). The following diagram is an example of my stencil.

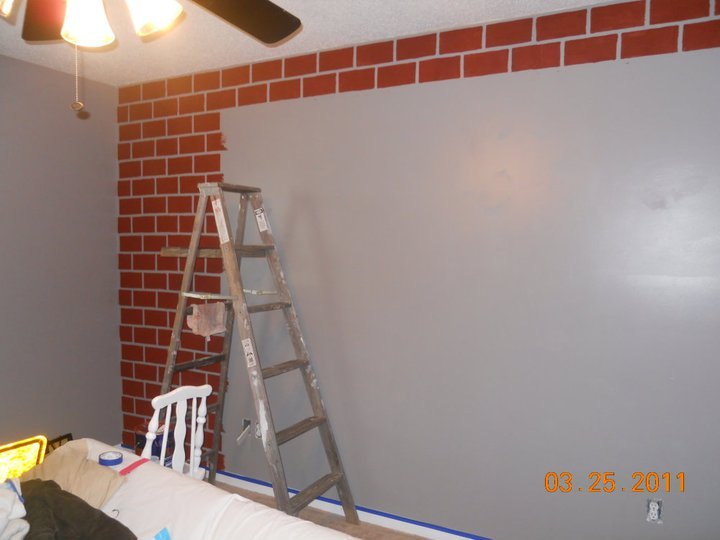
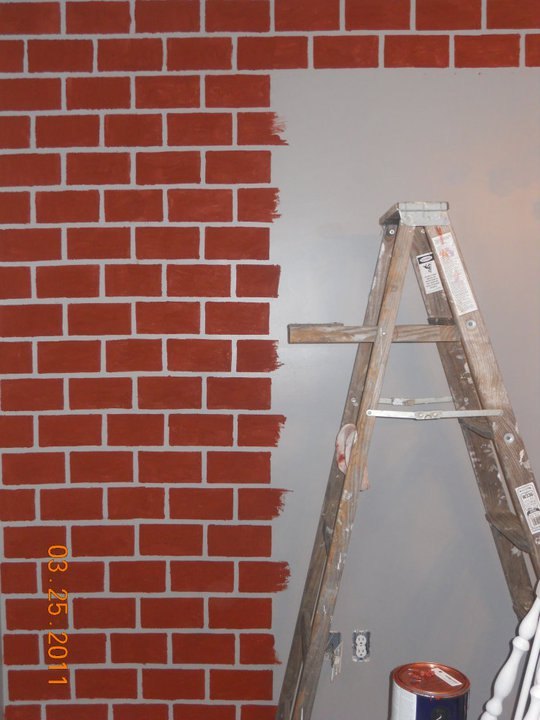
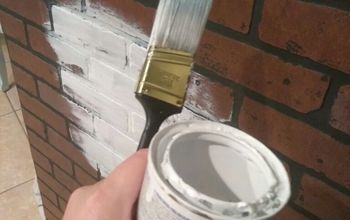
First order of business was to repair the walls with joint compound where he had put nails and his fist through it. (Don’t ask.) After that, I started by painting three of the walls a gray color of Valspar in the satin finish. The other wall, the MAIN wall, I painted in the same color but in the flat finish. Next thing I did was get the stencil that I had made and tacked it to the wall. Then I got the brick paint–this was Valspar Granite (granite, as in it had bits of granite mixed in the paint to give it a texture–not the color of granite) and painted using a brush and the stencil as a guide. If I were ever to do this again (which I am not), I would use a sponge instead. ( Heck, if I were crazy enough to do this again I would just tape off the wall…..stencils are NOT the way to go.) The following picture is what I had accomplished by the first exhausting day.
After I painted all of the bricks and let it dry for a day, I went back with a small sea sponge and sponged a lighter hue of the brick color, (Valspar, flat finish) to give it depth. By the end of day 7, this is the finished product:
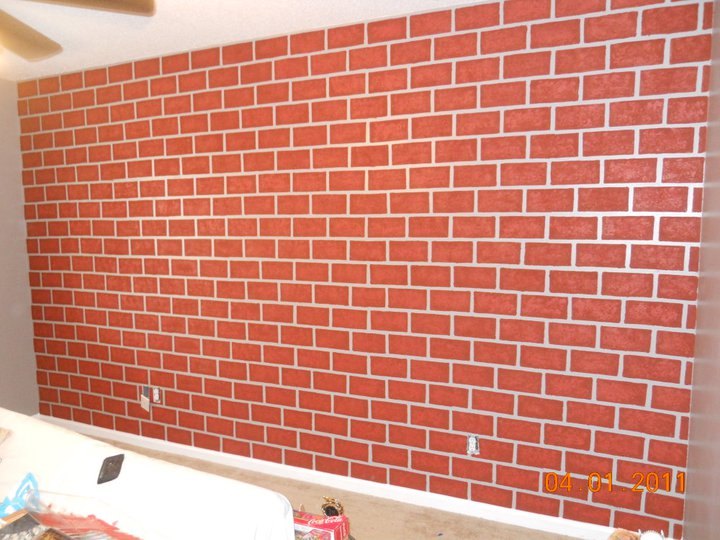
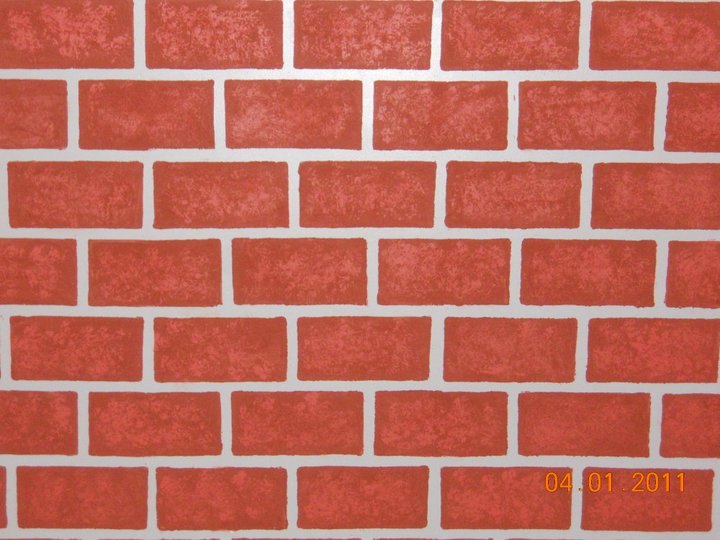
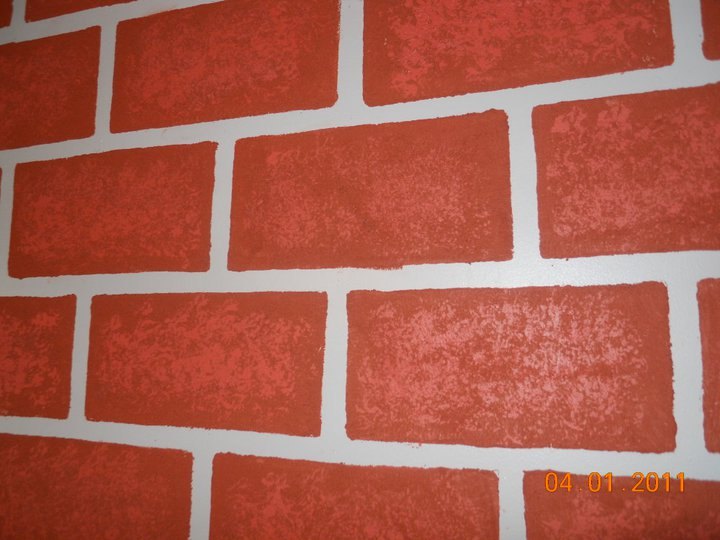
You can’t really get the full effect of the bricks by seeing just the picture. By using the granite paint, it actually had texture. If you decide to do this just be prepared to spend a lot more for this type of paint. This ran me about $50/gallon. (I’ve since learned they now sell just the pack of granite crystals to put in your paint. Much more economical.) Oh well. It was worth it. You should have seen my son’s face when he saw his room for the first time!!
Next order of business….find some hoodlum to come over and spray graffiti on that wall for free. (I talked to someone about coming over and doing it for me. I nixed that idea once he told me he charged $80/hour.)
**I should note this was taken from my old blog. I did this for our son at our old house nearly seven years ago.**
Resources for this project:


Frequently asked questions
Have a question about this project?