


Pounded Flower Prints

If you love art and nature, this tutorial is for you. This project is all about tapping into natural beauty. Using natural mediums and simple techniques, we're going to make some gorgeous pounded flower prints.
Tools and materials:
- Patterned cardstock
- Water
- Teabag
- Pansies
- Paper towel
- Hammer
- Wood
- Nails
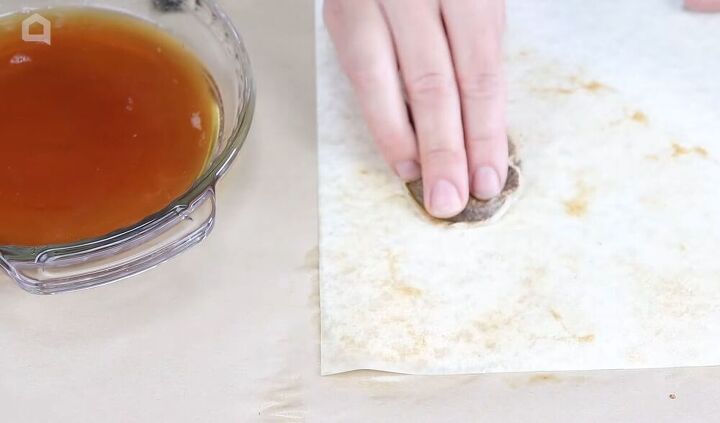
Dye your card
To begin your piece, take a piece of patterned cardstock. The one I'm using has a marbled pattern to it. Next, take some warm water and a regular tea bag and let the tea bag sit in the water for a few seconds to let it tint the water. Once done, ring out your tea bag and blot it all over the cardstock. After you've stained the card, you'll also want to rub the residue in so that it soaks in nicely. Then you need to give the cardstock sufficient time to dry.
Make the flower print
I'm going to show you two different methods you can use to make the flower print.
Method 1
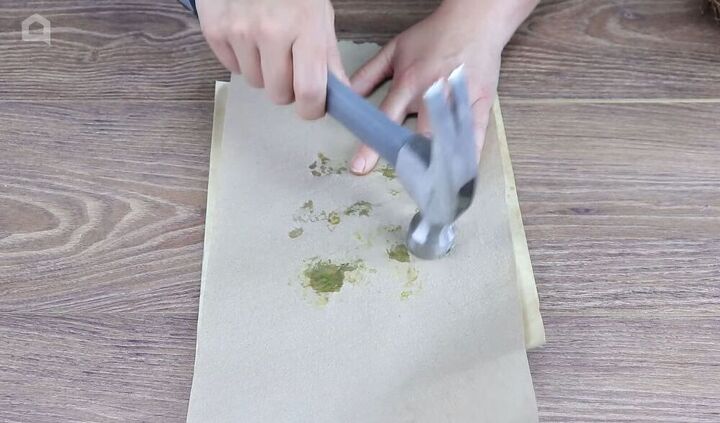
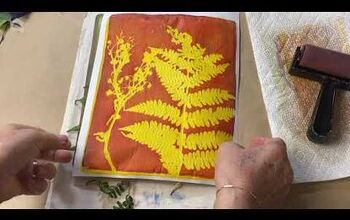
Once the cardstock is dry, take the yellow pansies, and place them face down on the cardstock. Make sure that the petals are fanned out perfectly and that they're not crinkled in any way to get the best look out of your art. Arrange them into an appealing pattern, and then once you have them all set where you want them, take a piece of paper towel and place it on top, pushing down lightly onto the flowers. Then you're going to go in with a hammer and gently tap on top of the flowers. You need to make sure that you don't move them at all, so you need to hold your hand in place, making sure they do not move. You could also use tape to secure the paper towel if you want. You don't want to tap too hard but just enough so that the color squeezes out of the flowers.
Method 2
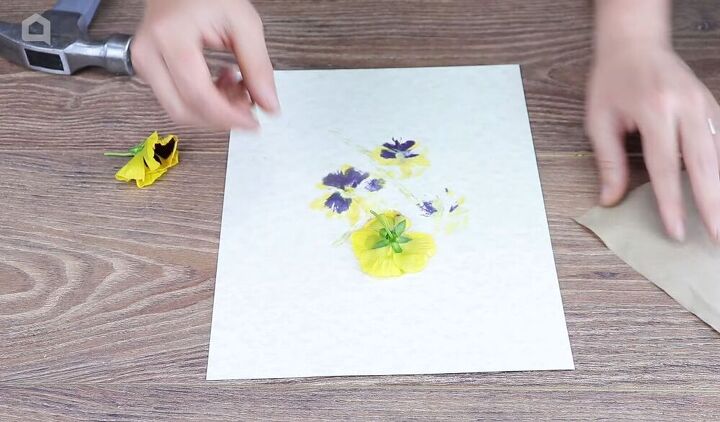
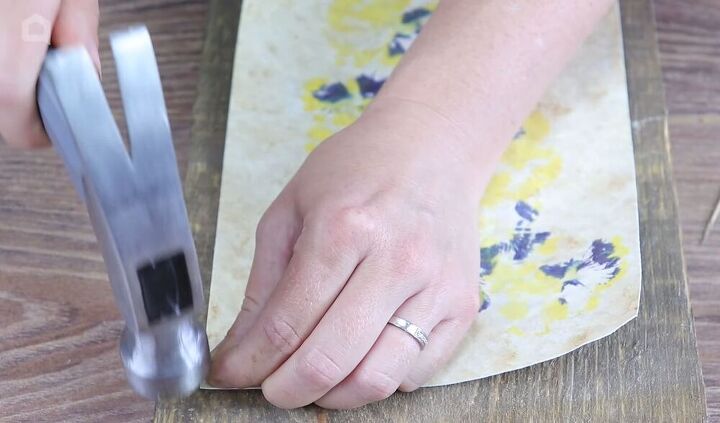
For the alternative method, you don't need to stain the paper first, so you can skip step 1. Whereas the first method involved doing all the flowers together, in this technique, you're going to do one flower at a time. Place one flower down, put the paper towel on top, and gently tap it with the hammer. Continue working flower by flower, and position them differently on the paper. I've placed the flowers in different angles and directions to one another. I've also spread out the stem so that it can also feature in the print. Once you are happy with the result on this one, you are then going to dye the paper with the tea. Simply go around the paper with the teabag, starting in the corners and then working down. Make sure not to go over the flowers too much with the tea because you don't want to change their yellow color.
Mount your pictures
Once you've finished your prints, remove the paper towel and the petals to reveal your petal art. The next step is to bring in a rustic piece of barn wood and use some little finishing nails to mount your flower art onto it.
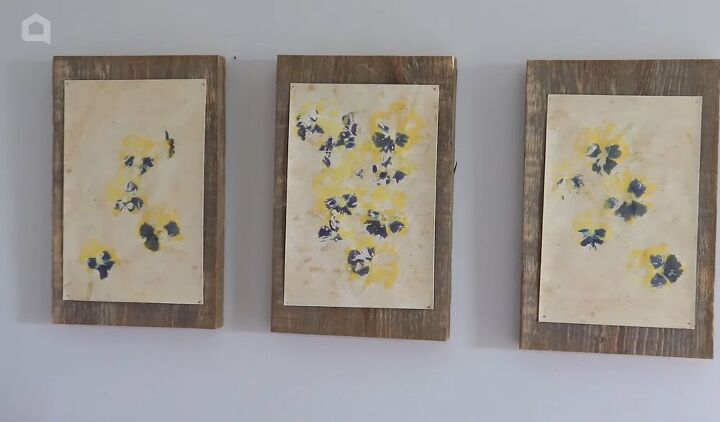
This was a super easy and super fun project to do. I found that I got a nicer result when I did the flowers one by one versus in a big group all together, but you can try out both methods and see which one you prefer. I love how the prints look against the wood background; it’s a refreshing alternative to a usual picture frame and gives the overall artwork a rustic, earthy feel. I hope that you’ll give this DIY a go!
Resources for this project:
See all materials


Comments
Join the conversation
-
I will probably try this, I already use hibiscus tea to tint some of my canvas for a unique background,
-
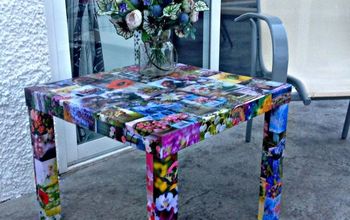
Love this! I have some wildflowers blooming now that I planted using the Dollar Tree box of mixed seeds (only $1 too!). It makes a pretty big grouping of wildflowers for only a buck. The only thing I might do different is decoupage the catdstock to the board. I collect free pallets and make & sell farmhouse decor with them so I have a ton of cut-offs that would be perfect for this. I have no need to reuse that board since I have so much. Thanks!


Frequently asked questions
Have a question about this project?
Going to try this ! Do you need a fixative to preserve the finished picture?