


Friendship Frames- Sea Glass House Plants

I'm on a roll, popping out these seaglass scenes everything from whales to turtles and now on to houseplants! They are very enjoyable to put together, dare I say almost too enjoyable? Afterall, I still try to stop and eat at least 1 meal a day....😀!
To begin I used :*picture frame* E 6000 Adhesive*sea pottery ( broken bits of teacups,etc.)*tiny driftwood pieces (twigs)*Small beads (buttons)*Rub on Transfer (write your own)*tweezers*Plier Cutters*scrapbooking paper*sandpaper (optional)*scrapbooking stickers (optional)
*Note materials in brackets are alternate suggested materials, use whatever you have that where creativity blooms!
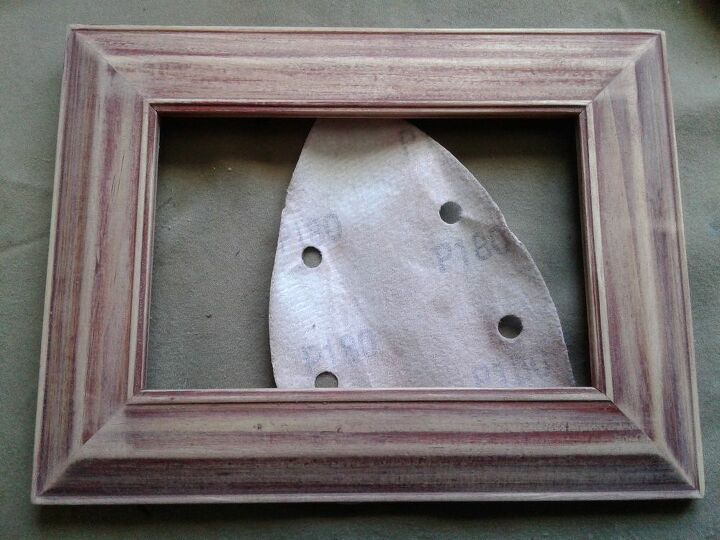
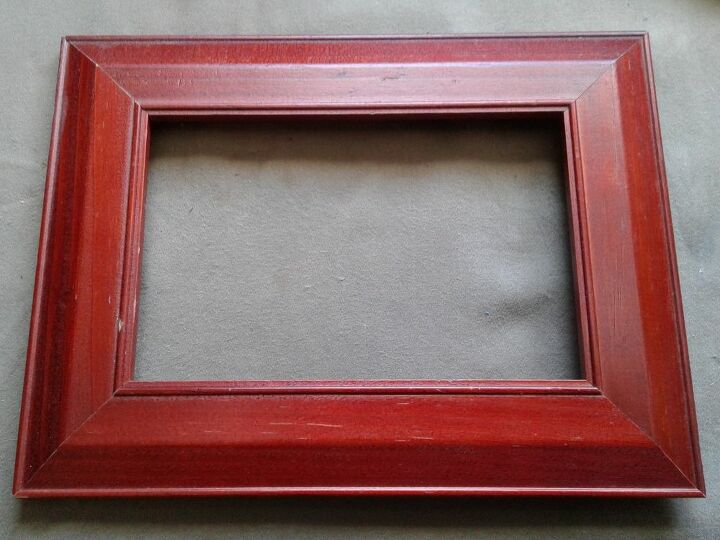
I wanted a rustic frame plus I wasn't in love with the cherry finish on this one so I sanded most of that shiny, dark finish off!
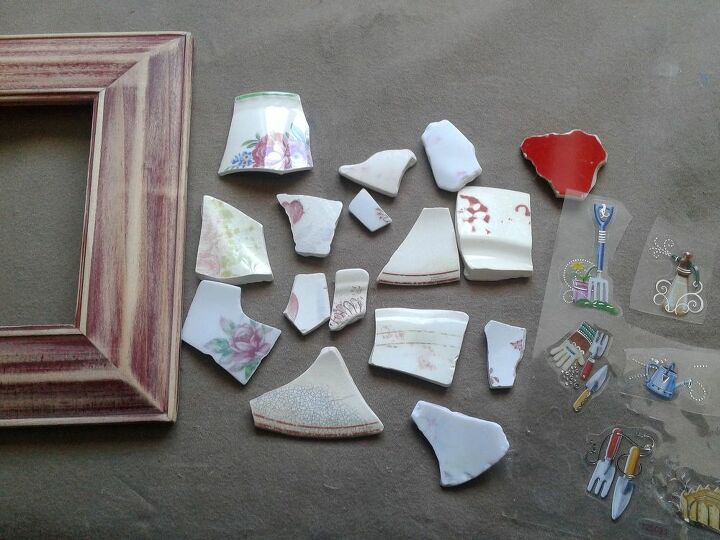
I had red tones in my frame so I chose shards that also had a hint of red in the design left on them. I also had clear gardening stickers that I've been adding into these frames so I selected one for this scene as well.
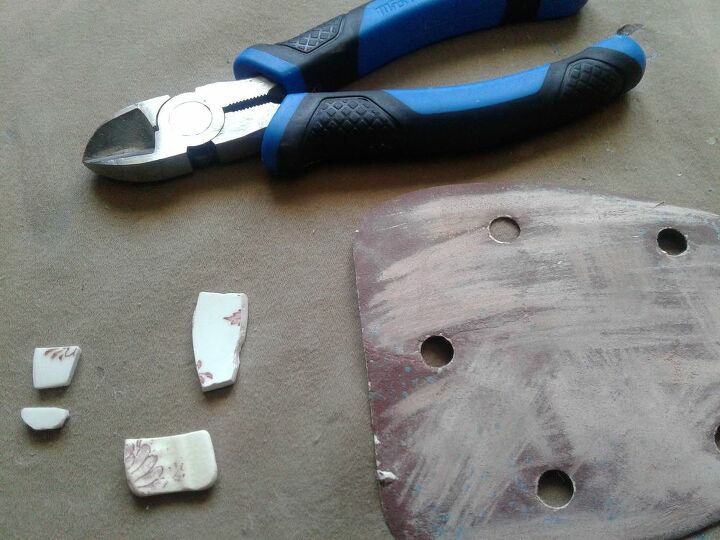
If the glass isn't quite right to resemble a flowerpot, I snip corners off with the pliers seen here and give the glass edge a light sanding. So I don't see any reason why if you didn't have access to collecting beach glass you could smash up and use an old teacup or something.
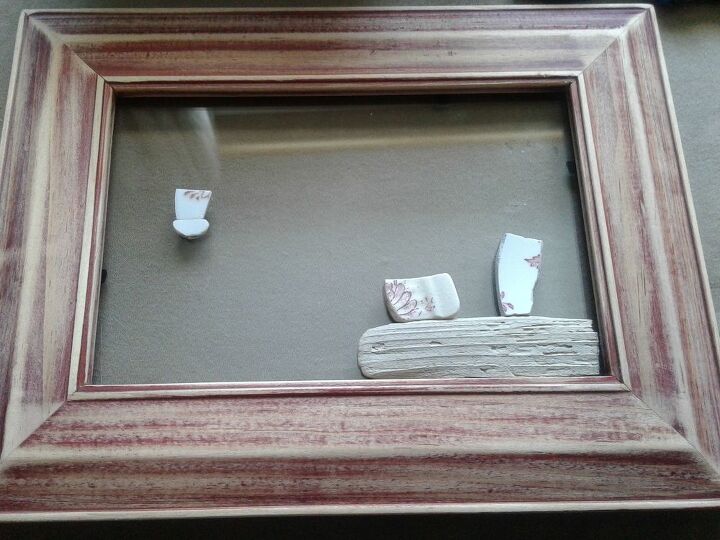
Before I glue anything I always create my layout first, it's like the rule measure twice cut once, here you position twice and glue once!
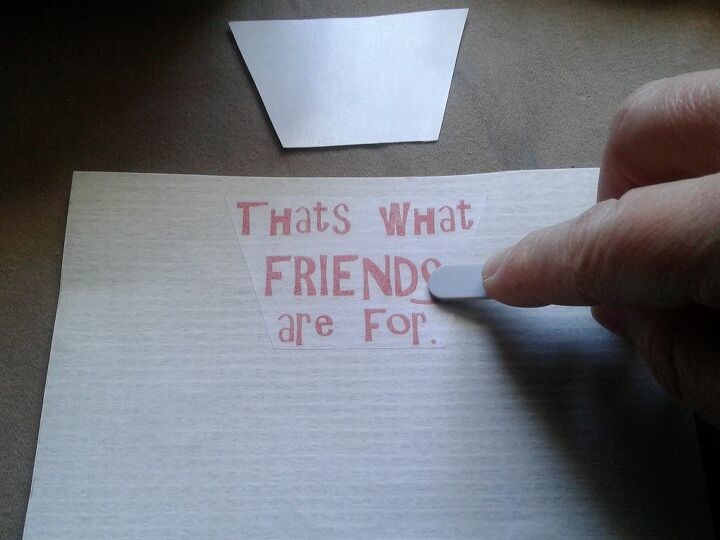
Also plan your layout for the transfer and the gardening sticker onto the scrapbooking paper which goes inside the frame. The rub on transfers are easy to use, peel off the backing and position on your surface and rub the plastic film with the applicator provided.
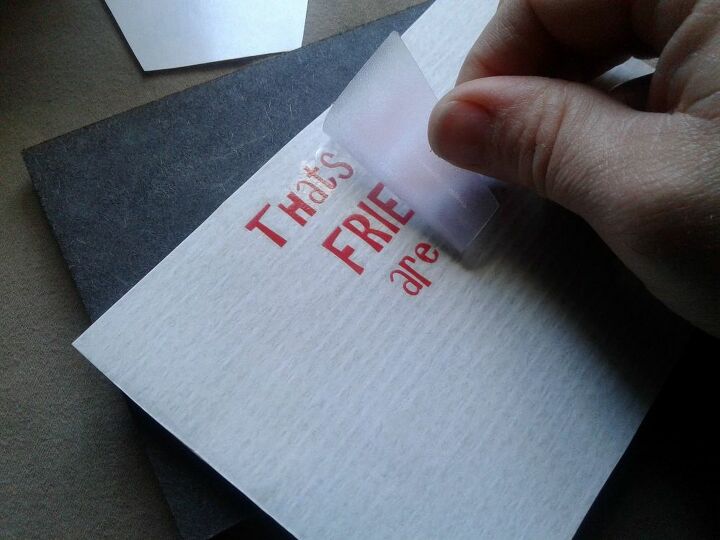
Gently lift a corner to ensure it's fully adhered, if not simply lay the film back down and rub over that spot just a little more.
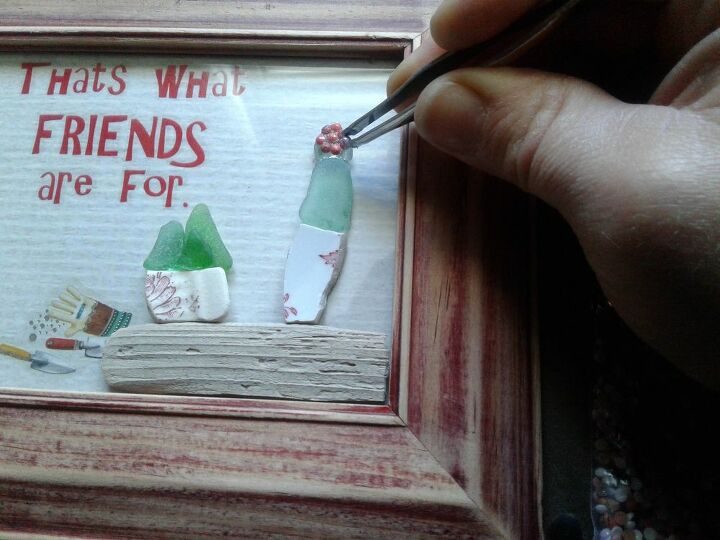
I use tiny beads from diamond paintings to add flower blooms to the plants, I have an old pair of tweezers that are great for this.
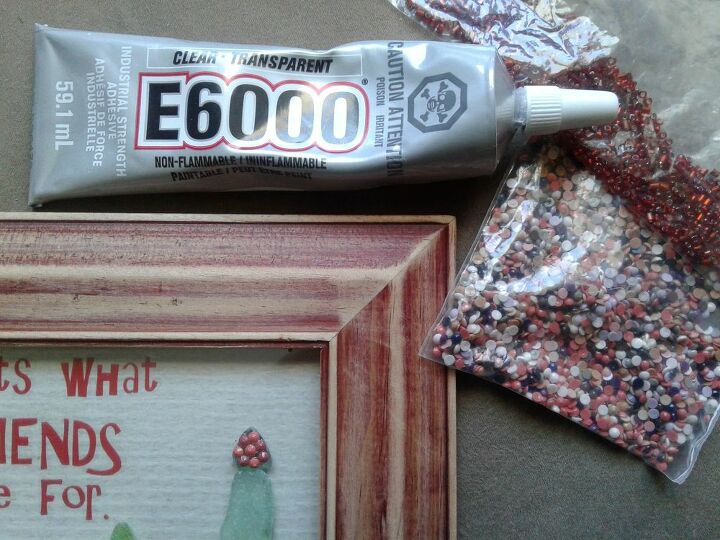
I love using the E6000 for these projects, it works well on glass because it dries clear and it creates a tight bond! Since the art pieces are on the outside of the glass I need them to be stuck on there well.
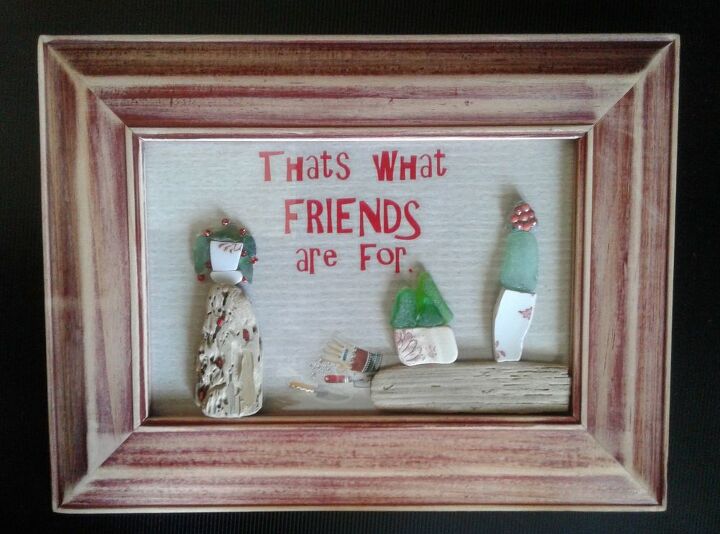
Here's my little gift for a friend, it's not the size of the gift but the thought that counts and she loved it!
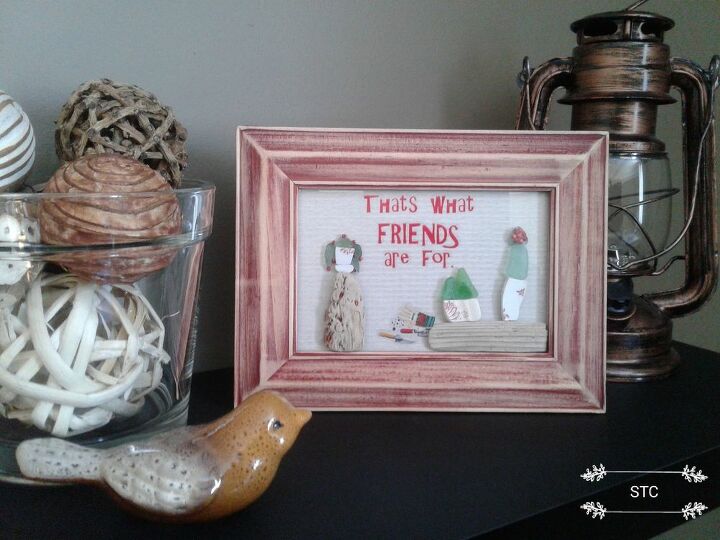
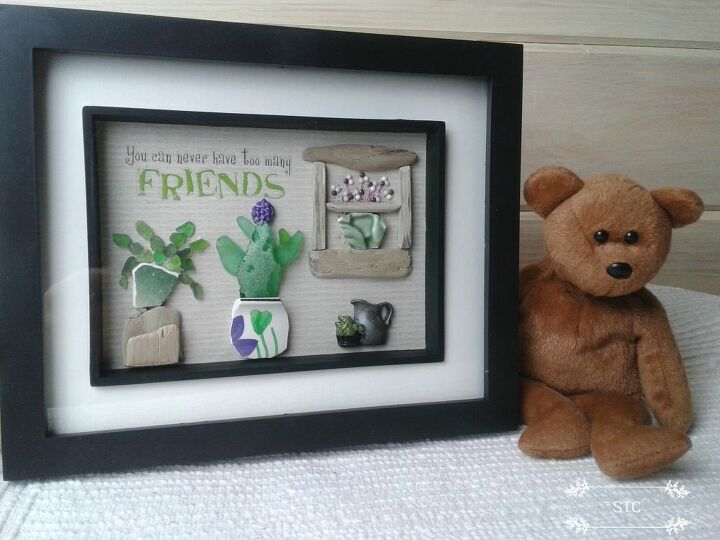
It's rustic so I added in a few other similar elements that to give you an idea of how it looks on display. I've completed a few of these 3D plant pictures and if I was unsure of plant shapes to make I just googled cactus or succulents to give me additional ideas.
This one is a little different because the components are concealed within the Shadowbox Frame. However if you can't seem to find one this post shows you the option to make it on any regular frame. I hope both options have inspired you to put your creative hat on and make some mixed media art!
Resources for this project:
See all materials


Comments
Join the conversation
-
Love this one Trace! Very sweet.
-
This has Inspired me to get back into crafting. Thank you.


Frequently asked questions
Have a question about this project?
How does back look?