


Funday Friday Kid's Craft - Painted "Stained Glass" Art
Here is a quick and easy craft that only uses 3 materials! And gets this mom of 5 a gold star for fun  .
.
What You'll Need:
- Canvas or a piece of wood
- Masking tape or painter's tape
- Paint
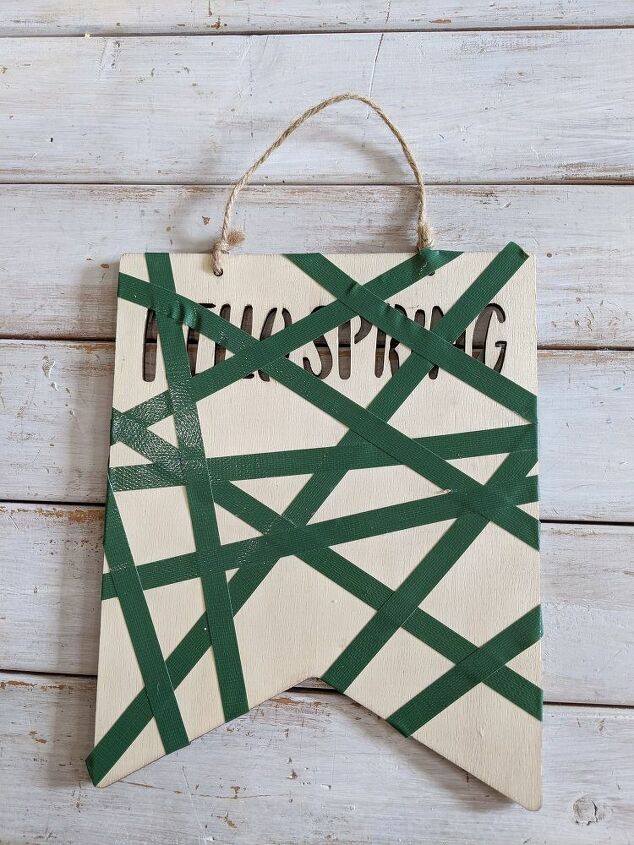
Starting at one side or end of the canvas or wood piece, lay a strip of masking or painter's tape down and bring it all the way across to the other side. I found it helpful to loop the tape under the board to start so that it wouldn't move and helped cover the side (in case I got paint there too - have I mentioned I can be a messy crafter?!).
You want to make sure each piece of tape is secured down to the board as tightly as possible! Press down on each section of tape as you add it to ensure the paint will not bleed under the tape.
Repeat this step as many times as you need until you create as many open spaces as you would like of varying sizes and shapes.
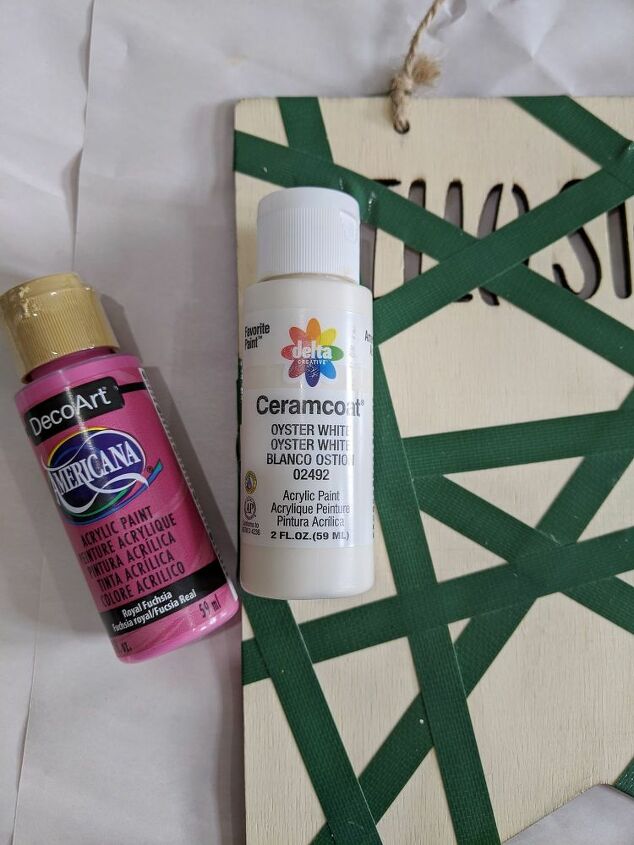
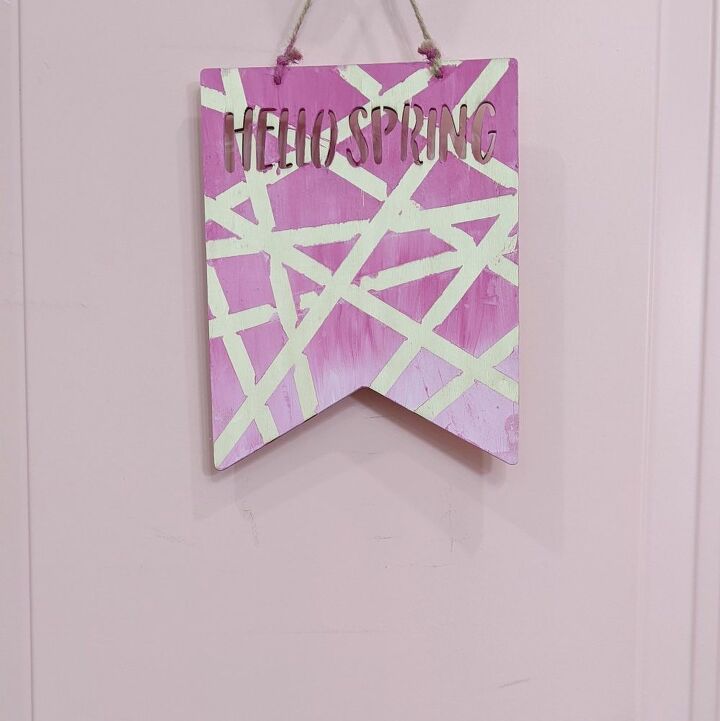
I wanted to create an ombre effect on my Hello Spring wood board so I only pulled two paint colors - Americana "Royal Fuschia" and Ceramcoat "Oyster White". You can use as many colors as you have open board/canvas spaces though!
You and the kiddos can be as creative as you want during this step! They can paint each block a separate color or the same color - everything works . If you/they do decide to use different colors for different sections, just remind them to paint all the way up to the tape. It is a-okay if the paint gets on the tape as we will be removing that once the paint is dry!
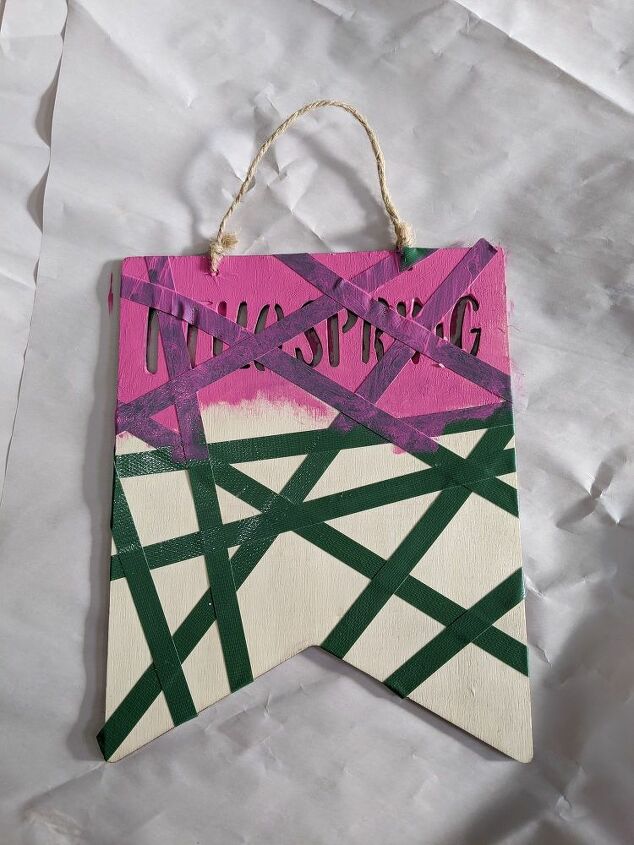
If you are interested in an ombre effect, this is how I did it:
- Start with your main color at the top or bottom of the canvas/board.
- Heaviest paint layer at the edge and pull downwards (or upwards) until the paint is off of your brush.
- Mix a few drops of white in with your main paint color.
- Start your next layer slightly above (or below) where your first layer began to blend into the board.
- Repeat steps 2-4 in this section until you reach the bottom (or top) of the board.
Once your board is fully painted, set aside and let it dry completely!
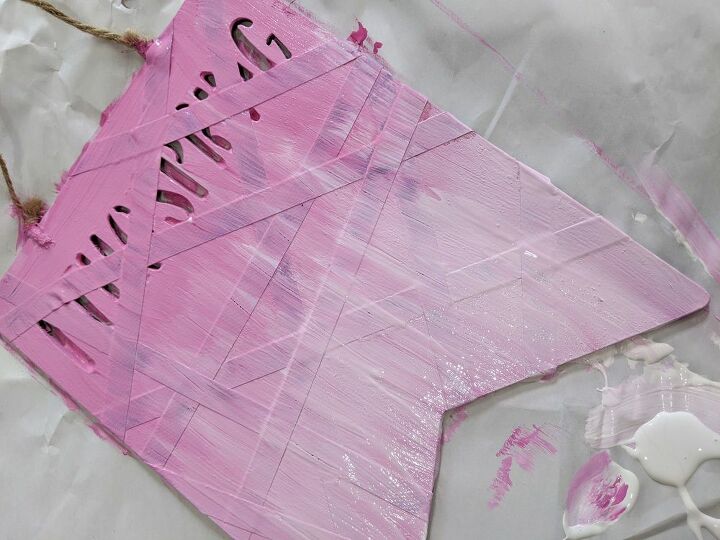
When the board is dry, it is time to pull off the tape. Do this step slowly and carefully to ensure no paint gets pulled off of the board with the tape!
As you can see from my final picture, I maayyy have moved a little too quickly while putting the tape on initially. If you want your lines super crisp, be sure to press down the tape thoroughly. You can also take a paint brush after you pull up the tape and paint those lines a completely different color! I think painting that part in black would help really reinforce the "stained glass" look.
But please do experiment! I would love to hear how you would put a different spin on this project idea so please let me know in the comments!
Resources for this project:


Comments
Join the conversation
-
I happen to like the lines. Gives it character.


Frequently asked questions
Have a question about this project?