


Got Farmhouse Dreams on a Shack Budget?

Well, I do and let me tell you over the years I’ve enjoyed my thrifty flips. Yeap I’m that girl that gets a compliment about a purse or shoes and screams out how much I paid for it. I’m not very competitive when it comes to sports, but I will work hard to make it or build it cheaper. 😊 We installed real shiplap in our bathroom and I love it, but when you don't have the money for your next project a girl does what she has to.This look was created by using inexpensive underlayment boards cut to look just like shiplap. I did this 100% solo, ladies! If you have the help that is great, but if I can do it solo so can you!
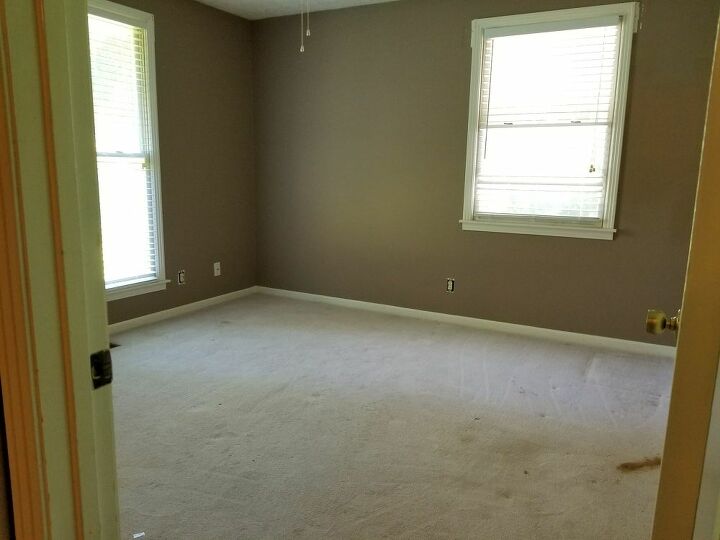
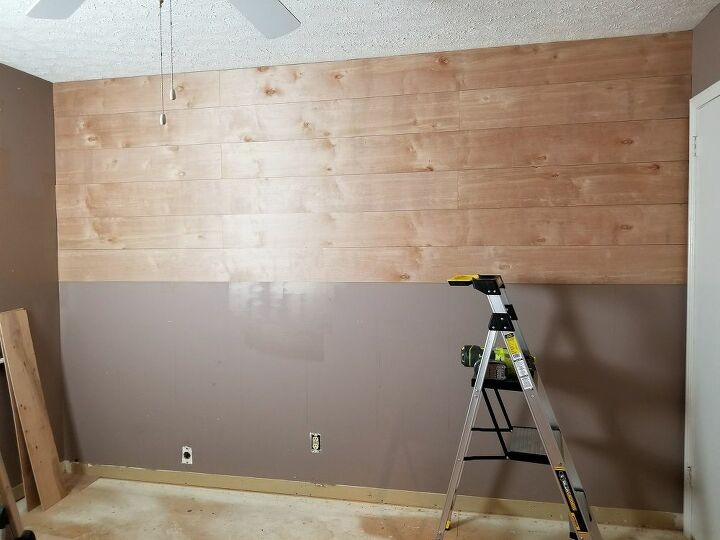
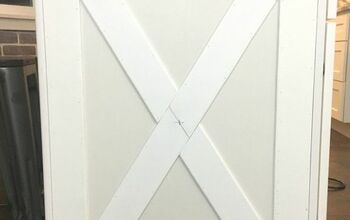
Before
What you'll need
Tools
Nail Gun, Chop Saw or Circular saw, Safety Goggles, 4 ft. Level, Pencil, Stud Finder.
Supplies
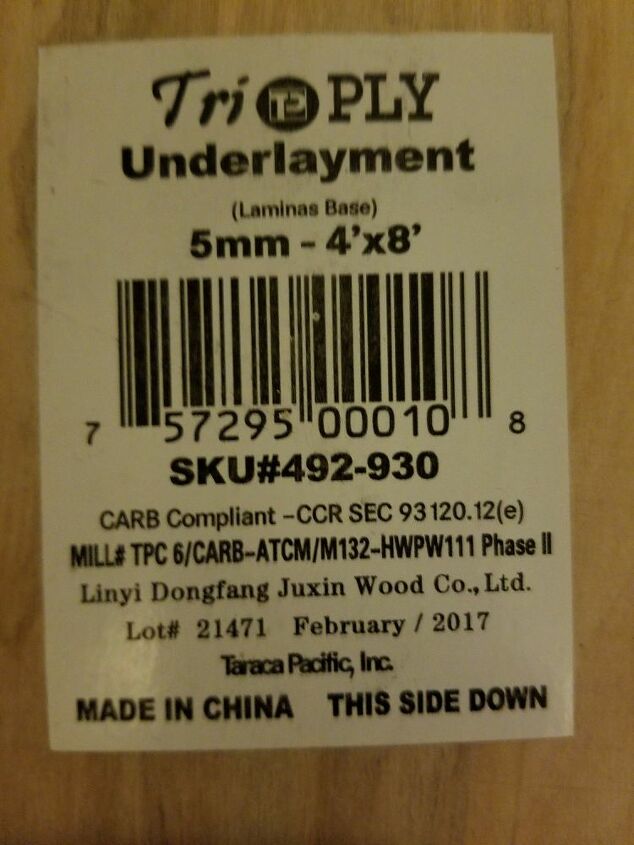
Underlayment Board cut into planks. (Home Depot was the only local place that would cut them for me.)
2” nails
Your Favorite Shabby Paints Color. I used Snow White
Cost Under $150.00 for a 12×12 room.
Install
Tip
Since I was doing this project solo, I used a chop saw to cut all my boards in 4-foot pieces so they would be more manageable.
Prep
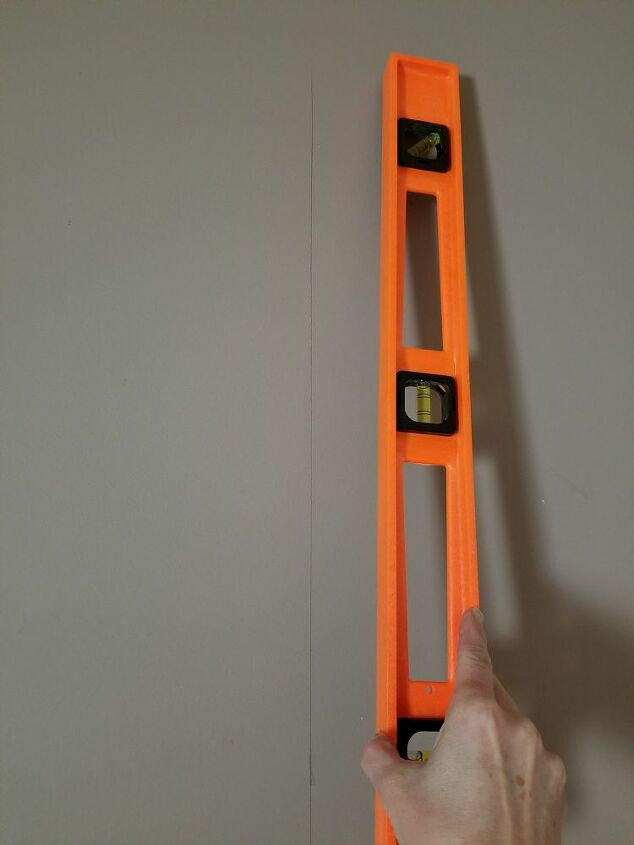
Mark your studs. A good stud finder is needed to make sure your planks are secure. Use your level and pencil to mark your studs from floor to ceiling.
Install
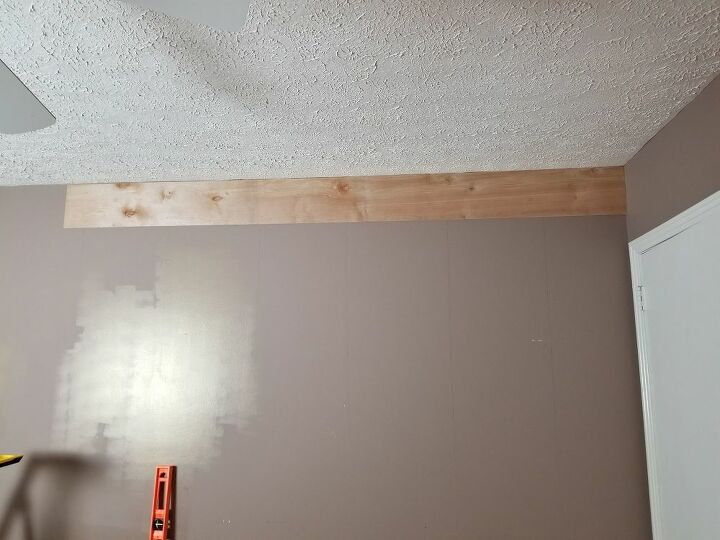
I started at the ceiling. I did this because I knew that our ceiling or floor wouldn’t be perfectly straight and if we had any type of gap at the end the baseboards would hide it. If you are installing crown molding you can start at the floor and work up.
Using my level, I held up my first board and nailed it with my nail gun. I did one row all the way across one wall. The final board had to be cut to fit. Save the leftover from that cut to use as your first board on the second row. This staggers the boards. When doing the next row I used nickels as spacers.
Tip 2
I recommend measuring and verifying that you will not end up having to cut the last board less than ½ of the board’s width. If it measures out that you would, I would rip the first board to make it end right.
Tip 3
A cordless Ryobi jigsaw is great for cutting around light switches and plugs.
Tip 4
If you are doing this solo, sterilize the nickles because you will probably need to use your mouth to hold them lol.
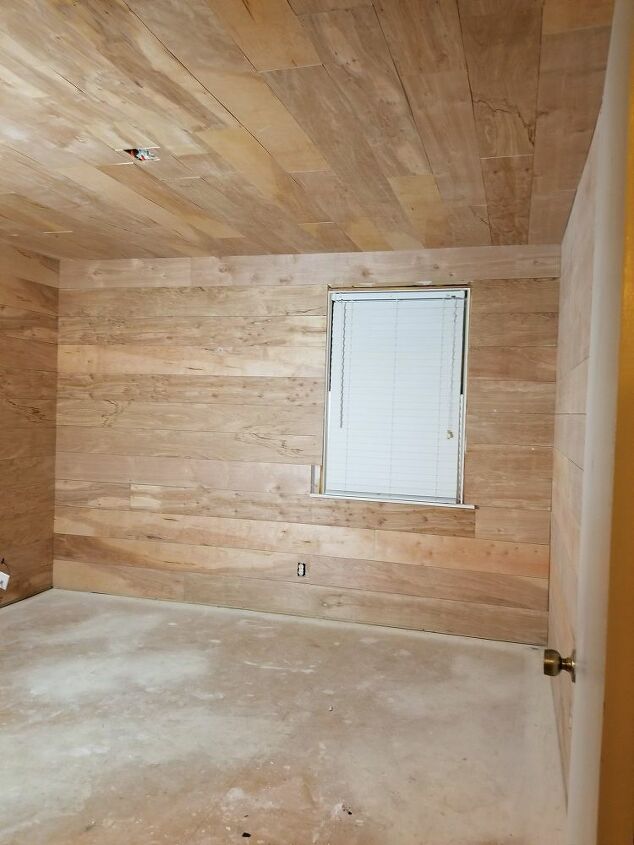
Ready for paint
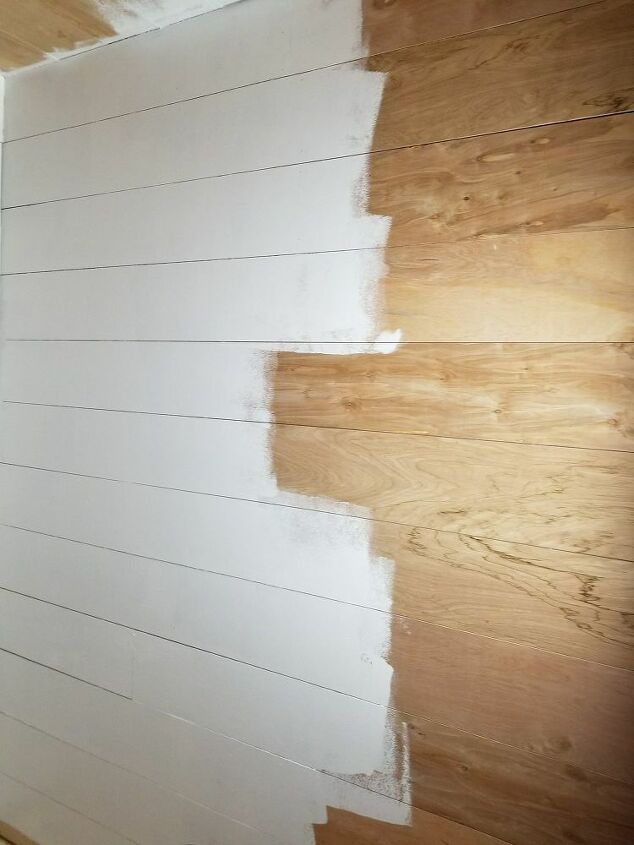
Paint
The easiest part of this entire project was painting. I used a roller to apply two coats of Shabby Paints Snow White and occasionally used a screwdriver to clean paint out of the gaps.
Paint
The easiest part of this entire project was painting. I used a roller to apply two coats of Shabby Paints Snow White and occasionally used a screwdriver to clean paint out of the gaps.
You can find the textured ceiling cover up here: https://www.shabbypaints.com/farmhouse-inspired-ceiling-makeover/
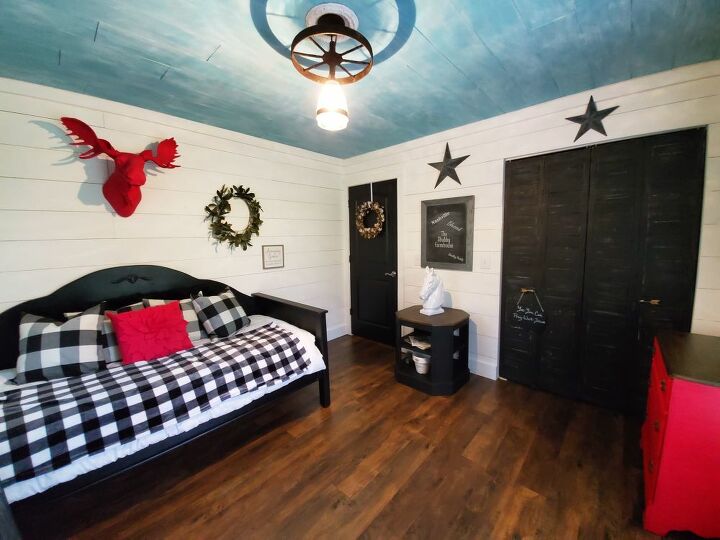
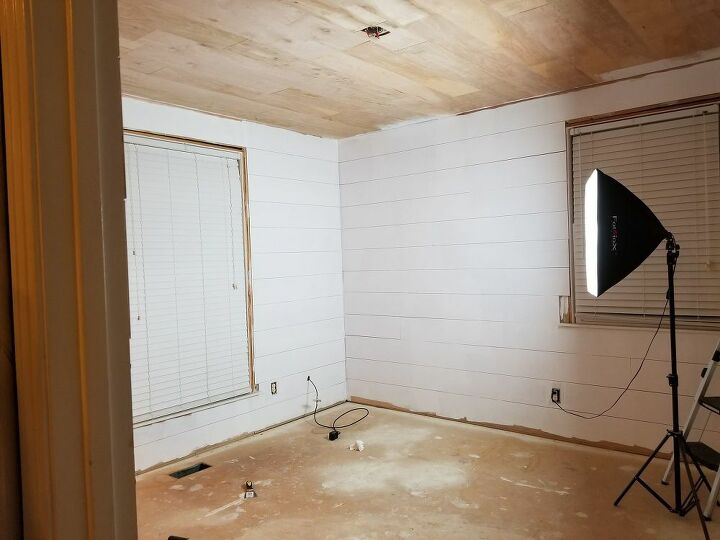
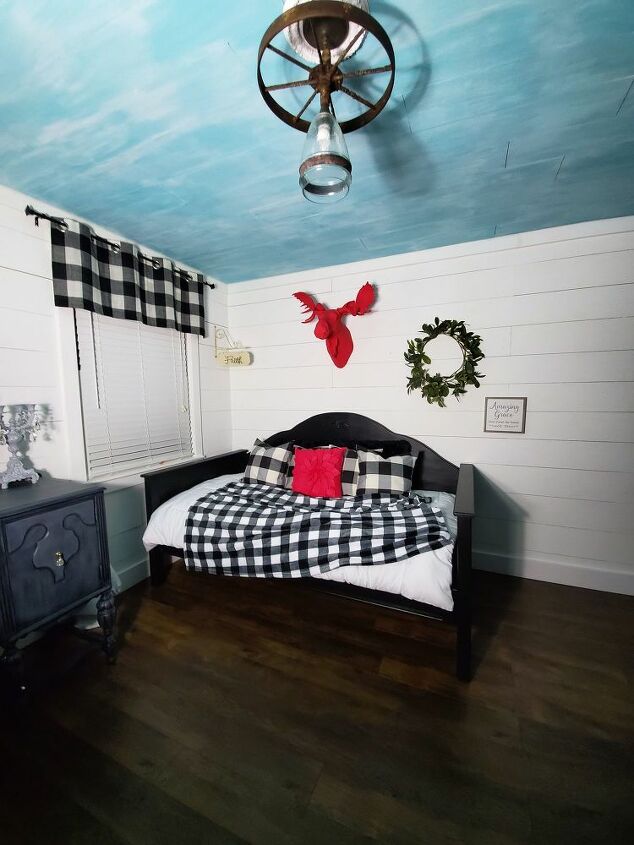
AFTER!
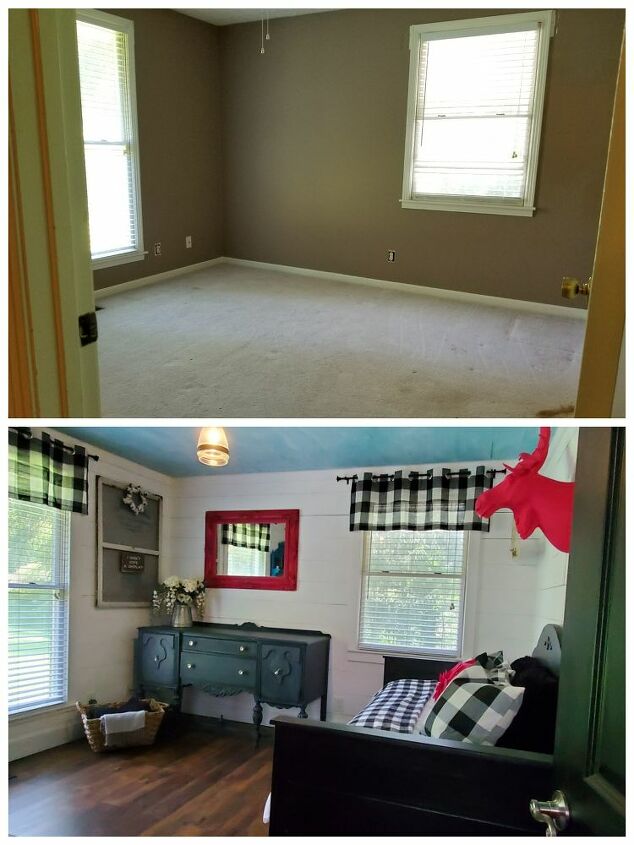
Before and after. DIY shiplap
Resources for this project:
See all materials


Comments
Join the conversation
-
You did a fabulous job! I wouldn't even think to switch the walls & ceiling finishes but it worked perfectly for you!! Congratulations! Be proud of yourself.
-
Great job !


Frequently asked questions
Have a question about this project?
What did you use for the flooring? The room is beautiful.
How wide did you have the planks cut? Thanks!
I love the floor. What type of planks and color stain did you use?