


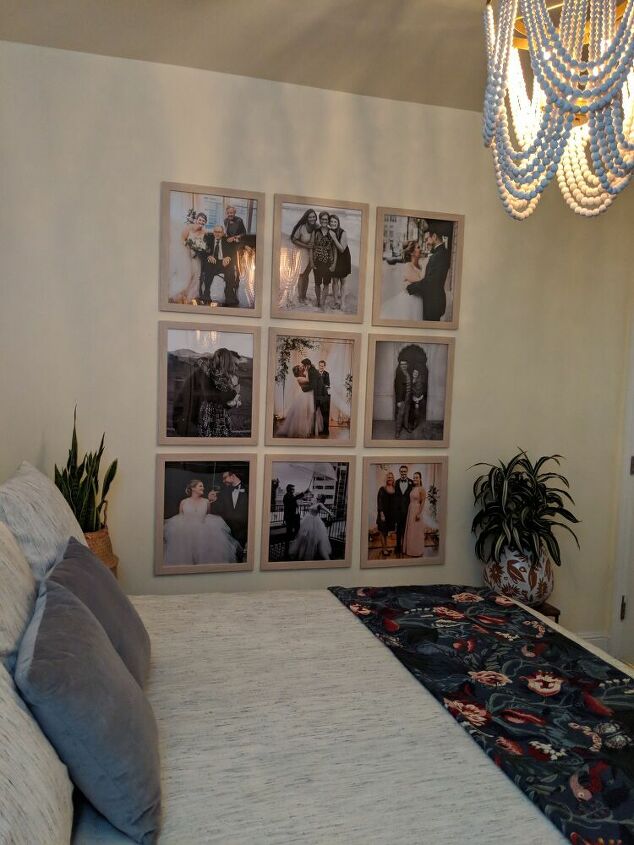
Hanging Gallery Wall in a Perfect Grid

Here's a quick tutorial for hanging an over-sized gallery wall in a perfect grid.

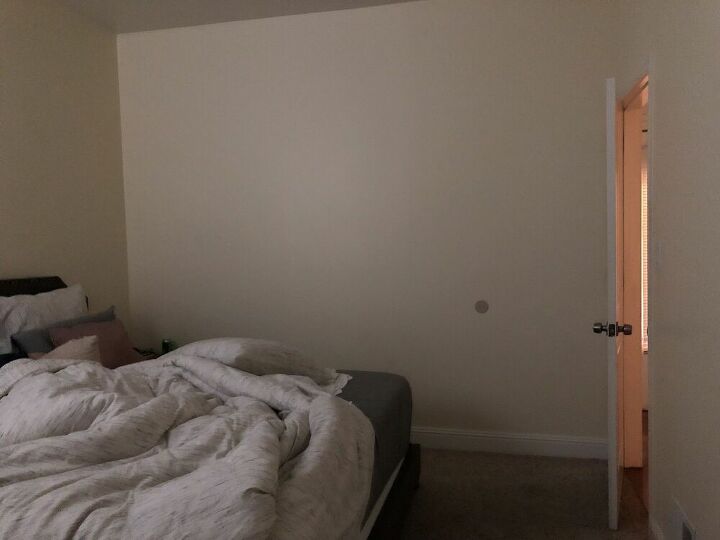
This is so you can determine using paint or another software what you might like to do, or what might look best! This is also a time where you can measure your blank wall to determine what your maximum or minimum sizes for frames will be in your space.
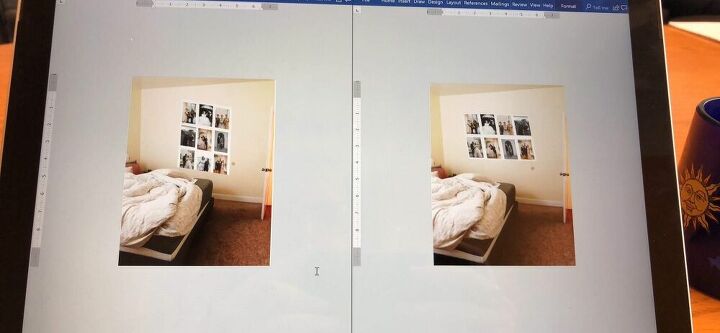
This is an optional step, but one I never skip. This allows me to figure out what layout works quickly, without having to actually purchase anything. In this case I preferred the look of the first design.
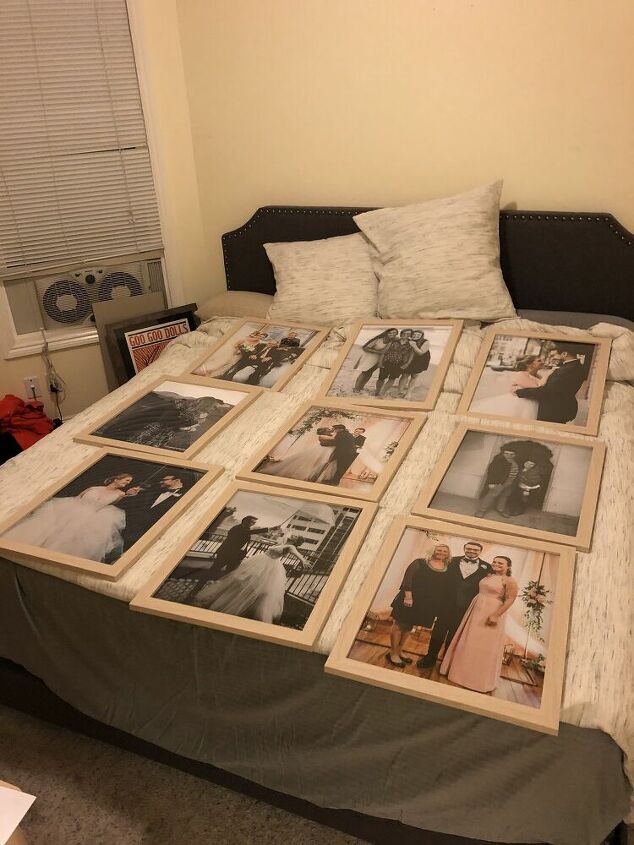
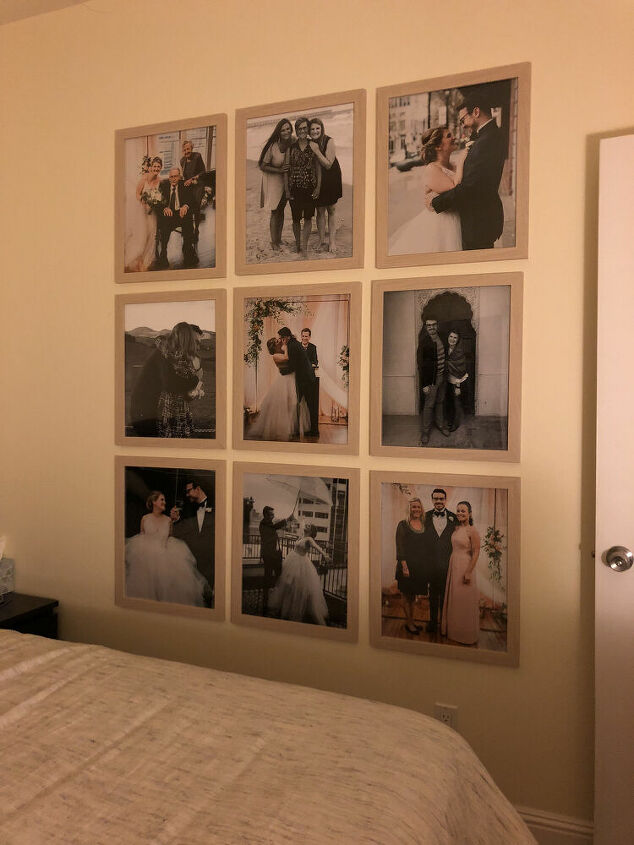
These large prints were ordered from Walgreens in their same day pick up using a coupon they were $9.50 EACH (I think it actually took about three days to get them). These frames were from Michael's, "Blonde Belmont Frame", These were $8.00 EACH, when they were having a sale. You can find similar frames at ikea for cheap.
After ordering, I put them together and placed them on the bed in the order I would be hanging them. This is where you can also move them around to make sure you like the placement.
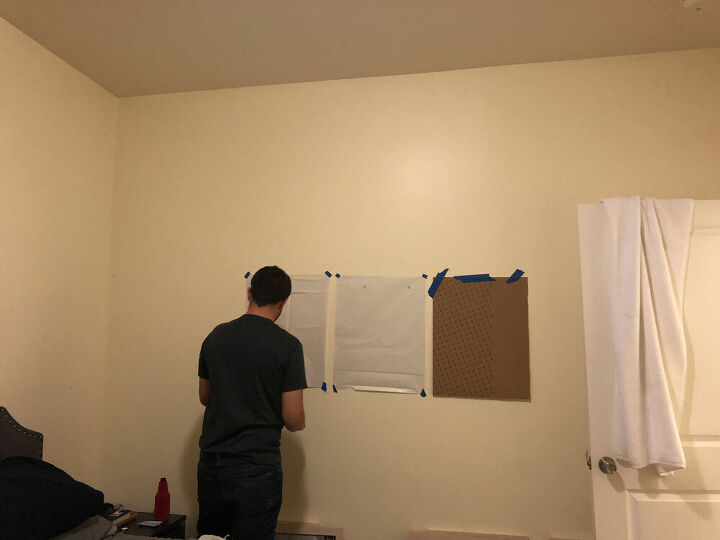
Here you can use the paper that comes inside any frame to place them on the wall to measure and decide placement. You can nail a hole directly into the pieces of paper at this stage, pull the papers off, and then hang the frames! This is a super easy way to do it. Just MAKE SURE you left enough space in between your paper to account for the actual width of the FRAME and whatever wall space you wanted!!!
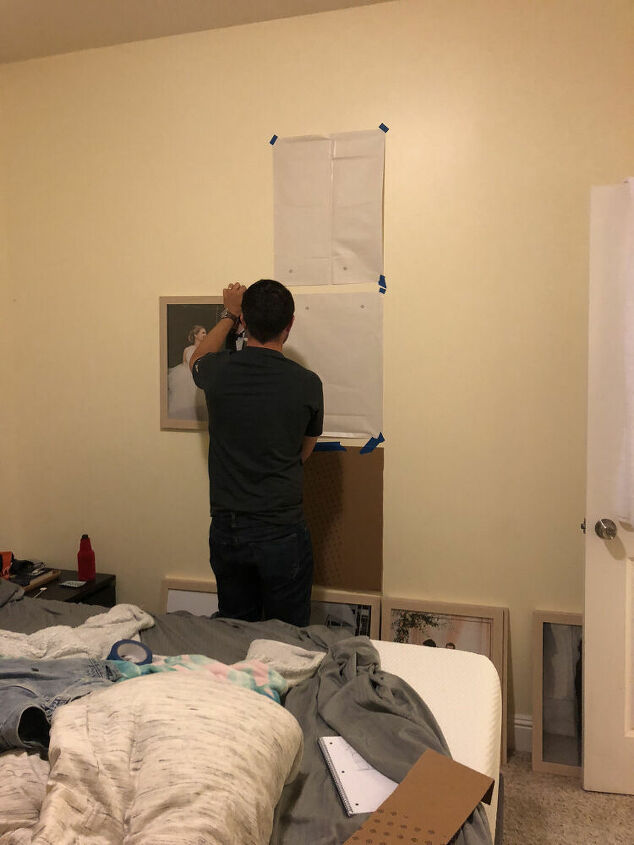
In this case, we chose to hang the middle frame first because that's where eye level is. HOWEVER - in general, your eye will go across the top line of the frames and so if those are off it will be obvious. For our design, the top line of the frames is not visible without looking up towards the ceiling so it was not important for us. We measured out from the center.
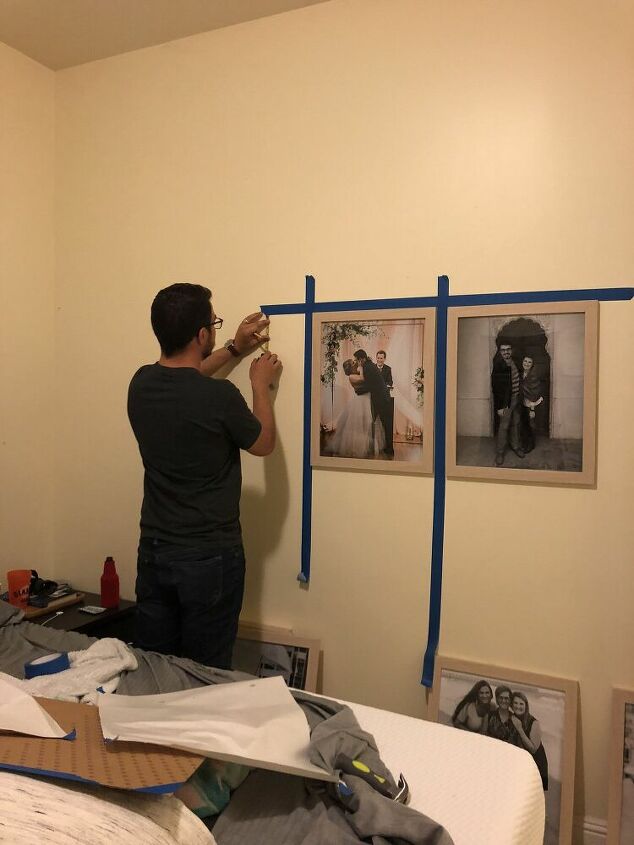
WE DID NOT FOLLOW THE PAPER WAY HERE. I am showing you TWO OPTIONS!
In this way we knew we could use the thickness of this tape to get a perfectly even gap between each photograph. We taped out in every direction after hanging the first frame.
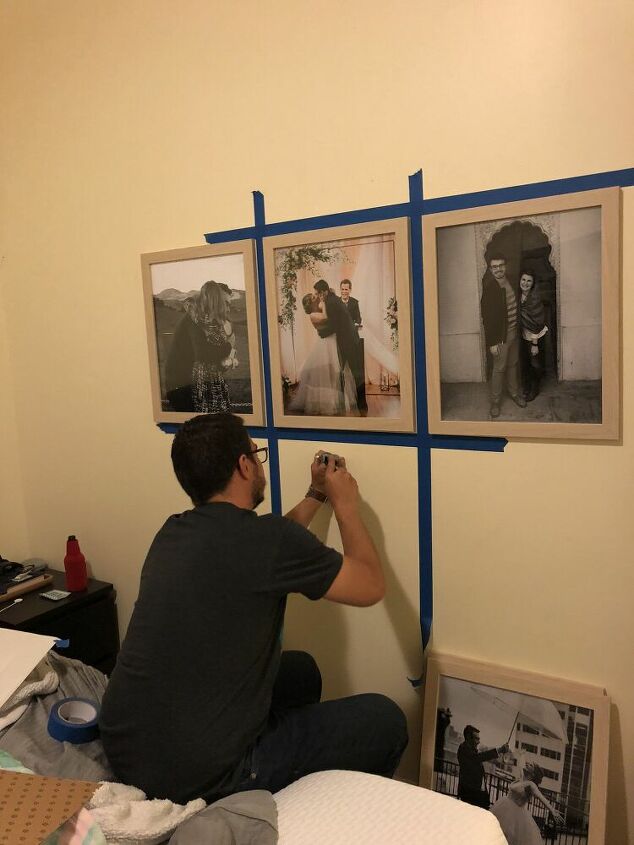
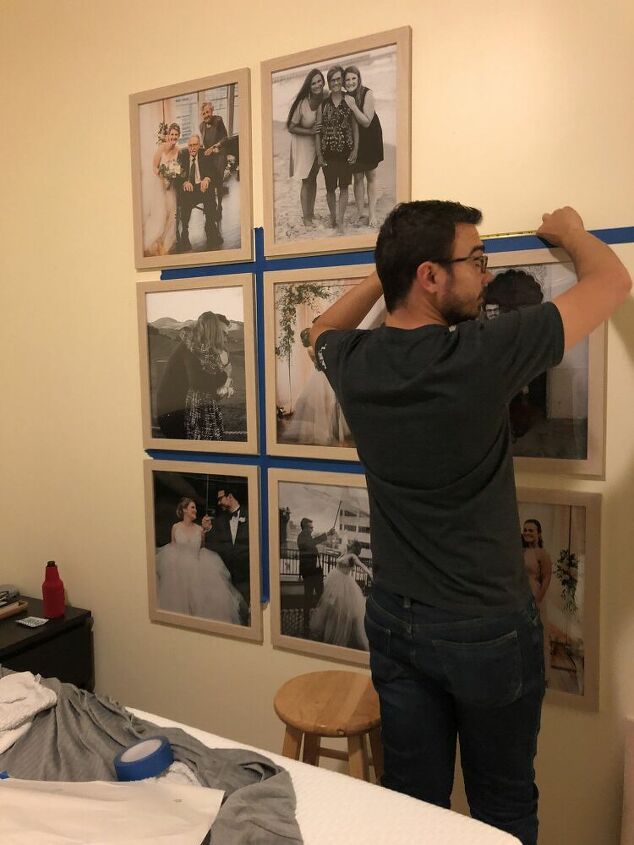
Using the distance from the left and from the top we were able to put the nail exactly where the hook is on the frame.
This is definitely the most fun part.
Let me know if you have any questions!


Frequently asked questions
Have a question about this project?