


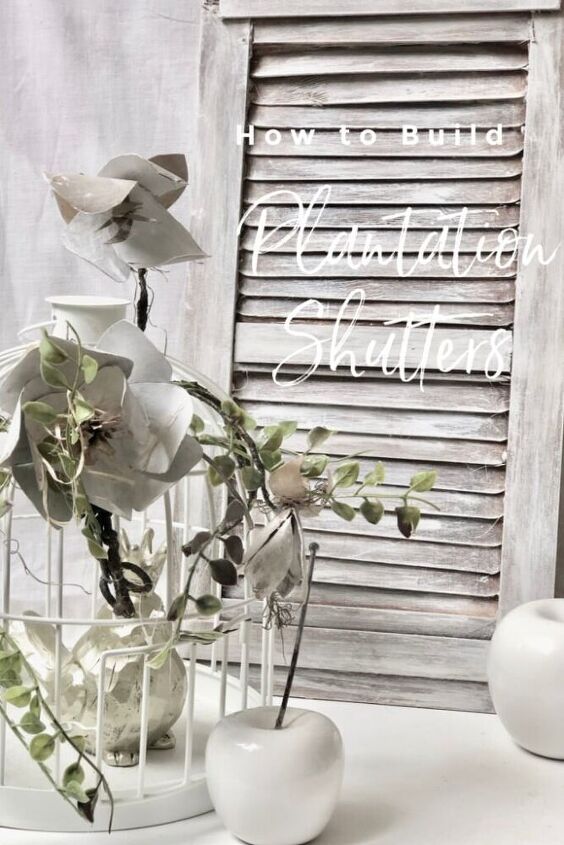
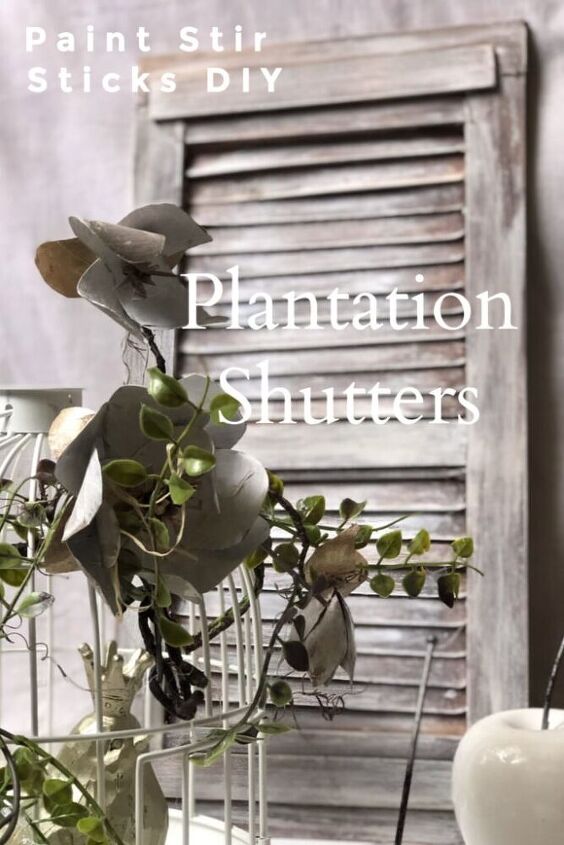
How to Build Plantation Style Shutters on the Budget
If you follow me for some time you know that I love to experiment. Love to use different materials to create home decor pieces. Love to mix them all together not only in the space but in the projects itself. I found myself crafting with really odd things in this self quarantine. One of my favorite crafting items at this moment are paint stir sticks. Today is not any different. I have made so many paint stir sticks projects starting from frames, mini windows, storage containers and many more. Most of those tutorials you can find here on my blog. Paint stir sticks are super fun to craft with. Budget friendly way to add some super cool home decor accessories. Shall we start to build Farmhouse style Plantation shutters diy ?
This post may contain affiliate links. This means that if you purchase from one of the these links I will make a small commission, but rest assured you will not pay more for any products.
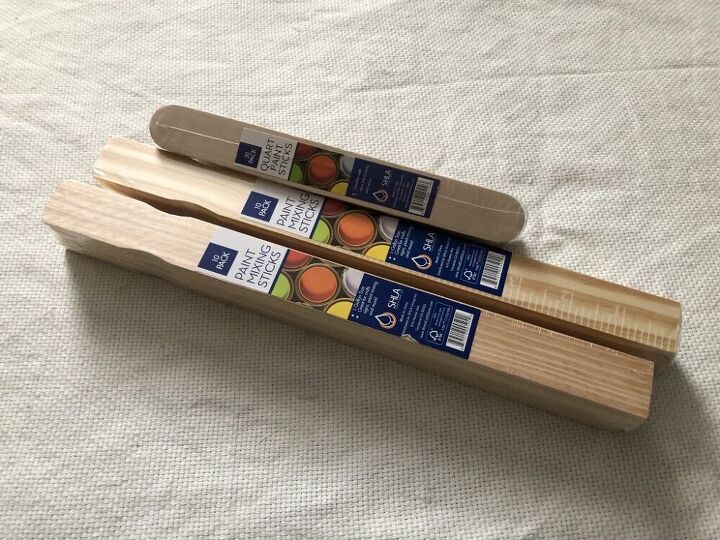
Items you need to create Paint Stir Sticks Shutters
- long paint stir stick 4 pieces ( 5 gallon size)
- jumbo popsicles sticks
- hot glue gun and glue sticks
- stain OR chalk paint
Budget friendly Home Decor projects with Paint Stir Sticks
I have made few projects with paint stir sticks and really enjoy that process a lot… Check projects below to see what I made so far and had a chance to write about it.
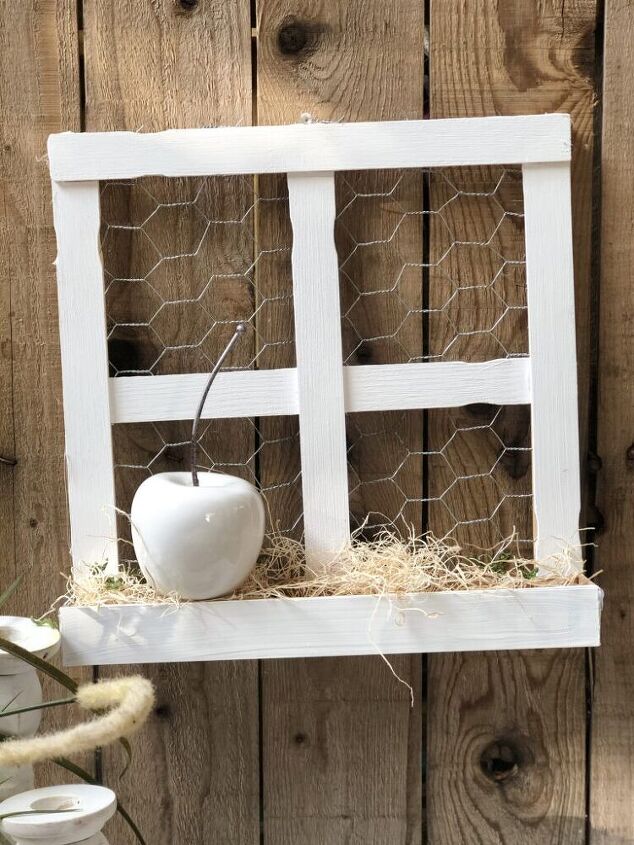
Farmhouse Rustic Paint Stir sticks Window DIY is one of my favorite ones that I love to display my latest flowers a lot. Have you seen that project?
They also make a perfect background to any flower bouquets. You may like to check that post on How to use Paint Stir Sticks in your Home Decor
Summer Free Printable
SIGN UP HERE FOR FREE MONTHLY PRINTABLE DELIVERED TO YOUR EMAIL
As you know paint stir sticks come in 3 different sizes. I like today to use the longest ones size 5 gallon and quart size that look like jumbo popsicles sticks
How to build Farmhouse Plantation Shutters DIY
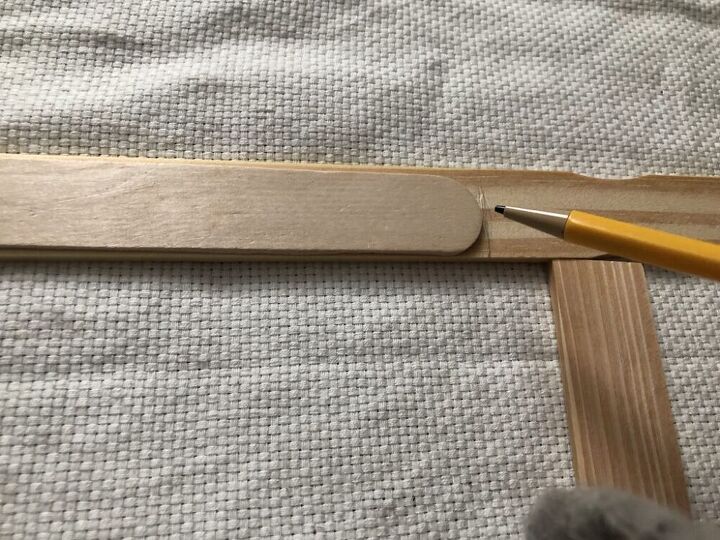
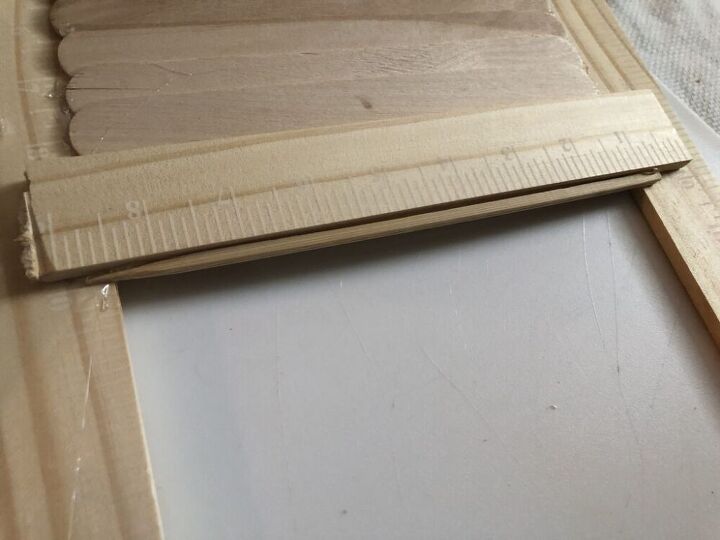
Let’s build the frame of your shutters. I decided to use FULL 2 long paint stir sticks (5 GALLON ones) for the sides and cut other TWO other for the top and bottom portion of the frame. Width of my shutters is predicted by the length of those smaller sticks that I will install inside. To make my life easier I decided to make a mark with my pencil.
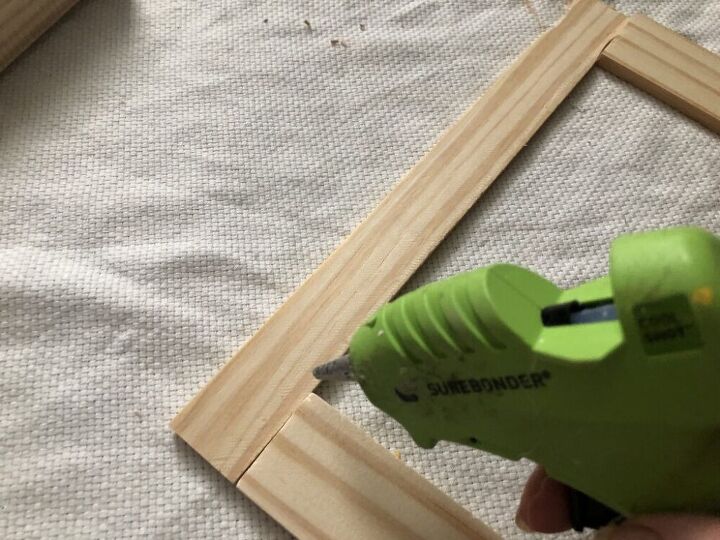
- When all measurement are taken it is time to start our install and hot glue all. Don’t worry if some glue is showing …we will take care of that later. We will need to reinforce our frame later.
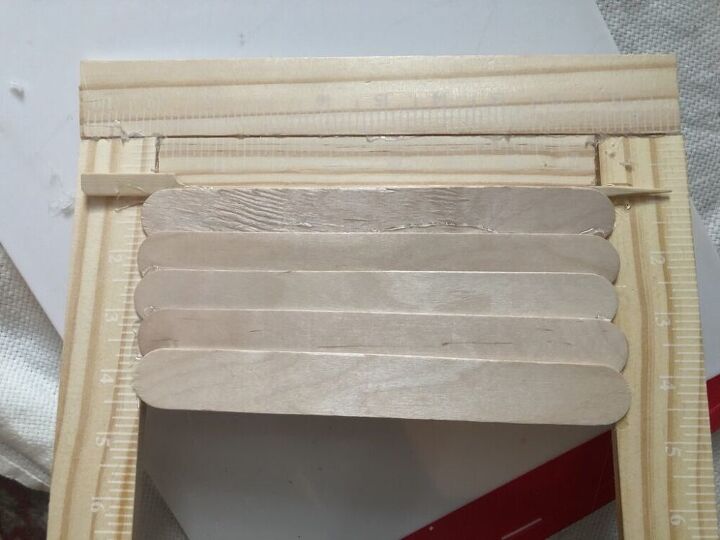
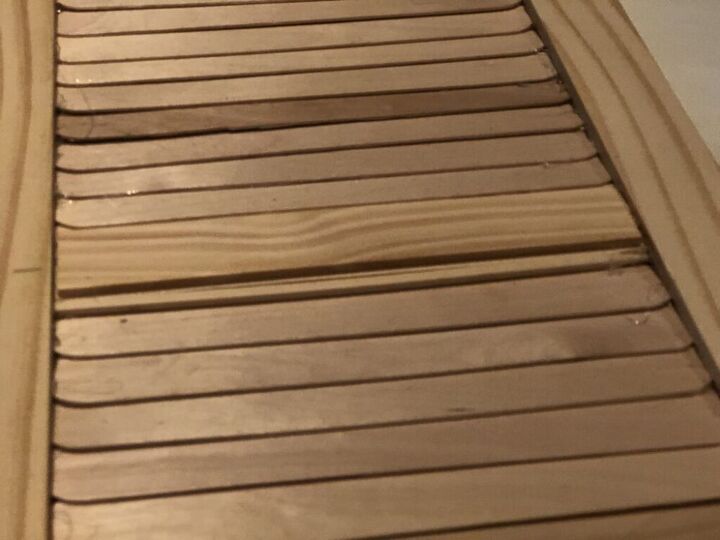
- Frame is build so now it is time to think how you like to arrange inside of your shutters. I like to use another piece of paint stick before I start with my jumbo popsicle sticks install. I decided to add a piece of chopstick right under it to lift each piece of my small sticks
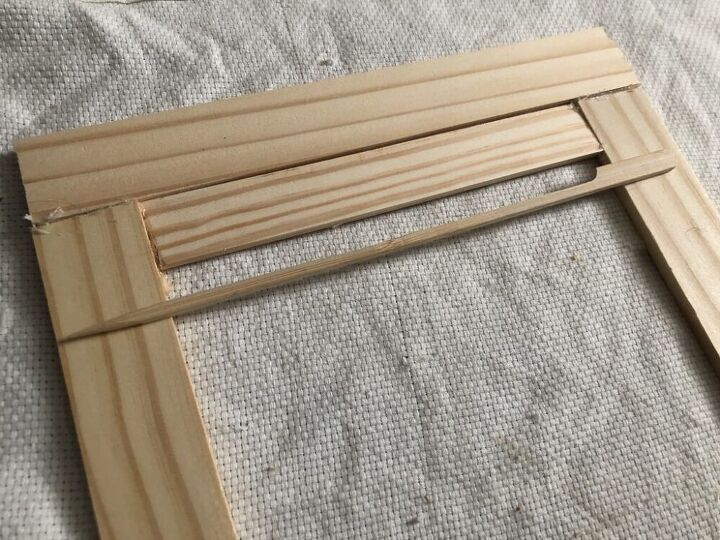
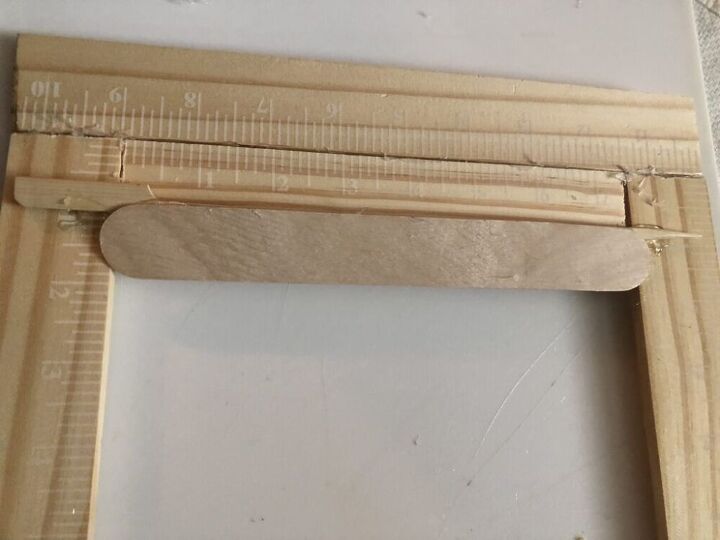
- Note that my sticks are lifted by slightly and installed on the sides with a dot of a hot glue
Farmhouse style Plantation Shutters install
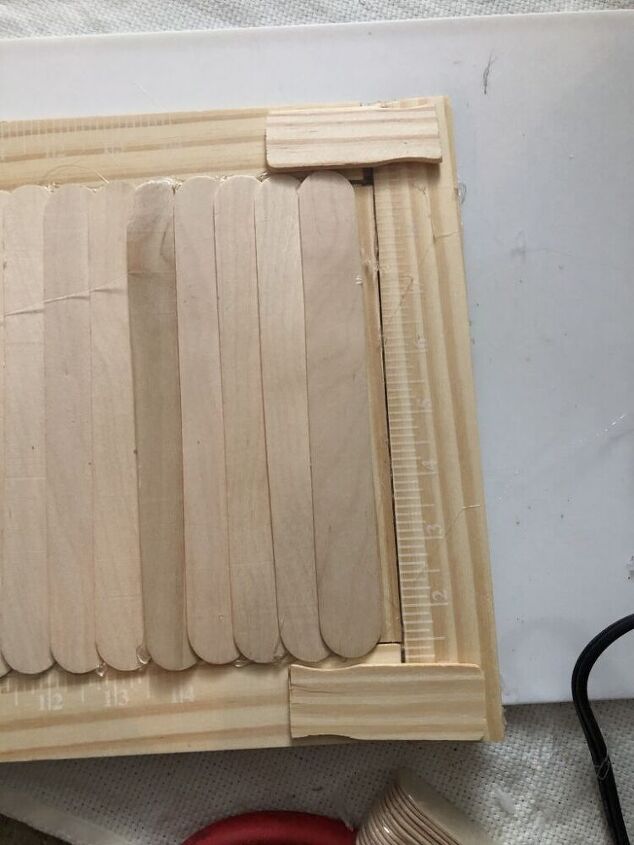
- There are so many ways you can go about plantation shutters design. I decided to add a divider in the middle to add more of a interest. See picture below.
- Just because my shutters are on the bigger side I decided to reinforce a main frame with leftover pieces of paint stir sticks right on its connection. Make sure to add them on the back of you shutter so front has a nice clean look
As you can see I added another piece of paint stir sticks in the front of my shutter on both ends and in the middle just to add some more of a profile to the front. Have to admit it …I really like that additional accents a lot
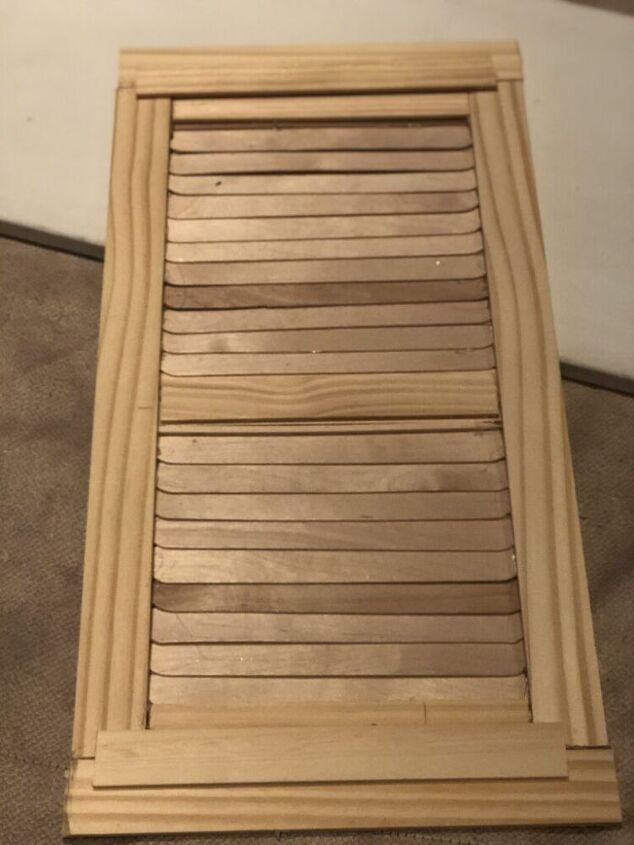
I hope that my direction on how to build plantation shutters on the budget was clearly explained by me today. They may not be perfect in your eyes but I do love every single bit of this plantation shutters project. So proud of myself …lol. Figured every single bit of this project all by myself. Such a rewarding project. I can’t wait to put final touches on it and start to arrange in my home decor before I make another one so I have a pair

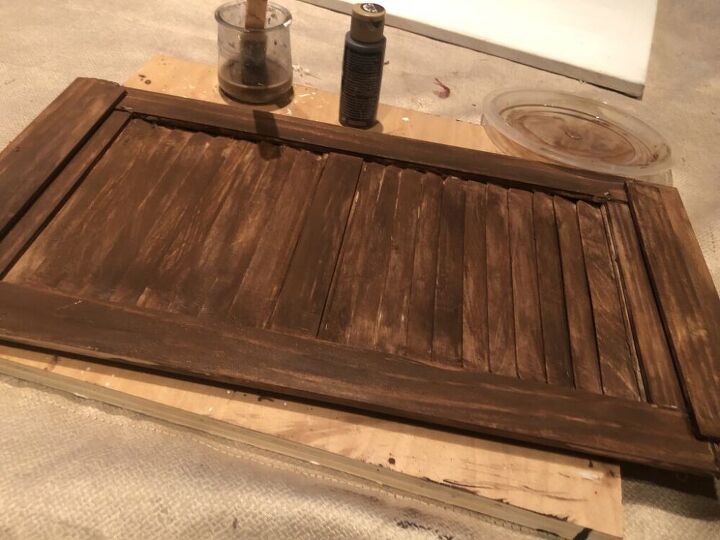
Just because I do have lots of light colors in the house I decide to use my acrylic paint and lightly cover both sides of my shutters. Even tho I love that shade of Real brown on my project I decided to dry brush my shutters with some of chalk paint to highlight a bit frame. My desire was to leave center slightly darker. As you can see I am trying things up on the back side of my plantation shutters just to save myself some work if I didn’t like that finish.
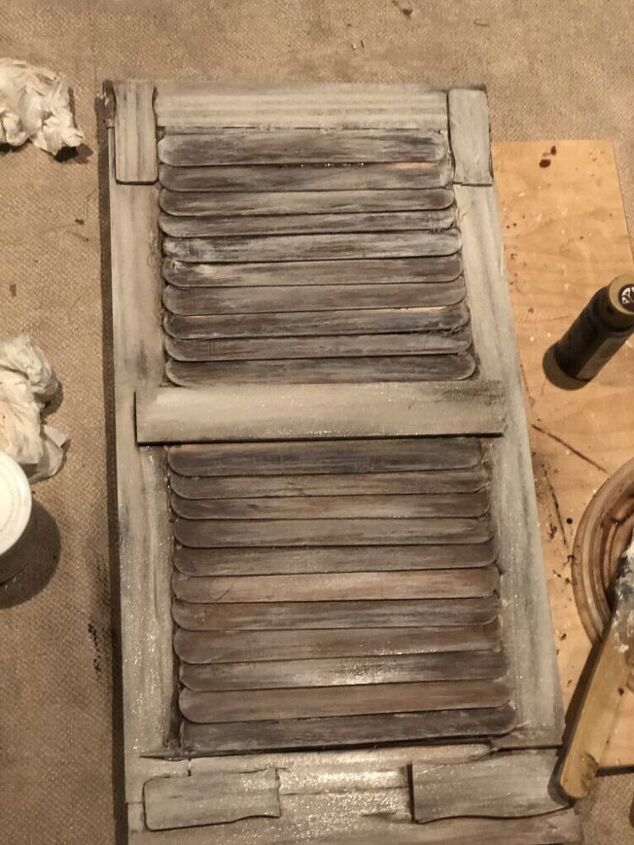
Have to admit I am pleased with that and now I need to re-create same finish in the front of my shutter. Let’s hope that I can manage that without any problem.
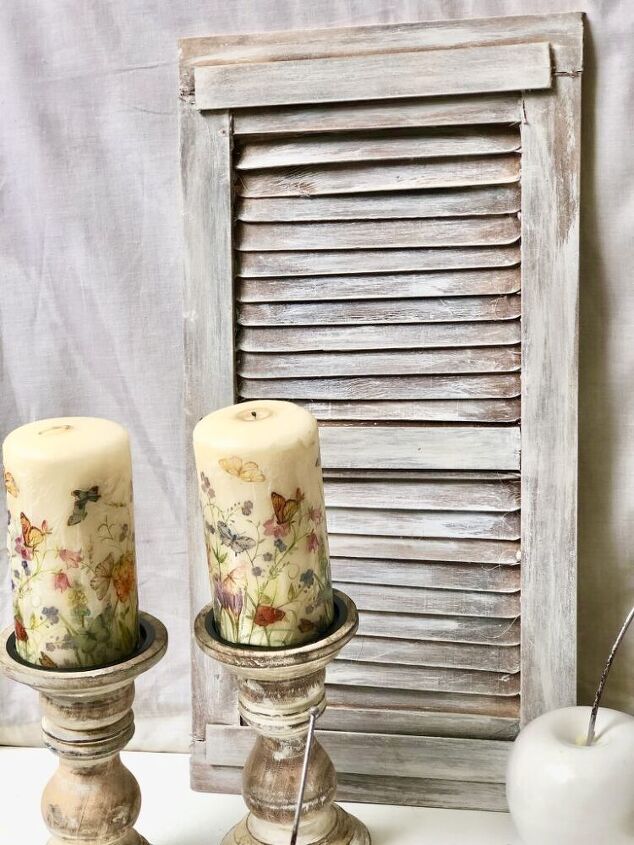
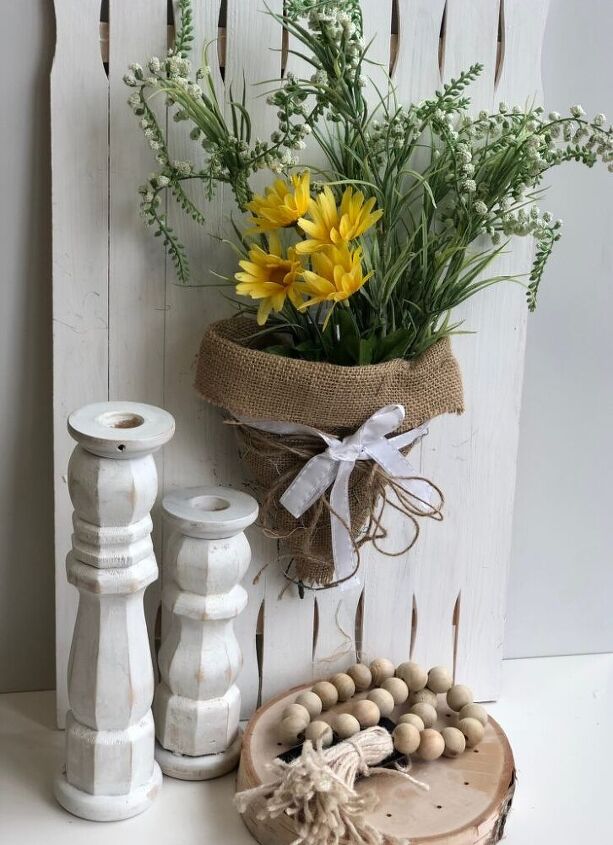
Those Farmhouse style plantation shutters seemed to fit with all different kind of decor in my house …. It is so hard to make a decision where is their place .
If you are curious on how to turn your average candle into those beauties on the picture here is detailed video about that
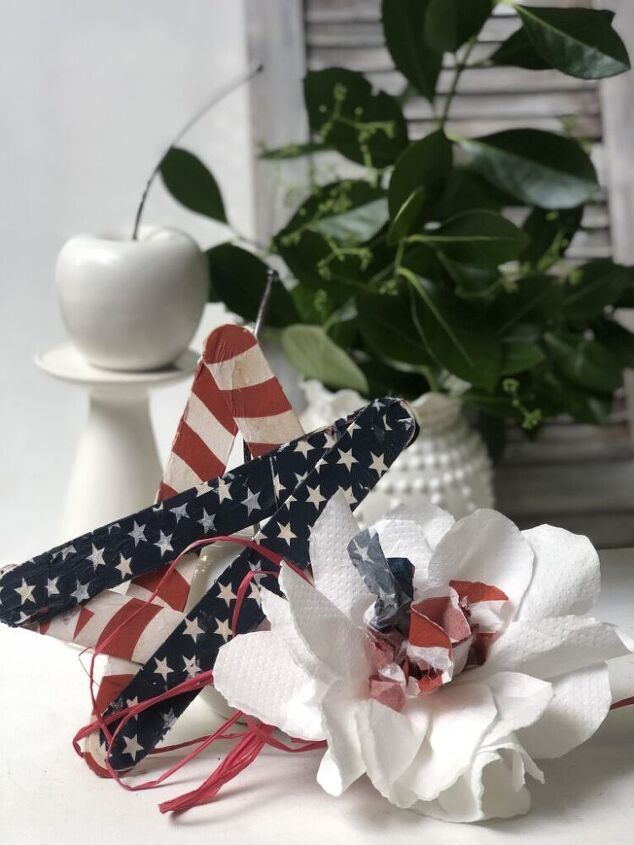
Red White & Blue Star Banner -DIY I can see that even with my seasonal decor fits perfectly with them. Click HERE FOR MORE DETAILS Learn how to make a star as a PRO.
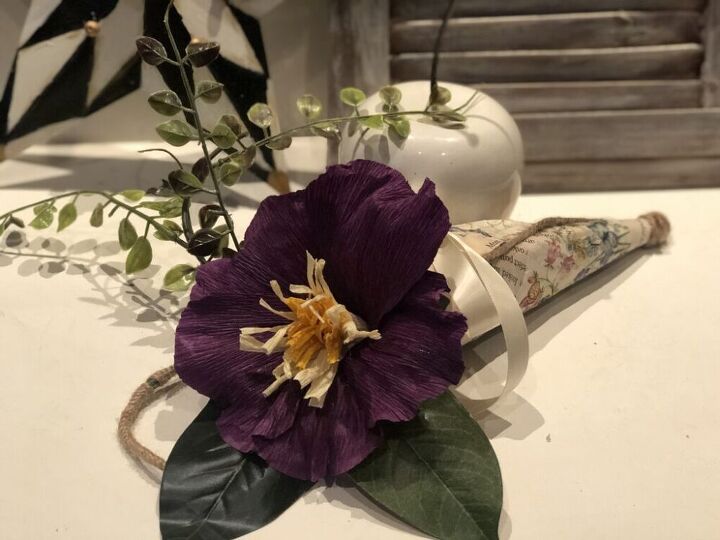
They truly make super cute decor! Love to display my flowers in my cylinders on the side of my plantation shutters. HERE IS MORE DETAILS ON HOW TO MAKE THAT CYLINDER Perfect book pages Diy Project
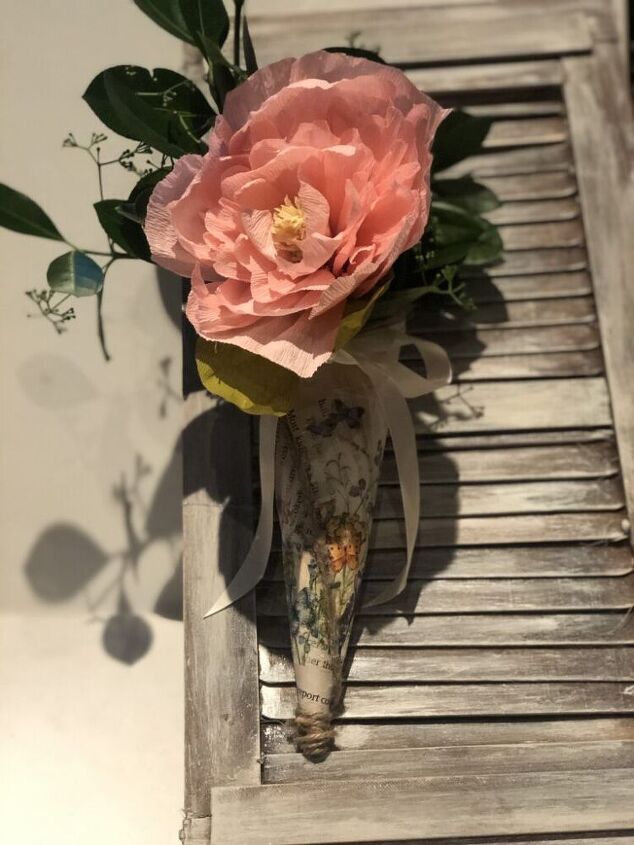
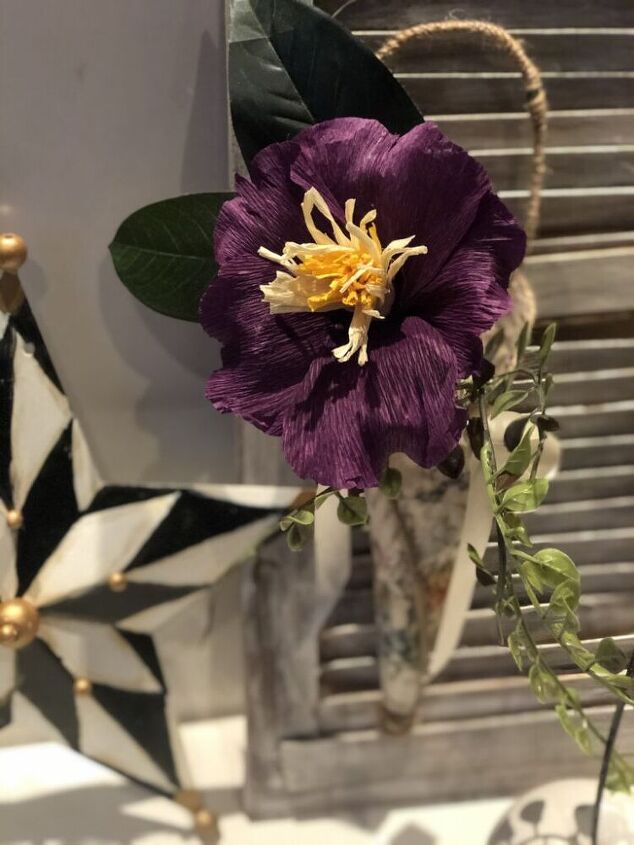
Morning GLORY crepe paper tutorial can be found HERE
I have so many ideas on how to put them into use so are you ready to go on a picture tour? I love to try my new pieces into different vignettes before I make my final decision

Decisions, decisions, decisions ….how do I make them ? I will for sure try some vignettes. Hope that you are ready for all those pictures
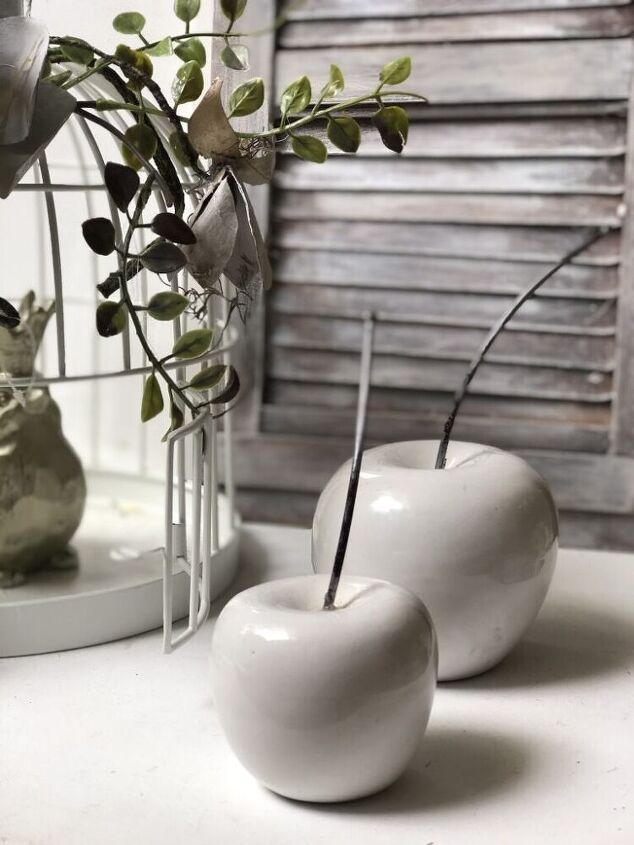
I would not be myself if I would not include my apples into this. Unfortunately I don’t have a tutorial on them yet but will as soon as I find some plastic apples or any fruits. For now you can read on its techinque HERE
All time favorite pair for me so far is my freshly made McKenzie-Childs inspired STAR. For more info click HERE

Dollar Tree Jenga Blocks tray is my all time favorite project

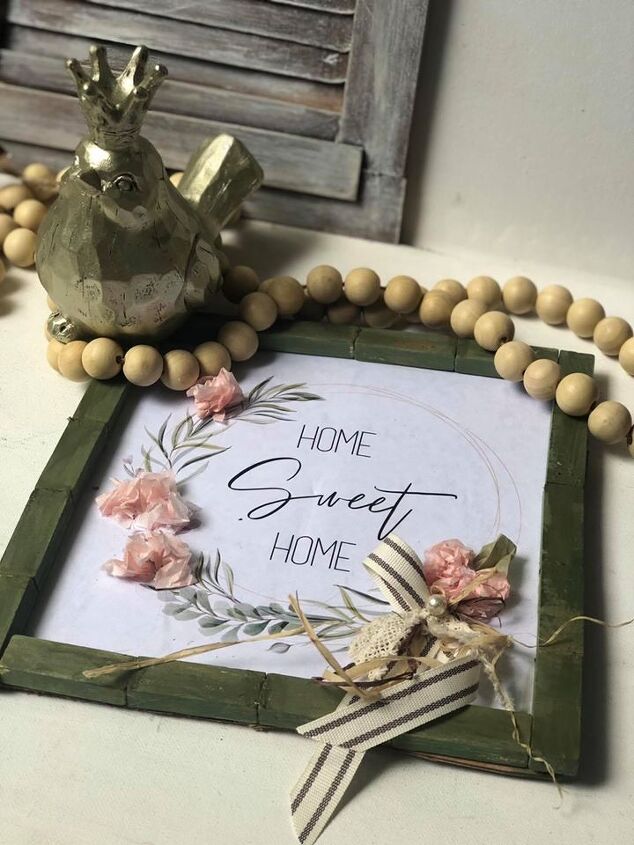
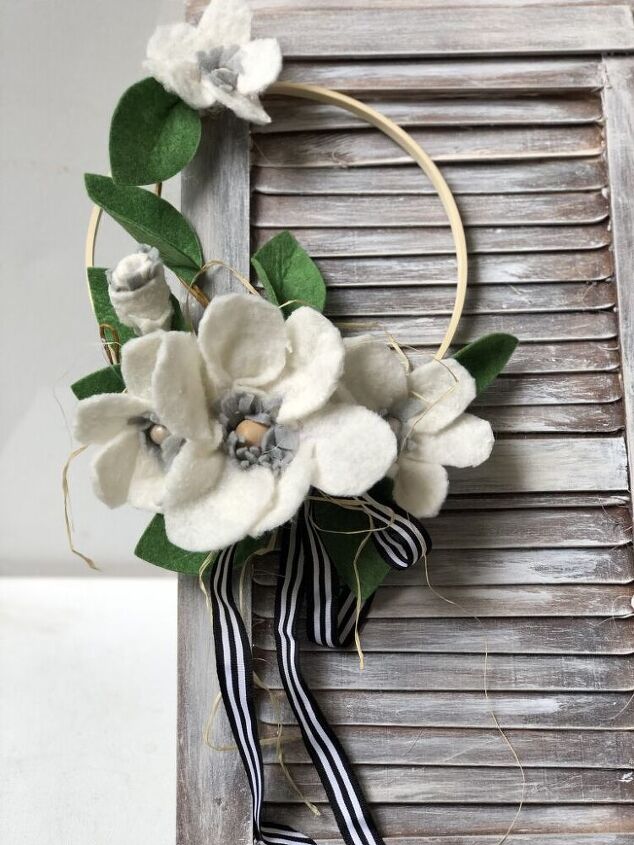
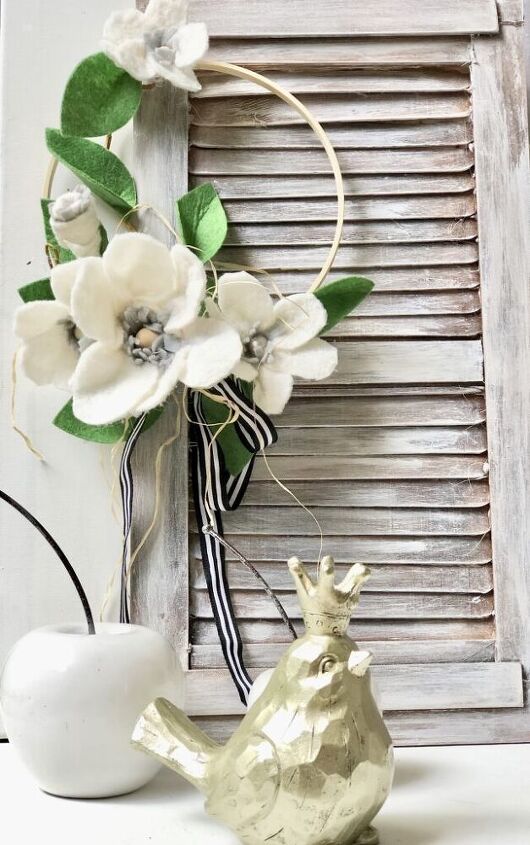
Even with simple wreath decorated with felt like flowers this plantation shutters look super interesting
I truly enjoy them in any time of the day in any light. Truly most amazing paint stir sticks project I have made till the day.
Farmhouse style plantation shutters
Please Save This To Pinterest or Share on Social Media
Friends, your shares are how this site grows and I am sincerely grateful. A quick share to Facebook or save to Pinterest allows me to bring more home decor projects and crafts to more home decor DIY lovers
Other Budget friendly project on my BLOG and YouTube channel
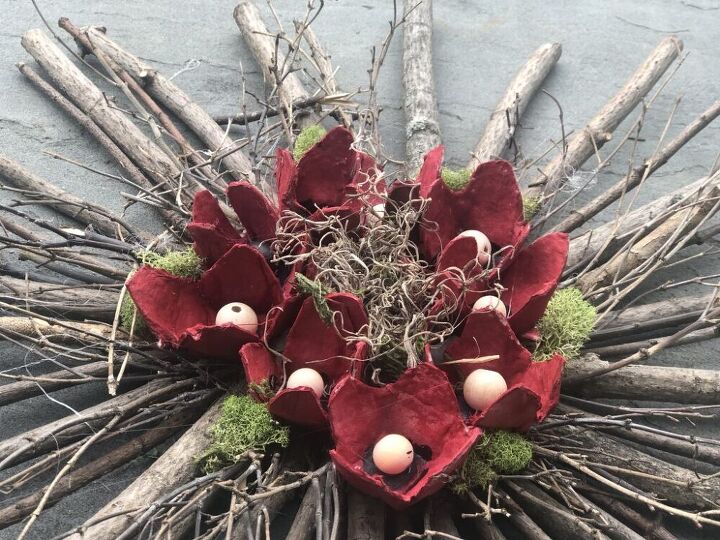
Twigs Wreath with Egg Carton Poppies is one of my latest on my blog
Resources for this project:
See all materials


Comments
Join the conversation
-
Now this is just so great. What a creative and cheap beauty!! Thank you so much for sharing.
-
Lovely! So very many possibilities


Frequently asked questions
Have a question about this project?