


How to Clean and Antique an Oil Painting in Minutes
Hey friends, have you ever spotted a vintage oil painting at the thrift store and loved the scene but not the colors?
Today I'm excited to show you how you can antique and tone down the bright colors on a vintage painting!
I'm Cindy and I blog at DIY Beautify, where I love to show you clever and inexpensive ways to beautify your home! Let's get started with this simple makeover.
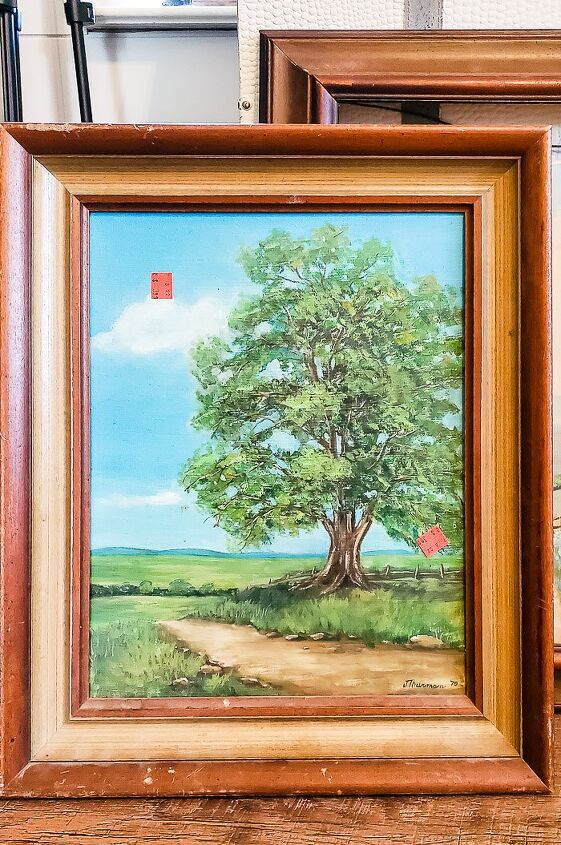
This is one of 3 oil paintings that I recently found at our local thrift store. It's just a little too bright for my taste, and the frame is very dated.
To start, I removed the canvas from the frame. The deconstructed look is very "IN" right now in home decor, and gives more of a relaxed, farmhouse vibe to your home.
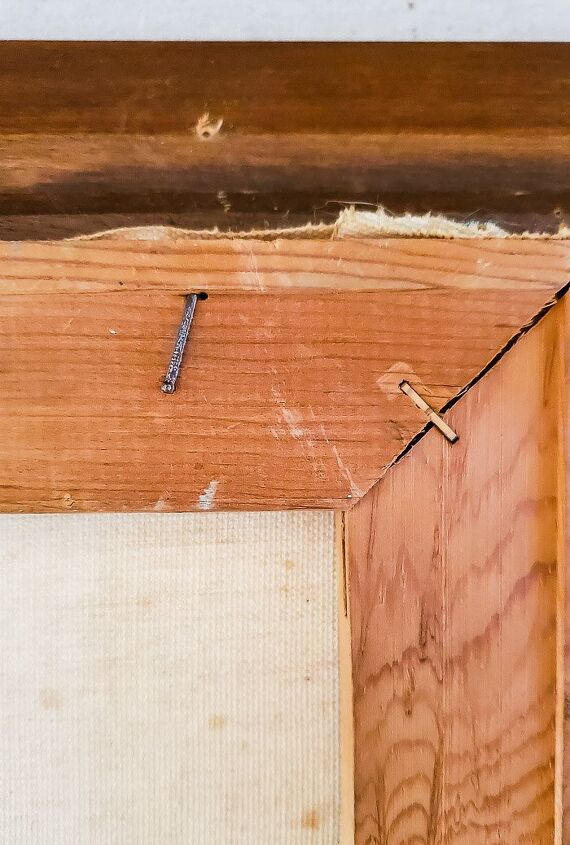
To remove the canvas from the frame, flip the painting over. You'll see a couple of nails holding the canvas to the frame. Using a flat head screwdrive, lift the nail away from the frame.
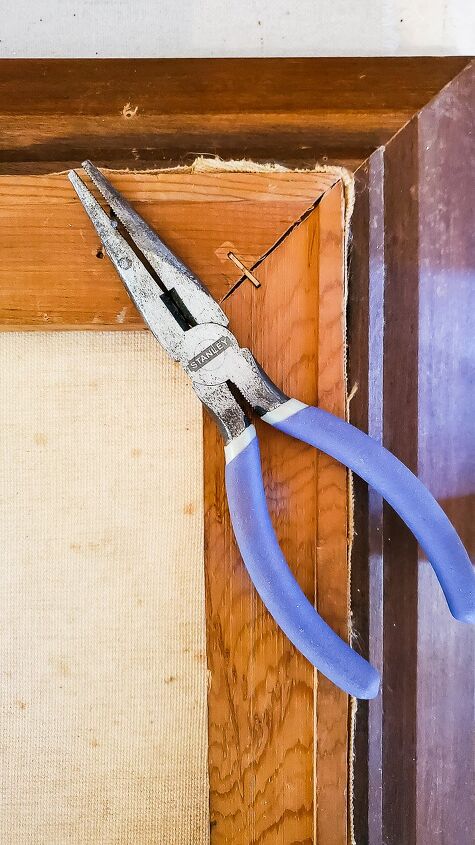
Then use a pair of pliers to pull the nail straight out. Once you've removed all the nails (there shouldn't be more than 1 per side), the canvas will drop right out of the frame.
Clean Oil Painting
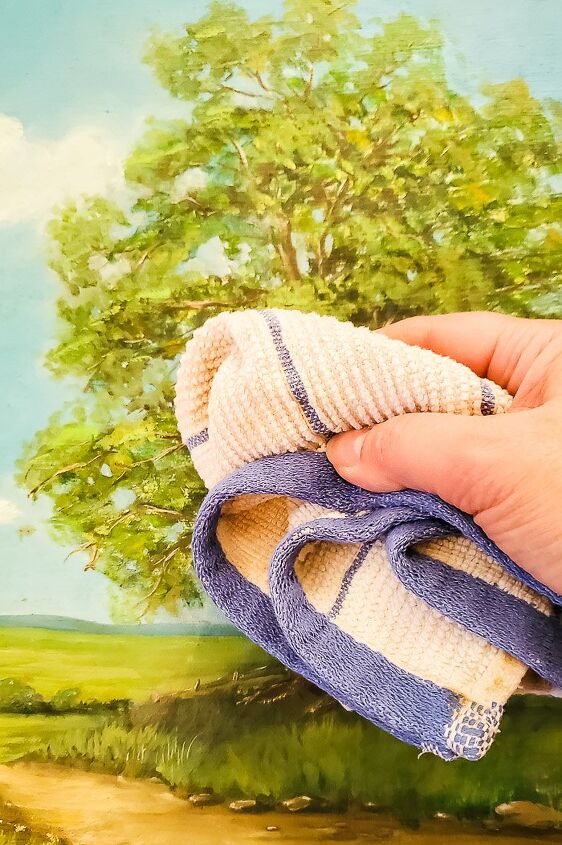
The paintings I bought were very dusty and had some spots on them. To clean them, I used warm, soapy water (with a little Dawn dish soap) and used a rag to wipe the paintings and frames. I would caution you against doing this with a valuable piece of art, as I'm sure there is a better way. However, this method works great on an old, dusty piece.
Antique an Oil painting
I was surprised at how quickly this process went...it took just a few minutes to antique these paintings and tone down the bright colors to a more muted look that works better with my home's decor.
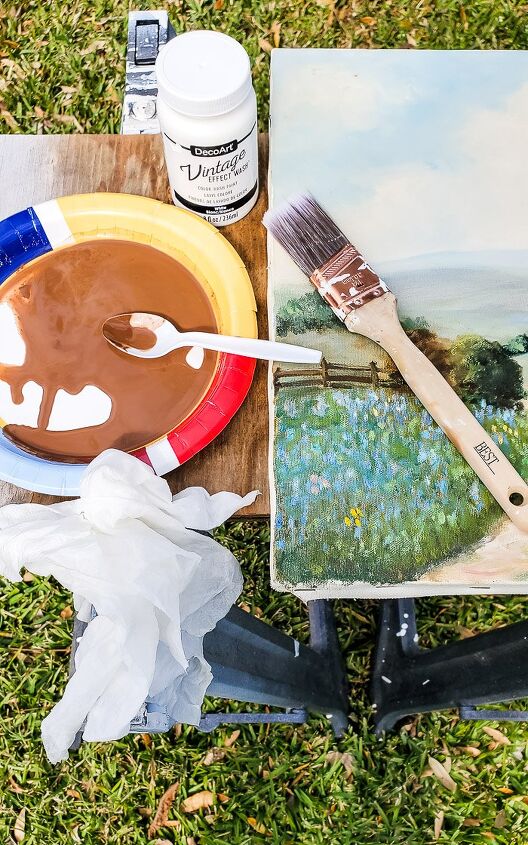
Supplies I used:
- burnt umber acrylic craft paint
- water
- disposable plate or bowl
- damp paper towels or rag
- DecoArt Vintage Effects Wash in white
- paintbrush (optional)
I mixed a little burnt umber acrylic paint with some water on a paper plate to make a wash. Using a damp paper towel, I dipped it in the wash and then swiped this mixture across the painting, adding and removing where it needed. Then I dipped my brush into the vintage effects wash (which is already like watered down white paint) and brushed over areas that needed to be a little more muted.
This is a really personal process and depends entirely on both the painting you're working with and what look you prefer! I found that adding the brown mixture helped to give the paintings the antique look I wanted, while the whitewash gave a muted look and toned down the bright colors. If any areas felt too heavy or dark, it was easy to go over them with a damp paper towel and remove some of the paint while it was wet.

I love how much better this painting looks, and it works with my home's farmhouse decor so much better!
Make sure to head to the blog post linked below, to see the before and after results of the other 2 paintings I did with this technique!


Frequently asked questions
Have a question about this project?