


How To DIY Custom Matts With Vintage Cardstock – Cozy Living
Welcome beauties, it’s cozy living time again and this month I am sharing how I make DIY custom matts with vintage cardstock.
Cozy Living
Cozy Living time is hosted by my lovely friend, Jennifer over at Town & Country Living. Cozy Living team is a group of cozy loving friends that simply love to share how we live a hygge life. There are so many inspiring and creative ways to live a cozy life and this team has all of the inspiring ideas. Please stick around until the end of my post, you will find more from my CL friends, they will also be haring their ideas for May. AND – I feel like I say this every single month, HOW in the heck did April whiz by so quickly? Is it just me, or are the months flying for you too?
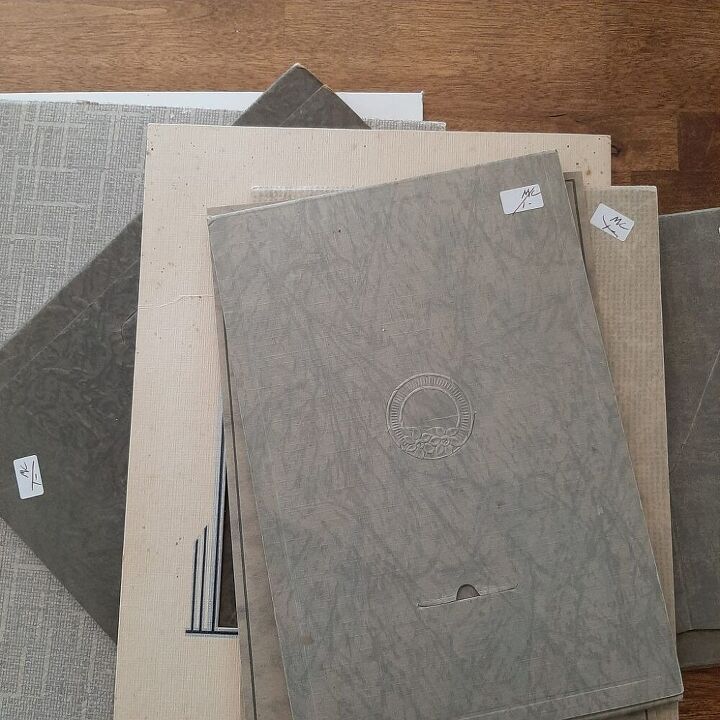
What is cardstock exactly? Well, it’s basically paper that is thicker and more durable than normal writing or printing paper, but thinner and more flexible than other forms of paperboard, it’s mostly used for postcards, playing cards, etc. The vintage paper I tend to find is a bit thicker than that, but is still flexible and it’s always much more interesting than plain paper. I love the textures and patterns and I’m totally smitten! This is some of my stash.
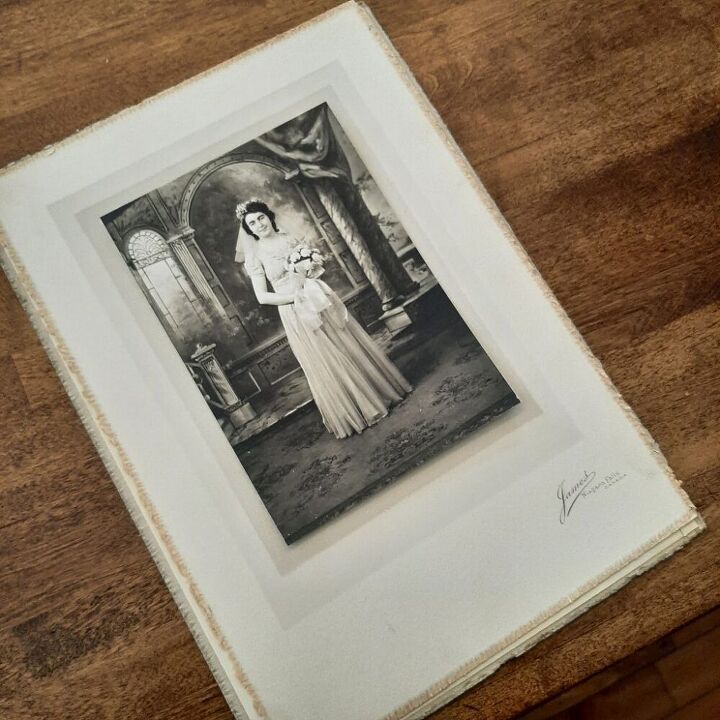
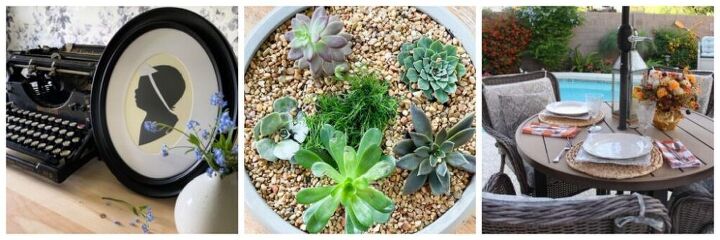
In my years of collecting, I started to notice that older photos (antiques mostly) don’t typically have the cut-out matts, they would actually just glue the photo on top of cardstock, sometimes layered cardstock, sometimes the cardstock had a pattern that “framed” in the photo. This antique practice is my inspiration.
I simply LOVE the way it looks, it’s so charming. And besides, the price of getting an art piece matted and framed can actually cost more than the actual piece of art… My frugal heart always looks for a less expensive work around. 😉 That has led to me collecting all of the vintage cardboard(s). I find this cardboard in many ways while out picking… I love to collect vintage photo sleeves (as pictured above), or cardboard boxes, usually the bottoms of the boxes are perfect – such wonderful rich colours and that patina is dreamy.

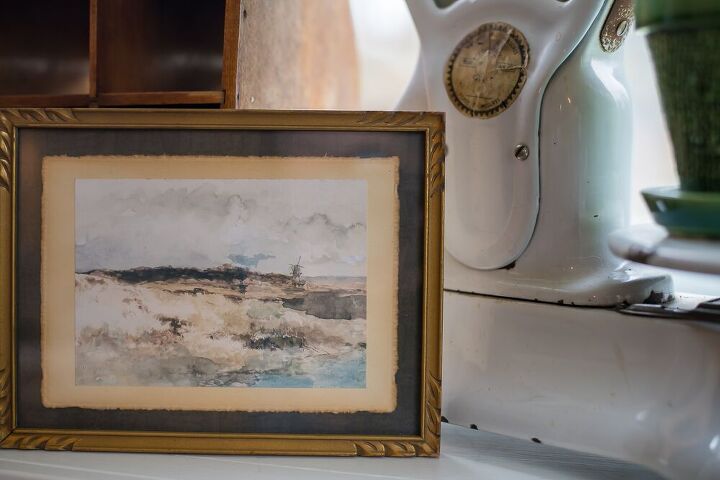
1 – Find the image you want to frame. I bought some images I love from Etsy, you can see the shop I used here —> Art by NorthPrints – I decided on this sea scape, I just love those muted colours. Decide on the size and print it yourself, or send your image to a print shop. I like to use plain matte cardstock, it’s usually very inexpensive, typically around 4 – 5 dollars a print. However, I printed this sea scape myself.
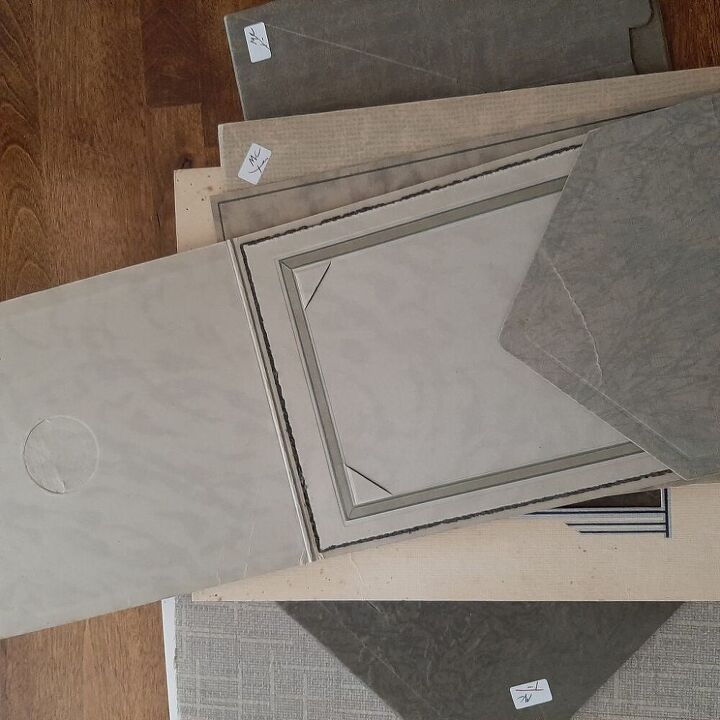
2 – Go through your collection of cardstock and choose the colours you love, the ones that you feel compliment your print. This is part of my stash, all of these empty photo holders were found at a local shop I love to frequent, I bought them all for .50 each, I was so excited. *** My rule of thumb when picking cardstock, the smell test – no musty smells please. Size matters, is there enough material for me to use as an art/photo backdrop?
This is the colour palette I was drawn to.

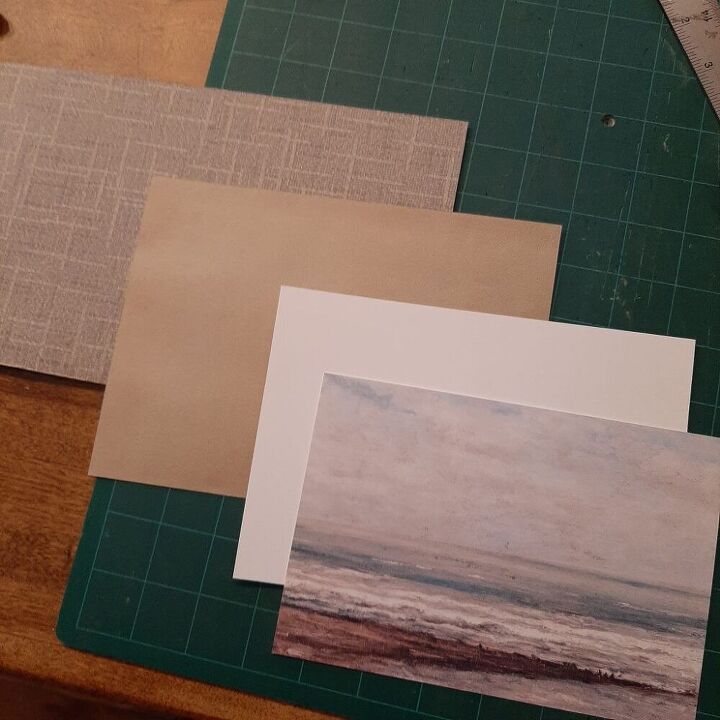
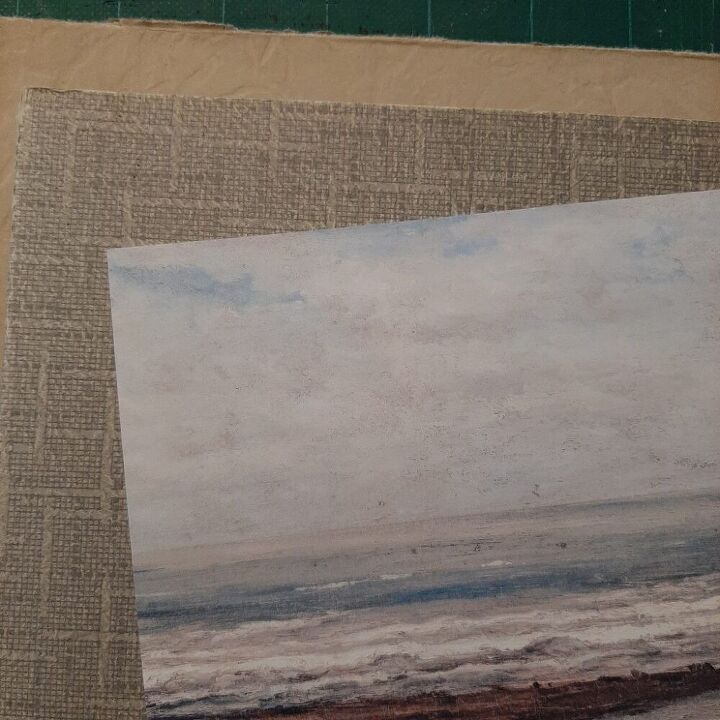
3 – Cut your photo and your chosen cardstock(s) to the sizes you need. I used a vintage frame to determine the sizes I wanted. I ended up stepping/layering the matts with these colours, everything but the white is vintage.
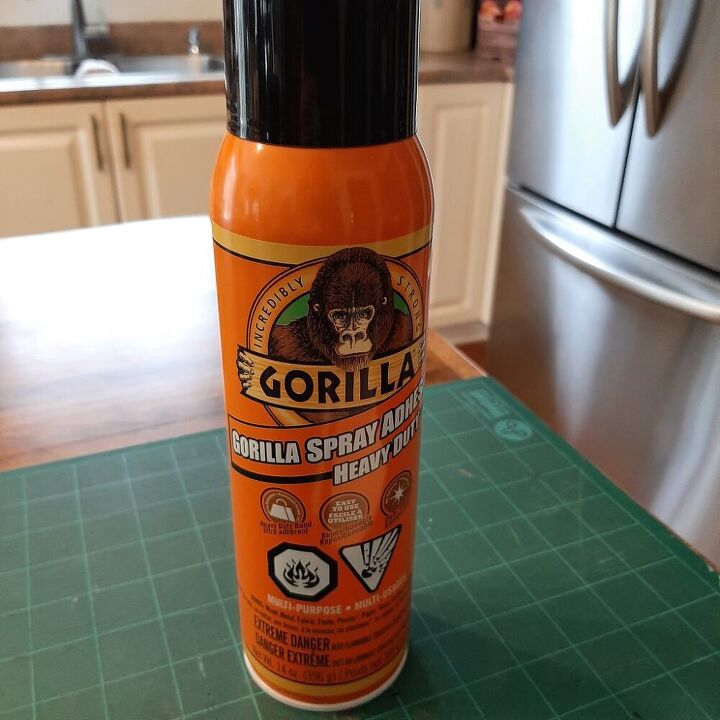
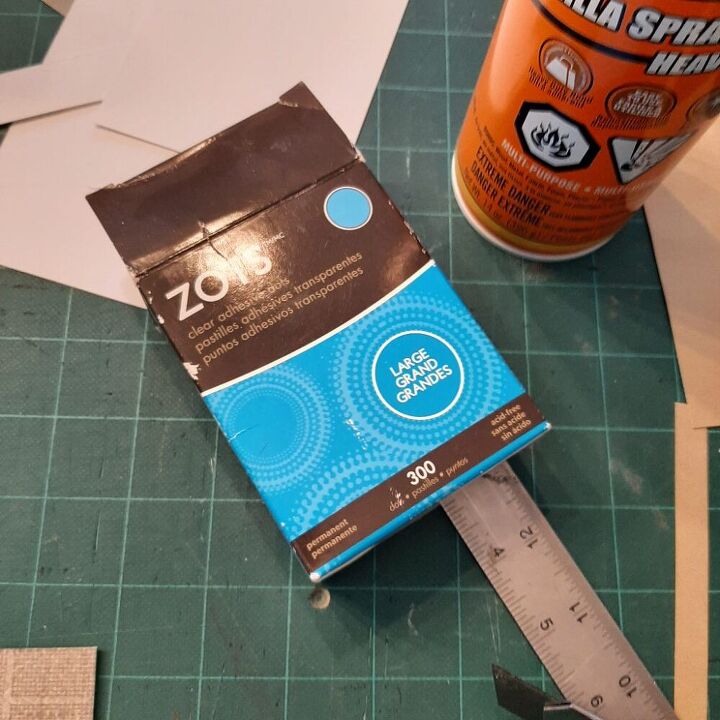
4 – Glue your levels together. I used a combination of gorilla glue and zots (sticky round dots, like two way tape).
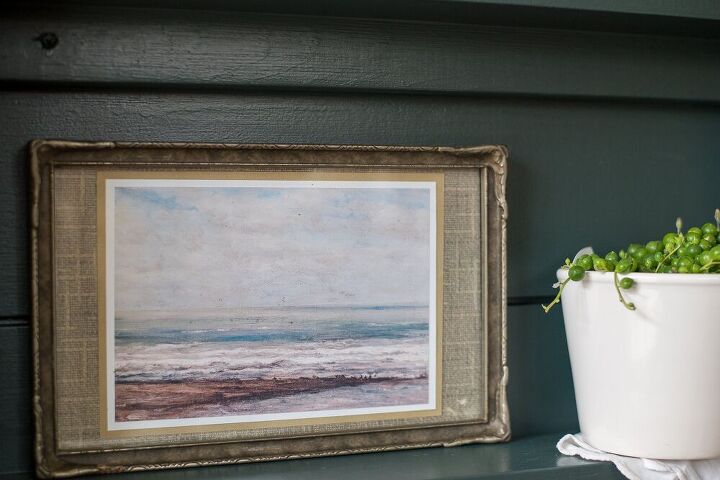
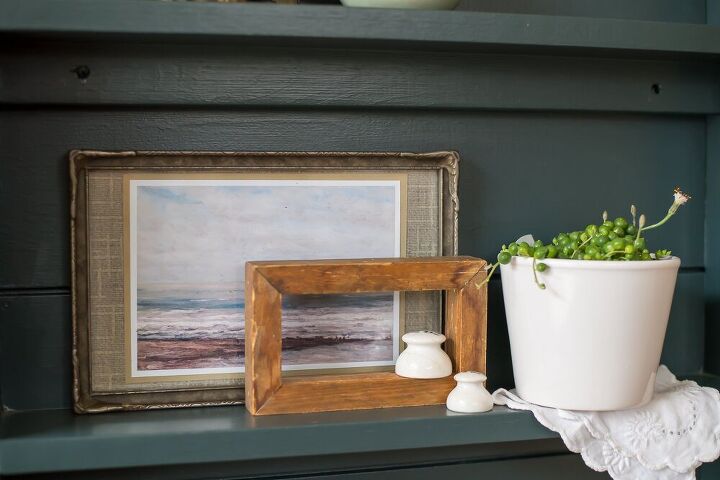
5 – Place the finished art in your frame and enjoy.
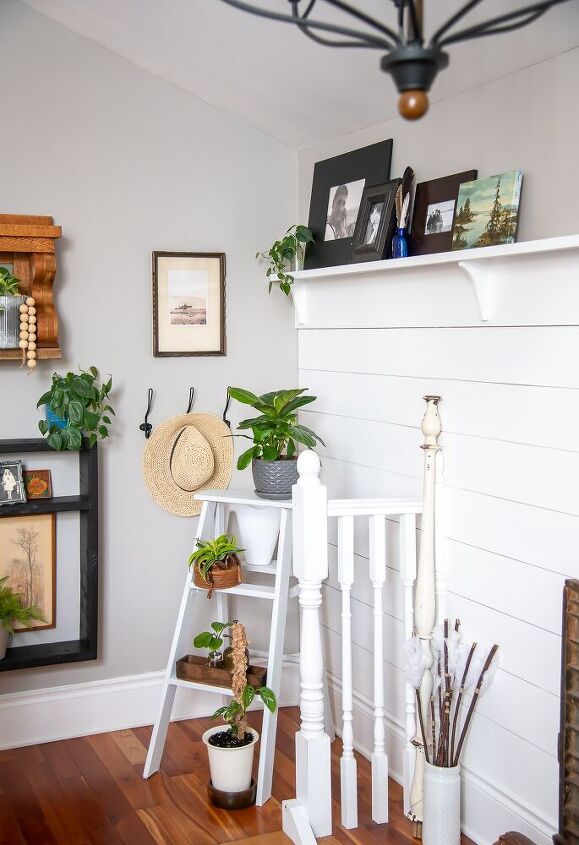
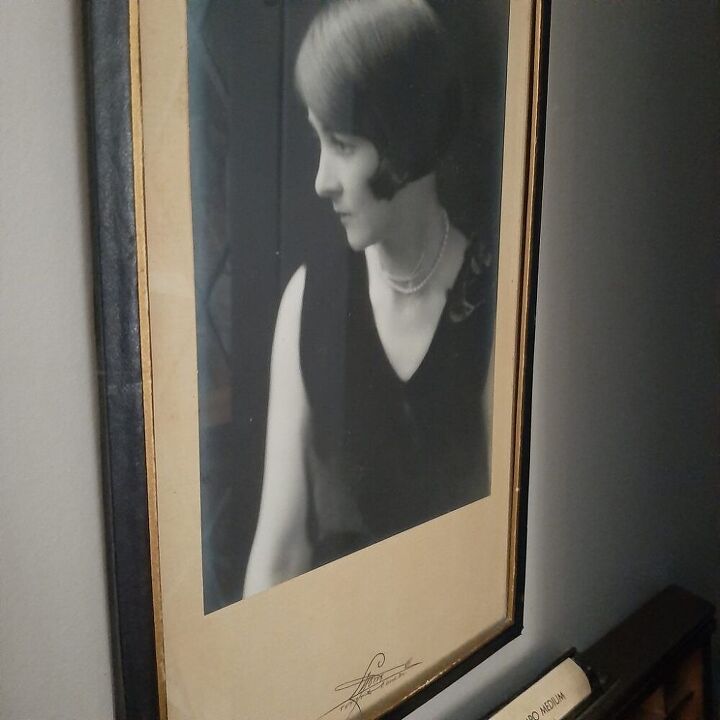
The print I have hanging beside the DIY Antique Hutch Shelf (above the hooks) is an actual photo my Mom took when she was young, I enlarged it and glued it down on some vintage cardstock and used a beautiful vintage frame to make this custom piece.
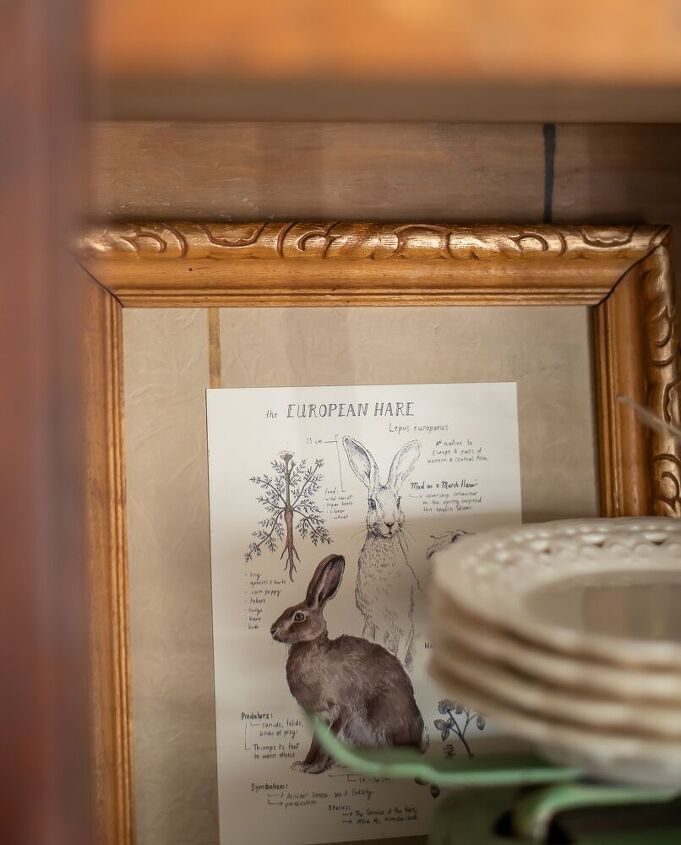
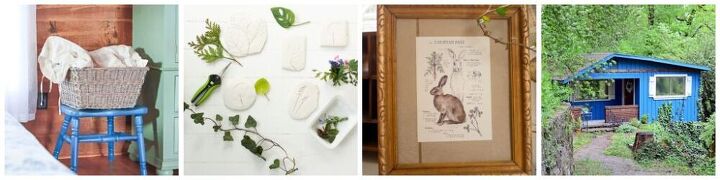
I mean, textured vintage paper makes the best backdrops, don’t you think? This bunny print looks right at home – I bought this print from this Etsy seller, you can find that here!
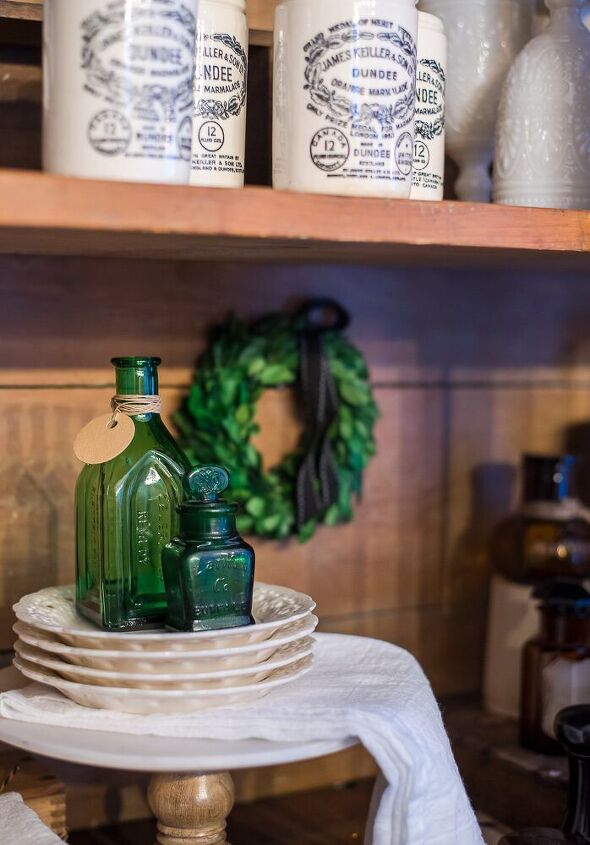
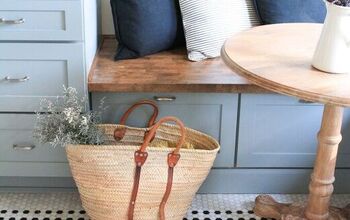
One of the other ways I loved using vintage cardstock was to make these sweet round tags for my vintage bottle s, it just adds some extra charm don’t you think?
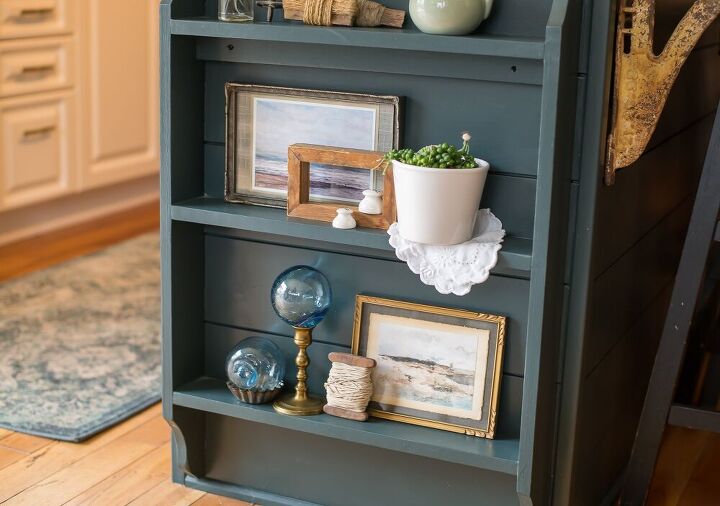
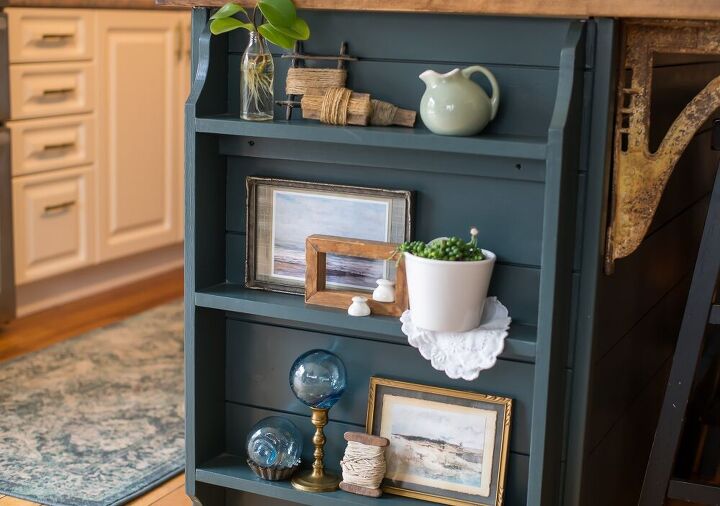
This little end shelf I built for our island was the perfect place to prop my “ode to home” vignettes. We haven’t been home in almost 2 years now, home meaning where we grew up and where our family still lives. No family hugs, no sweet salt air… this now makes me feel a little more connected to home. Can anyone send me some sea slat air, please!?
Thank you for joining me here today friends, I hope you were inspired and will now look at vintage cardstock in a different way when you’re out treasure hunting. xo
Now, please have a peek at what my cozy loving friends are up to for May.
Hymns and Verses / Duke Manor Farm / A Stroll Thru Life
Creative Cain Cabin / Finding Silver Pennies / Vinyet Etc. / Town and Country Living

Comments
Join the conversation
-
I am not sure this would work with real water colors since they have to be protected from sticking to the glass, however I like your idea.
-
What a beautiful and cozy idea...will definitely bookmark this idea to try to replicate soon....


Frequently asked questions
Have a question about this project?