


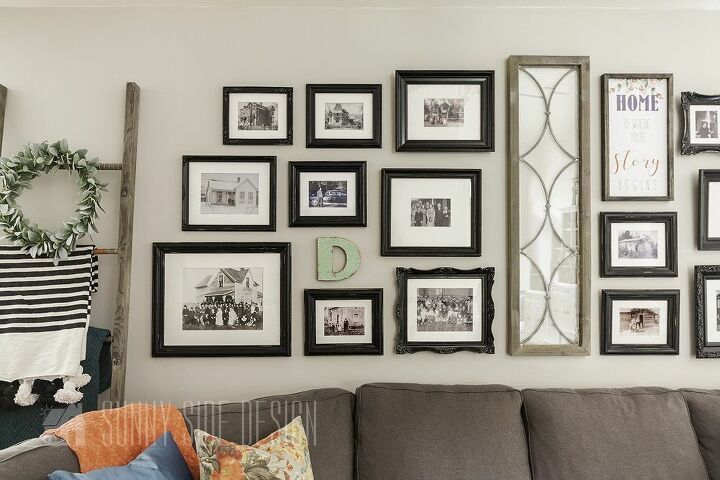
How To Hang A Gallery Wall The EASY Way
Have you perused Pinterest lately and seen the vast array of interesting gallery walls? Does it make you stop in your tracks and get overwhelmed? You want to hang a gallery wall but it just seems a bit intimidating? Well, today we’d like to share with you our tried and true method for hanging a gallery wall the EASY way!
You can also view Steph's Travel Collage wall with souvenirs here!
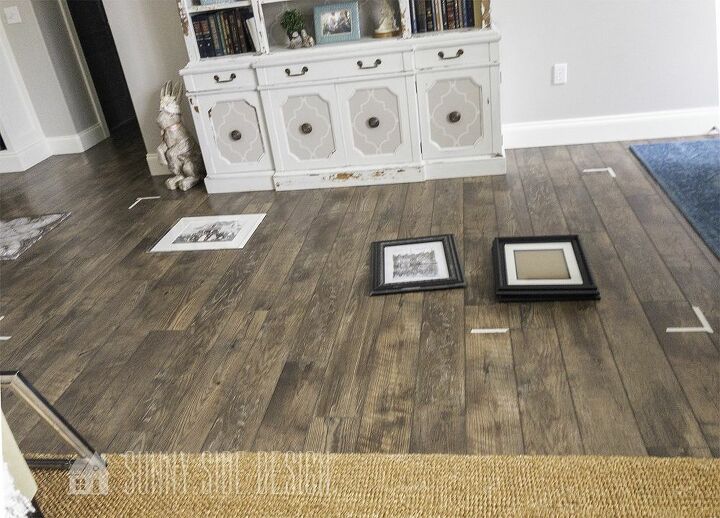
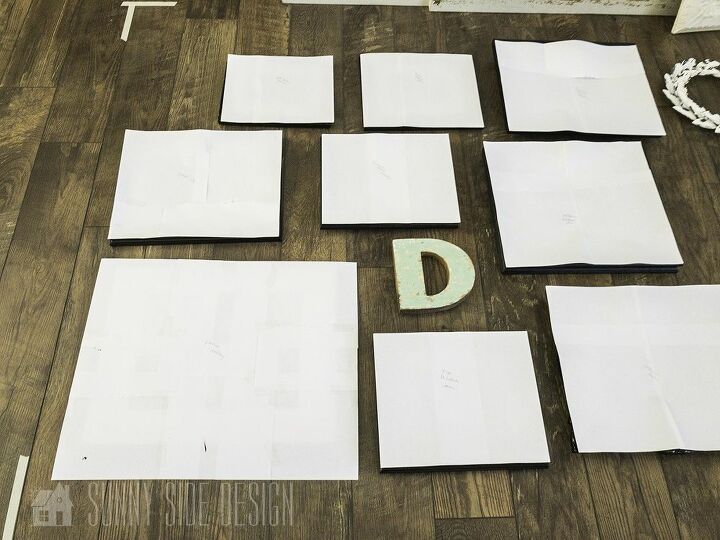
First we took some measurements of the wall. We then masked off the desired space out on the floor so we could easily move and reposition the different frames and decor items easily. This is an easy way to visualize how the items will all look together.
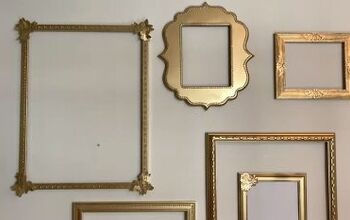
This amazing collection of family homes had once hung in my parents previous home, but upon moving they never made it out of the boxes. She had intended to hang them in the basement when it gets finished. We both ultimately decided these photos are too amazing to keep hidden away in boxes waiting to be hung. They became the main feature on the gallery wall.
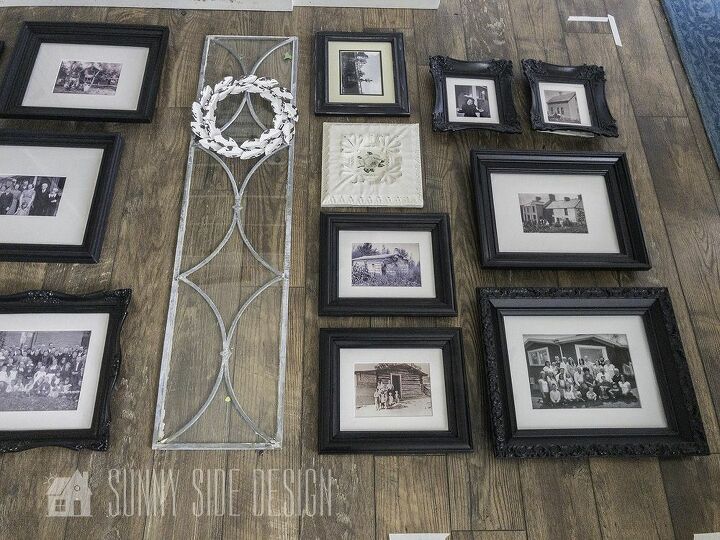
At this point we were able to lay all the pictures out on the floor and arrange them in the allotted space.
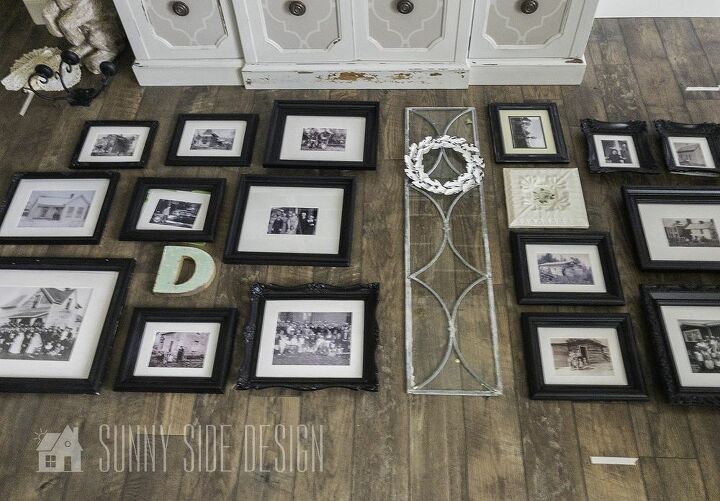
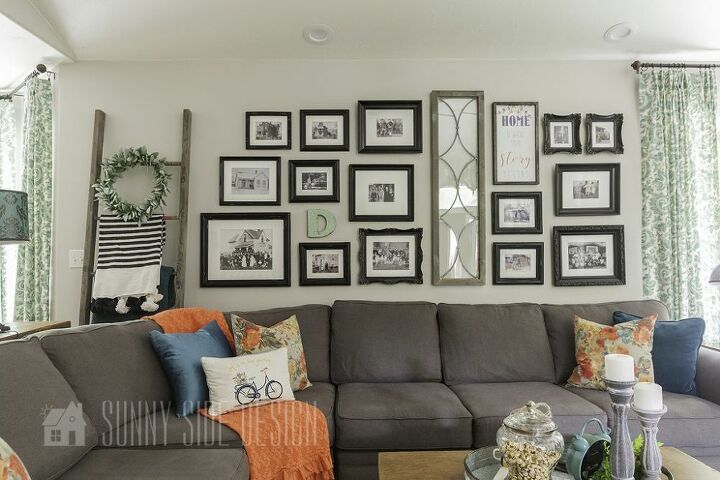
With the given amount of space above the sectional, my Mom decided to have the bottom row of pictures on a level line. As the pictures would near the ceiling we thought it looked best having more height in the center of the gallery and gradually pictures would hang a little lower out towards the sides.
Once you have decided on the layout simply trace each frame and/or piece of decor items on butcher paper. If you don’t have access to a roll of that you can tape pieces of paper together so they’re large enough to trace your templates on. Cut each template to size, label them with what picture it is for and mark where the hook(s) are for hanging.
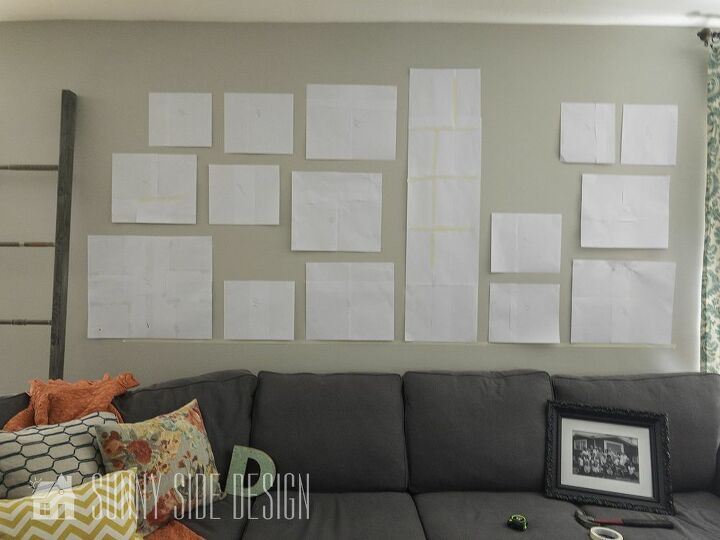
This is where you can start to see it all come together. You’ve visualized it all laid out on the floor, but now you’re going to start to see it come together on your wall. To start we masked off a level line a couple inches above the couch to give us our starting point. We then began to tape each template to the wall. This allows you to get a better visual of how it will look on your wall. This gives you the opportunity to reposition any template or make any last changes before you begin to hang your art.
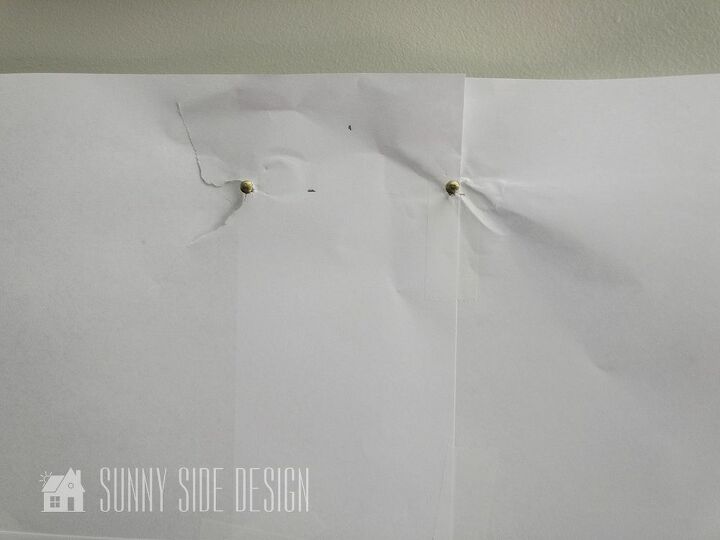
Now it’s time to put some holes in the wall. We know that some of you may be afraid to put holes in your wall, whether it be a fear of putting the hole in the wrong spot, or just being unsure of how to go about it. We get it! It can be intimidating to take the first swing. We’re here to cheer you on . You can do this. Using our system of hanging the templates with the marks drawn where the hook(s) are on the frame will make this an easy and hopefully a non-intimidating thing to do.
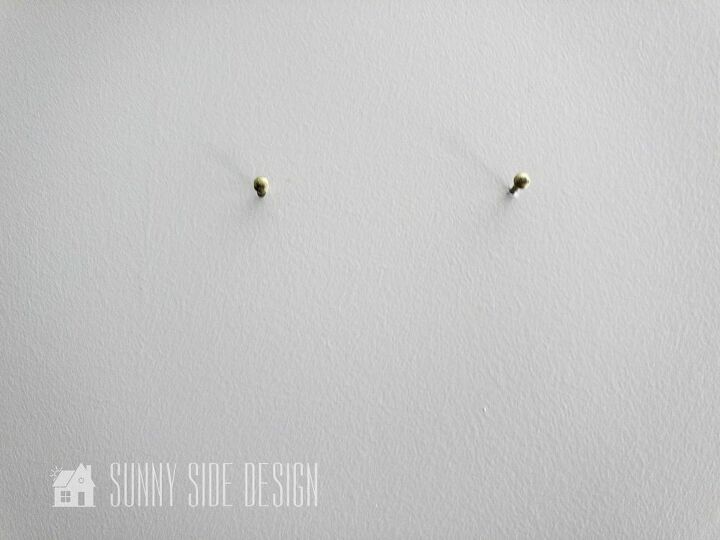
You’ve already done the hard part of measuring where the hook(s) are on each piece and marked them on each template. Now you simply take your hammer and nails and drive each nail into the designated marking on each template. You now have nails right where they need to be and you can simply pull the template from the wall and hang your item. It’s that easy!
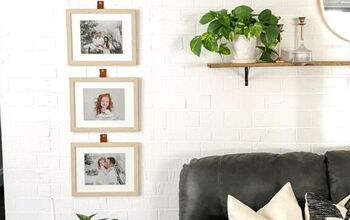
Hammer the nails, remove the template and hang your art one piece at a time. You’ll be surprised how quickly your gallery wall will come together.
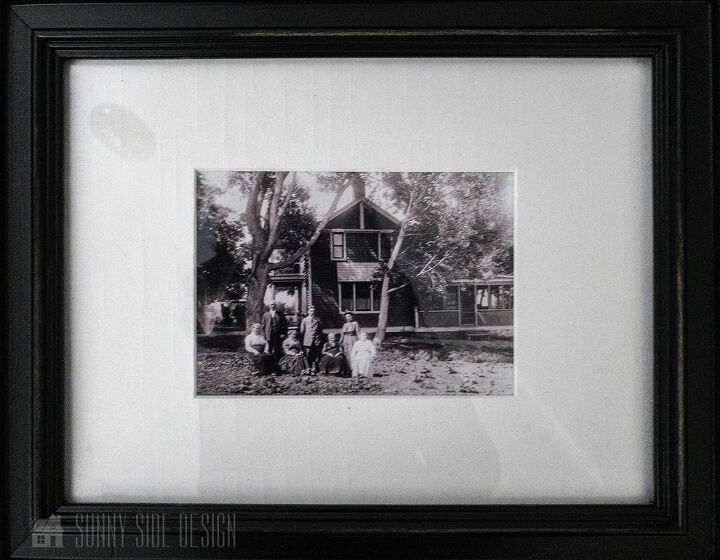
Here is one of our favorite homes pictured. Morgan, Utah became the settling place for my 2nd great-grandpa John Henry Dickson. My great-grandpa LaVern Dickson is pictured here as a young man around 1910.
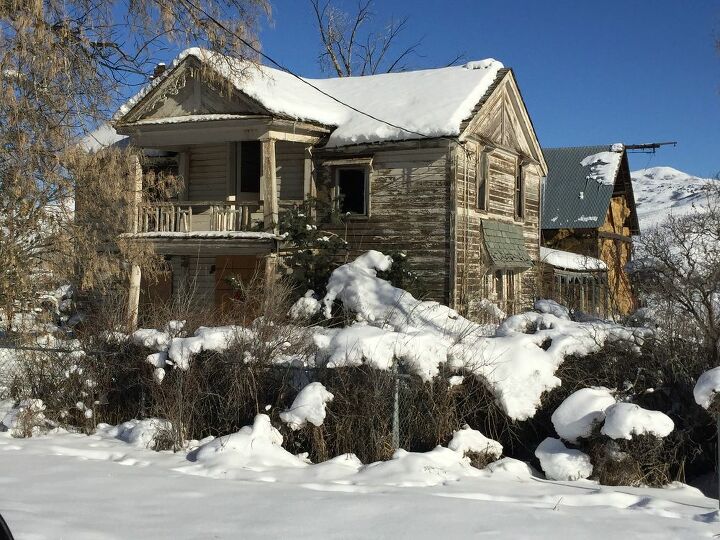
The home is still standing today but it’s pretty run down and could fall apart at any time now, which breaks my heart! My Mom and I would LOVE to get our hands on it and bring it back to its former glory! All we need is a bunch of extra money lying around…that’s not asking too much right?!
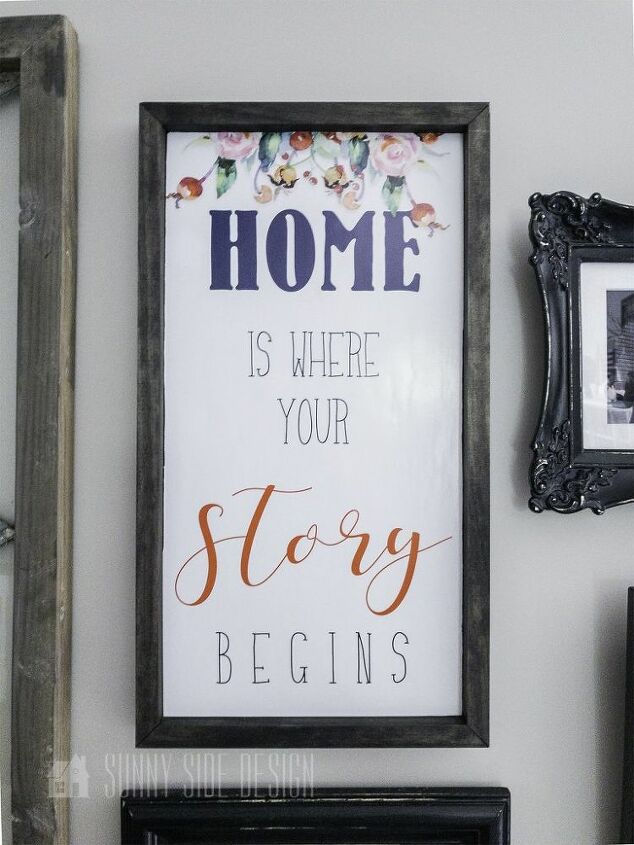
Among all of the amazing photos of old family homes, my Mom created this custom framed art that says “Home is where your story begins”. Each of us have a story to tell. Each of us have been molded and shaped into the people we are today from our past experiences and lessons learned in the home. We’d like to offer this piece of art to YOU as a digital download. Keep your eyes peeled, we will be getting that download ready in the near future.
Make sure to visit our site for a more detailed tutorial and a closer look at more of these amazing family homes. Visit this link and keep your eyes peeled for a download of this darling decor!
If you'd like more DIY ideas and tutorials visit our site and subscribe! We wont send spam! Just a quick email letting you know when we post a new project.

Comments
Join the conversation
-
Excellent! I love the black&white pictures!


Frequently asked questions
Have a question about this project?