


HOW TO INSTALL A VERY SIMPLE SHIPLAP CEILING
This shiplap ceiling was so easy to do, we weren't even planning to write up the tutorial. But after we shared how we made the reclaimed-looking faux beam (for less than $20!) that we installed on top of the ceiling - readers started asking us how we covered the old awful ceiling with shiplap.
We haven't talked much about our bunkie - which is weird because it's one of our favourite features of our weekend getaway! We've barely even shown you pictures of the place...
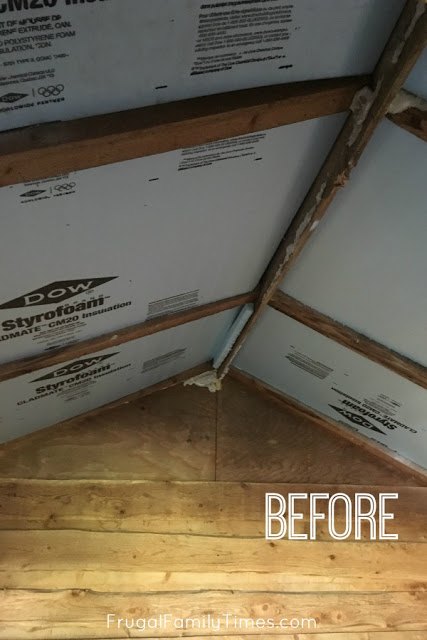
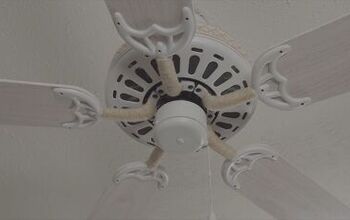
The true BEFORE of this bunkie is so much worse than this!
What you see here is the ceiling prepped: we've cleaned it up and put insulation between the joists.
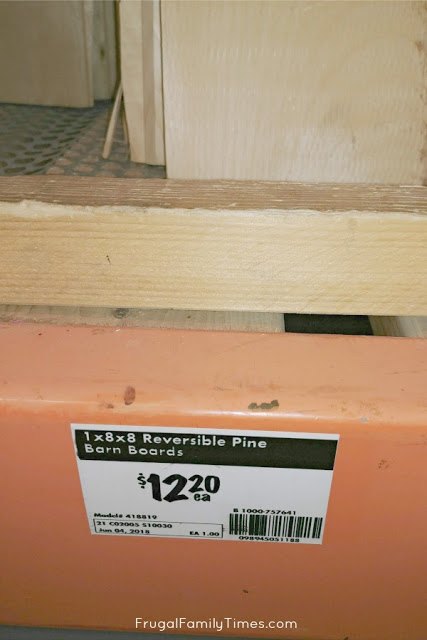
We looked at a few products and settled on this one. We liked the broad proportion of the 1X8" boards plus these boards are reversible - one side is smooth and the other side more rustic and rough. We knew we were going to build and install a rustic beam and the bunkie has rough wood walls, so we chose the smooth side for contrast.
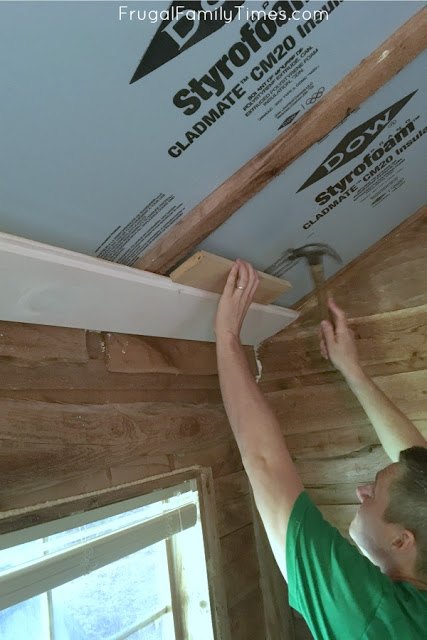
Installing the first board takes the longest. Just shy of FOREVER. But the reason it takes so long is because it's essential to get it perfect. If your first board isn't straight and level your whole ceiling will be wonky and will look awful.
Continue working your way up the ceiling. It won't take nearly as long as that first board. Repeat the process on the other side.

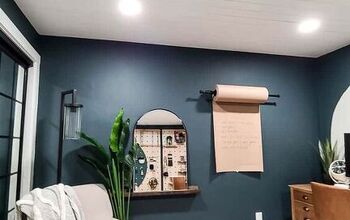
Here's how the ceiling turned out... Pretty great, right?! This cute, but dark bunkie, is now super bright and airy!
For even more pictures and details, don't forget to head on over to the full blog post!
Psst! We've got more projects from our Mobile Home Makeover for you to enjoy!
Resources for this project:
See all materials


Comments
Join the conversation
-
I did the same thing for my 12X20 front porch only I stained the wood. I'm considering doing a bedroom ceiling and whitewashing the shiplap
-
Thank You for sharing! Turned out Great!


Frequently asked questions
Have a question about this project?
What is a bunkie?
Looks great! How did you do it for so cheap though? I've been looking into this for my kitchen ceiling but can't find anything inexpensive. How many boards did you use? TIA
We rent and our landlord is going to supply the paint for us to update the inside of the home we're renting, and is also going to pay for the floors to be redone as the carpets are so old (the same age as the house, it's the original carpet) and falling apart and full of pet pee and who knows what else but my asthma is the reason we've asked for the floors to be redone. That itself is a long story. Anyway, before we paint I want to put up a shiplap wall on the gable end of the livingroom. It has a valted ceiling with a beam running just like in your picture. But we'll be doing the wall with the gable (I guess that's what it's called). That wall happens to have painted wallpaper on it, which is also damaged with tears, and we've examined it but it would be a near impossible task to remove it, then repair the wall and paint. So the best would be to do something else to the wall. So the decision was to put somekind of finish on it, and shiplap idea was born. So my question is this: where do we start putting on the shiplap? Do we start where the bottom of the beam is or do we start at the top of the wall and go around the beam, or do we start at the floor?