


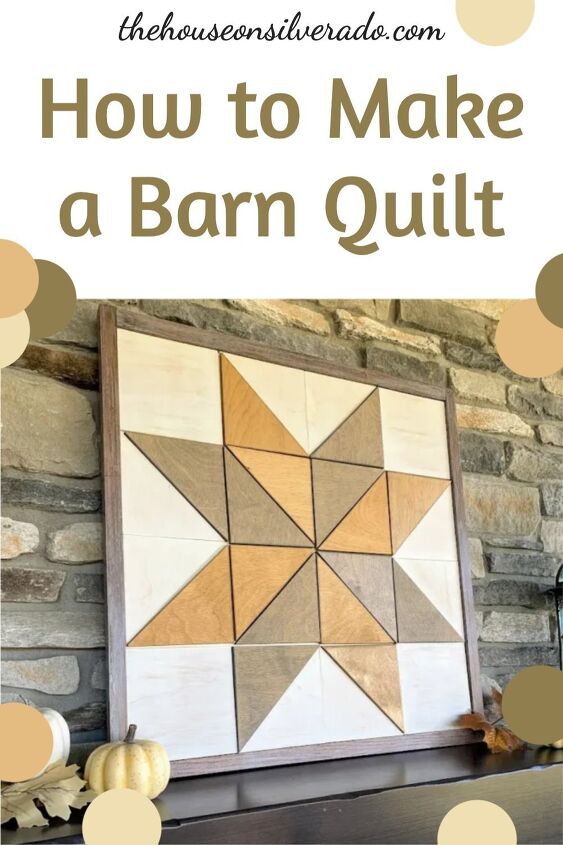
How to Make a Barn Quilt
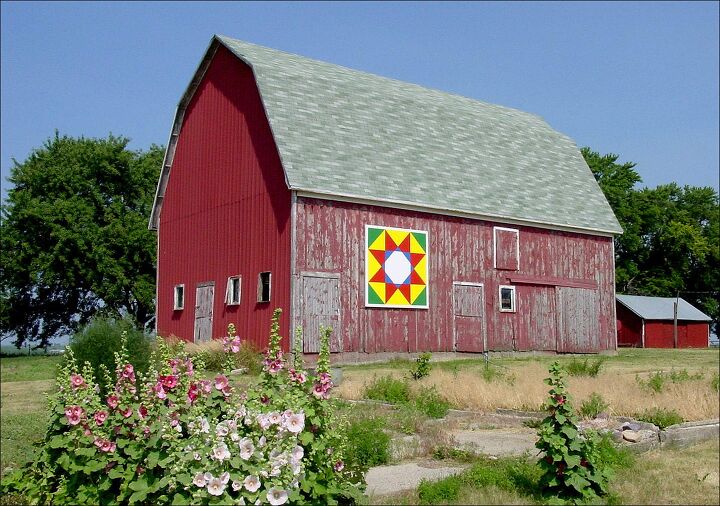
For years, I’ve admired the hundreds of colorful, vibrant barn quilts that can be seen proudly displayed on barns all across my home state of Iowa. Finally, I decided to make a barn quilt for myself.
My DIY barn quilt is a down-sized version of the huge 8-foot panels typically displayed on barns. Since I don’t have a barn (yet 😜), I wanted one that I could display on my mantel. A 2’x2′ size is more appropriate for that.
I am partnering with the Dixie Belle Paint Company for this post. Paint and stain were generously provided to me by Dixie Belle, but all ideas and creations are my own.
Choosing a Pattern
The quilt pattern I selected for my DIY barn quilt was inspired by my many trips to Washington, D.C. over the years. One of my favorite places to visit there is the Smithsonian National Museum of American History.
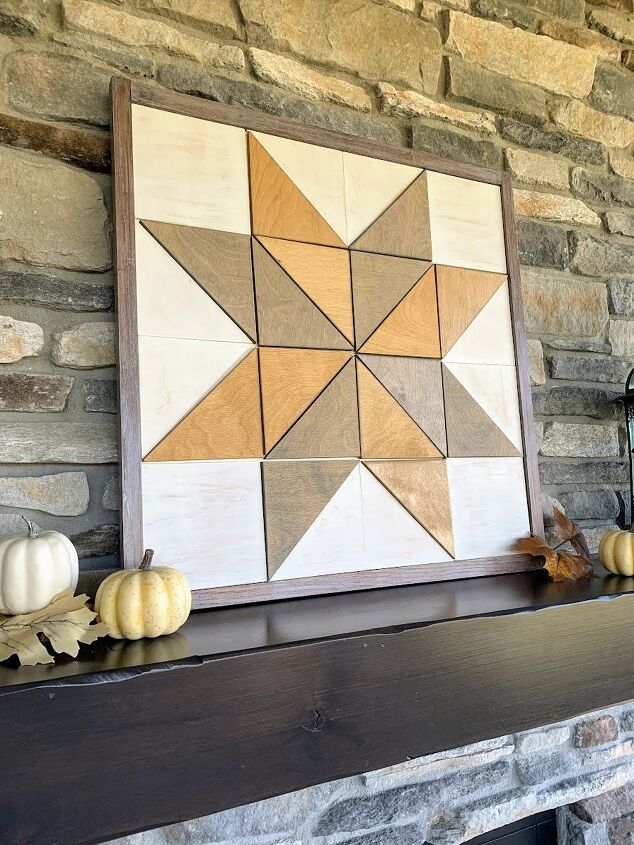
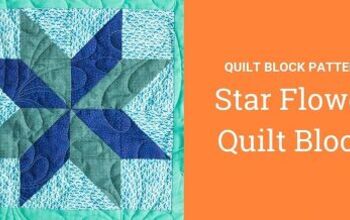
The National Quilt Exhibit there houses hundreds of quilts, including an early 1800s LeMoyne Star quilt, which is the pattern I decided to use for my barn quilt.
How to Make a Barn Quilt
Below you can see the crude blueprints I drew for myself when planning my DIY barn quilt using plywood and craft wood.
Since most barn quilts (and fabric quilts, too!) are made of various color combinations of squares and triangles, you can customize your own barn quilt to be any size that you want– you just need to do the math to figure out the appropriate sizes adjustments.
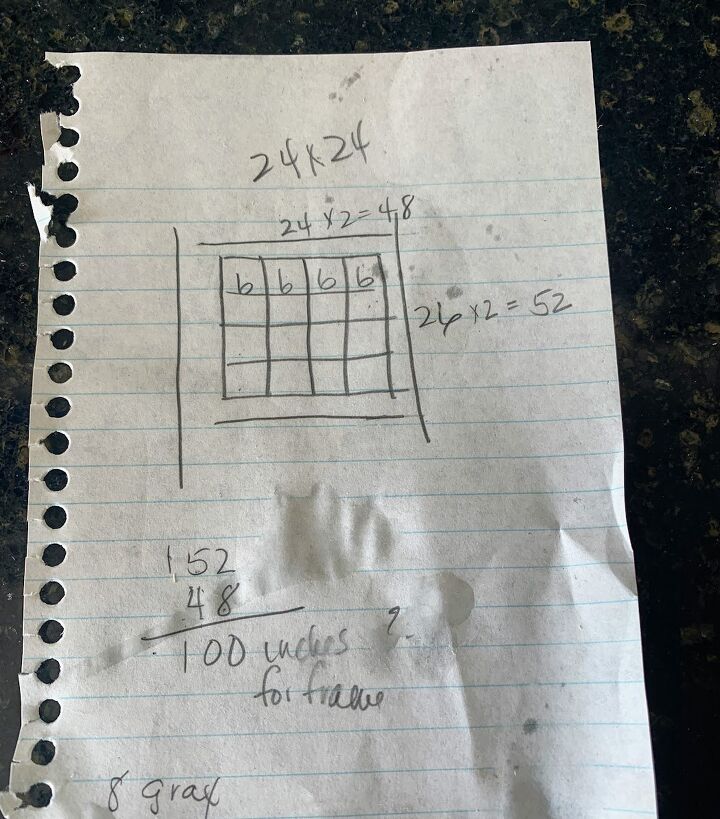
To keep it simple, I went with a 24″ square, that I divided into sixteen 6″ squares. Then, I cut some of those squares in half to form triangles that would give me the LeMoyne star pattern I wanted.
Supplies:
- One 2’x2′ Plywood Sheathing Handi-Panel (1/3 inch thick)– for the back of the frame
- One 12″ x 24″ Craft Plywood (1/3 inch thick)—for the stained triangles of the star
- One 6″ x 24″ Craft Basswood Sheet (1/16 inch thick)–for the white background pieces
- Two pieces of scrap wood 52″ long each, for long sides of the frame (optional)
- Two pieces of scrap wood 48″ long each, for the short sides of the frame (optional)
- Gorilla Glue
- Paint and/or stain in your choice of colors
I bought my craft/hobby wood at Menards, but you can find hobby wood that will work in other places:
- Amazon has a wide variety of hobby wood in various sizes
- These from Target are already cut into 6″ squares
- Home Depot also carries craft wood and plywood that could work
*All of my measurements are for a finished barn quilt that is a 2’x2′ square. You can make yours smaller or larger, just remember to make the appropriate size adjustments.
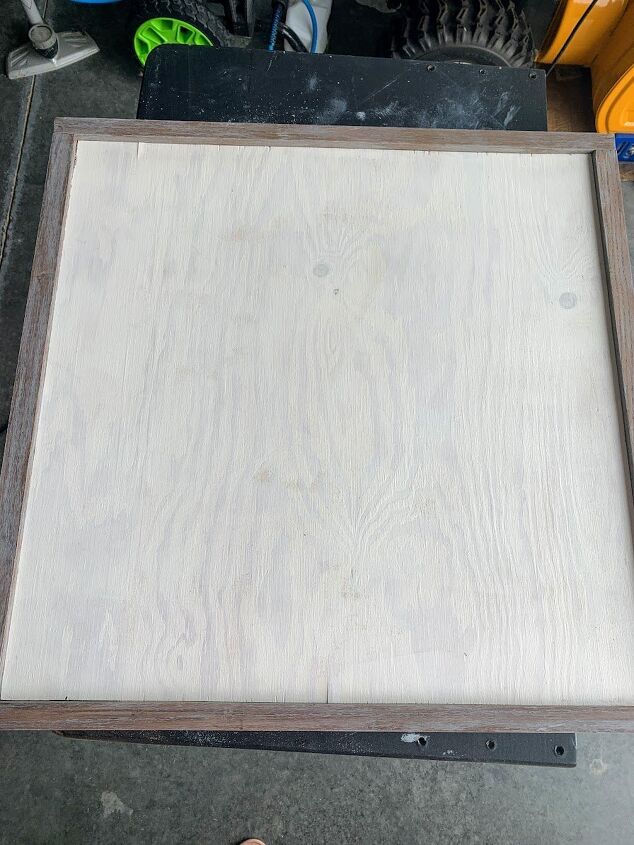
The Backing
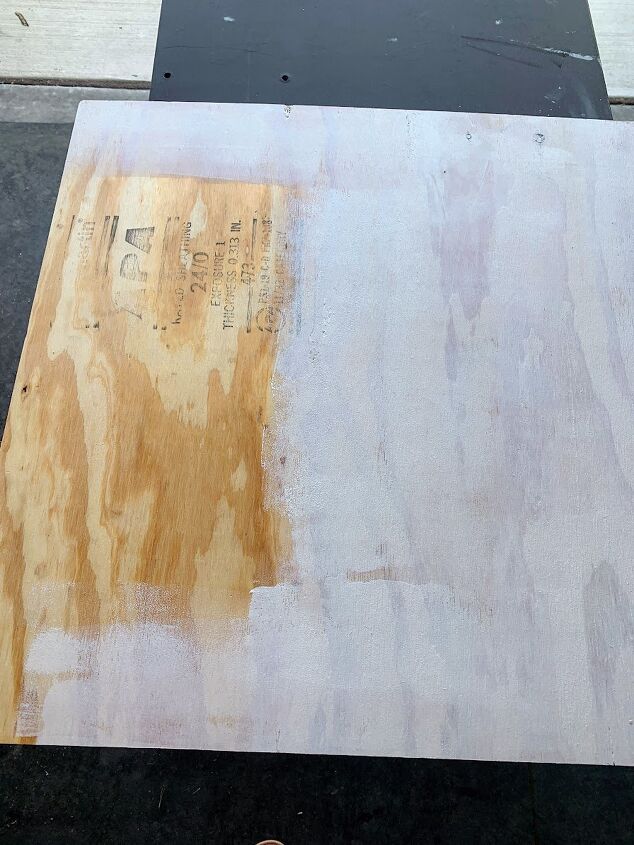
I used a 2’x2′ piece of plywood sheathing that was 1/3 of an inch thick to make the backing that would support all the quilt blocks for my barn quilt.
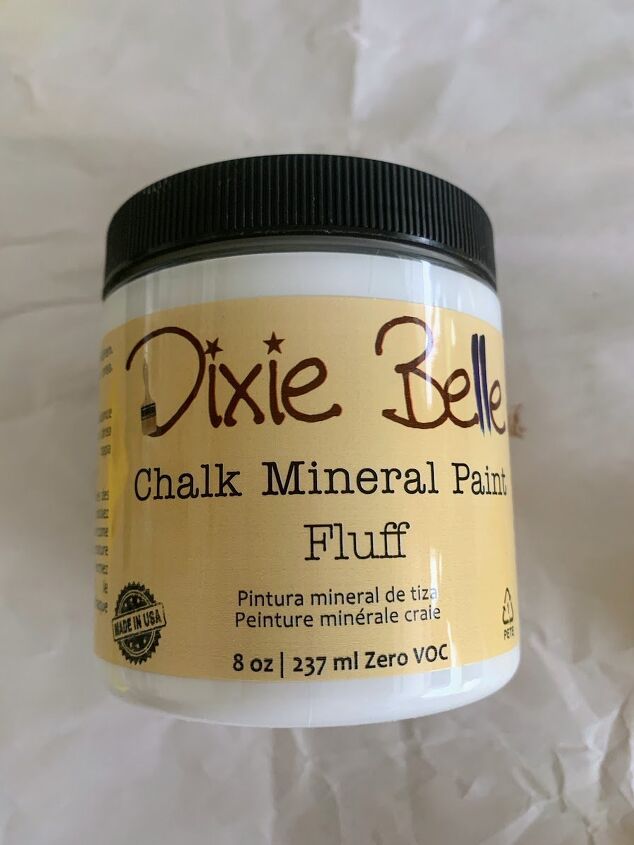
I wanted it to be sturdy, yet not too heavy. I applied one coat of Dixie Belle’s white chalk paint in Fluff, using a roller. Most of this will be covered by the quilt blocks, so it doesn’t have to be flawless.
The Optional Frame
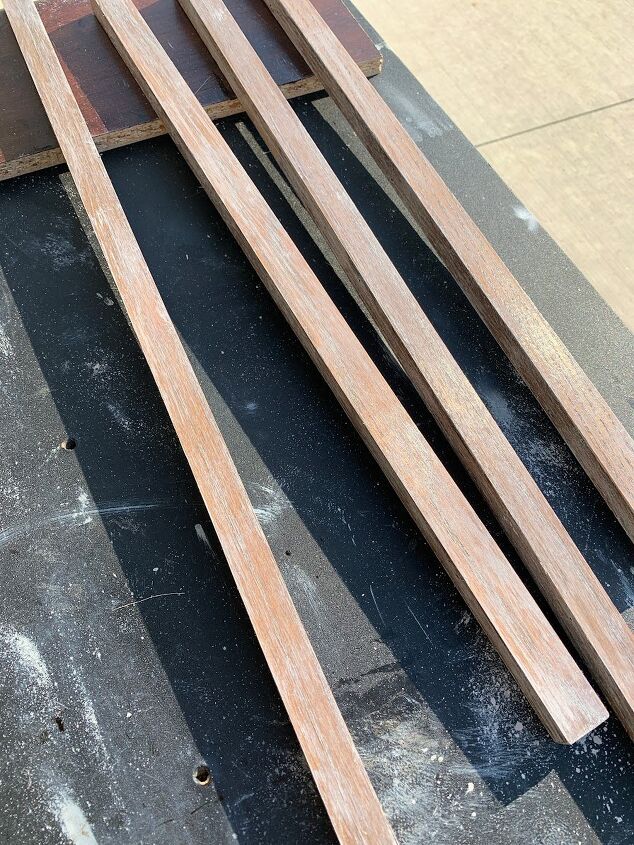
My husband helped me create a frame around the plywood back using some scrap pieces of oak that we already had.
Framing is optional. The real barn quilts are simply painted on an 8-foot square sheet of plywood, but since my DIY barn quilt was going to sit on the fireplace mantel, I thought the frame would give it a more finished look.
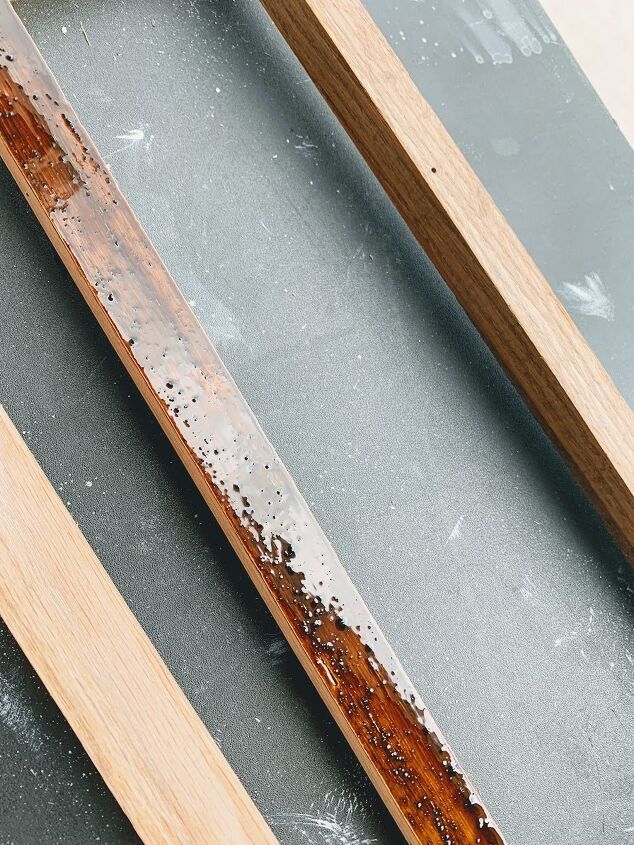
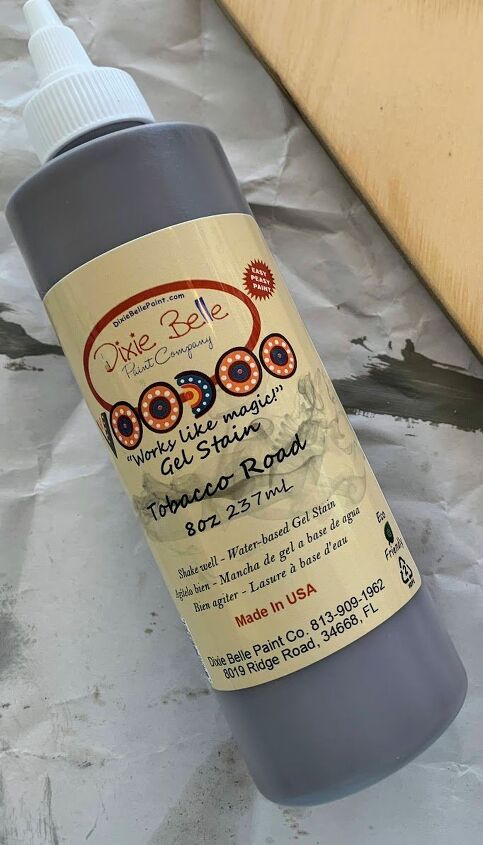
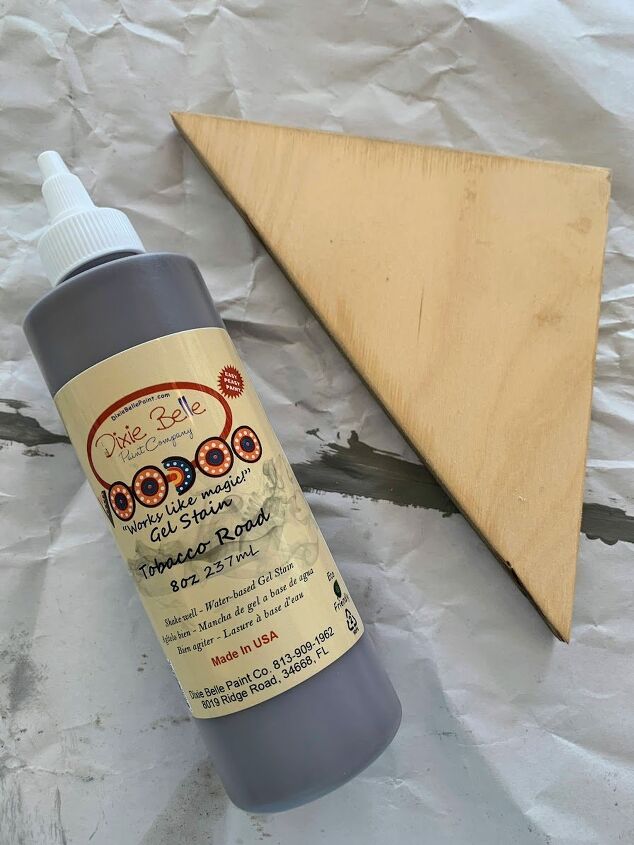
I experimented with three colors of Dixie Belle’s Voodoo Gel stain, first applying a coat of Tobacco Road, and wiping it back with a shop cloth.
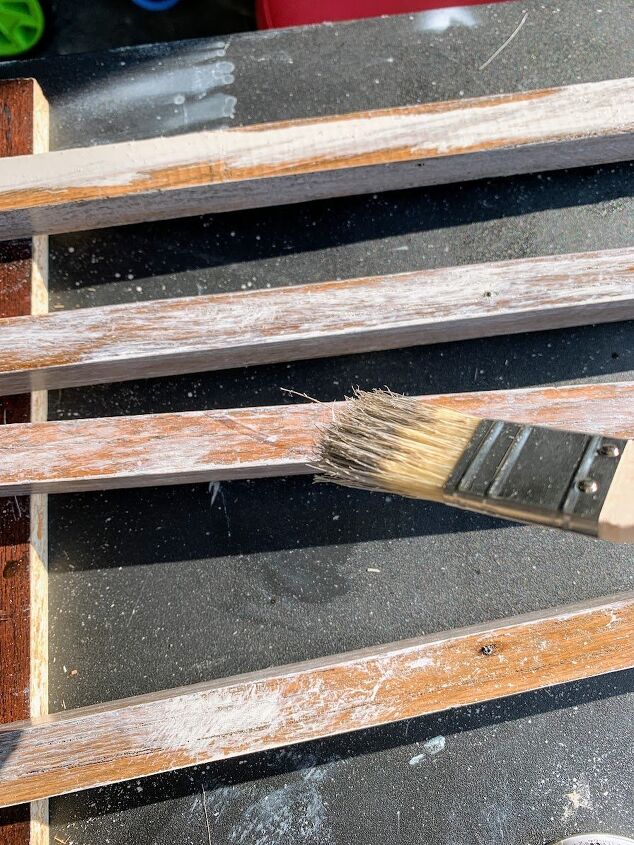
Then, I dry-brushed on a little stain in White Magic and some Up in Smoke, until I had the sort of weathered barn wood color I wanted.
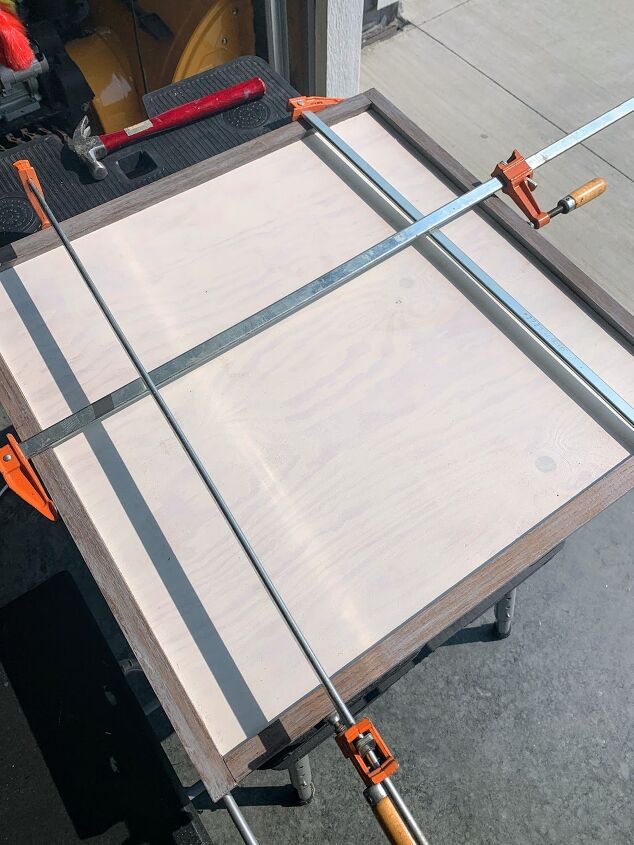
When the frame pieces were completely dry, we attached them to the 2’x2′ plywood back using Gorilla Glue and a few finishing nails. We clamped it overnight to allow the glue to dry.
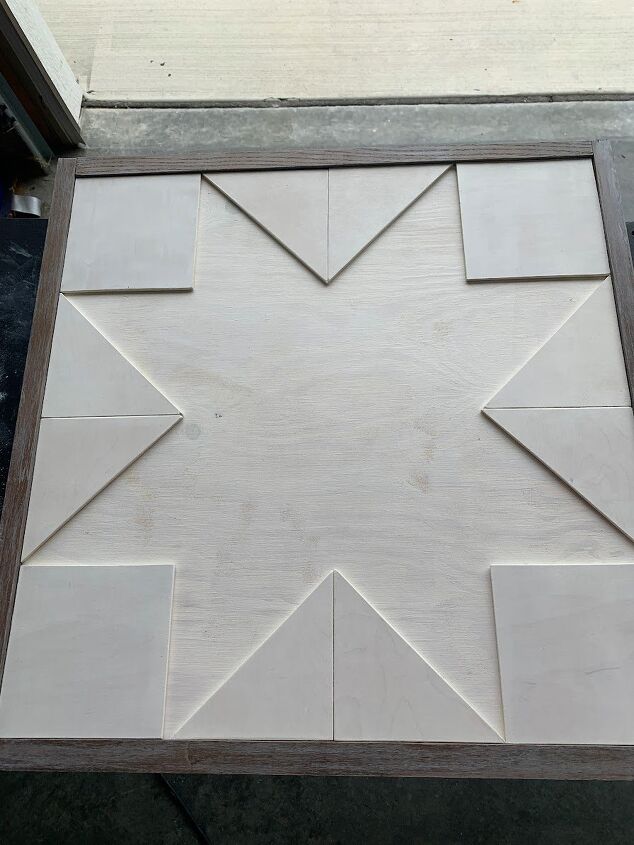
The Background Quilt Pieces
I decide to make my barn quilt 3-dimensional by using wood of two different thicknesses for the quilt blocks.
The background pieces of my quilt were cut from the thinnest sheets of my craft wood (1/16″) and the star pieces themselves were cut from the 1/3″ thick wood. This makes the star stand out just a bit more because it is thicker than the background.
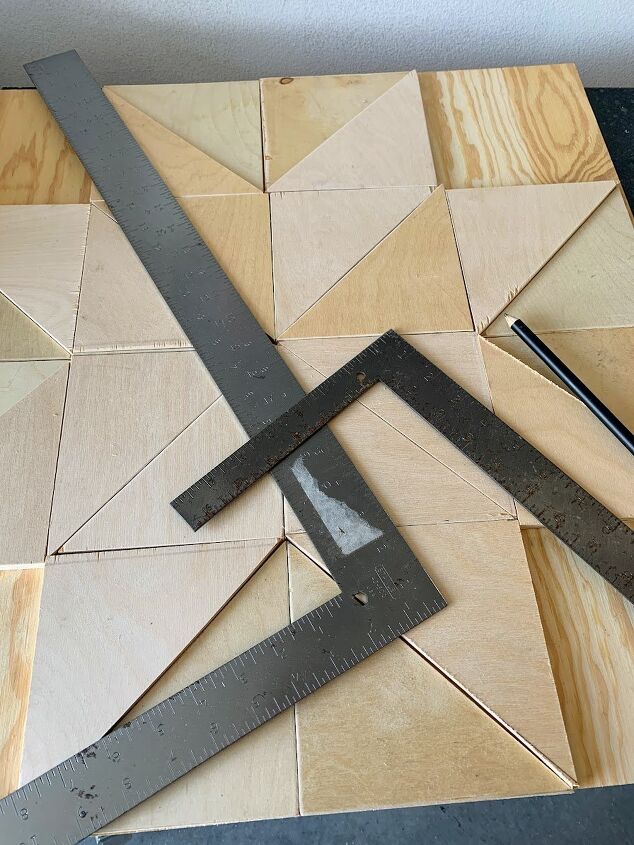
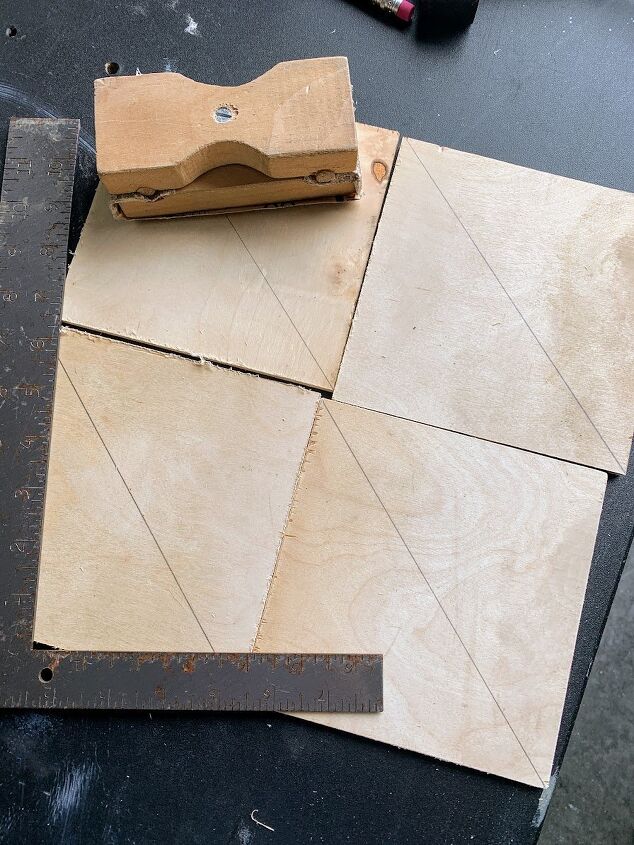
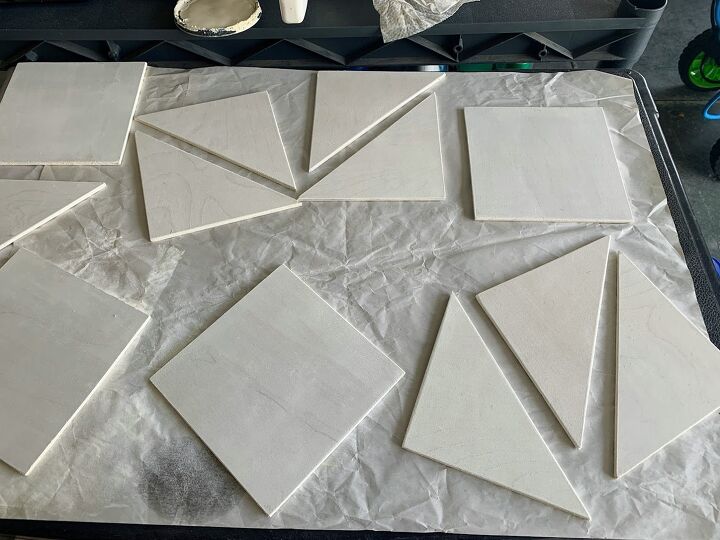
The background pieces required eight 6″ blocks of the thinner wood. Four of them remained as squares, and four were cut diagonally in half to make 8 triangles.
I decided to make the background blocks white so that the star pattern would be the literal star of the show, but I wanted some of the wood grain to show through as well. Dixie Belle’s water-based Voodoo Gel Stain in White Magic was perfect for this.
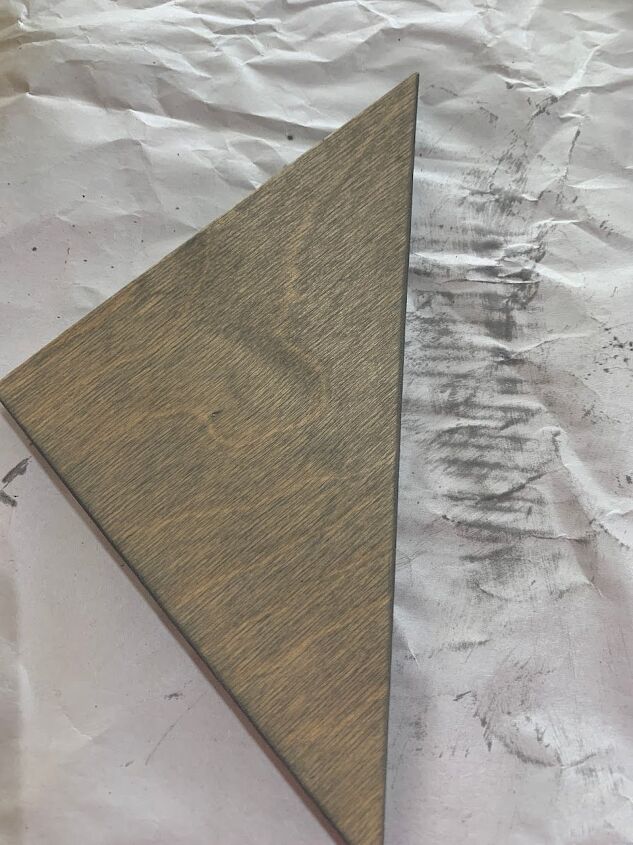
The Star Pieces
For the LeMoyne star, I used Voodo Gel Stain again, in two of the same colors from the frame. Half the triangles got a coat of Tobacco Road, and the other half got Up in Smoke.
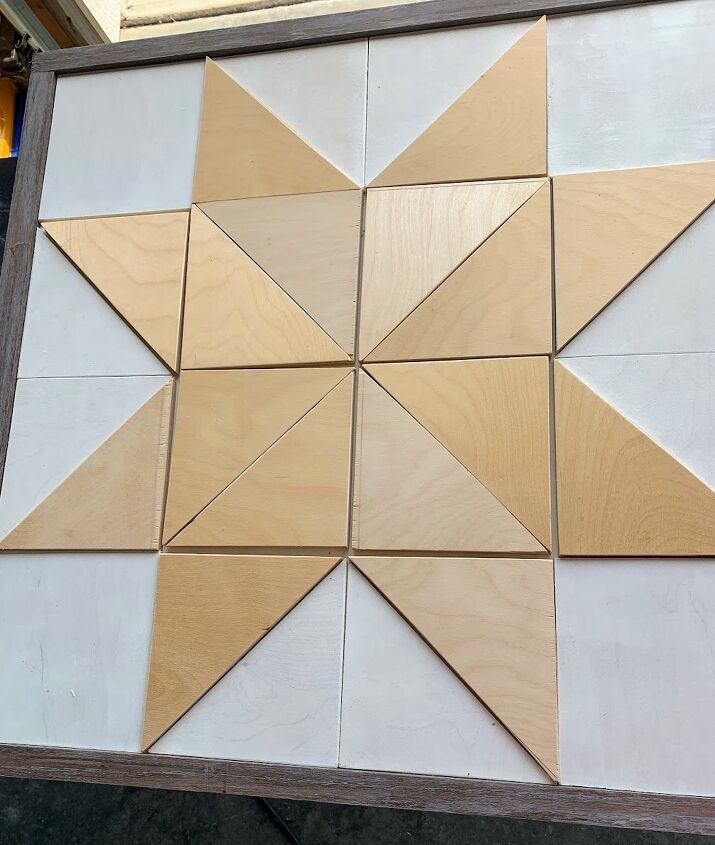
For each color, I smoothed on a couple of drops of stain, and then wiped it back with a shop towel to allow the wood grain to show.

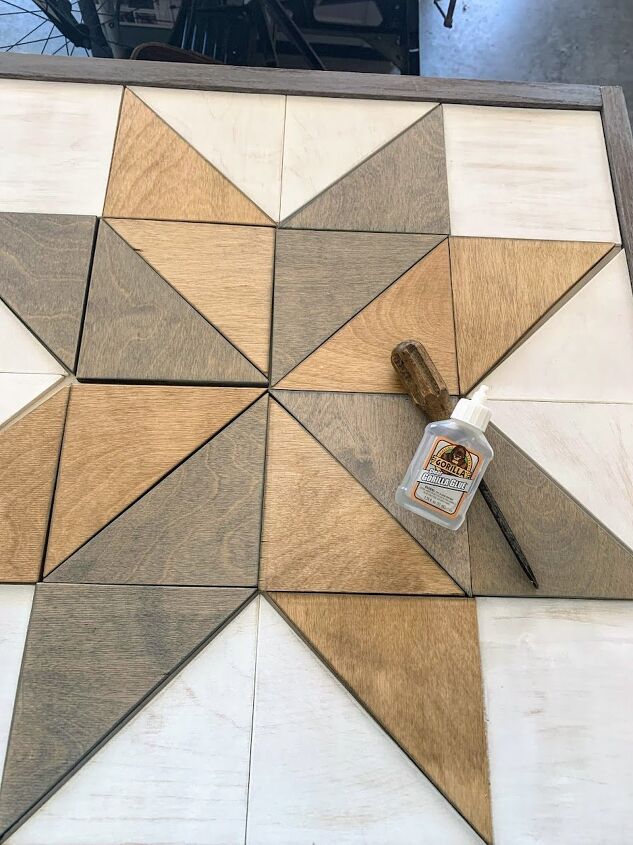
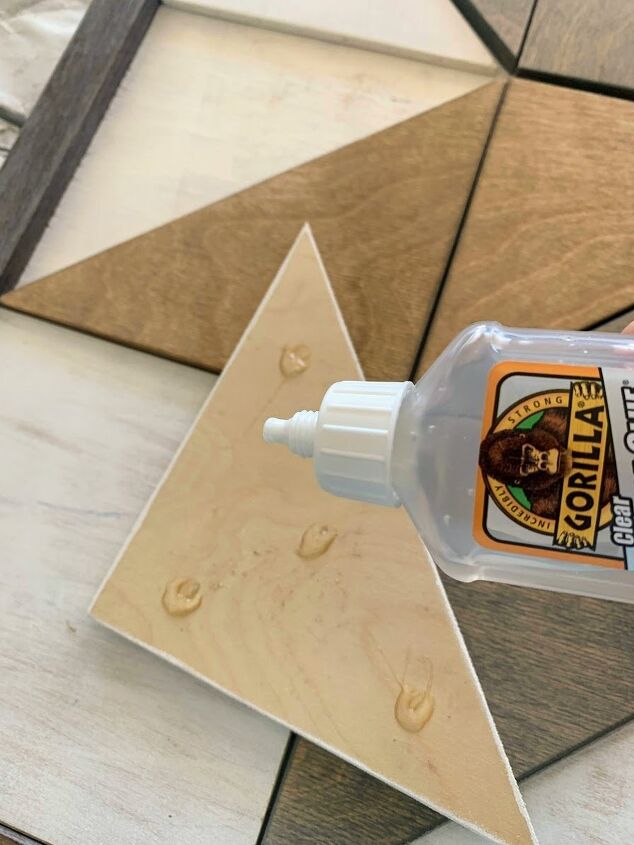
Glue the Stained Pieces in Place
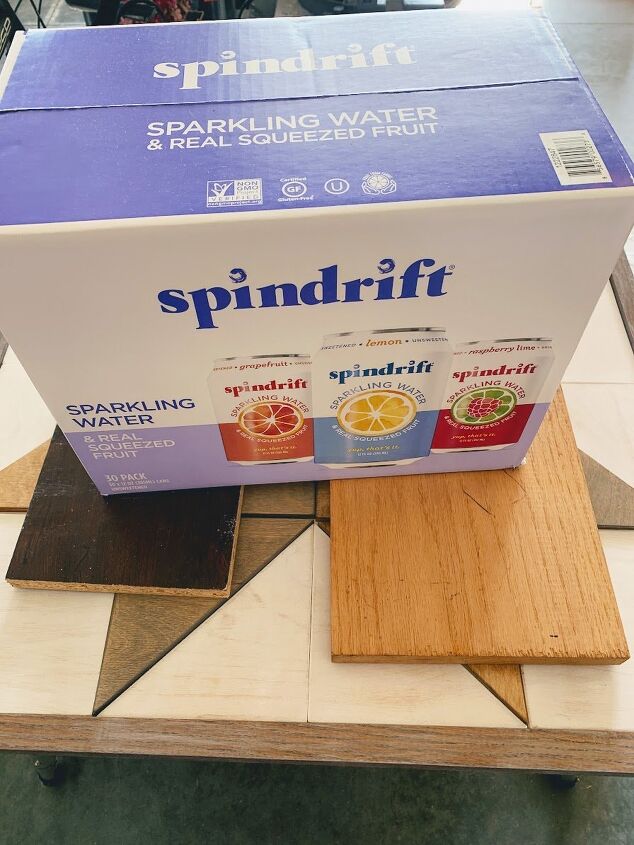
After arranging my finished barn quilt pieces correctly to form the LeMoyne Star, I used a few drops of Gorilla Glue on the back of each piece, then weighed the whole thing down with a heavy case of Spindrift overnight to allow the glue to dry thoroughly. 😛
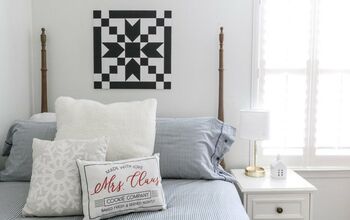
My Finished Barn Quilt
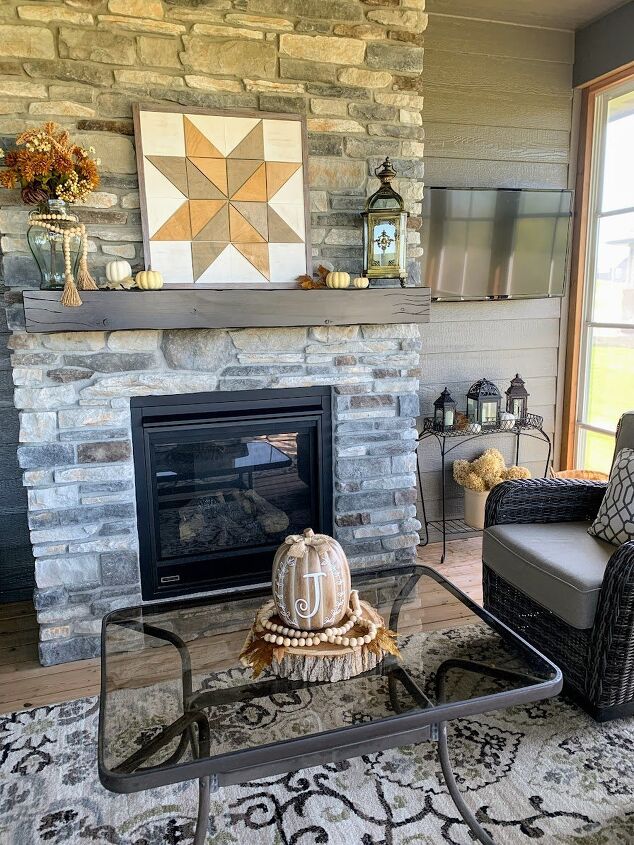
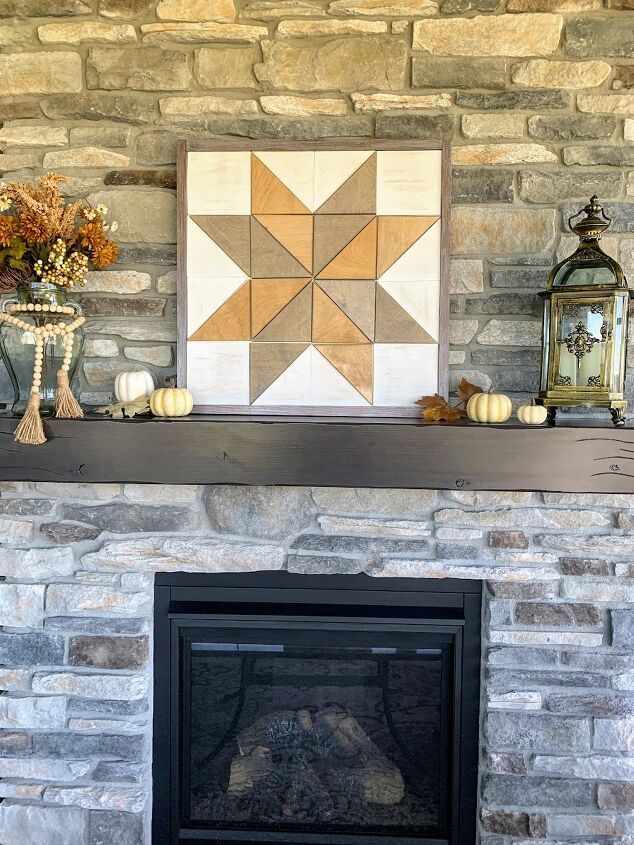
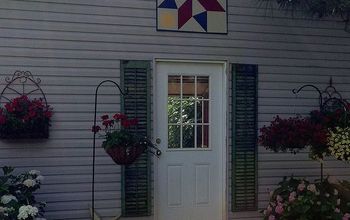
When my barn quilt was finished, I decided to display it on the mantel in our three-season porch. It goes well with the fall decor I currently have out there, and adds such a nice focal point above the fireplace.

Some Final Thoughts…
- This project is so customizable. With some basic math skills, you can make it any size you want.
- I chose neutral stain colors to go with my home’s decor, but you can use paint or stain in any color you choose. Go bold if you want!
- I did not apply a sealant to mine because I plan to use it inside. Although Dixie Belle paints and stains can be used outdoors, a clear coat sealant, such as Dixie Belle’s Gator Hide, would be a good idea if you plan to display yours outside.
- Check out Dixie Belle Paints for great paint and stain colors for your own projects!
What do you think? Is a barn quilt in your future now, too? If you make one, I’d love to see a picture! Tag @thehouseonsilverado and @dixiebellepaint to share.

This post contains affiliate links. Thank you for reading and supporting my blog.
Let’s stay in touch! You can subscribe to The House on Silverado by using the pop-up box on this page, and follow on social media, so you won’t miss a thing!
Facebook —– Instagram —– Pinterest
Resources for this project:
See all materials


Comments
Join the conversation
-
You did a great job!!!! Thanks for sharing 👍 😊
-
This classic quilt pattern is also called the Star Flower in some parts of the world.


Frequently asked questions
Have a question about this project?
Thank you so much for these instructions! What type of saw did you use for cutting the wood please? I can't get very straight cuts with my jig saw but I have a few other types of saws.