


How to Make a DIY Back to School Sign + Free Printables
Back to school time is right around the corner (hopefully anyway)!
I’ve got you covered with two first day of school sign options—a DIY homemade sign tutorial and FREE first day printables for each grade.
Both options are a fun and easy way to document memories over each new school year.
Let’s start with option one—a DIY homemade back to school sign using materials from CraftCuts and your local craft store.
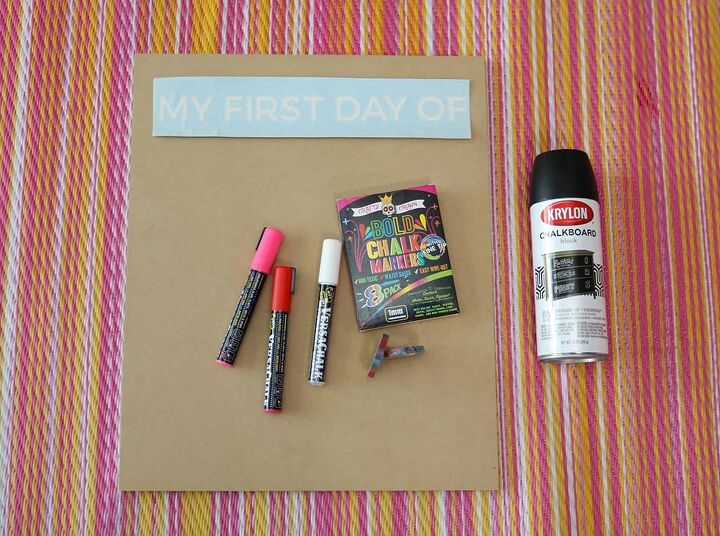
Rectangle Craft Shape from CraftCuts
I went with MDF, 14” x 17”, 3/8 inch thickness
Custom Vinyl Lettering from CraftCuts
Text: MY FIRST DAY OF, Font: Montserrat, 1 inch height, white matte vinyl
Want 10% off your CraftCuts order? Use code OHSOLOVELY10 at checkout!
Chalkboard spray paint
Chalk markers
Washi tape (the skinnier the better)
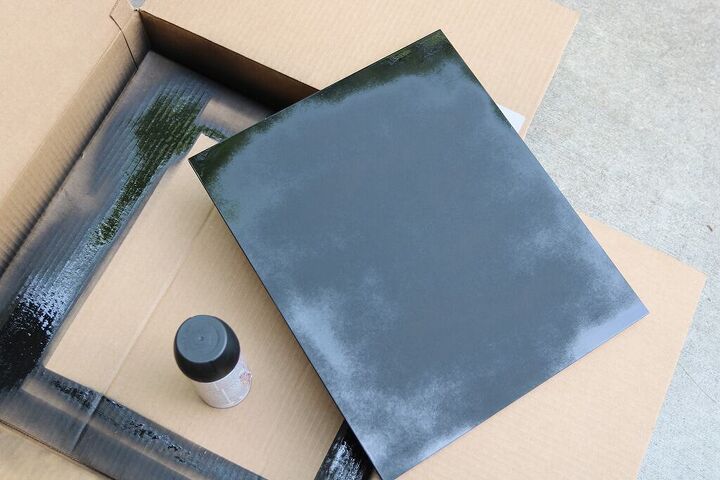
You can order your board pre-painted, but I wanted a natural one so I could spray it with a couple coats of my black chalkboard spray paint.
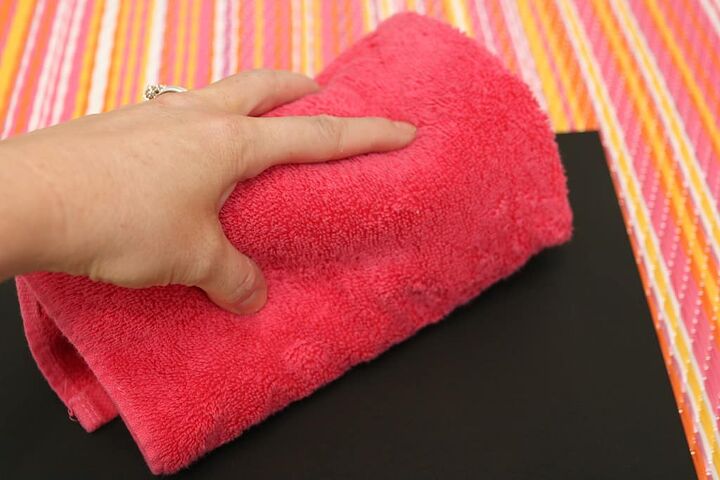
Once the paint dries it’s time to move onto applying the lettering, but first you’ll want to clean your board so the vinyl will stick.
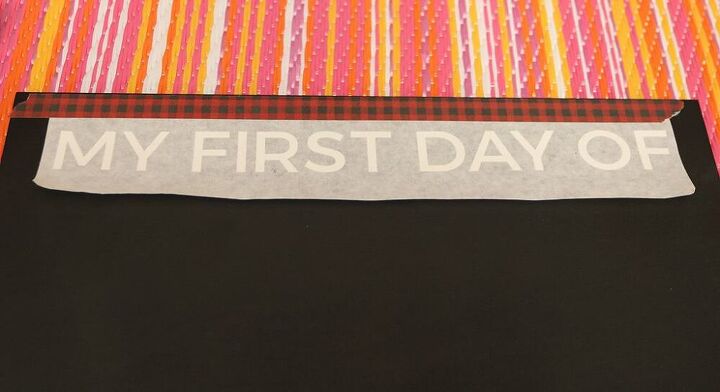
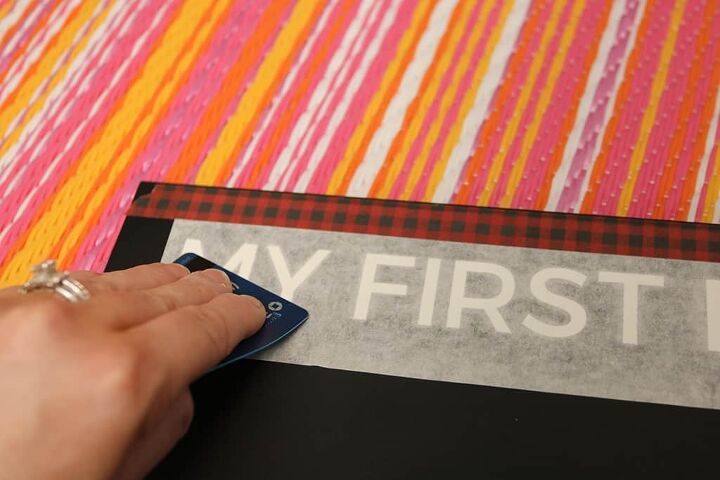
Time to apply the vinyl! CraftCuts gives you an easy instruction sheet that explains the perfect way to install their vinyl. All you need is some of your washi tape and a credit card or hard squeegee.
TIP: If you prefer you can also just use your chalk markers and skip the vinyl part. I like the look of the combination and the fact that the lettering will be consistent for future years, but just a personal preference.
Tape your lettering in place centered on your board. You’ll only need to tape the top part onto your board.
Flip up and remove the waxy backing and carefully hold the masking taut just above the surface and slowly apply to the surface. Rub the masking with your fingers to apply the letters to the surface of your board.
Gently yet firmly apply your credit card, squeegee, or similar to stick the letters to the surface.
Once you’ve firmly adhered the vinyl to your board, you’ll want to slowly remove the top mask layer at a sharp angle. If a letter happens to come up with it, simply smooth it back down and press the letter against the surface.
Slowly pulling from the top down worked very well for me.
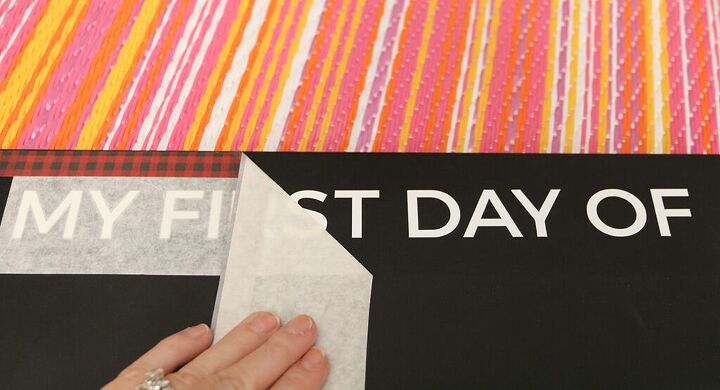
Pull the entire mask layer off and the vinyl application is complete. Easy right?

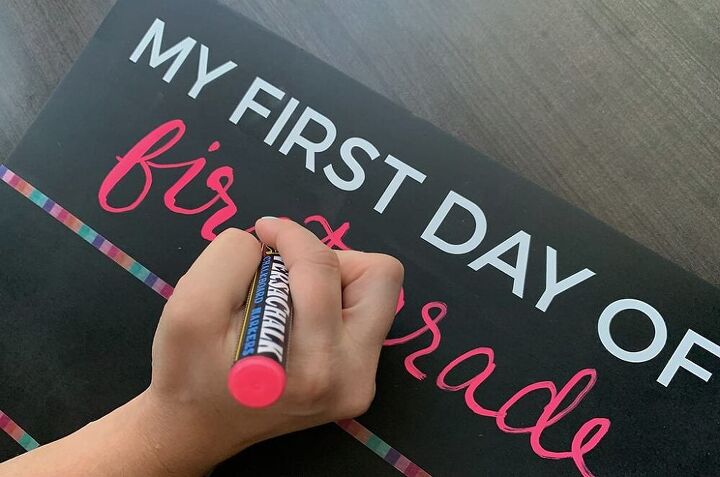
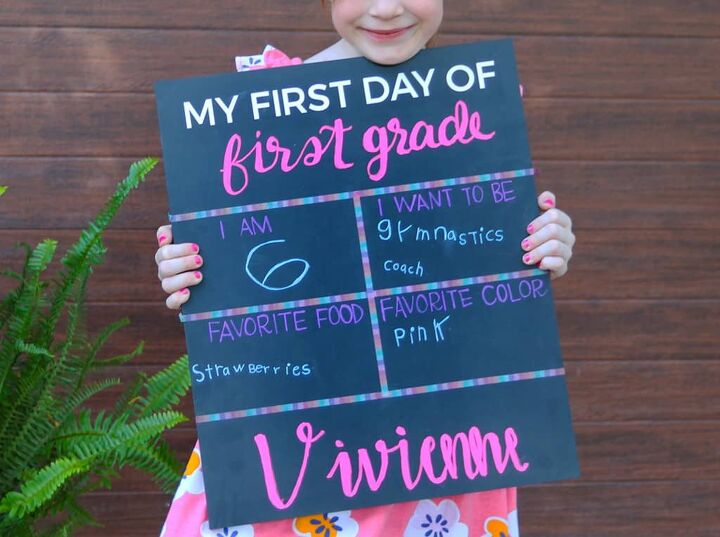
It’s now time to use your chalk marker to write the grade level under the vinyl. I asked my talented friend Susana Branum from DiscoverNovelGoods.com to do the lettering since she is so good at it. It pays to have talented friends! :)
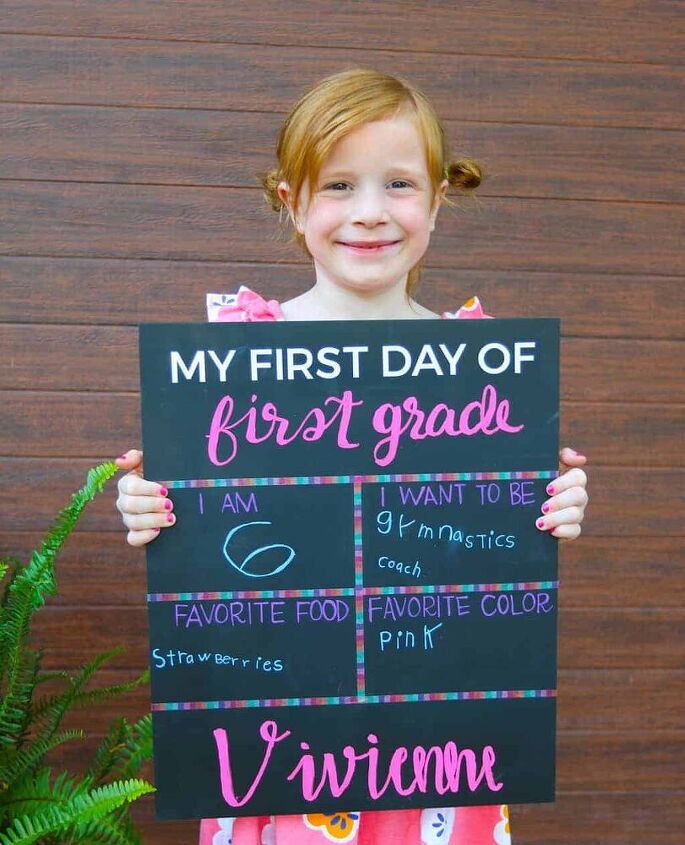
Want even more personalization? I wanted my daughter, Vivienne’s name in the same lettering at the bottom of the board to personalize it a bit more, but you can skip this step if you wish.
Grab your washi tape (or any tape you have on hand) and tape off to create four sections, which provide space to add some of her favorite things. I always think it’s fun to see what kids want to be when they grow up and how it changes over the years. So cute!
I used my fine chalk markers to write in this section and had Viv fill the answers in—I just adore little kid handwriting.
That’s it—you now have your very own DIY homemade back to school sign that you can use every year moving forward!
I really enjoy working with CraftCuts products, which are very high quality. I recently used their wooden lettering to make a DIY holiday marquee sign, which I love!
Don’t forget to use code OHSOLOVELY10 for 10% off your order at CraftCuts!
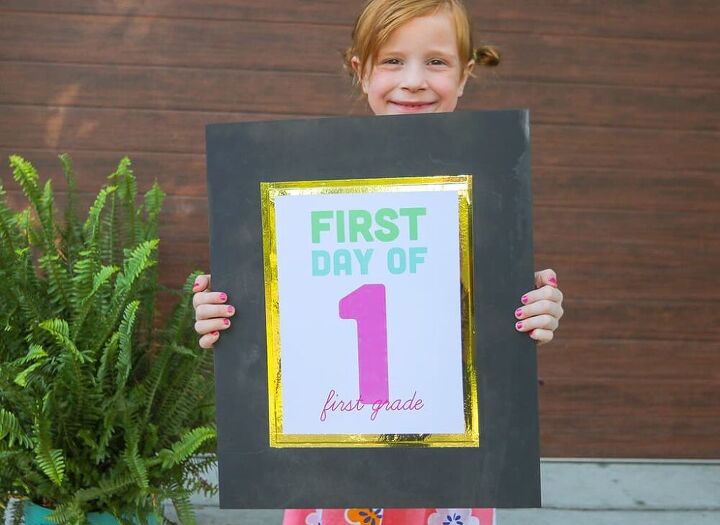
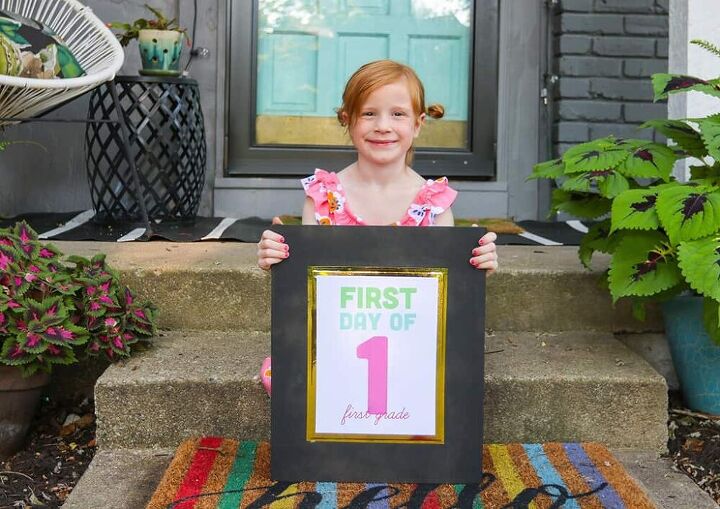
Now let’s take a look at option two—free printable first day of school signs!
This is an even easier option if you’re not feeling as crafty—all you need is access to a color printer and some paper. Or you could even add to your ipad and just hold up a digital sign. :)
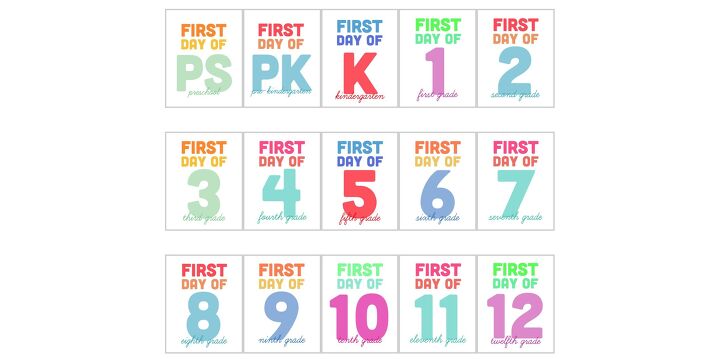
I designed free letter sized printable first day of school signs for each grade level from preschool through twelfth grade. I even provided seven different color combos, which can work for a girl or a boy. So many options!
Here’s a look at some of the color options I designed—all seven color options are provided for each grade level.
Download your free printable signs on my blog here.
I recommend printing these on a heavier, smooth card stock paper.
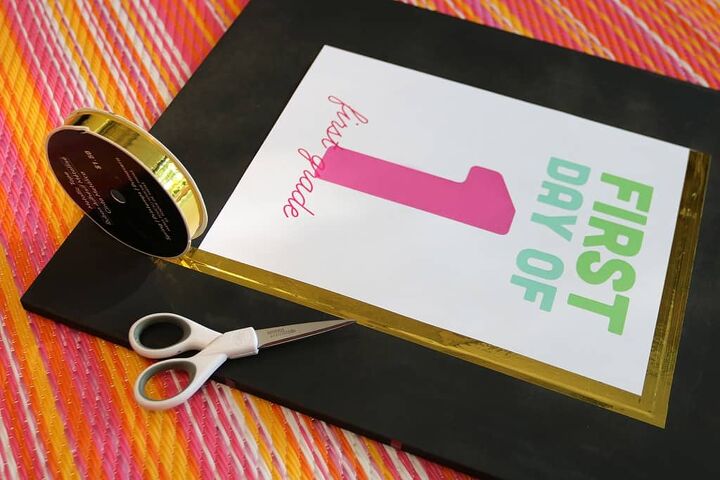
I used the back side of the DIY board to mount my printable sign on. I used the same gold dollar store tape around all edges, but you can tape just the back side if you prefer. You could even use photo corners for a more clean look. Whatever you prefer!
Super easy right? Do you have a favorite option? I can’t decide and will just use both, ha!
I really enjoy seeing your craft projects out there in the wild and greatly appreciate it when you tag me in your Insta, Twitter, or Facebook photos, and I’m always so very thankful when you Pin my work as well
Resources for this project:
See all materials


Frequently asked questions
Have a question about this project?