


How to Make a God’s Eye Craft With Embroidery Floss
This is one of the most popular crafts done each year at summer camps, birthday parties and in schools. It is fun because it is simple once you get the hang of the weaving – and then can be a tad addictive. I love this as a project in the summer boredom buster box because it only takes to materials to be successful. The greatest thing about this version is the use of the Anchor embroidery floss on spools. They are such a GAME CHANGER because the floss never gets tangled. I can’t wait to show you the step by step process of How to Make a God’s Eye Craft with Embroidery Floss.
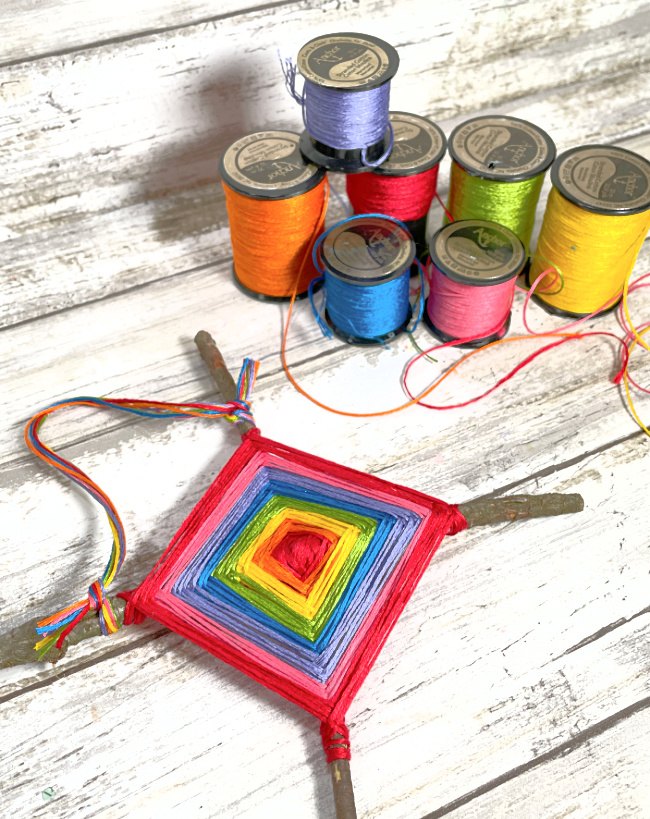
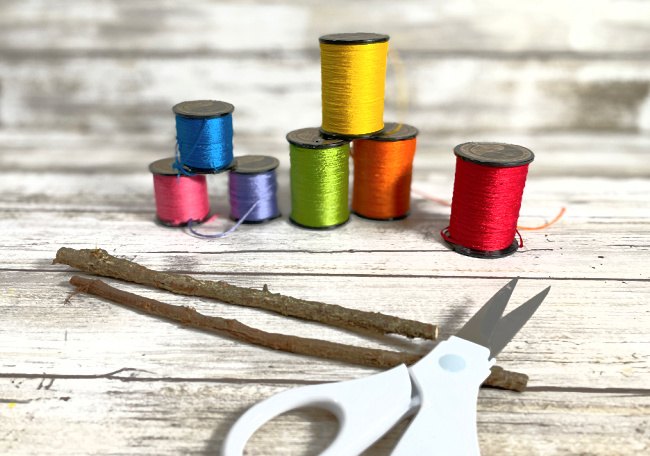
Supplies Needed
- Anchor Embroidery Floss in Variety of Color Choices
- Scissors
- 2 Sticks
There are so many options when it comes to the sticks that you can use. When we are camping, we make these with sticks from the trees. However, you can also use craft sticks, coffee stir sticks, chop sticks or even skewers.
For the colors in your masterpiece, use whatever makes you happy. The directions explain how to change colors throughout the making process so use as few or as many as you like.
What is a God’s Eye Ornament
God’s eye ornaments were originally made by the Huichol. They are the indigenous people of what’s now western Mexico. They were made to put on everything from ceremonial shields to doors and spiritual alters. When the Spanish colonists arrived in that region in the 1500s, these woven charms of yarn on sticks got the name that defines them today.
The four points of the “eye” were believed to represent the four elements (fire, earth, air, and water), while the center of it was like a portal between the spiritual world and the mortal world. Not only could the gods see through the eye and watch over their worshippers, but worshippers could use the eye to seek help or protection from the gods too.
To get started on your ornament, cross two sticks of the same length to form an “X”.
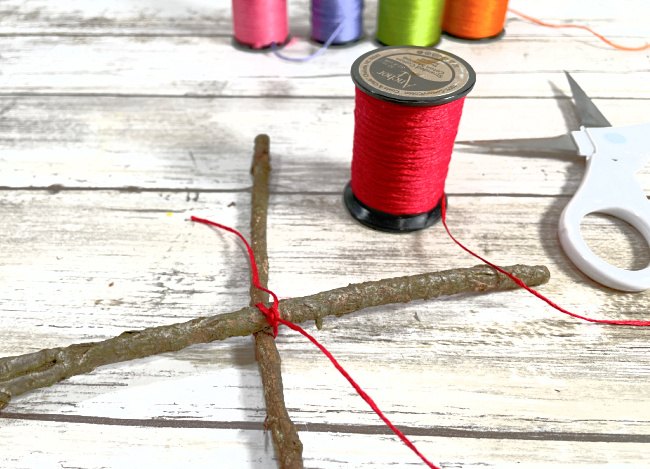
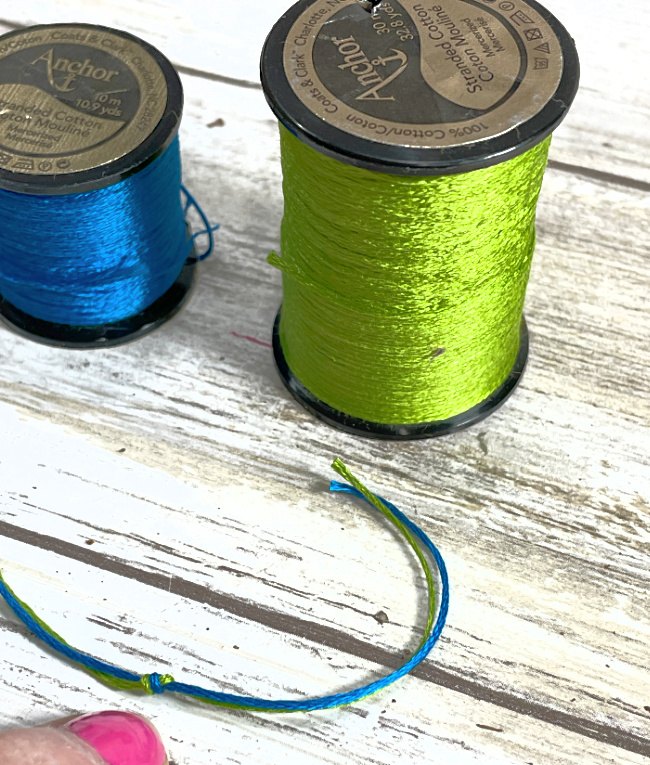
To hold the sticks in place and create a secure base, wrap a piece of embroidery floss around the intersection and knot it. Do not cut it. This will be your first color.
Step Two
Create a few wraps in one direction, and then rotate your sticks, and do a few wraps in the other direction to ensure your sticks are stable, and won’t shift. Do not cut the embroidery floss.
This is the winding step and for sure the most fun. It might take a few tries to get the hang of it and that is okay.
Keep the EMBROIDERY Floss on the spool. Wrap your embroidery floss around one stick, close to the center of the God’s eye, and take it over to the next stick. Wrap it around that stick, and take it to the next stick. Continue wrapping and winding, twisting and rotating your God’s Eye craft as you work. It doesn’t matter if you wrap OVER or UNDER the sticks – just be consistent.
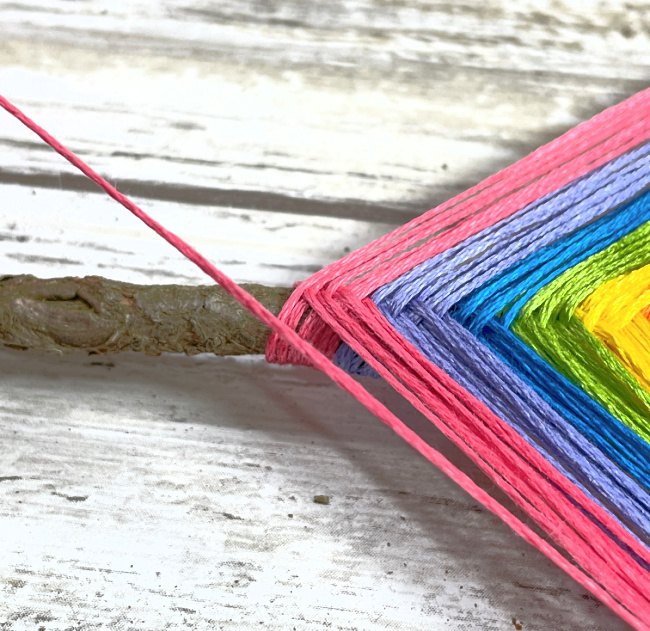
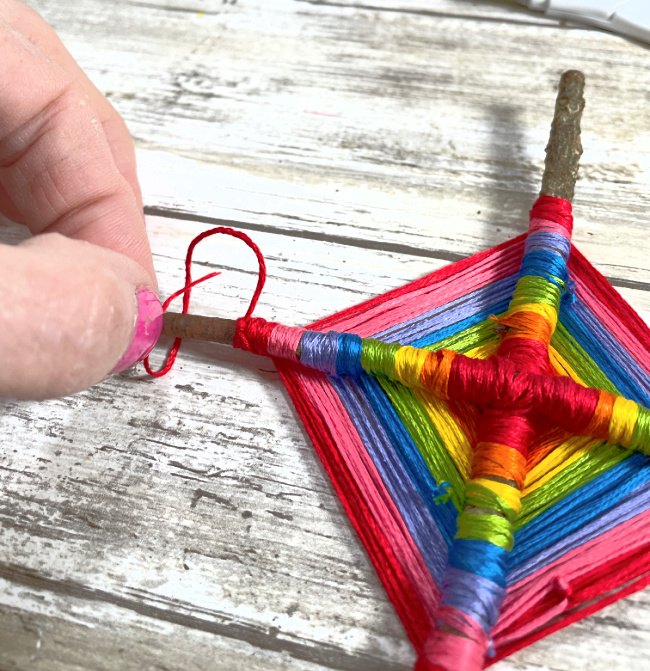
If you want to change colors, tie the new color to the old color in a knot and cut the old color off. Keep going in the same consistent manner as you have been. This is the trick to a good looking outcome, the consistency. Try to get the knots tied on the BACK side of your ornament.
Wrap until you feel complete with your creation then cut the last color of embroidery floss and tie it off in a knot.
Step Five
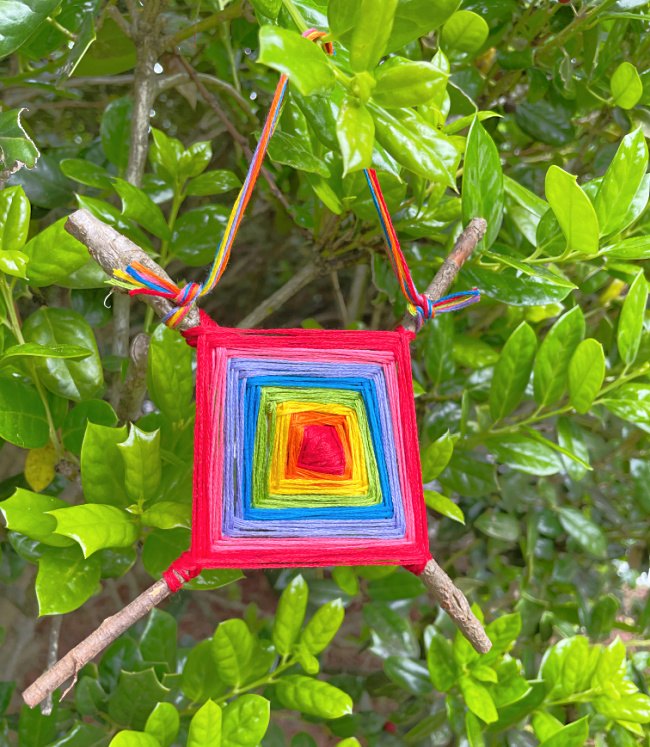
Tie a long piece of embroidery floss through the ornament to create a hanger. This could be single stranded or several strands braided together.
ANCHOR EMBROIDERY FLOSS SPOOLS:
No more tangled skeins- floss stays neat and tidy with the new Anchor® Embroidery Floss Spools. The floss rolls smoothly off the spool and doesn’t tangle or knot when pulling out a length to work with. Storage is neat and tidy with spools, no more piles of tangled floss.
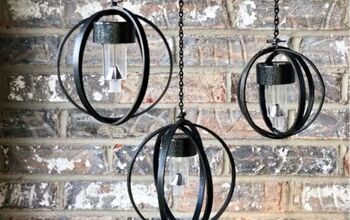
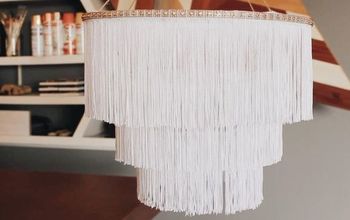
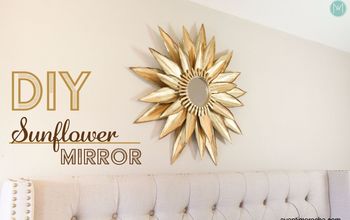
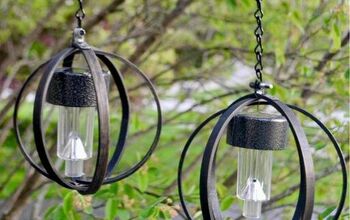
I love this embroidery floss because it doesn’t tangle which makes crafting so much more fun! Now that you know how to make a god’s eye, here are three more fun projects I made using it that are here on the blog for you.
I am going to say this again. Crafting is just a great idea. It is proven that crafting can be really good for mental and emotional health. Studies show that making and crafting can lower anxiety. Another benefit to crafting is that it creates connection. When we make things and give them to others, we spread kindness and love. Here are my top ten reasons to craft with kids, and I mean kids of all ages.
- Mental Health Benefits – Crafting puts me in a good mood.
- Self Expression – Crafting allows me to express myself.
- Education and Growth – I learn new skills by making things.
- Connection – Crafting connects me others through workshops, classes and gifting.
- Decor – Through making and crafting, I can totally customize every aspect of my decor.
- Gift Giving – Gifts is totally my love language. I love to make handmade gifts.
- Offline Time – Crafting keeps me off of my phone and social media. We all know this can be beneficial.
- Income – Because I craft and sell items that I make, I have an additional income source.
- Fun – I like to have fun and to me, making things is fun.
- Socializing – Attending events where crafting is a part gets me out and around others with like minds.
Too busy to make this right away?! Pin it for later! Pin this project to your favorite craft board on Pinterest and it’ll be waiting for you when you’re ready.

This post contains affiliate links.
Cheers and Love to Learning How to Make a God’s Eye!
Laura

Comments
Join the conversation
-
Very nice indeed. I enjoyed reading about why you craft and can fully understand thank you for such a lovey project
-
Thank you! :)


Frequently asked questions
Have a question about this project?