


How to Make a Large Wood Sign Look Like Metal
Most large signs or art can cost into the hundreds. I will show you how to make your own for under $15 that you can customize any way you choose. No fancy stencil or imaging software needed.
My goal with this large sign was to achieve a vintage, rusty, nostalgic look to add to the industrial feel in our home gym remodel. I knew I had hit the sweet spot when someone who saw this sign asked if my husband used to own his own gym.
YES!!! That is exactly what I wanted someone to think.
The size of the sign is 48 x 33 inches. I used less than half a sheet of 1/4 inch plywood and I had all the paint and supplies on hand.
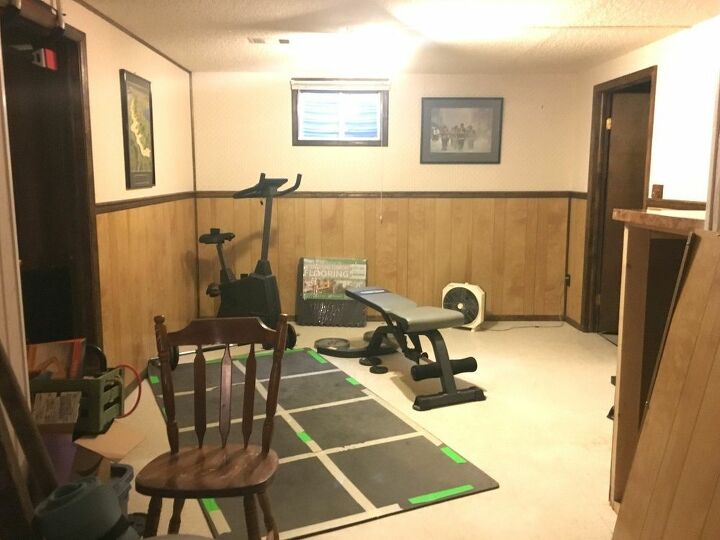
This is what the room looked like before the home gym remodel began. Yikes...I know.
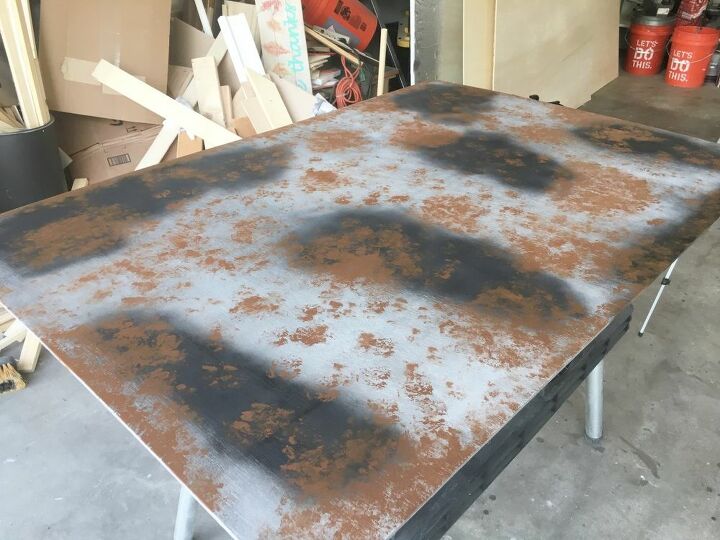
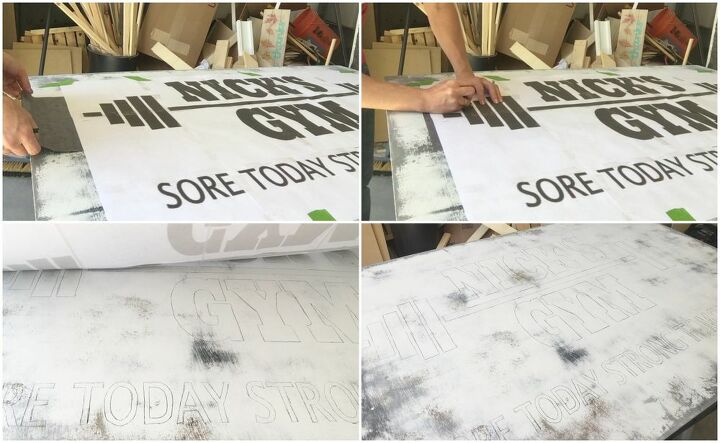
Start out by sanding the top and edges of the sign. Spray paint the whole board and edges with gray hammered spray paint. Next, apply black spray paint in random spots. To add a rusty look use a sea sponge and a rust-colored paint. I used the Earth Fired Red paint that was leftover from my brick stenciled wall. Dip the sponge in the paint, blot off the excess paint on a newspaper then blot it on the wood in random spaces.
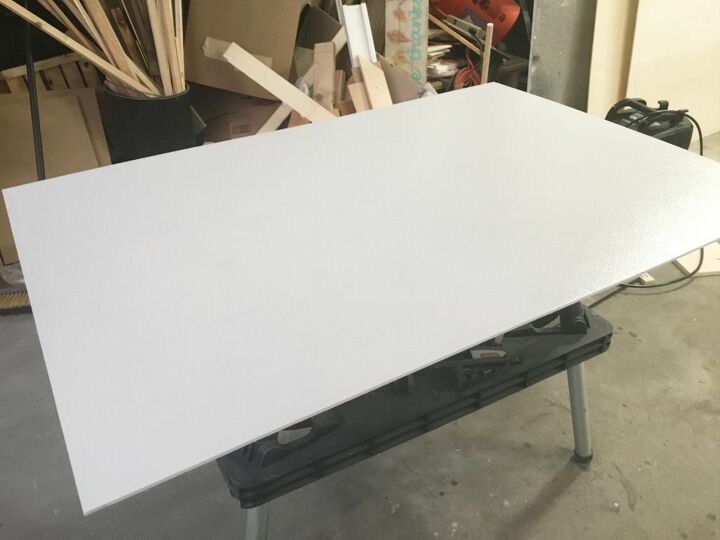
Spray paint the entire sign with a few coats of white spray paint.
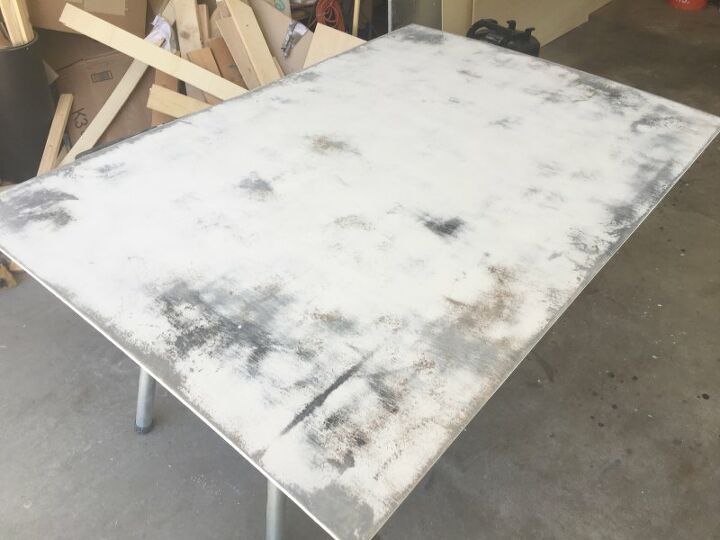
Then sand it in several spots to bring out the previous applied colors.
I created and printed out a large poster size of a graphic I created. After creating the graphic I used Block Poster to increase the size, which ended up being a total of 16 pages. I printed it out, cut the margins off of each page and then taped it together.
Then I centered it and taped it in place on the wood. To transfer the graphic I used my favorite transfer technique using carbon tracing paper. I slid the carbon paper under the graphic and traced the letters with a pencil. The carbon paper transfers really well.
I painted the graphic using black paint and a small paint brush. I sanded the sign all over again to continue with the rustic look.
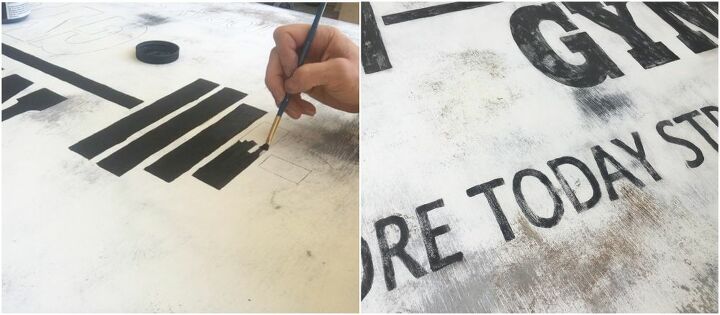
Then I sprayed a few coats of sealer.
To hang the sign I added a piece of scrap to the back using wood glue and hammered in three sawtooth hangers.
Then I hung it up in my new home gym.
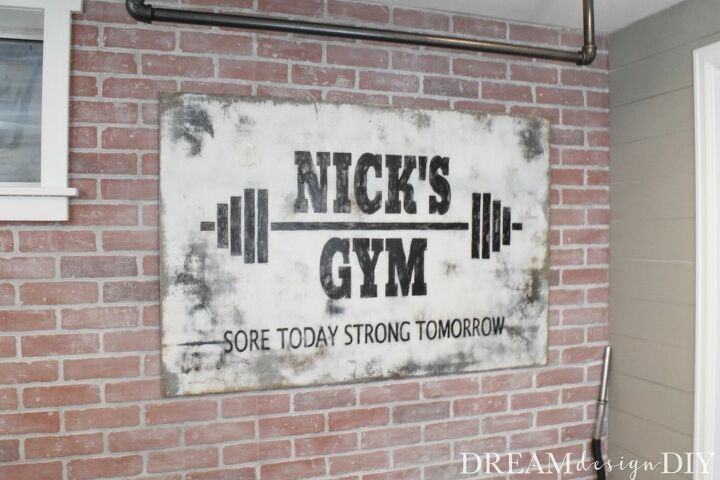
I love how it turned out and it added some character to the room and personalized the space.
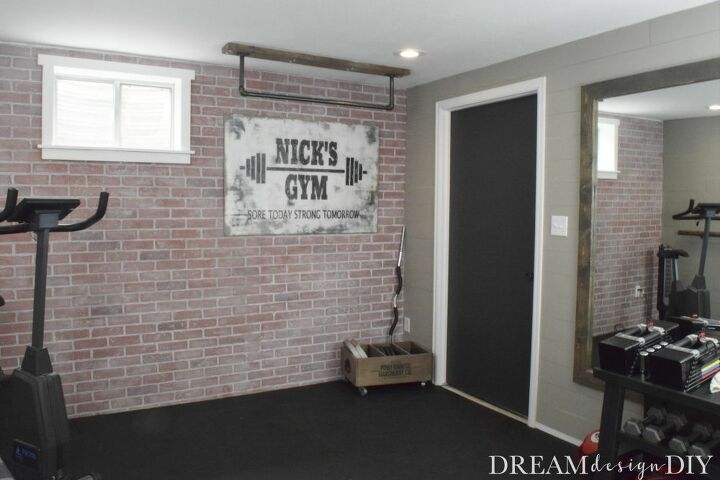
Check out this post on DIY Faux Brick Wall and How to Frame a Large Mirror to see what else we did with the space.
Thanks for reading this post. Come visit me at the link below.
Happy building!
Tiffany
Resources for this project:
See all materials


Frequently asked questions
Have a question about this project?