


How To Make A Reverse Canvas

Reverse canvases are really taken over the DIY world. You have endless possibilities of how to create and design your canvases. Plus they make incredible homemade gifts for loved ones. I am really loving the whole process of making them. I wanted to walk you through and answer questions you might have. You can get this file here or you can make your own.
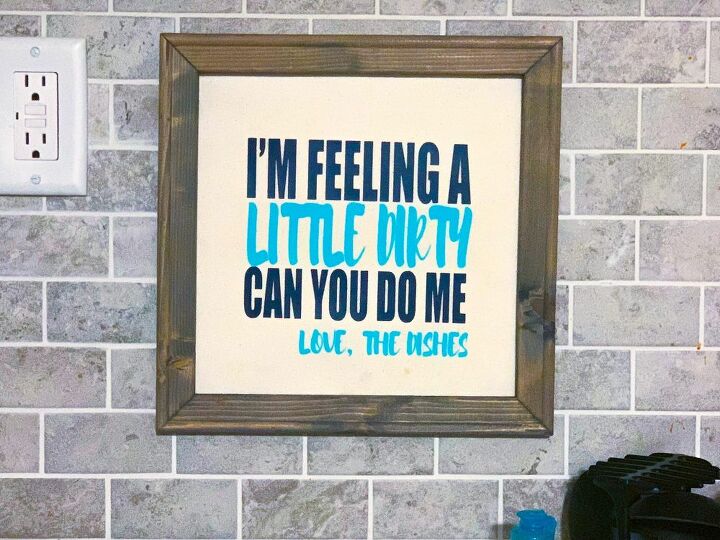
How cute is this kitchen canvas idea, I have done all the work for you in designing and giving you the file free for you to use with your Cricut.
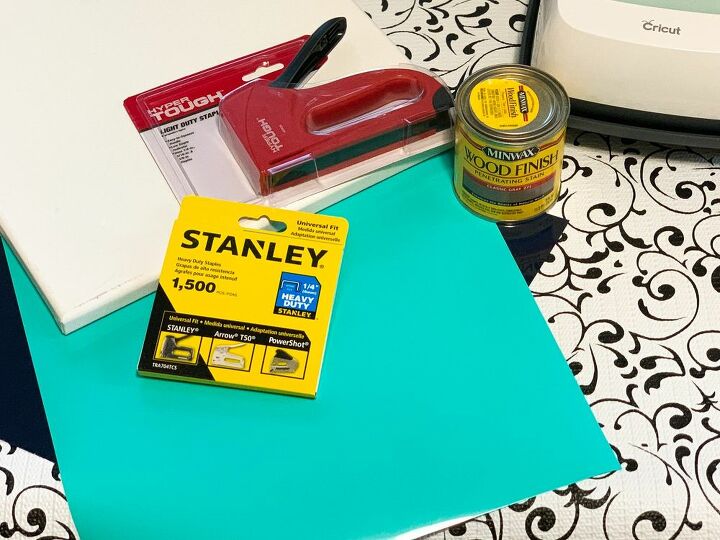
Gather all of your supplies. You can use either paint or stain for this project, you can also replace the staple gun with a glue gun.
I chose a stain that would coordinate with my current kitchen colors. And the same with the heat transfer vinyl I chose.
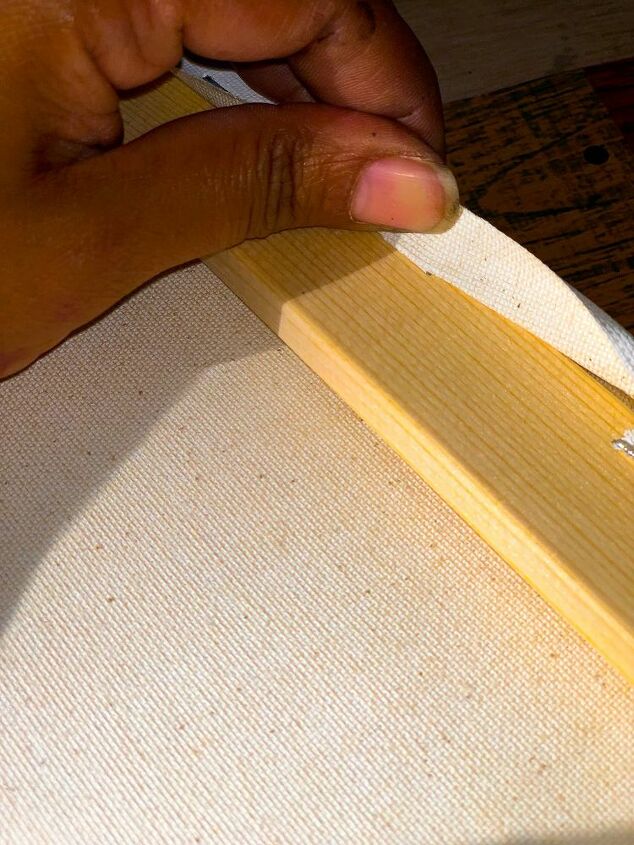
Remove the canvas from the wood frame, either pry the staples out or simply pull off the canvas. Then cut around the canvas making a square. I didn't want to fuss with prying, I tried and it wasn't as easy as I thought it might be.
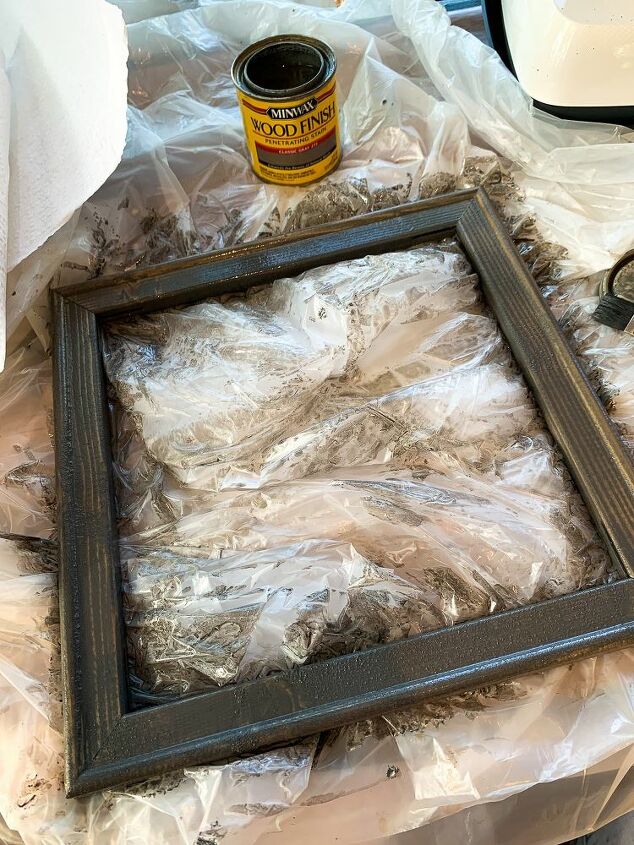
Stain the inner wood frame with a stain color of your choice. I chose a gray wood stain because it matched my kitchen.
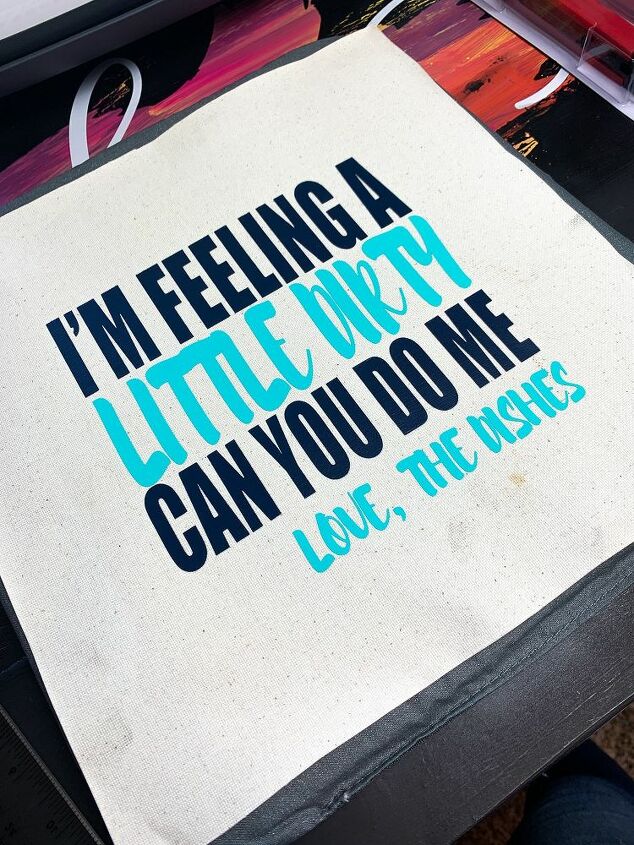
Press heat transfer vinyl onto the canvas using my design found here, or create your own.
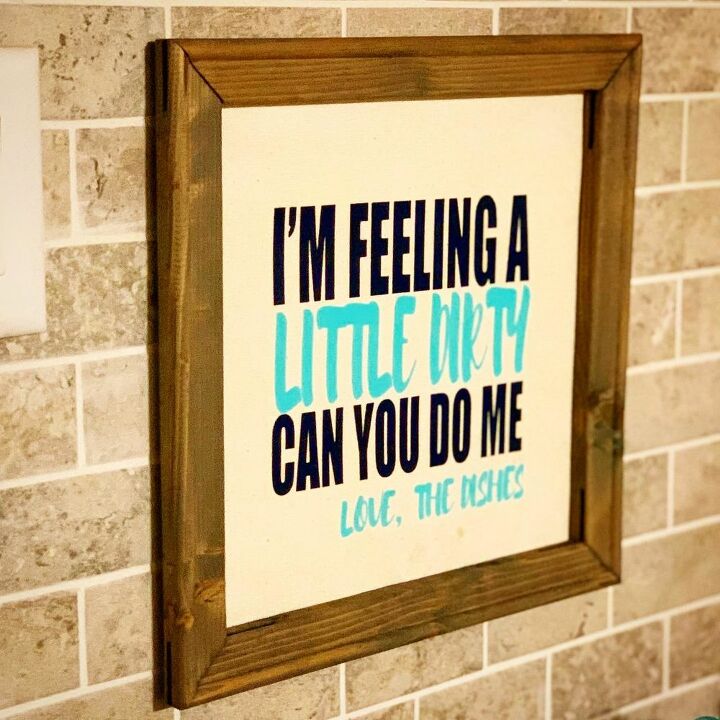
This sign makes an amazing conversation piece, wether it hangs inside your home or if you decide to give it as a gift.


Comments
Join the conversation
-
this tutorial is great! And that print is hilarious!


Frequently asked questions
Have a question about this project?