


How to Reframe Custom Artwork

Have a custom framed piece of art that is still a nice frame but needs a new look? Try re-framing it yourself with a couple easy steps.
If you've followed along with my posts and have read them, you know I do not like to spend money...it is kinda weird considering I have done interior design for the past 16 years and I hate spending money and I hate shopping! I think I went into the wrong field!
I was arranging around my daughter's room since we just sold the last of the baby stuff and got rid of the crib after 12 years of use. I was updating her baby room into a little girls room and I needed some artwork.
Artwork can be soooooooo expensive! Especially, if you go with a theme that will be changed out after a year anyway.
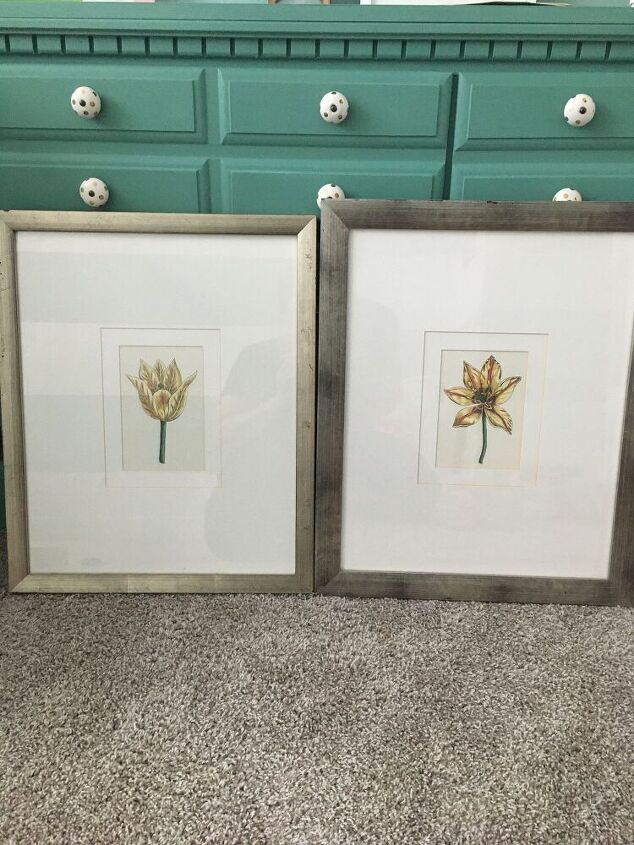
These two flower photos I had picked up years ago at our annual home builder yard sale. I use to stage model homes and once a year our company would sale all the furniture and accessories for next to nothing. I usually picked up artwork and decor and rotated them around my house. These flowers have floated to many areas of my house and were in a box in the closet when I was looking for artwork for my girl's room.
They seemed a little too mature for a 2 year old and I had some really cute 8x10 flash cards from Pottery Barn sitting in a closet that I wanted to use.
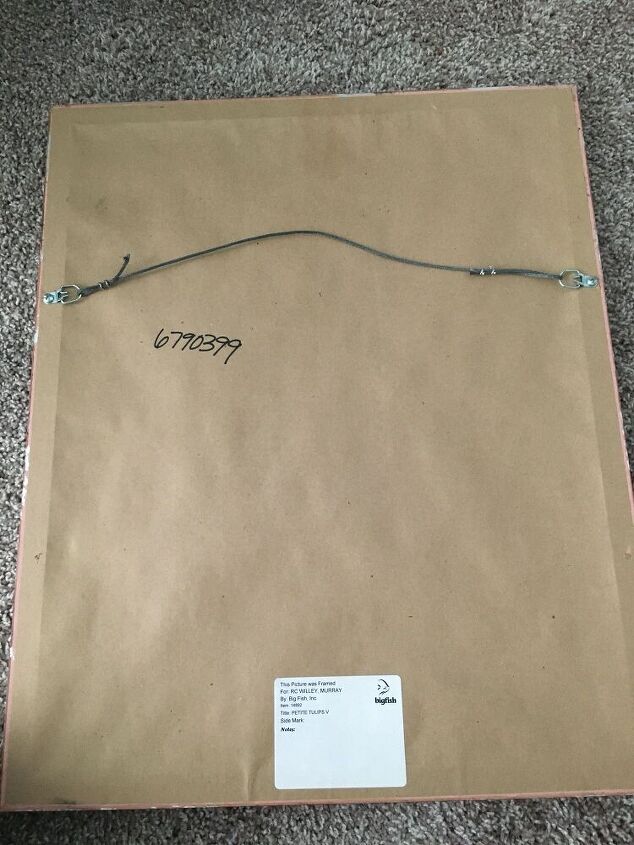
First step, is flip over the art and use an exacto knife and cut off the paper backing.
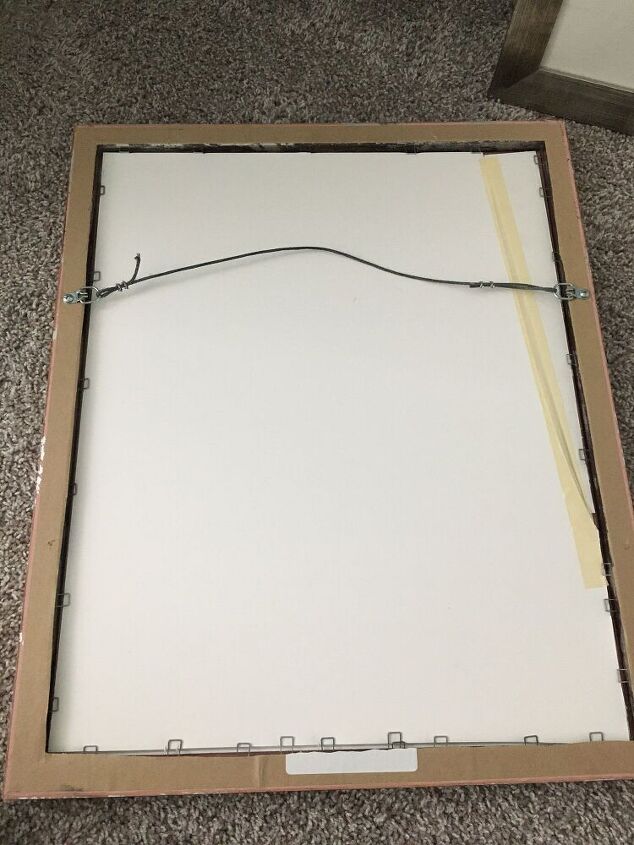
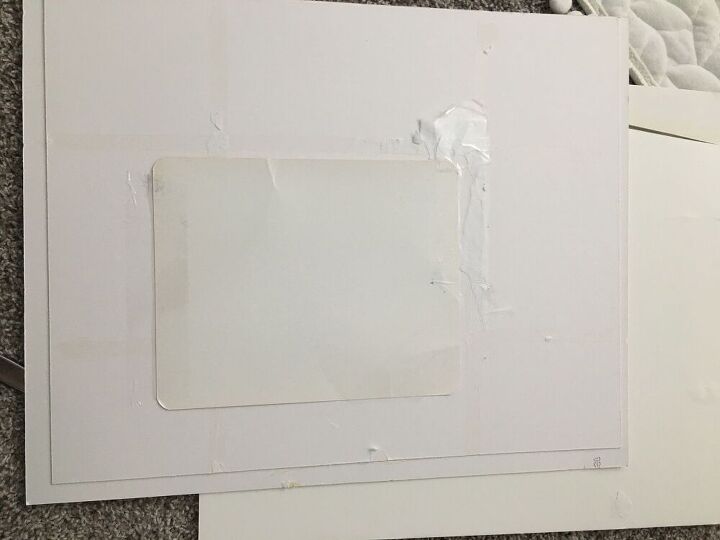
Once the back is off it will look like this. It will have a foam core backing.

Use a butter knife and pull up the staples holding down the art.
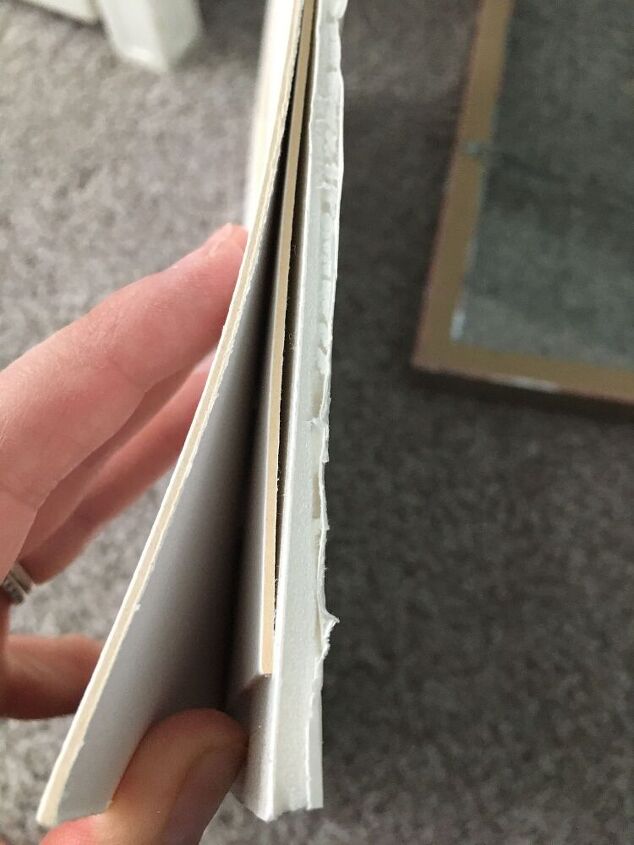
Once you get the foam core out, it will be glued to the matte. In my case, my art had a double matte so I only had to remove the one closest to the back foam. Since it was sprayed with glue I had to use that butter knife and slide it between the matte and the foam board and pry it off in a couple of places. Be sure to be gentle, since I did tear my matte a little in the corner trying to separate it.
I removed the flower photo which was just a print taken from a book and framed. I centered my bird print in the 5x7 opening and taped the back.

Check to make sure the photo is placed where you want it and put it back in the frame.
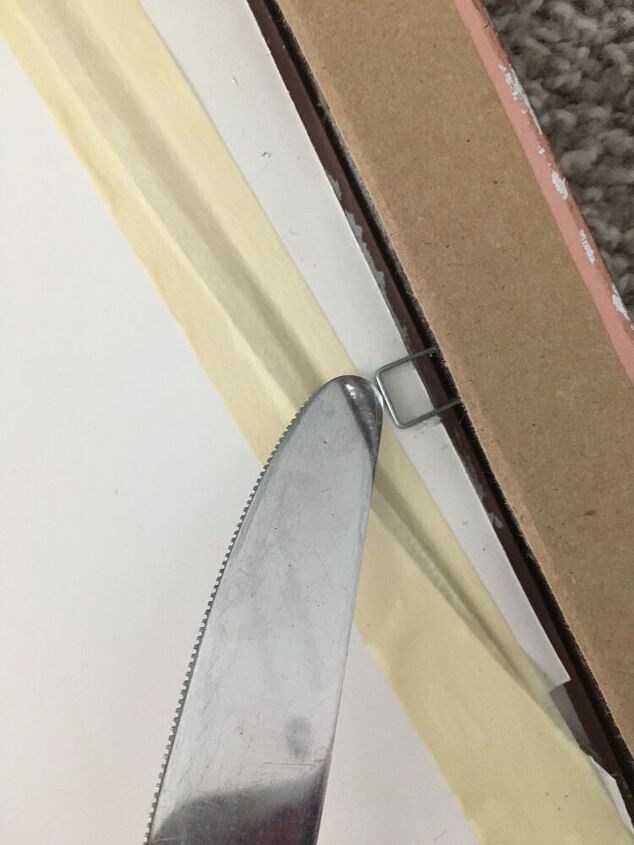
Use your butter knife again to push down the staples against the foam board to hold it in place.

I just reused my paper backing I cut off and taped it back on with moving tape. If you have craft paper you could use a fresh piece and put it back to cover it up so it looks more professionally framed.
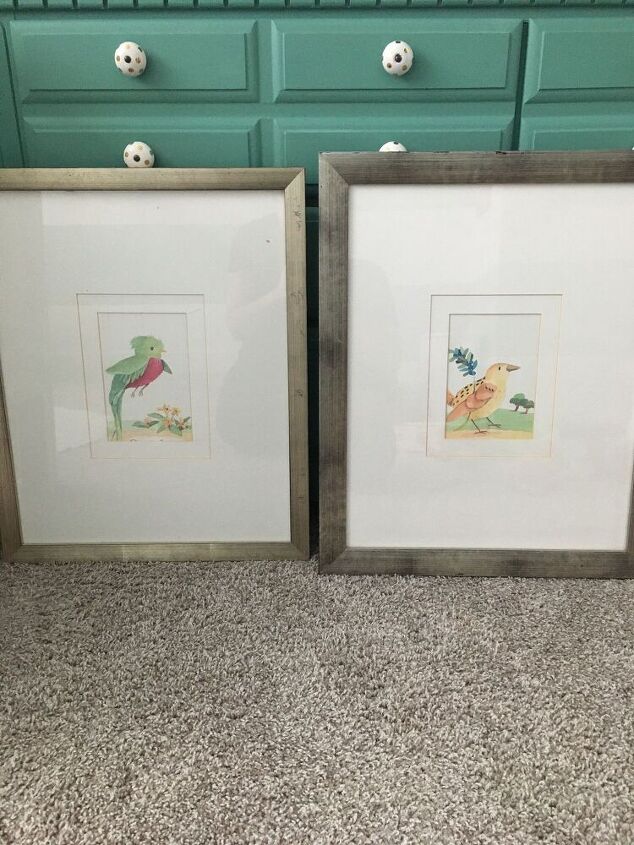
And that is it! Cute little bird prints fit a two year old.
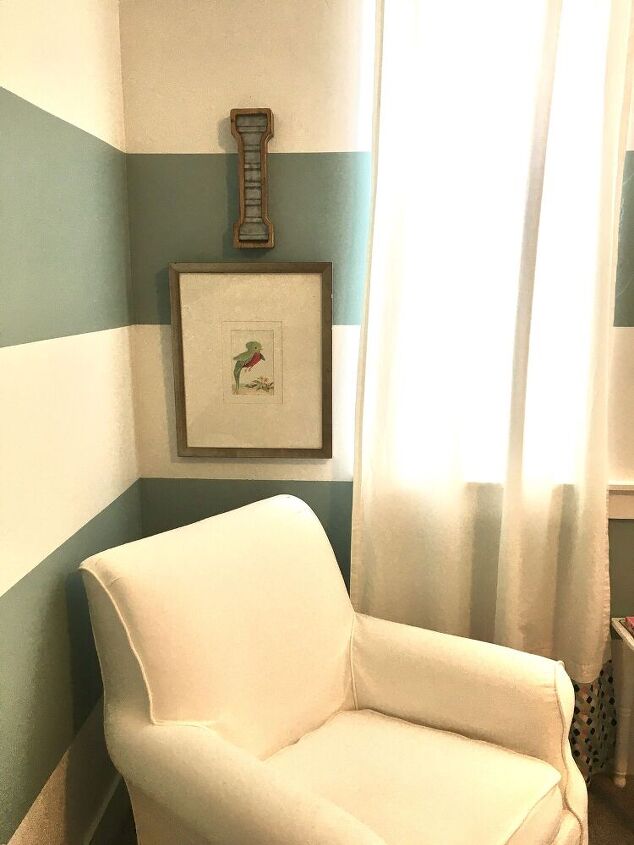
I put one by the window with that letter I I found at a thrift store for $2.
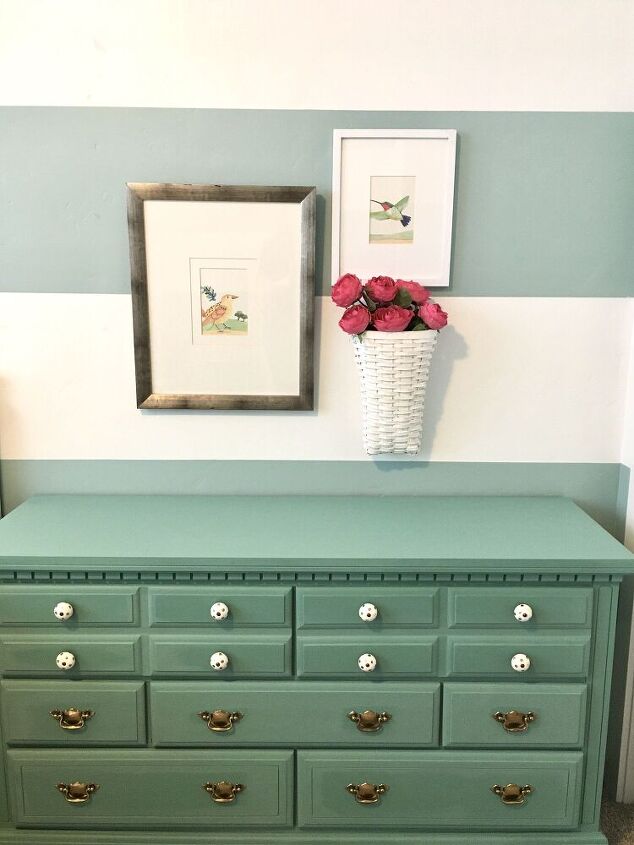
I grouped the other bird photo above the dresser I painted - check out my green with envy dresser post to see that before and after along with another frame I had lying around I put another flash card in and that little basket of flowers my mom got me for Mother's Day. Not much spent and I think this theme will grow with her.


Frequently asked questions
Have a question about this project?