


How To Style And Hang Baskets On The Wall

Whether your baskets are homemade or store bought these simple steps will make hanging them much easier. Sharing my tips on arranging the baskets and how to hang a basket on a wall.
To begin hanging baskets on the wall you will need a few supplies like hammer, nails and tape measure.
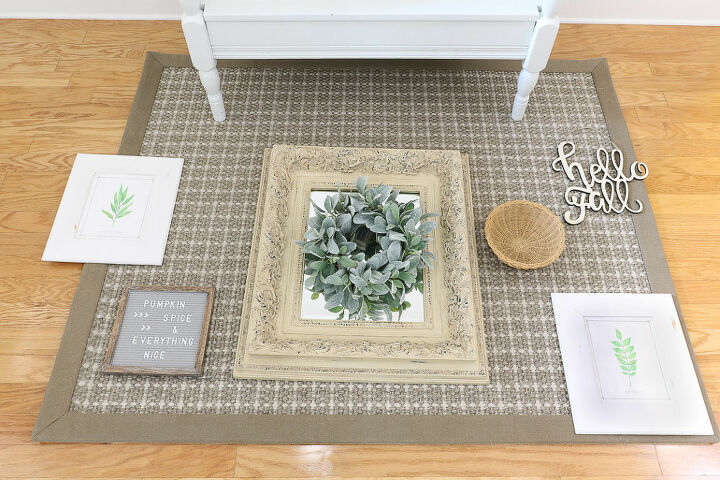
Your next step is to lay out your baskets on the floor in front of where you want them to hang. This photo is another project post where I talk .
Follow these simple steps to plan out your baskets on the floor.
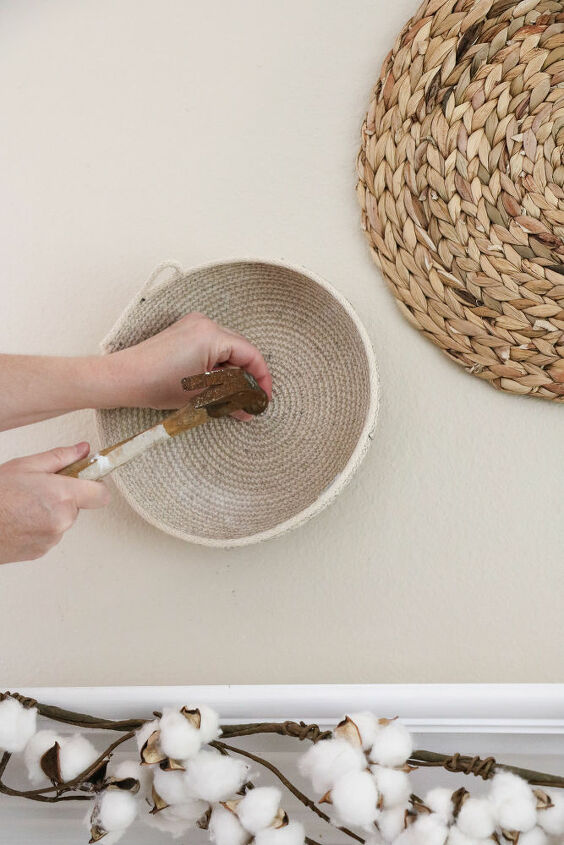
Next simply start on one end and bring that basket to the wall.

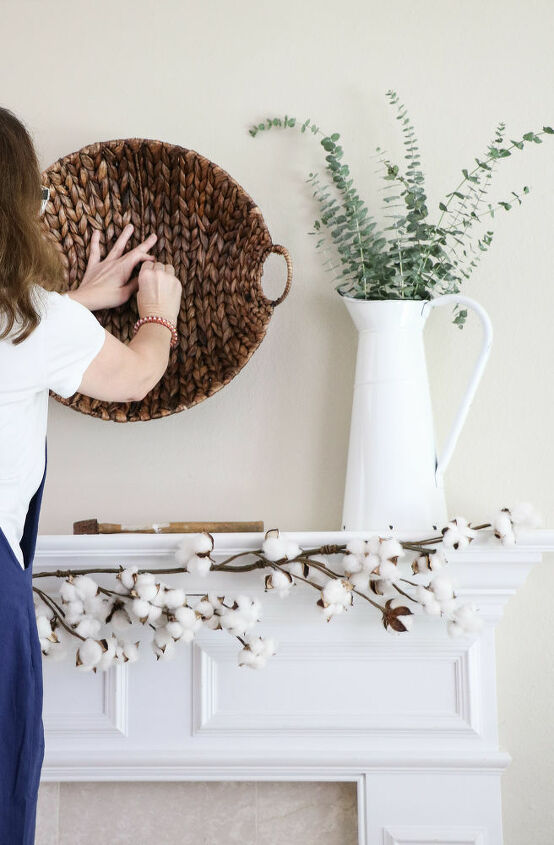
Then take a small nail and hammer and drive the nail into the basket and into the wall.
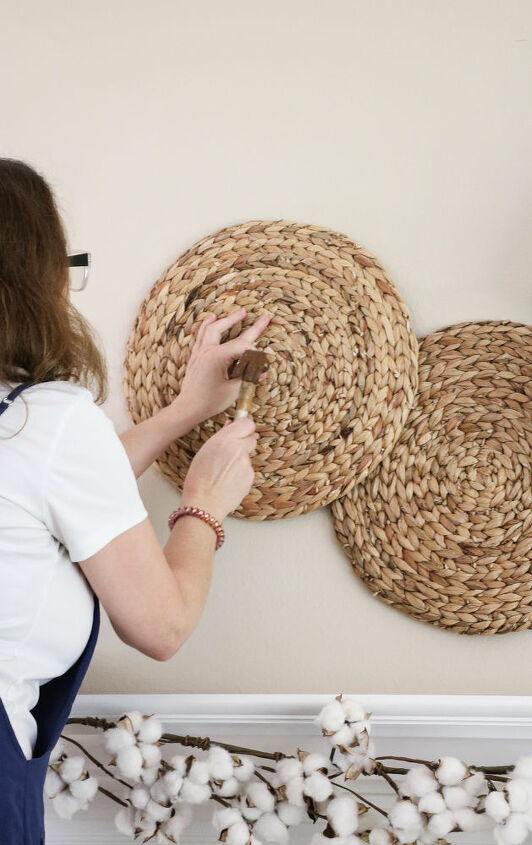
Now let's go to the next basket. Just like the first one you will use a nail and hammer to drive the basket snug into the wall. I like to overlap some of the baskets and place others away from the basket ensemble.
If you have some overlapping baskets make sure they lay nicely. It doesn't look good if they are hanging up on the wall in a crazy fashion.
Next keep moving the baskets along the wall making sure you stay within boundaries you have set.
For my fireplace I knew the end of the fireplace was my stopping point. I usually have a good feel for how far apart I can carry my art or baskets. This room is no different.
However, if you are a first timer at hanging art and baskets start with the furtherest basket on the right and then put the next basket on the far left. Then build your design in between.

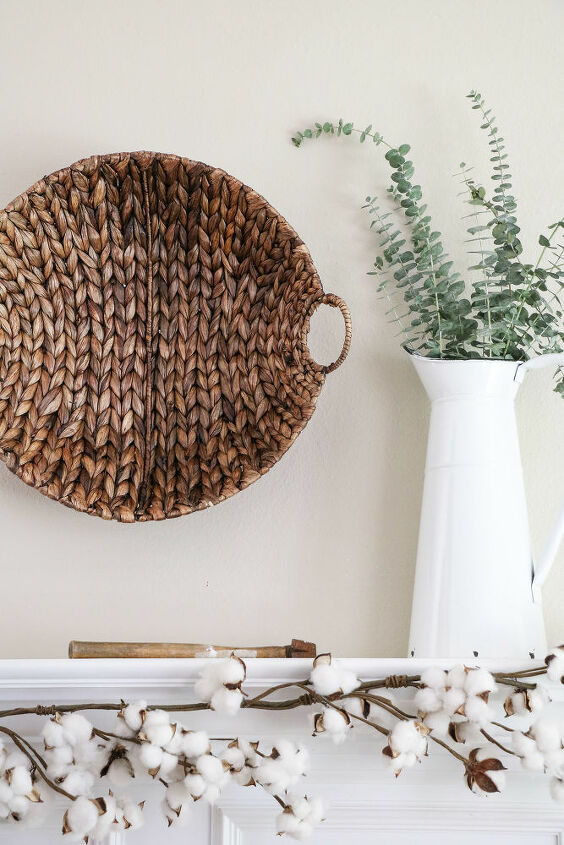
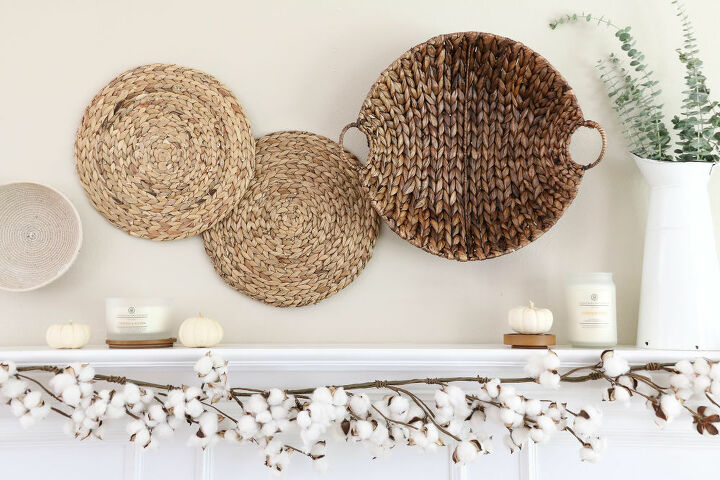
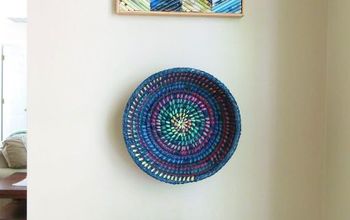
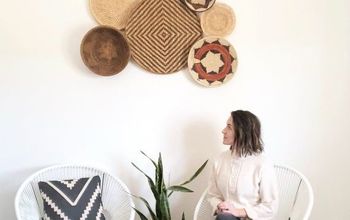
And here is the finished project of the hanging baskets.
It is good to use different textures and colors. I have a variety from white to dark brown.
Next let's add some decorations.
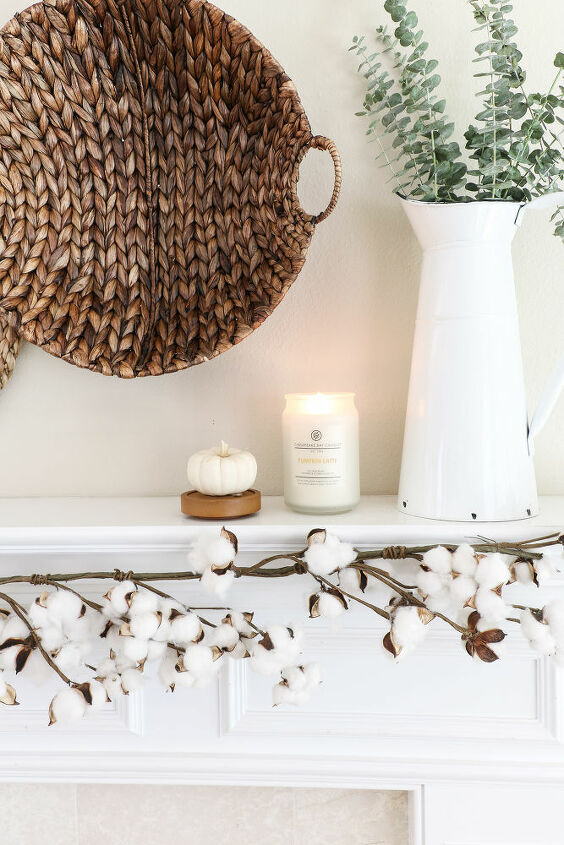
Add an old watering can or pitcher to one end of the fireplace.
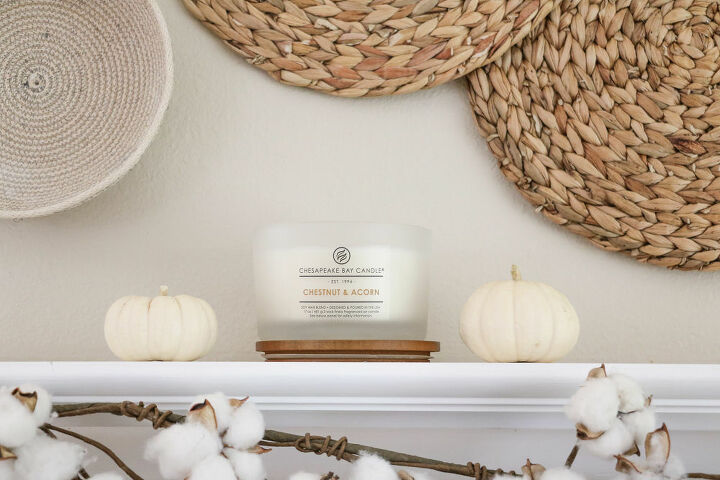
Then add some candles and mini pumpkins to the mantle. The candles give the fireplace a warm glow and who doesn't love mini pumpkins?
And we are all done!! can you believe it? For more tips on fall decorating check out my post at
Resources for this project:
See all materials


Comments
Join the conversation
-
It's funny how this has come back again..Did this when I was first married cause money was tight.. Very pretty.
-
Very nice, love it!


Frequently asked questions
Have a question about this project?