


Industrial Shelving With Wood Brackets
3 Materials
$100
2 Days
Easy
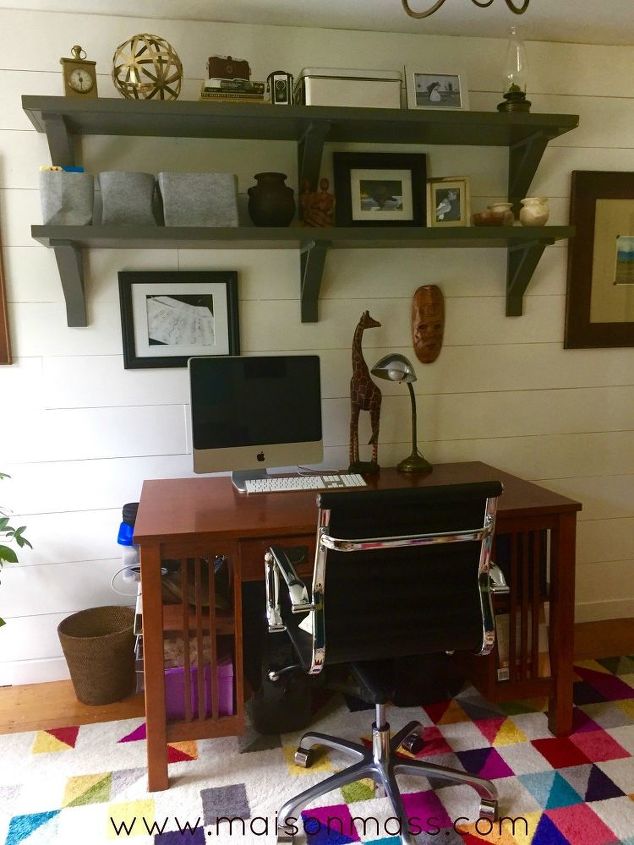
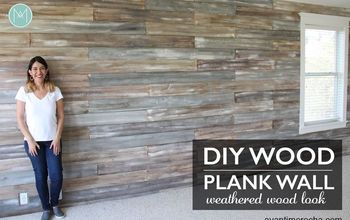
Having just created a feature plank wall in our office, my husband and I decided it needed some shelving. We wanted something substantial, to break up the white wall it would sit on. We decided on bracketed, industrial looking shelves.
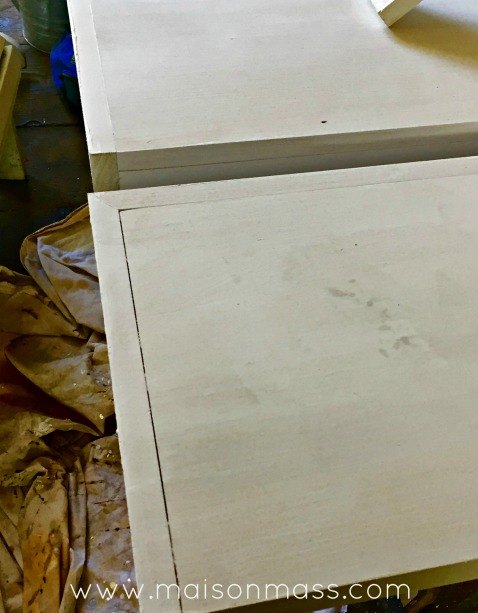
My husband glued and nailed two slabs of poplar wood together to achieve the thickness he was after - 1.5 inches. He then trimmed the sides and front (those that would be visible) with poplar trim. Enter: envied skills. He then mitered the corners for the finished look.
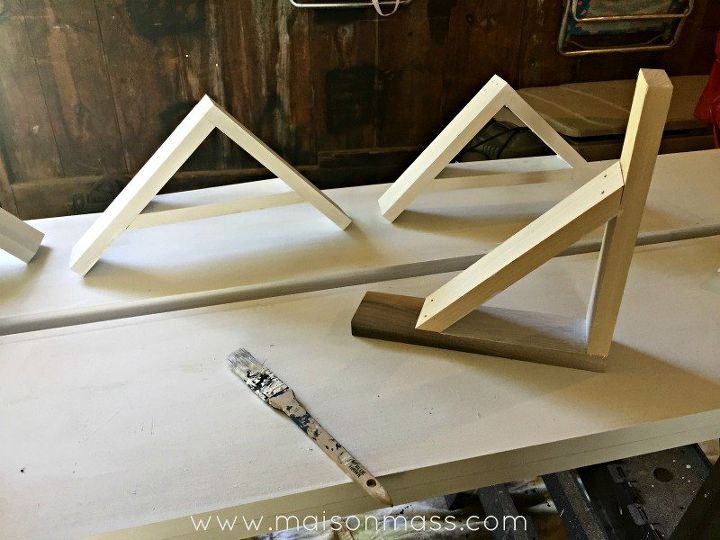
We had only too-recently built and installed other shelves in our pantry using metal brackets. This time, he envisioned thicker, more substantial brackets which he chose to build from the same poplar. These are a basic bracket design with a 45 degree support. More cutting, gluing and nailing, and then I came along to do the grunt work. I sanded all the pieces lightly, primed them, puttied the nail holes, sanded the putty and then returned to re-prime the puttied areas. The process of priming once and then a second time after puttying holes was recommended to us by an esteemed contractor. You may contest as redundant; your prerogative.
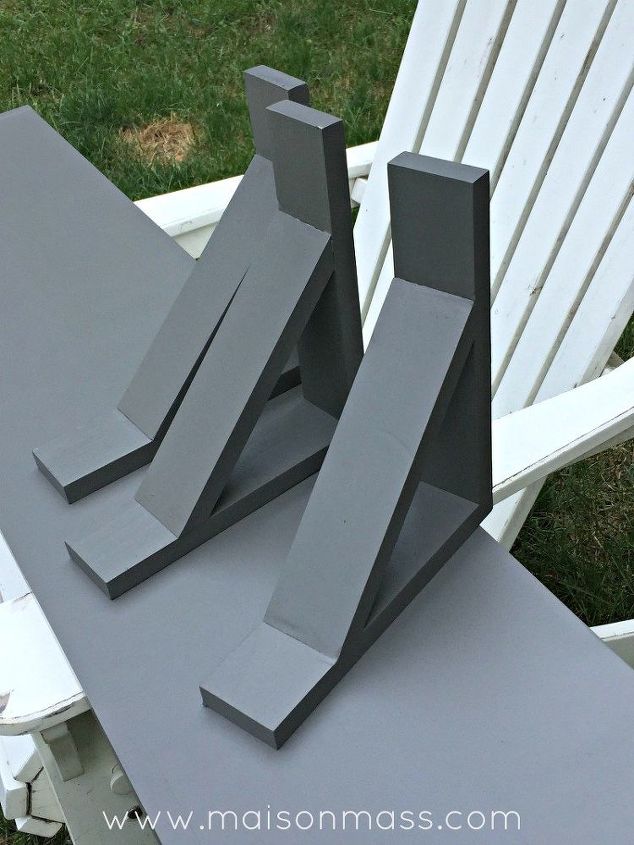
After priming, we painted the shelves and brackets a matte grey. This should have been easier than it was. As you can see the shelves were left to dry outside, except the unrelenting humidity didn't allow that to happen. They continued to stick to everything with which they came in contact. More sanding and touching up. I need a workshop with central air.

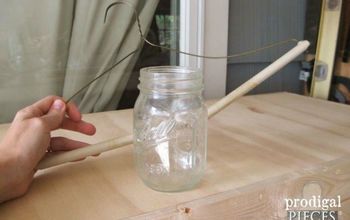
After sufficient curing time, the shelves were hung. Now, I need again to apologize for not photo documenting the next step. My husband will say that I'm aways on him to finish tasks. In this case, he finished the task before I could get in there with a camera. The one and only time that ever happened. In order to ensure the shelves would hold, he used blind shelf supports. There are small metal brackets screwed into the wall, into which steel rods are screwed. After holes are drilled into the back of the shelf (same depth as rod), the shelf is then inserted over those metal rods, into the drilled holes. See above link for more details.
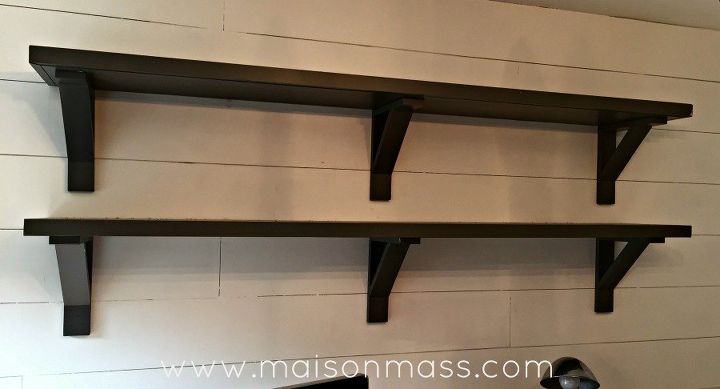
Love the austerity and weight of the heavier, dark shelves. Think they need a little dressing up though.

Want more details about this and other DIY projects? Check out my blog post!
Comments
Join the conversation
3 comments
-
looks great - well done!
-
Fab! Those are just so great! I may want to try that, but may not be able as I stink at miter edges. I want some pretty stylish shelves for my coffee cups. 👌🏼
Tell him great job!


Frequently asked questions
Have a question about this project?