


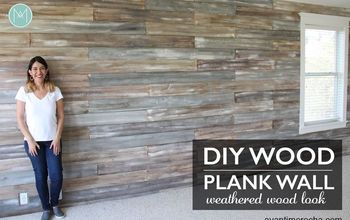
Install Wall Planks (or Shiplap Looking Planks) In Just 2 Hours
2 Materials
$200
2 Hours
Easy
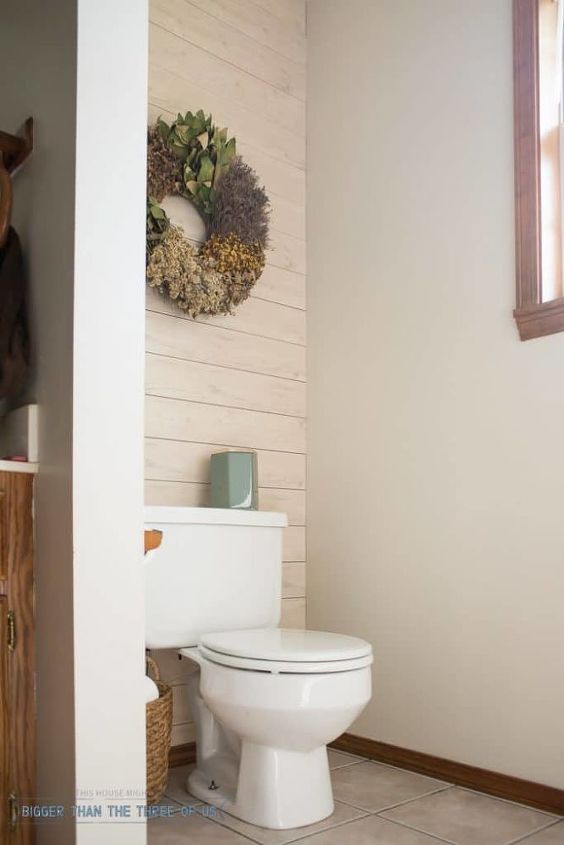
My sister recently bought a house and she wanted some help giving her bathroom some personality. In just a few hours on a Saturday, we were able to transform her bathroom nook and take it from boring and bland to inviting! Not only that, but in the process, my sister got more confidence with power tools (which I call a HUGE win!).
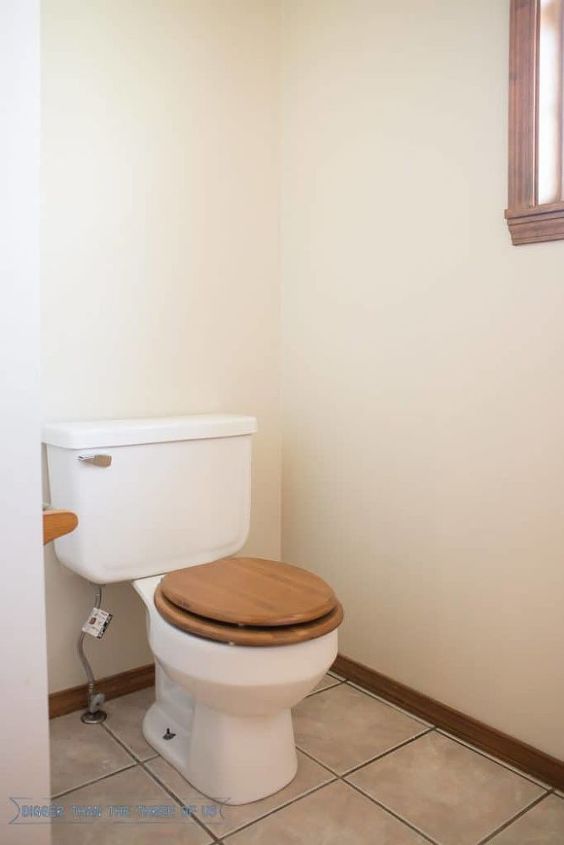
Before: Nothing horrible here but it was just boring and dated.
Before you start cutting, you need to figure out your wall size and compare that to your plank size. Meaning, the planks won't naturally fit (or if they do you are lucky!). So, decide if you want your planks to be cut to fit at the top or bottom. I always go with the bottom of the wall because I think that hides imperfections better. Plus, in this case, the bottom of the wall was behind a toilet.
Next, measure the wall across. In this case, the wall was shorter than the plank so each plank had to be trimmed. In most cases, you will put up planks and then have to trim the end once you reach one side. See my modern plank install for a how-to if you have a wall that needs a diagram to figure out how to lay your wood.
*More details and pictures of this process are on my blog.
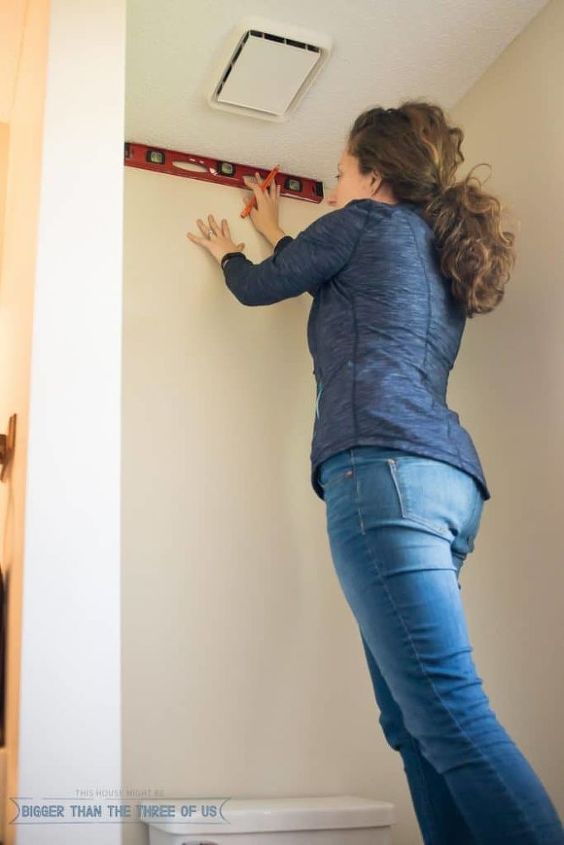
See if your ceiling is level before you install your first board. If it's not level, float the first plank just a bit to make it level. You can always come back and caulk.
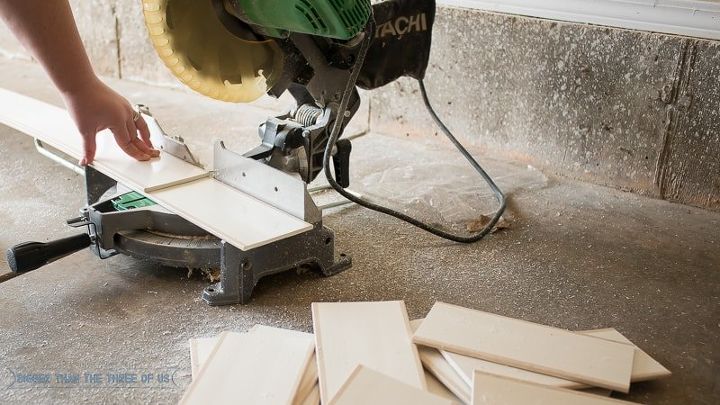
Using a miter saw, trim your boards to size.
*I like to measure for two boards at the time, go and cut and then check for fit. In my experience, walls are not even so if you use the same measurements for all your boards... they aren't going to fit.
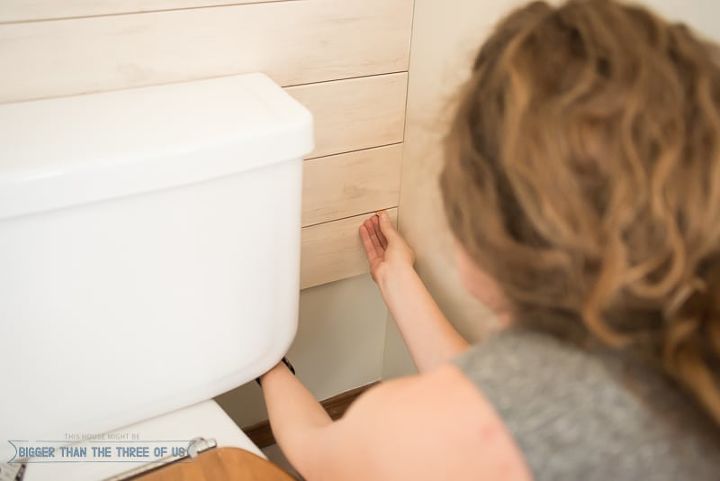
The accent boards we used came with sticky strips. So, I placed three strips on the back and then pulled the backing off to place on the wall.
I used a penny in between each board for spacing. Once I got my board on the wall, I pulled the penny out.
Repeat until you get to the bottom of the wall. To make the last piece work, we used a jigsaw to cut the board lengthwise to size. You could also use a table saw. If needed, you can caulk the top and sides.
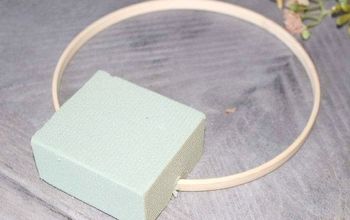
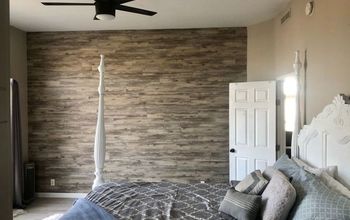
To further get the look we wanted, we got rid of the old wood toilet top and added some fresh decor.
For half of a Saturday, I think we were able to drastically change the space.

Want more details about this and other DIY projects? Check out my blog post!
Comments
Join the conversation
2 of 29 comments
-
Great idea, love it!!!
-
Love it! Love working with wood!:-)


Frequently asked questions
Have a question about this project?
what is the color of paint on the wall. ?
What was the wood planks called specifically so I can price them in my area please? Looks good
What exactly were the planks called that you used? I want to price it in our area. Thank you