


Laundry Room Makeover

My husband and I madeover my laundry room and the beautiful tile floor is Floor Pops!
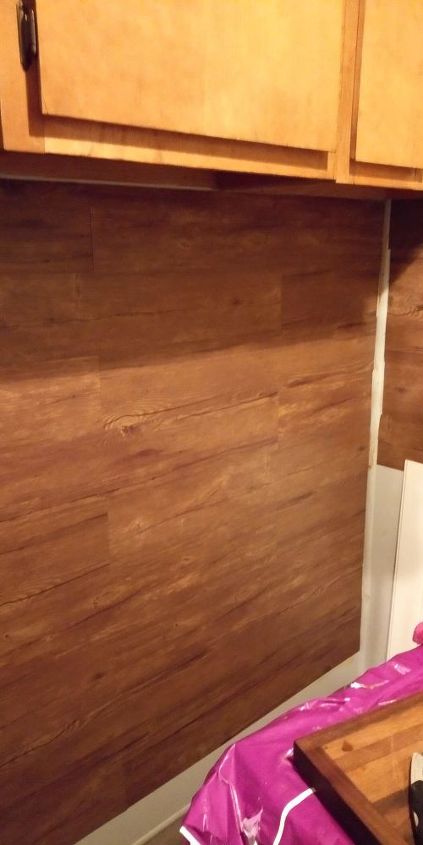
It's not possible to show how awful this room was. Dark, paneled, just grungy and gloomy looking. This was the wall on the left from the kitchen where there was 2 cabinets. We took them both down and redid this wall in shiplap paneling.
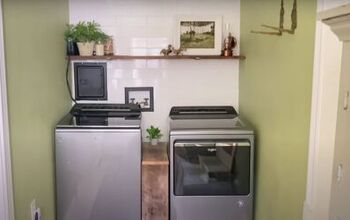
Now it looks like this!
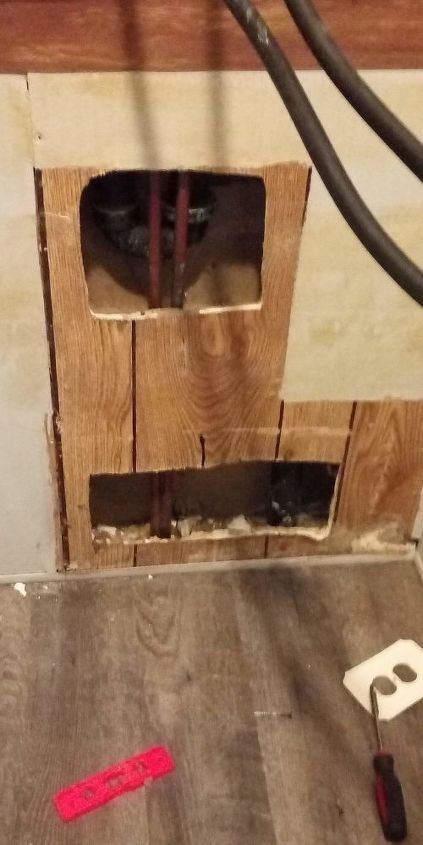
This was the wall looking straight in from the kitchen. There was a piece of cut out drywall screwed in the wall to cover these holes. I removed it and put a beadboard wainscotting around the nook. First I put down just a plain 1X3 for the baseboard, wainscotting on top of that, then a 1x1 for top trim.
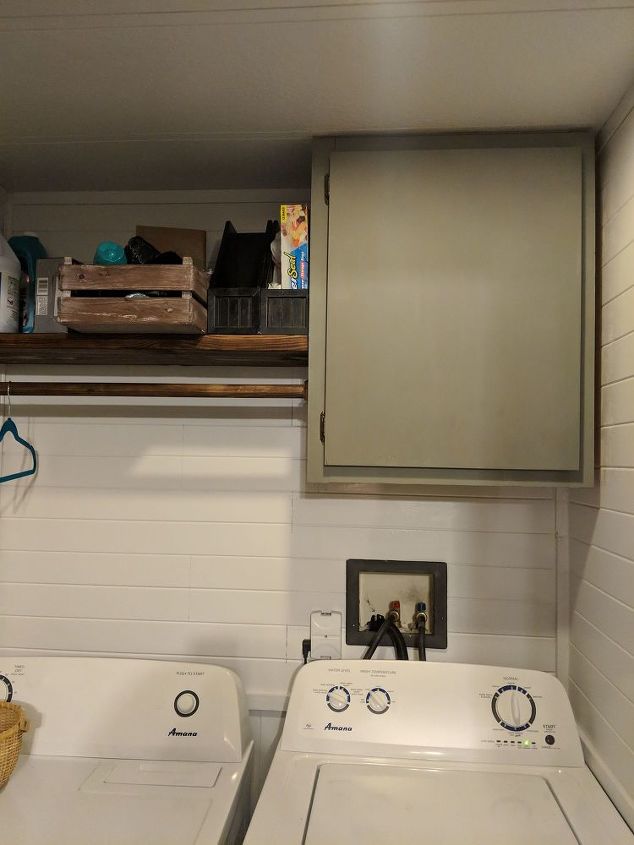
Now, the nook looks like this! This is where we moved the cabinet. I painted it with Rustoleum Country Gray chalk paint. It has a green undertone and it looks beautiful! Not seen in this picture is the glass knob we put on it that I got at Ross. The shelf and the rod are up. My husband stained them with Gel Stain we got from HD. He didn't like it, honestly. He is a woodworker and used to using "real stain" as he calls it, so this was a little different for him.
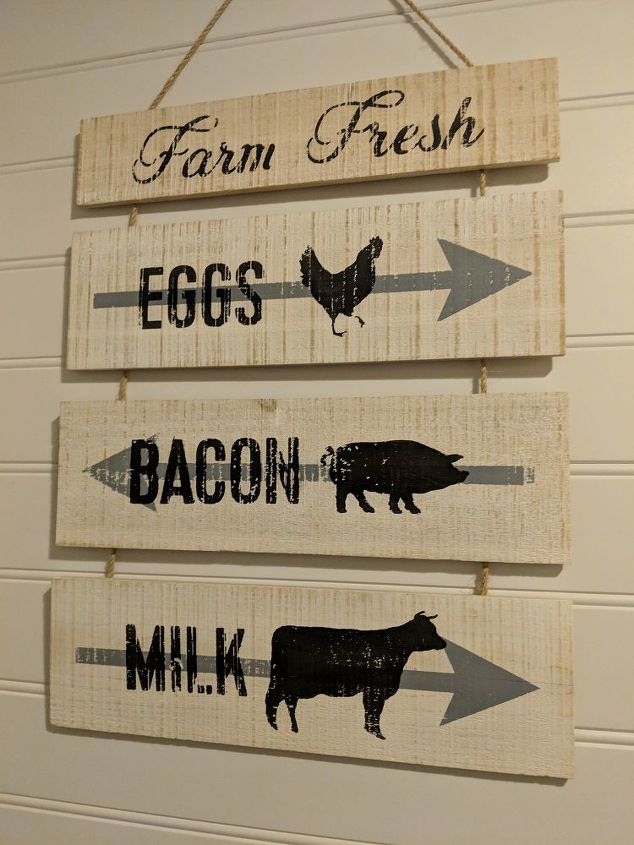
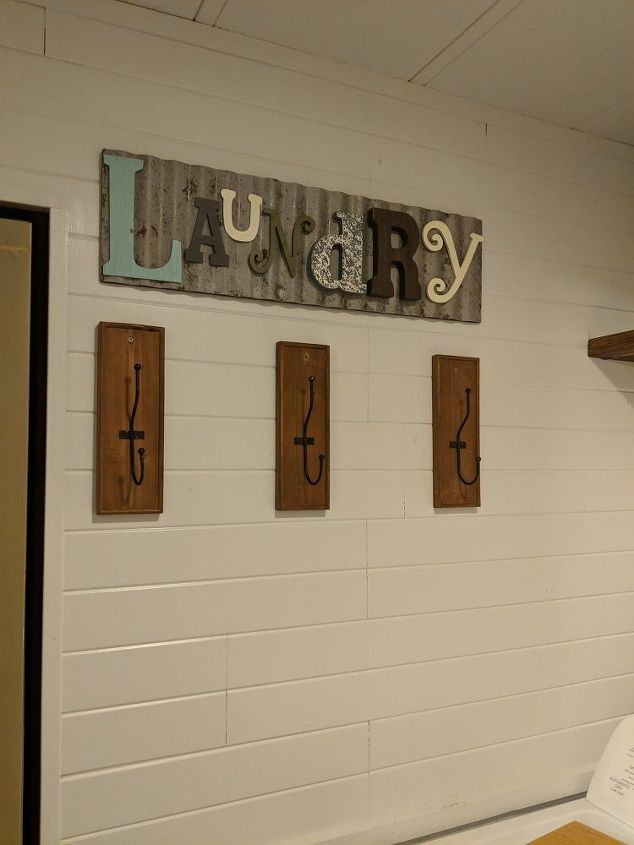
I had bought some of the shiplap and planks on sale at a great clearance price. There was not enough to do the entire room, and we couldn't find any more. I told me husband to just get whatever they had. In this room, it's a hodgepodge of different planks, but unless you're really, really, looking for that, you'd never notice. Some of my deco is kitchenish, yes. This room is right off my kitchen, and my kitchen has so little wall space to decorate...it works for me. Sign clearance at Hobby Lobby.
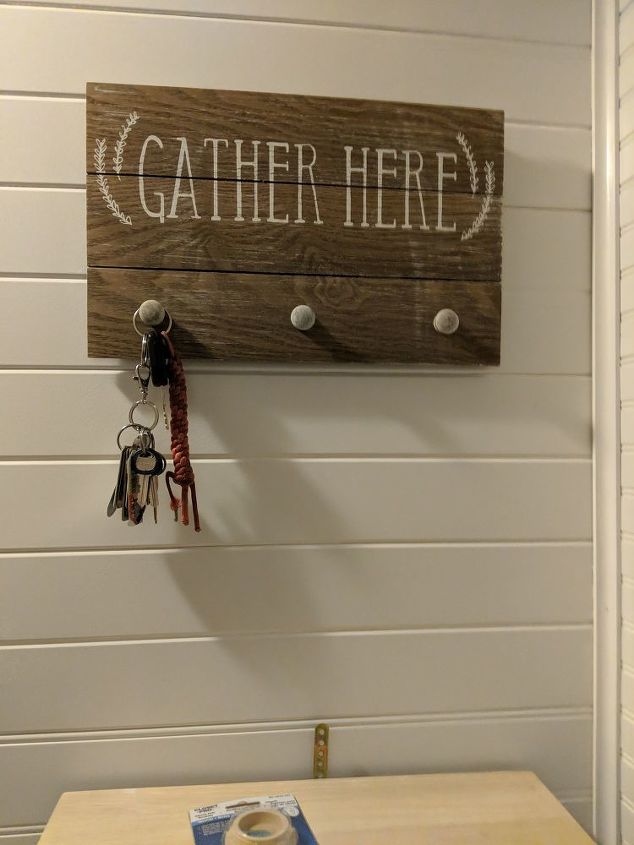
This wall is small, about 24 inches wide, it is right by the back door. I have a cabinet here for supplies and my key rack. Rack from Ross.
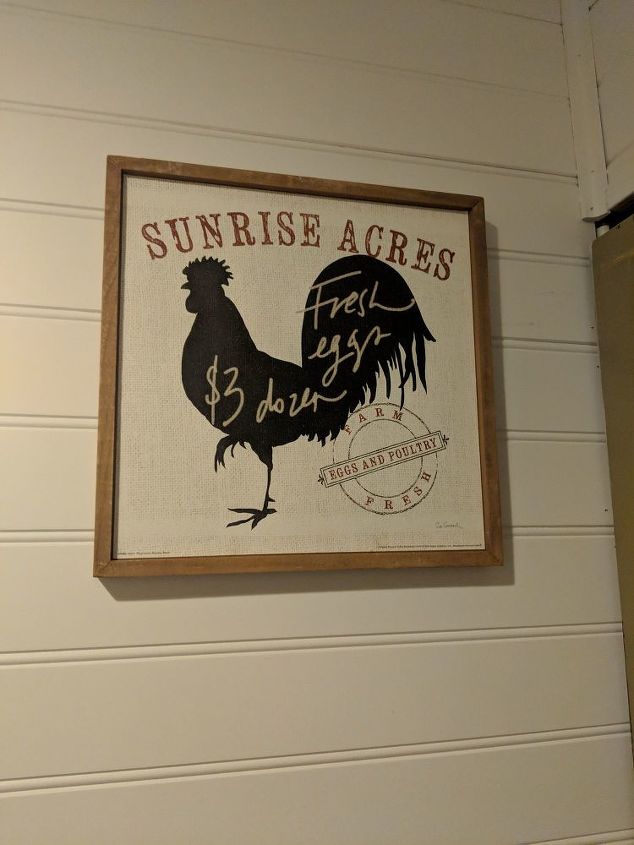
Just more deco. Clearance at Hobby Lobby.

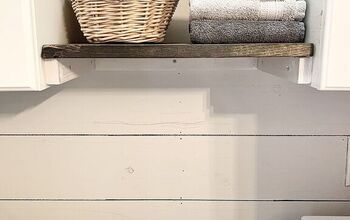
The shelf up, cabinet before it was painted. It's a 12x12 oak board I got in the clearance stack at HD 75% off for less than $4! We just cut it to size and stained it.
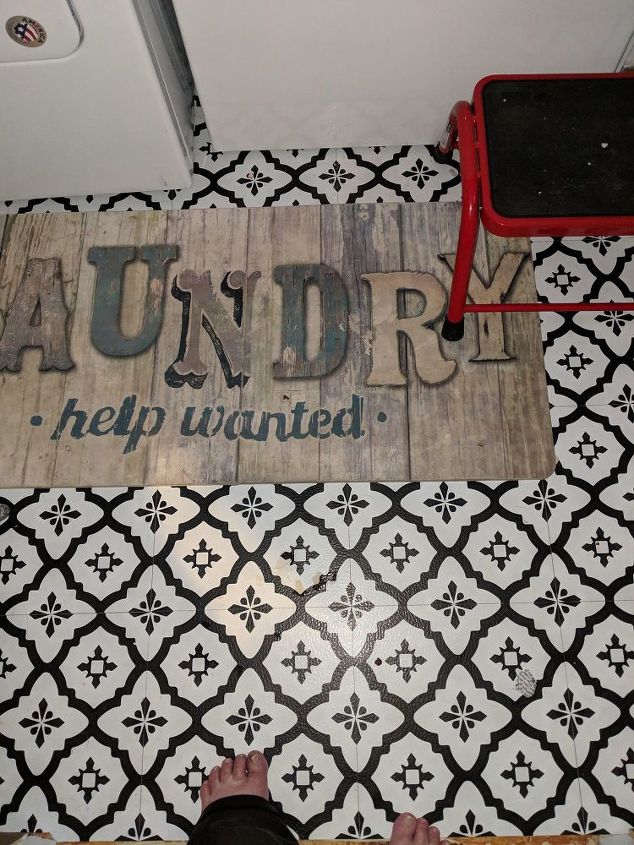
THE FLOOR! I've had these tiles for months, waiting for this project! In the before pic, I had Armstrong wood look planks down. I love the look, however, they didn't stick worth a hoot for me. I should have used some type of glue under them, but in my research and asking the flooring guys, I was told over and over again, there wasn't anything I could use for that. I now know they were wrong, but, it's okay, because this floor is amazing! I have several boxes left to finish my kitchen floor with them as well. Since the rooms are connected, it will be a seamless look, fingers Crossed! These were terribly expensive, but I bought them a little at a time from Wall Pops. I'll tell you a secret...WalMart has them online for half the price I paid......Good for you, bad for me.
I have looked online for anyone who has used the Floor Pops and I haven't been able to find anyone who's blogged about them yet. They are just 12x12 stick on tiles, easy to cut, trim and stick well. And so stinking cute! I would never be able to afford those beautiful concrete tiles, Floor Pops has several different styles that are just gorgeous!
Comments
Join the conversation
-
Love the farmhouse vibe, super cozy and cute!
-
Thank you Wendy. It was a fun project. I smile everytime I come in the door!


Frequently asked questions
Have a question about this project?